Halloween Pumpkin Carving Contest · Starts October 1st · $500 in prizes
← Back to ideas
@ai_concepts
Sep 9, 2026
Witch Hat Cutout Pumpkin Carving Simple DesignAI
0

Witch Hat Cutout Pumpkin Carving Simple Design

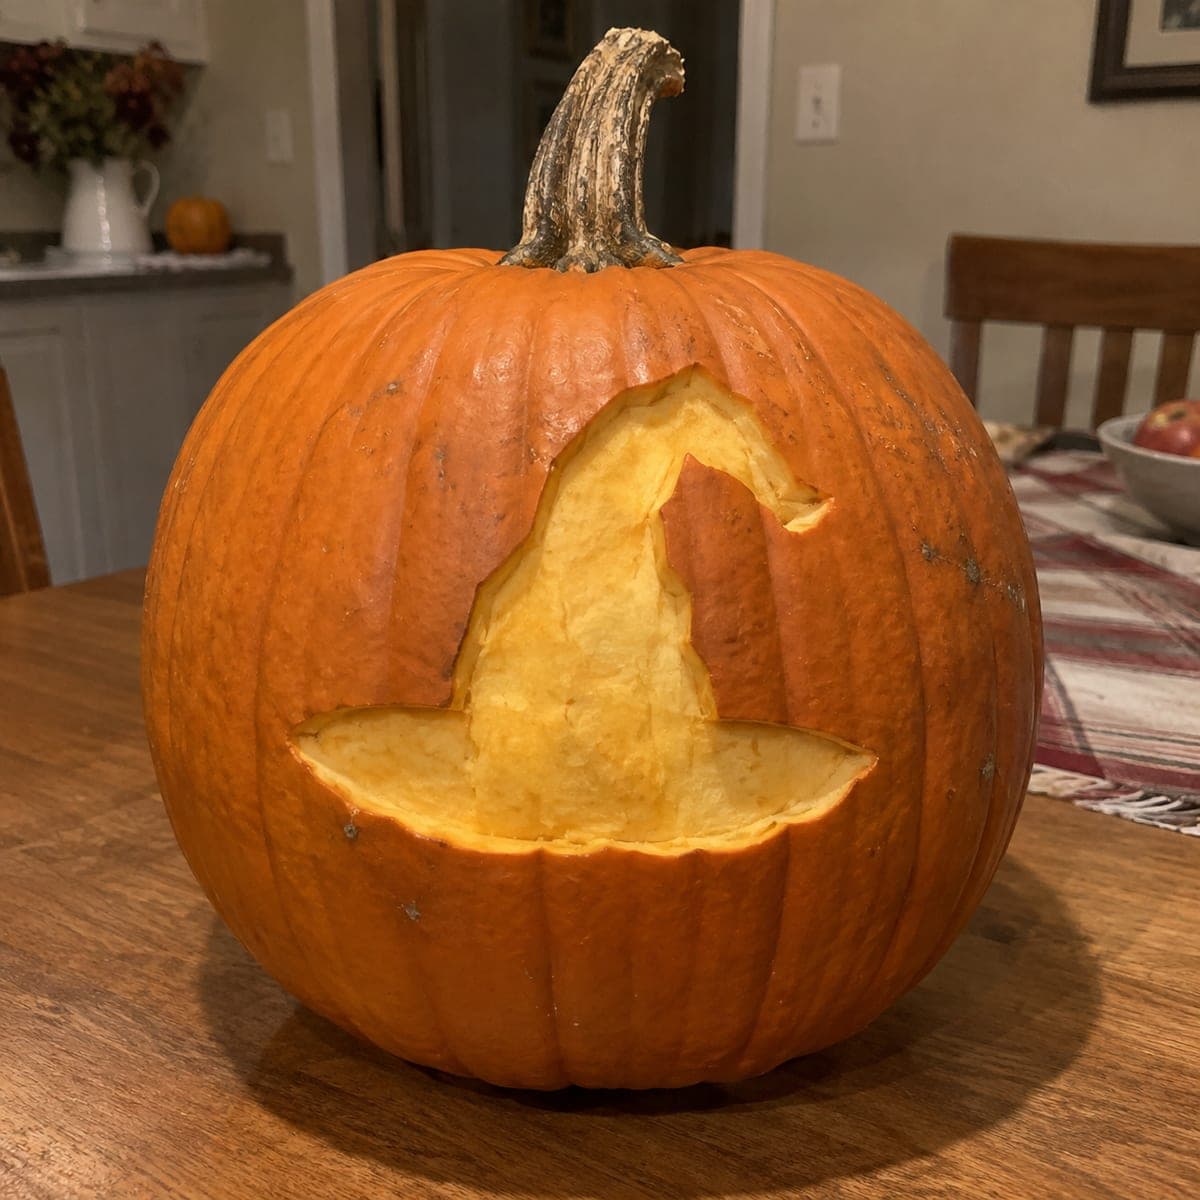
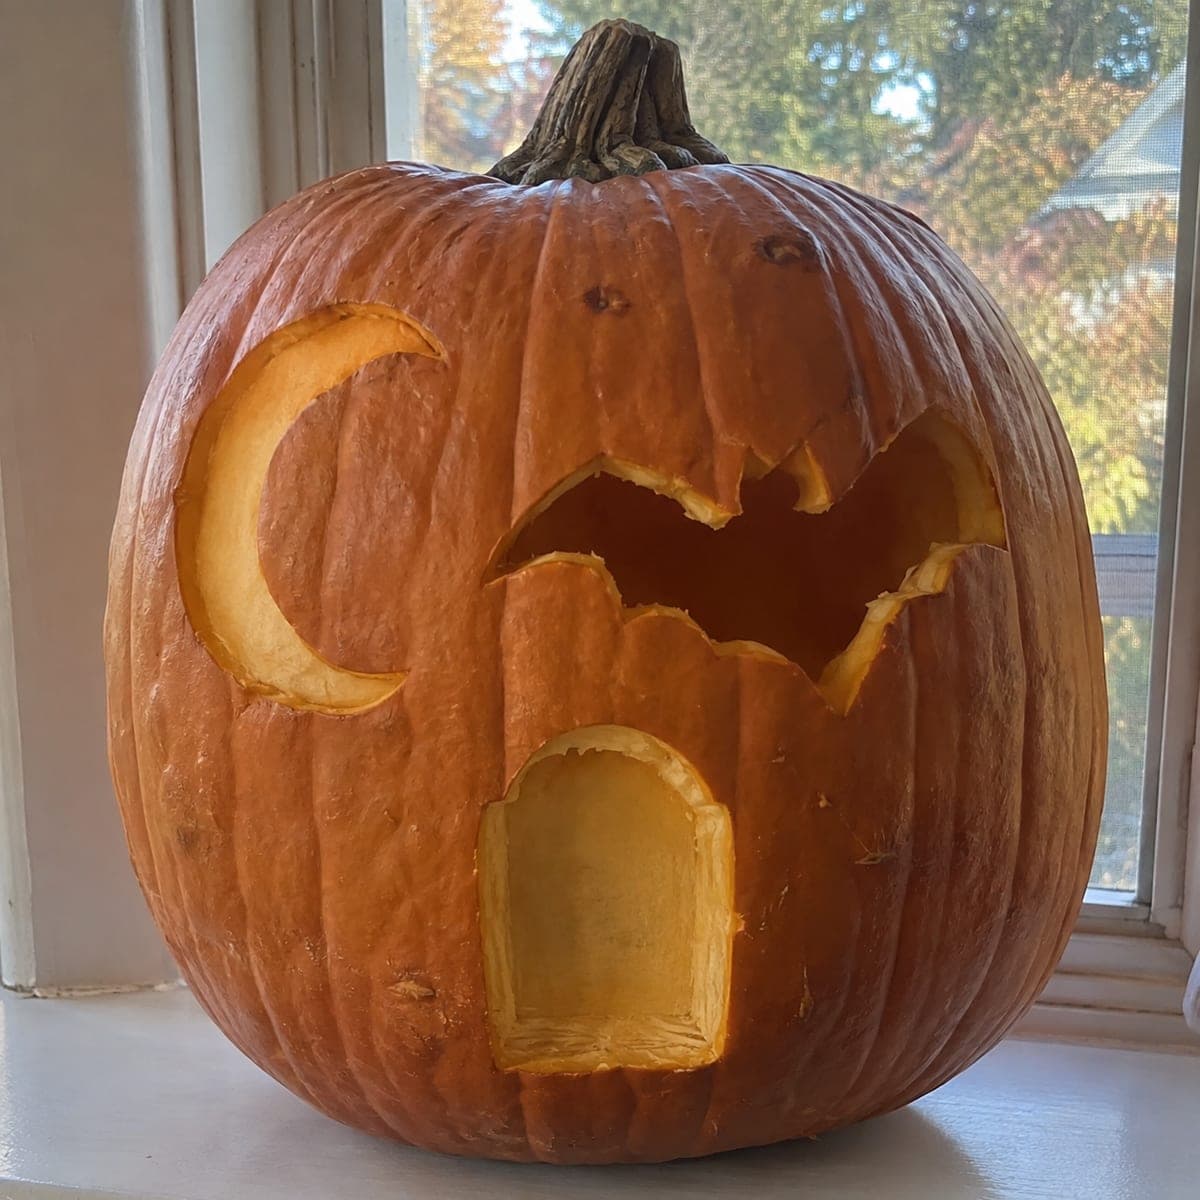
A pointed witch hat with a wide brim is cut directly into the pumpkin's face as a single large opening, the carved shape glowing amber against the orange skin for a minimalist Halloween statement. This simple pumpkin carving idea is achievable for beginners in under 20 minutes since the hat is one continuous cut rather than multiple separate pieces. Draw the hat outline with a marker before cutting, starting the cut at the brim edge and working up to the crown tip. Displayed on a kitchen table or a covered porch, the unlit design also reads well as a daytime decoration.

This is an AI-generated concept image: a realistic, carvable design idea rather than a photo of a finished carve. AI concepts are always labeled and sit out the leaderboard and the contest.
No ratings yet · Sign in to rate

Comments (0)

  • No comments yet — be the first.

Save without an account. Sign in to like or comment.

Our tips for carving a similar design

The whole design is one continuous witch hat shape, a pointed crown that leans slightly with a wide flaring brim, so there are no fussy separate pieces to keep aligned. The core trick is treating the hat as a single opening or a single peeled area, which means one confident outline and one clean edge. Because this is an AI concept image, no real pumpkin exists here, so think of it as a plan you could follow to get the same amber-on-orange look.

Written by PumpkinCarvingIdeas.com, inspired by the image above. These are our suggestions, not instructions from the uploader. This approach to the AI concept has not been tested on a real pumpkin.

From pumpkin to porch

  1. Pick a pumpkin and plan the face

    Choose a rounded pumpkin with a smooth, fairly flat area on the front for the hat. Wipe the skin clean and dry it so a marker will stick. Center the hat in your mind, leaving a couple of inches of orange skin all around so the shape stays framed. A pumpkin roughly the size shown gives you room for the wide brim without wrapping onto the curve.

  2. Open and clean the pumpkin

    An adult should cut a lid around the stem at an angle so it rests back in place later, or cut a hole in the bottom instead for easy lighting. Scoop out the seeds and pulp with a sturdy spoon or scraper. Thin the inside of the front wall to about one inch where the hat will go, since a thinner wall carves cleaner and glows brighter. Save the seeds if you want to roast them.

  3. Draw the hat outline

    With a washable marker, sketch the witch hat as one closed shape: a tall crown that tips slightly to one side and a wide brim that dips and rises at the ends. Keep the lines smooth and connected all the way around so it reads as a single piece. Step back and check the proportions before you commit. Redraw with a damp paper towel if the curve looks off.

  4. Peel the hat for a soft amber glow

    For the look in the picture, use a shallow gouge or lino tool to scrape away just the outer skin inside the hat outline, exposing the pale flesh underneath. Work slowly and keep the depth even so the glow is consistent. This skin-peel method leaves the wall intact, which keeps the shape sturdy and gives that warm amber tone rather than a bright open cut. Take your time along the pointed crown so the tip stays crisp.

  5. Optional: cut through for brighter accents

    If you want more punch, an adult can cut fully through a few areas such as the very tip of the crown or the outer brim edges. Make these smaller cuts last so the surrounding flesh stays strong while you work. Start the blade at the brim and work up toward the crown, using gentle sawing motions rather than force. Keep any cut-through sections modest so the hat still holds its shape.

  6. Light it and photograph

    Set a battery LED puck or string inside, never a candle, so the peeled hat warms up without scorching the flesh. Test it in a dark room and rotate the pumpkin until the amber shape looks even. Display it on a kitchen table or a covered porch, where the design also reads well unlit as a daytime decoration. Snap a photo straight on so the full hat silhouette shows.

Gather your supplies

Check things off as you get ready.

Work on a stable surface, keep your free hand out of the cutting path, and have an adult handle sharp tools.

Three levels of light

  • Leave intact

    The orange skin all around the hat stays untouched and dark, framing the shape.

  • Peel & shade

    The inside of the hat shape gets its skin scraped away for the soft amber glow seen in the picture.

  • Cut through

    Optional full cutouts at the crown tip or brim edges give the brightest points of light.

Learn the carving basics

Before you start cutting

Should I peel the hat or cut all the way through?

Peeling the skin gives the warm amber tone shown and keeps the wall strong, which is why it is beginner friendly. Cutting fully through makes the shape much brighter but a large single opening can weaken the front. A nice middle path is to peel most of the hat and cut through only a few small accents.

How do I keep the pointed crown from tearing?

Thin the inside wall evenly and work the tip last with light pressure. A sharp gouge cuts cleaner than a dull one, so it will not drag and crack the point. If you cut through the tip, leave a little extra flesh nearby so the narrow section has support.

Will this design last for several days?

A skin peel keeps the pumpkin mostly intact, so it holds up longer than a big open cut. Rub the exposed flesh with a little petroleum jelly to slow drying, and store the pumpkin somewhere cool when it is not on display. Refresh the peeled area with a light scrape if it starts to look dull.

Your take belongs here, too.

Changed a detail? Made it simpler? Share a photo of your version and tell the community what worked.

Share your pumpkin

More pumpkins like this

You've reached the end · 8 pumpkins
The Patch Report

Fresh pumpkins, in your inbox.

The best new carvings, ideas worth stealing, and how-tos for carving season. Short, seasonal, and gone by November.

A short email during carving season. Unsubscribe anytime. See our privacy policy.