Similar pumpkin stencils
View all stencils →About this stencil
The Splashy the Whale pumpkin stencil is a free printable PDF template. Print it, tape the pattern on, and trace it onto your pumpkin. A chubby, smiling whale with a curled tail sprays three playful droplets from its spout in this sweet ocean design. Nothing is pierced through; instead you shave away the orange skin inside the whale and droplets so they glow as soft golden shapes against the untouched pumpkin around them. That continuous-wall approach makes it very kid-friendly; scrape shallow, even layers with a loop tool until light shows through evenly across the whale's body. It makes a fun jack-o'-lantern design for Halloween night. It is rated Beginner-friendly. Estimated time: 60-90 minutes. Actual time varies with preparation, pumpkin size and experience. Larger shapes and shorter cuts. An adult should handle sharp carving tools.
Pumpkin size guide
- 🎃 Small (5 to 7"): print at 80%
- 🎃 Medium (7 to 10"): print at 100% (recommended)
- 🎃 Large (11 to 13"): print at 130%
- 🎃 Giant (14"+): print at 150% on tabloid paper
Frequently asked questions
Can I resize this stencil?▾
Yes. The PDF is vector so it scales cleanly. Print the pattern at 100% for a 7 to 10 inch pumpkin, 130% for 11 to 13 inch, or 150% for a giant. Use your printer's "Fit to page" or "Custom scale" setting.
What kind of paper works best?▾
Standard 20 lb letter or A4 printer paper is fine. Heavier paper is harder to bend around the pumpkin curve. If your printer supports it, set the quality to 'best' so the lines are crisp.
How long will the carved pumpkin last?▾
Usually 5 to 10 days. Coat all cut surfaces with petroleum jelly and store the pumpkin somewhere cool overnight. Avoid direct sun. Battery LED pumpkin lights produce no heat and help it last longer.
Can I sell pumpkins carved with this stencil?▾
Yes, the carved pumpkin you make is yours. The license covers personal and small-scale commercial carving (selling carved pumpkins, photographing them, posting on social). You may not resell the PDF file itself.
What if my printer doesn't print the whole stencil?▾
Set 'Page scaling' to 'Fit' in the print dialog and uncheck 'Auto-rotate'. If it still cuts off, the design includes 0.25" of safe-area margin so a small crop won't ruin it.
How to carve this stencil
This is a continuous-wall shading design: you never cut all the way through the pumpkin. On the printable pattern, light gray regions get just the skin shaved off for a faint glow, dark gray regions are scraped deeper so more light comes through, and white areas keep their skin untouched. The numbers give you the safest working order. Plan on about 60-90 minutes from print to candle.
Set up first. Print the PDF at 100% scale on letter or A4 paper. Cut the lid at an angle, scoop the pumpkin clean, and thin the wall to about 1 inch behind the design so light can pass through the shaded areas. Tape the pattern on (snip small darts in the paper so it hugs the curve) and transfer the outlines by poking dots along every line. Work with a loop tool, clay ribbon scraper, or the back of a spoon rather than a saw.
Shading order
- Expose whale and water drops. Remove skin and scrape shallowly across all gray areas. Preserve the white round eye and curved smile as untouched rind. Trace the left-facing whale, small lower fin, raised forked tail and three separated drops.
- Round the whale body. Deepen the dark-gray body marked 2, working around its retained eye and smile. Leave the pale perimeter, lower fin and both tail flukes shallow. Keep the wall intact.
- Light the three spouts. Deepen the small dark-gray centers of all three water drops. The two side centers are unnumbered. Preserve the light-gray rims and white spaces between the drops, then check the glow with an LED.
Check your progress often: set a bright LED inside and dim the room lights, and the glow shows exactly where to scrape deeper. Go slowly near thin spots and stop before the wall flexes; a pierced wall cannot be undone.
Tools you'll need
For a beginner-friendly carve like this you'll want a paring knife, spoon / scoop, marker, and led pumpkin light. Here's the kit we reach for, but start with whatever you already own.

Elmchee Pumpkin Carving Kit
13-piece kit with carrying case
Saws for the larger cutouts, plus a scoop for hollowing. Covers both jobs in one kit.
View on Amazon ↗
HOME MOST LED Pumpkin Lights
4-pack, battery operated, with remote + timer
Orange glow made for jack-o'-lanterns. The remote and timer light the pumpkin every evening without reaching inside.
View on Amazon ↗
Speedball 4131 Lino Cutter Set
Handle + 5 interchangeable cutters
Interchangeable cutters for peeling and shading the face. Useful for the finer details.
View on Amazon ↗
Reviews from carvers
Every rating comes from a written review by someone who downloaded this stencil.
Carved this one?
Reviews are open to carvers who downloaded the stencil. Grab the free PDF, then come back and tell everyone how it went.
Community Pumpkin Carving Ideas
Carving ideas that use stencils like this one.
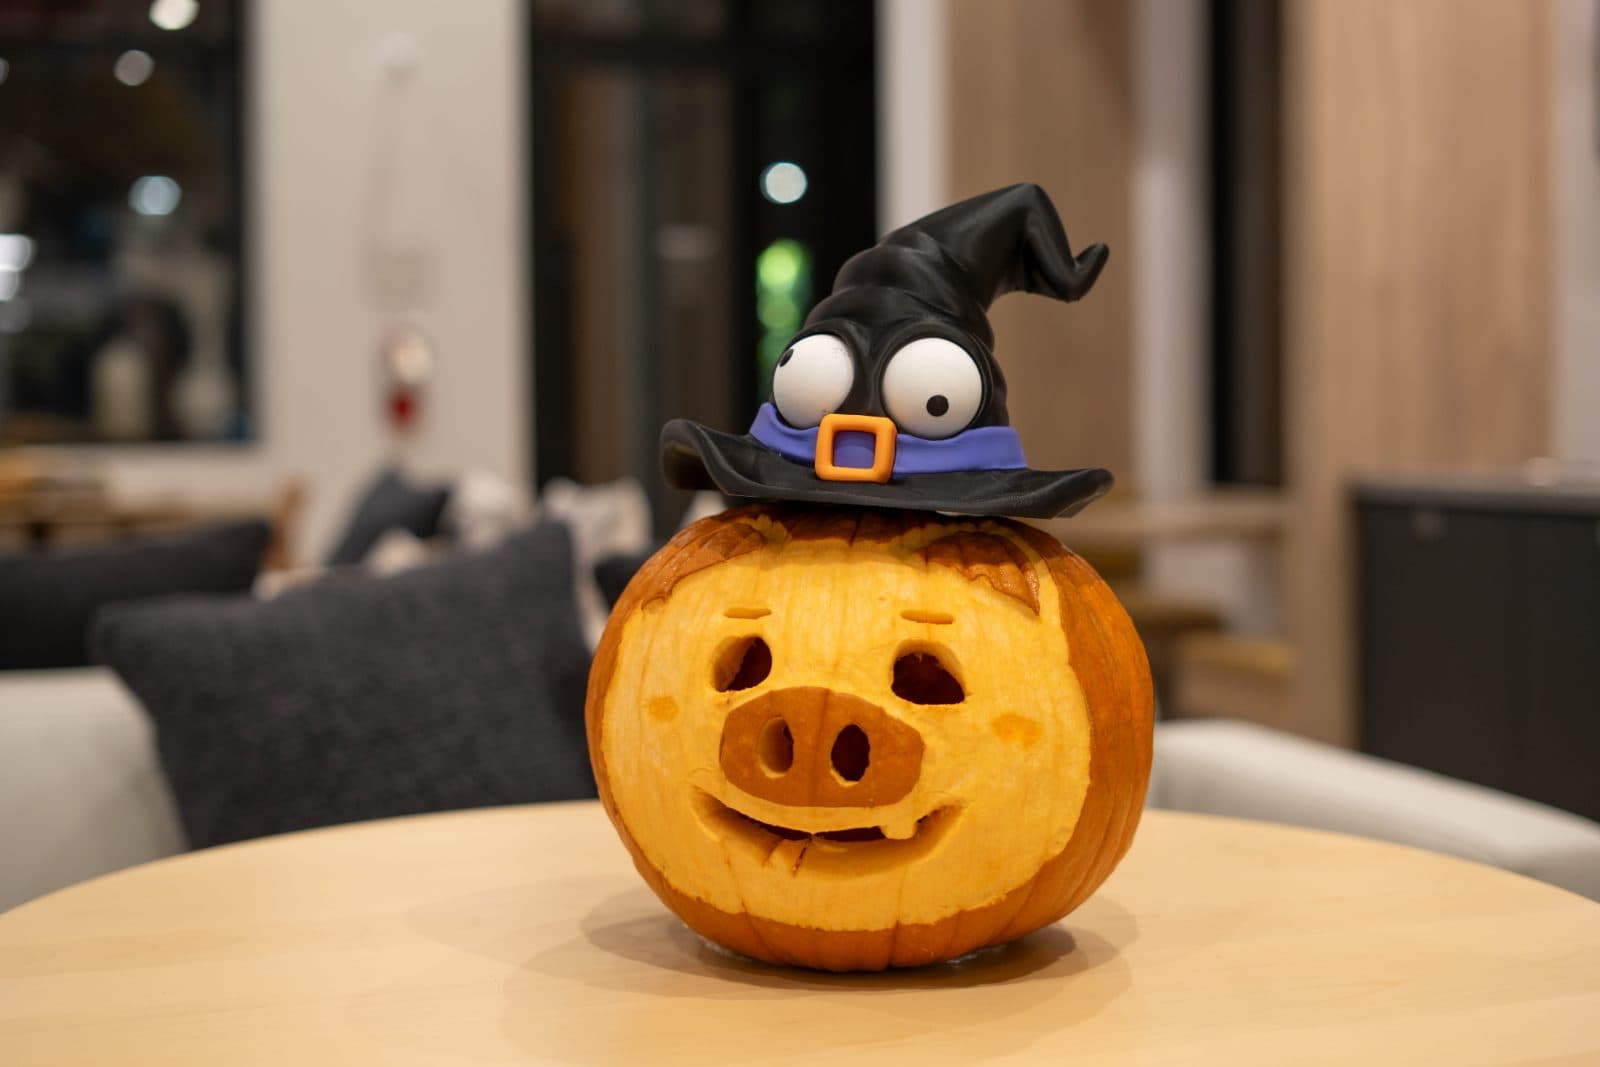
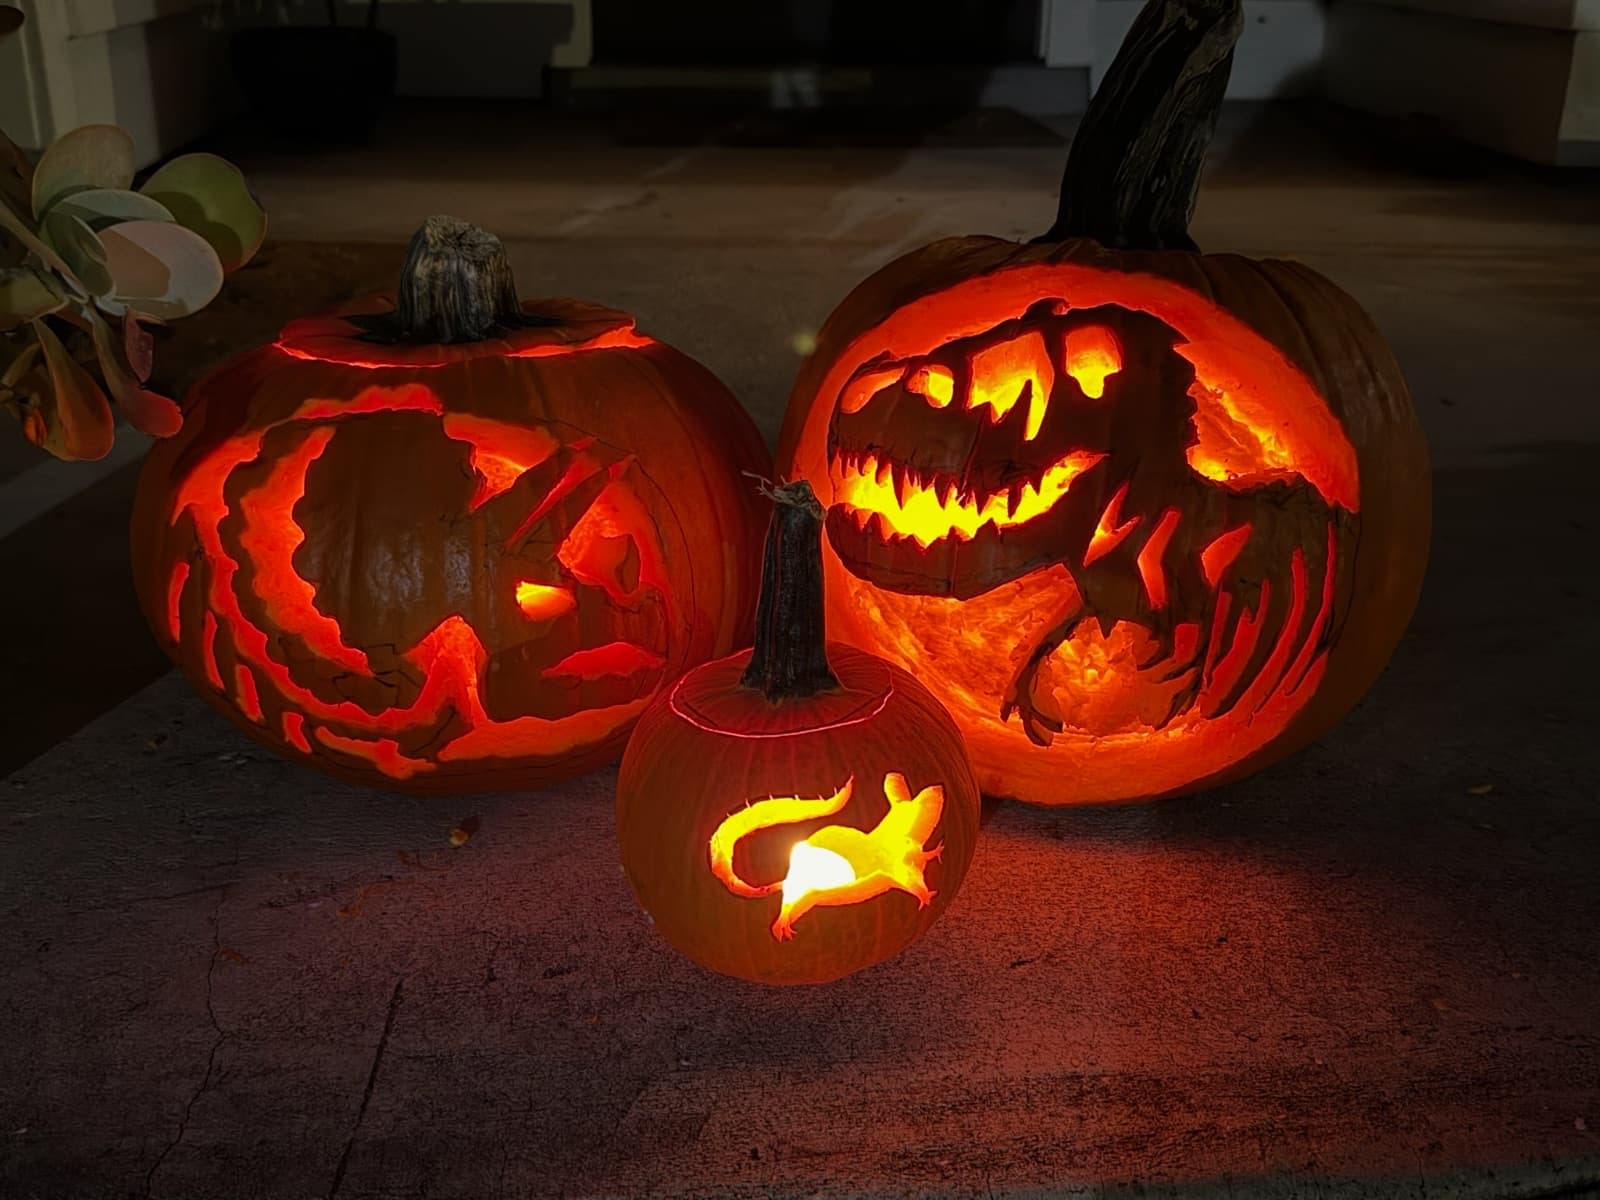
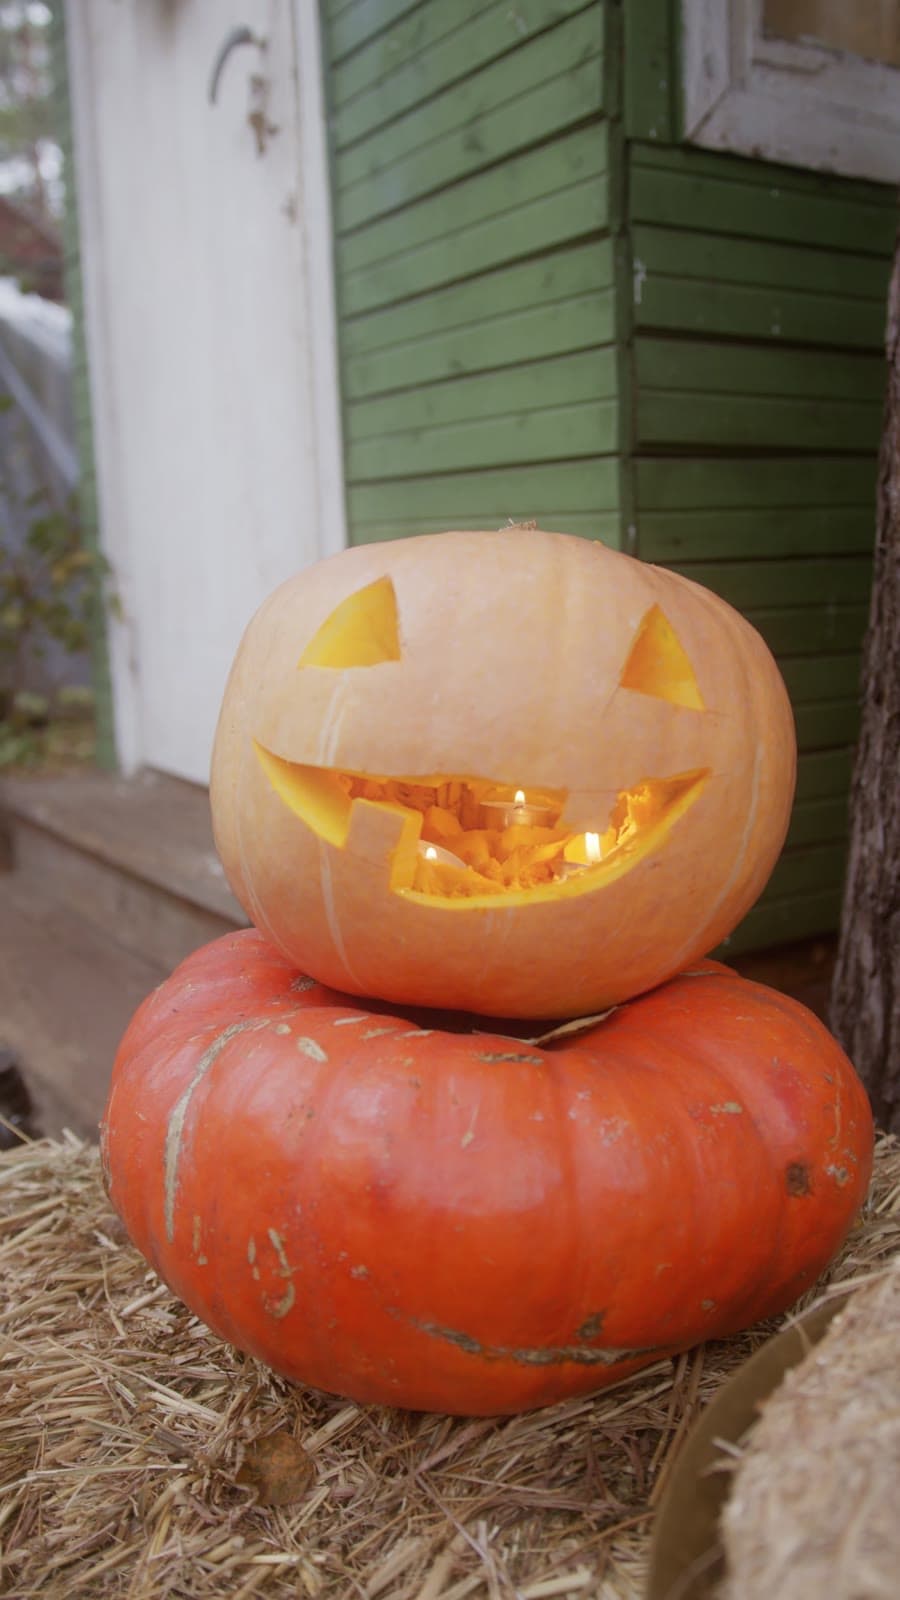
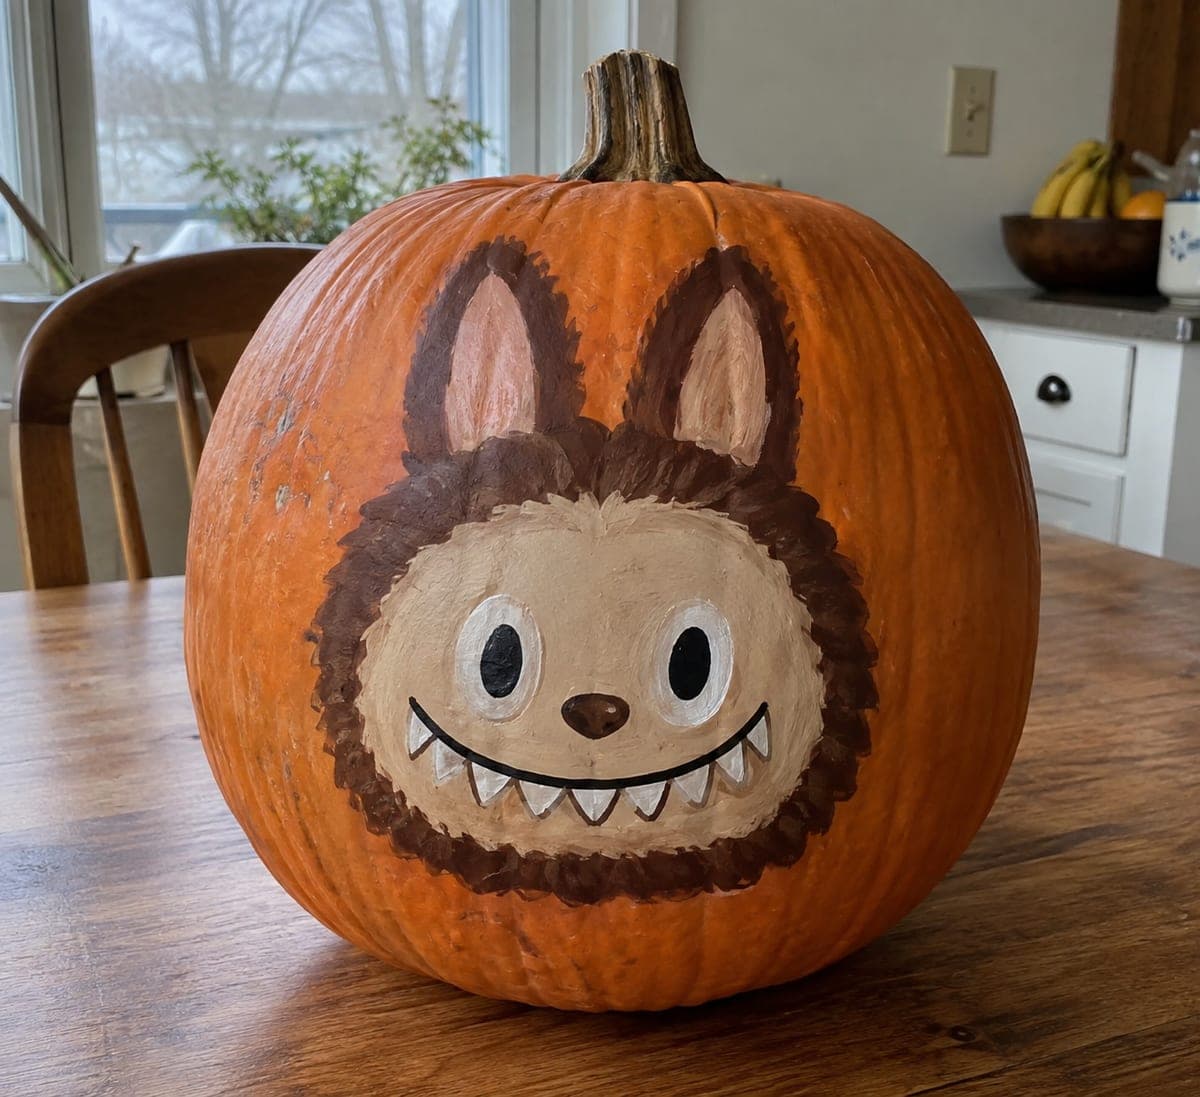
Related stencils
More patterns with a related subject. Compare their skill levels before you choose.
 Beginner-friendly
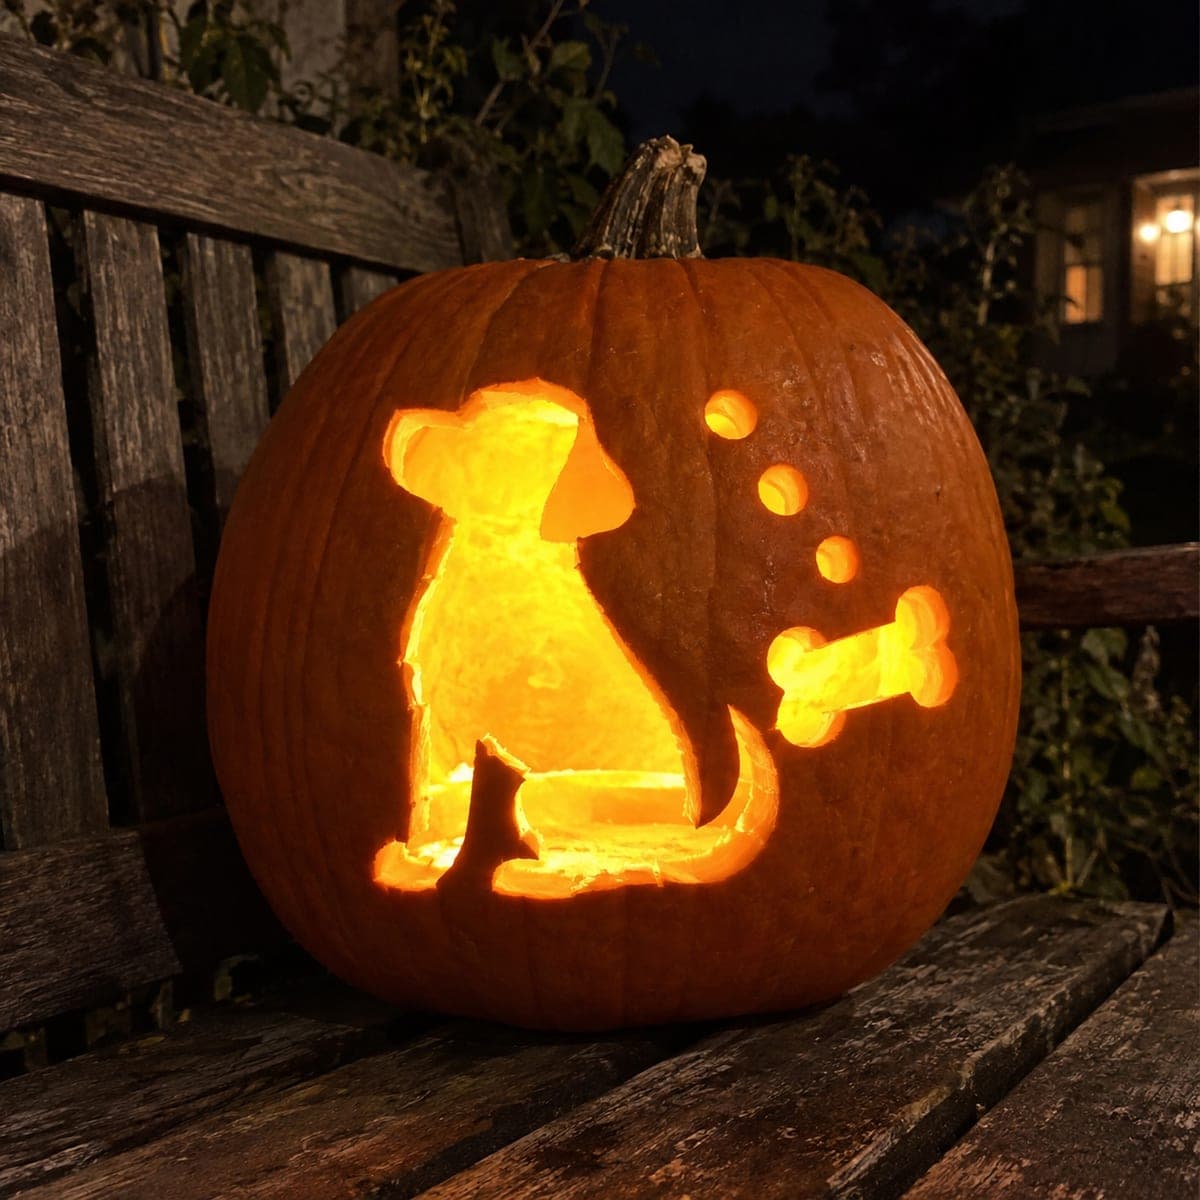
Dreaming of Bones Pumpkin Stencil
A patient pup sits in profile, ears perked and tail resting, while a bone floats nearby with a trail of small dream-bubble dots connecting them. The dog's body, the bone, and the dots are all cut fully through as bold, separate openings, so the scene reads instantly from the street. This easy design has no fragile interior bridges; just cut the large dog body in two or three sections and pop the bone and dots out last for a tidy finish.
 Beginner-friendly
Bashful Blush Pumpkin Stencil
Two big oval eyes glow above a tiny curved smile, with a small round blush circle on each cheek that lights up like a bashful glow. All five features are pierced through, and the shapes are large and simple, making this one of the sweetest easy carves for kids to help with. Cut the little smile last with a fine blade, since that short curve is the only delicate stroke in the whole design.
 Beginner-friendly
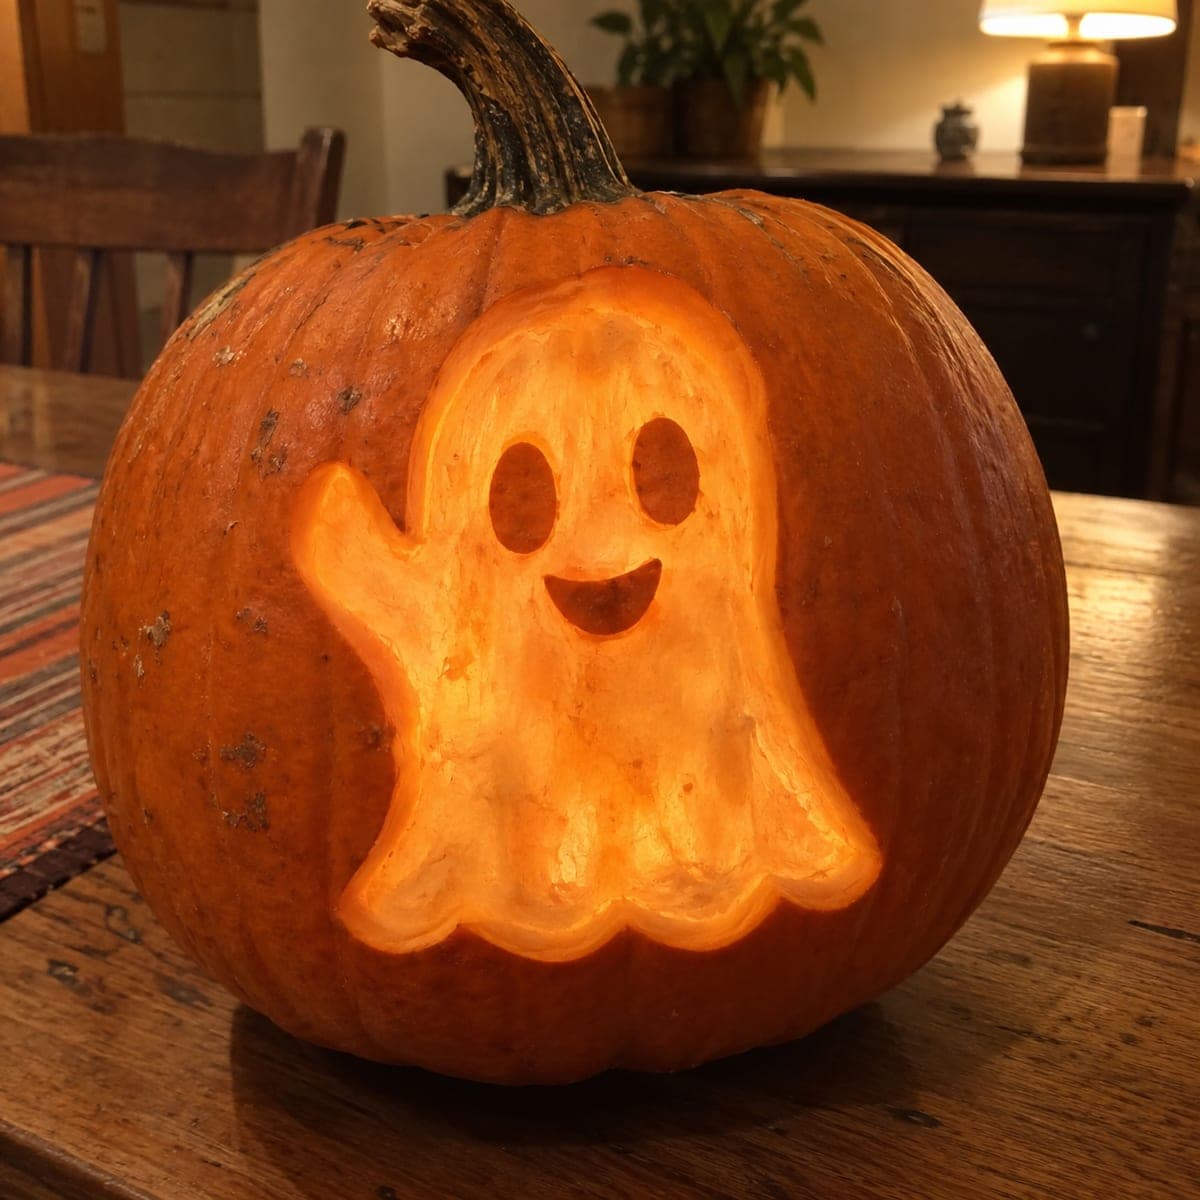
The Friendly Waver Pumpkin Stencil
A friendly little ghost lifts one stubby arm in a wave, its four-lobed hem trailing below round eyes and a happy open mouth. The whole figure is shaved shading: you remove skin inside the body so it glows softly, then leave the eyes and mouth as raised uncarved pumpkin. Even, shallow shaving is all it takes, which makes this a forgiving introduction to etching.
 Beginner-friendly
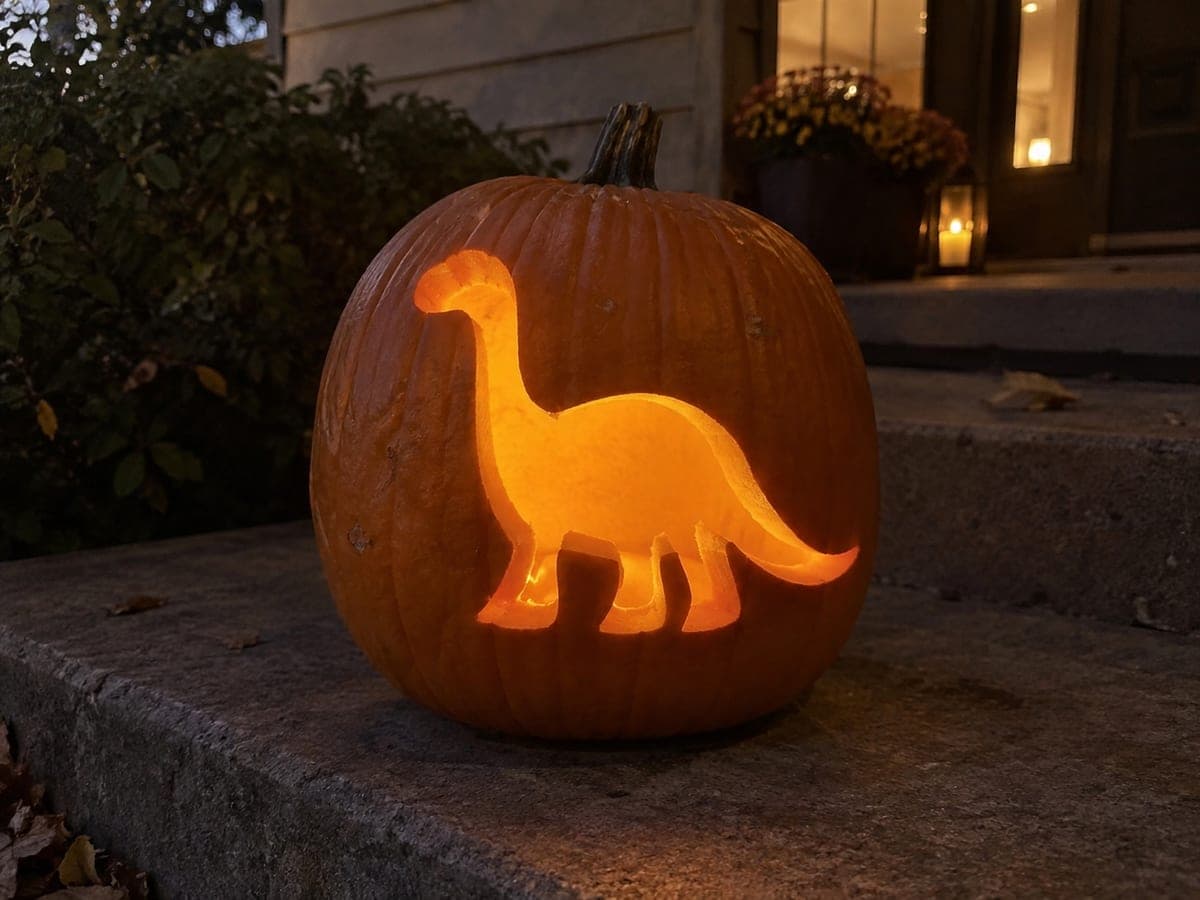
Long-Neck Dinosaur
A friendly long-necked sauropod stands in profile, its arched neck, rounded body, four legs, and tapering tail all glowing as one connected silhouette. Because the entire dinosaur comes out as a single cutout, there are no interior pieces to manage, keeping this an easy favorite for dino-loving kids. Take your time on the skinny neck and tail; saw with gentle strokes and keep a hand braced inside the pumpkin so the narrow curves cut clean.
 Beginner-friendly
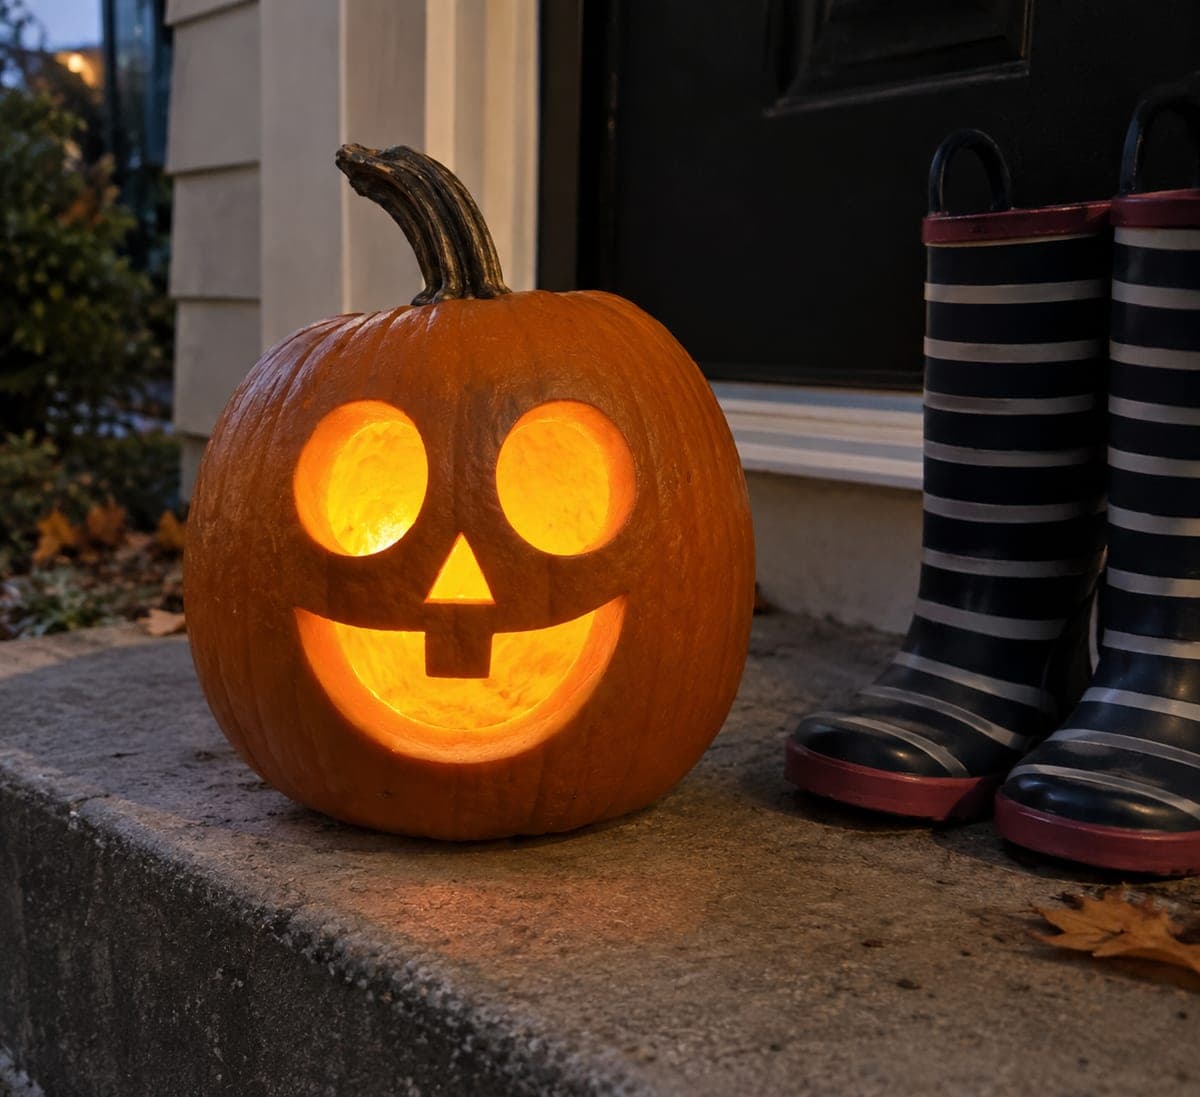
Toothy Tot Pumpkin Stencil
A cheerful four-hole face: two big round eyes, a small triangle nose, and a wide upturned smile with a single square tooth hanging from the top lip. Everything is a simple cut-through opening with no fragile details, making it one of the friendliest first carves for kids helping out. Drill or trace the round eyes with a cup or cookie cutter for perfectly smooth circles.
 Beginner-friendly
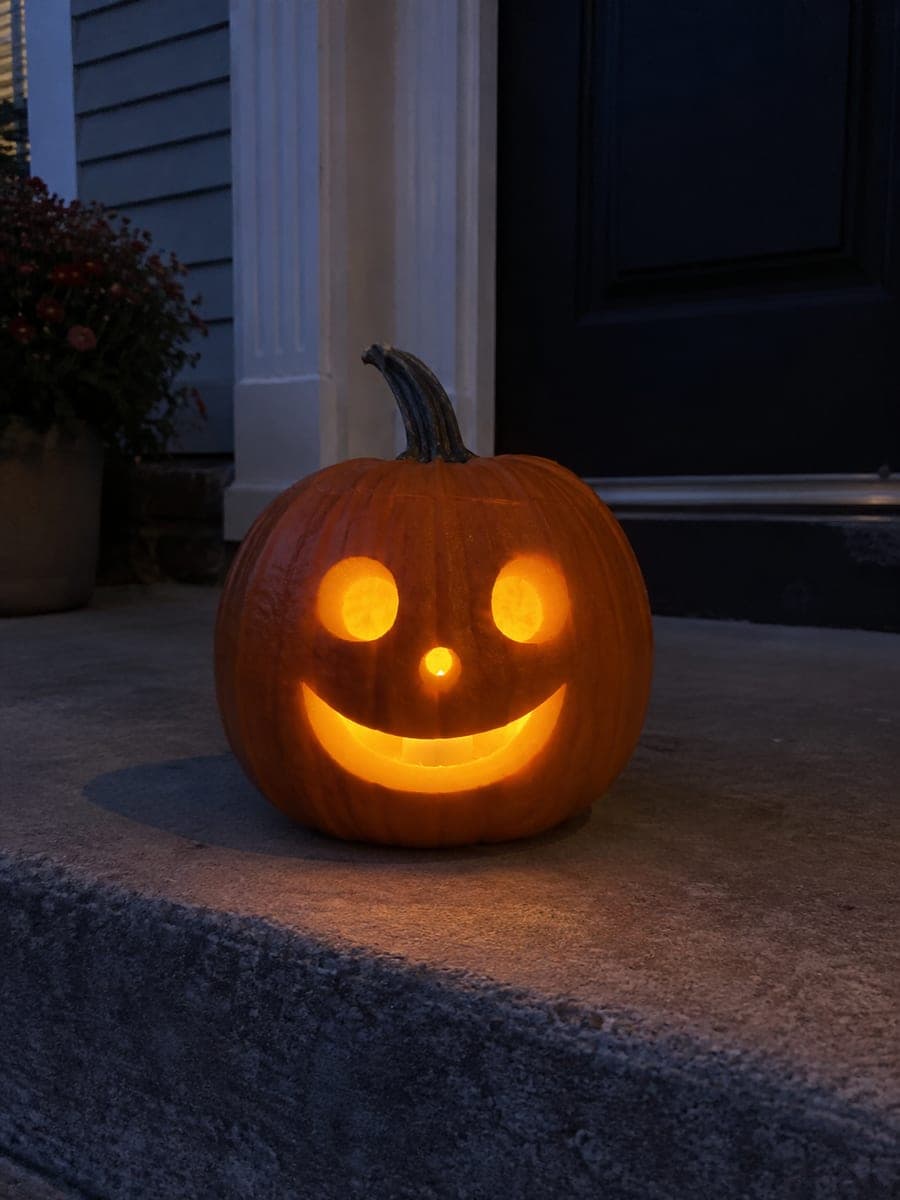
Button Nose Buddy Pumpkin Stencil
Two round glowing eyes, a tiny button nose, and one big sweeping smile give this pumpkin the friendliest face on the block. All four openings are cut straight through, with no teeth, brows, or tricky details to manage. It is about as easy as carving gets, ideal for a toddler's first pumpkin with adult hands on the saw; drill the eyes and nose with a round cutter, then take the long smile in one smooth curve from corner to corner.