Similar pumpkin stencils
View all stencils →About this stencil
The Thumbs Up Emoji pumpkin stencil is a free printable PDF template. Print it, tape the pattern on, and trace it onto your pumpkin. A thumbs-up hand emoji fills this easy pumpkin stencil: a large upward-pointing thumb teardrop at the top, a broad curved palm-and-knuckle mass in the center, four stacked horizontal oval finger cutouts on the right, and a small curved side-panel on the left. When lit, the stacked ovals glow as distinct bright bars above the palm opening, reading immediately as a raised-fist thumbs-up. Cut the four finger ovals before removing the larger central palm section so the surrounding skin remains firm while you make the smaller, more precise cuts. It makes a fun jack-o'-lantern design for Halloween night. It is rated Beginner-friendly. Estimated time: 45-60 minutes. Actual time varies with preparation, pumpkin size and experience. Larger shapes and shorter cuts. An adult should handle sharp carving tools.
Pumpkin size guide
- 🎃 Small (5 to 7"): print at 80%
- 🎃 Medium (7 to 10"): print at 100% (recommended)
- 🎃 Large (11 to 13"): print at 130%
- 🎃 Giant (14"+): print at 150% on tabloid paper
Frequently asked questions
Can I resize this stencil?▾
Yes. The PDF is vector so it scales cleanly. Print the pattern at 100% for a 7 to 10 inch pumpkin, 130% for 11 to 13 inch, or 150% for a giant. Use your printer's "Fit to page" or "Custom scale" setting.
What kind of paper works best?▾
Standard 20 lb letter or A4 printer paper is fine. Heavier paper is harder to bend around the pumpkin curve. If your printer supports it, set the quality to 'best' so the lines are crisp.
How long will the carved pumpkin last?▾
Usually 5 to 10 days. Coat all cut surfaces with petroleum jelly and store the pumpkin somewhere cool overnight. Avoid direct sun. Battery LED pumpkin lights produce no heat and help it last longer.
Can I sell pumpkins carved with this stencil?▾
Yes, the carved pumpkin you make is yours. The license covers personal and small-scale commercial carving (selling carved pumpkins, photographing them, posting on social). You may not resell the PDF file itself.
What if my printer doesn't print the whole stencil?▾
Set 'Page scaling' to 'Fit' in the print dialog and uncheck 'Auto-rotate'. If it still cuts off, the design includes 0.25" of safe-area margin so a small crop won't ruin it.
How to carve this stencil
This is a cut-through stencil: the gray areas on the printable pattern are the pieces you remove, and everything white stays attached. The steps below give you the safest carving order. Plan on about 45-60 minutes from print to candle.
Set up first. Print the PDF at 100% scale on letter or A4 paper. Cut the lid at an angle, scoop the pumpkin clean, and thin the carving wall to about 1 inch where the design will sit. Tape the pattern on (snip small darts in the paper so it hugs the curve) and transfer every outline by poking dots along the lines, about one every 1/8 inch. Peel the paper away and carve dot to dot with short, straight strokes.
Carving order
- Cut the four finger bars. Start with the stacked finger shapes on the right, top to bottom. Keep the thin white strips between the fingers intact; they define the fist.
- Cut the thumb. Remove the tall curved thumb piece. Its lower tip is narrow, so saw toward the point from both sides.
- Cut the cuff. Take out the curved sleeve band on the far left. The white gap between the cuff and the hand must stay uncut.
- Release the palm last. The big palm piece is the largest plug. Leave a small tab along its lower edge, support the piece, then free it and push it out from inside.
Clear loose fibers out of each opening as you go, and never twist or pry the blade against the shell; back it out and recut instead. When every piece is out, wipe the cut edges dry and drop in a battery LED puck.
Tools you'll need
For a beginner-friendly carve like this you'll want a paring knife, spoon / scoop, marker, and led pumpkin light. Here's the kit we reach for, but start with whatever you already own.

Elmchee Pumpkin Carving Kit
13-piece kit with carrying case
Saws for the larger cutouts, plus a scoop for hollowing. Covers both jobs in one kit.
View on Amazon ↗
HOME MOST LED Pumpkin Lights
4-pack, battery operated, with remote + timer
Orange glow made for jack-o'-lanterns. The remote and timer light the pumpkin every evening without reaching inside.
View on Amazon ↗
Speedball 4131 Lino Cutter Set
Handle + 5 interchangeable cutters
Interchangeable cutters for peeling and shading the face. Useful for the finer details.
View on Amazon ↗
Reviews from carvers
Every rating comes from a written review by someone who downloaded this stencil.
Carved this one?
Reviews are open to carvers who downloaded the stencil. Grab the free PDF, then come back and tell everyone how it went.
Community Pumpkin Carving Ideas
Carving ideas that use stencils like this one.
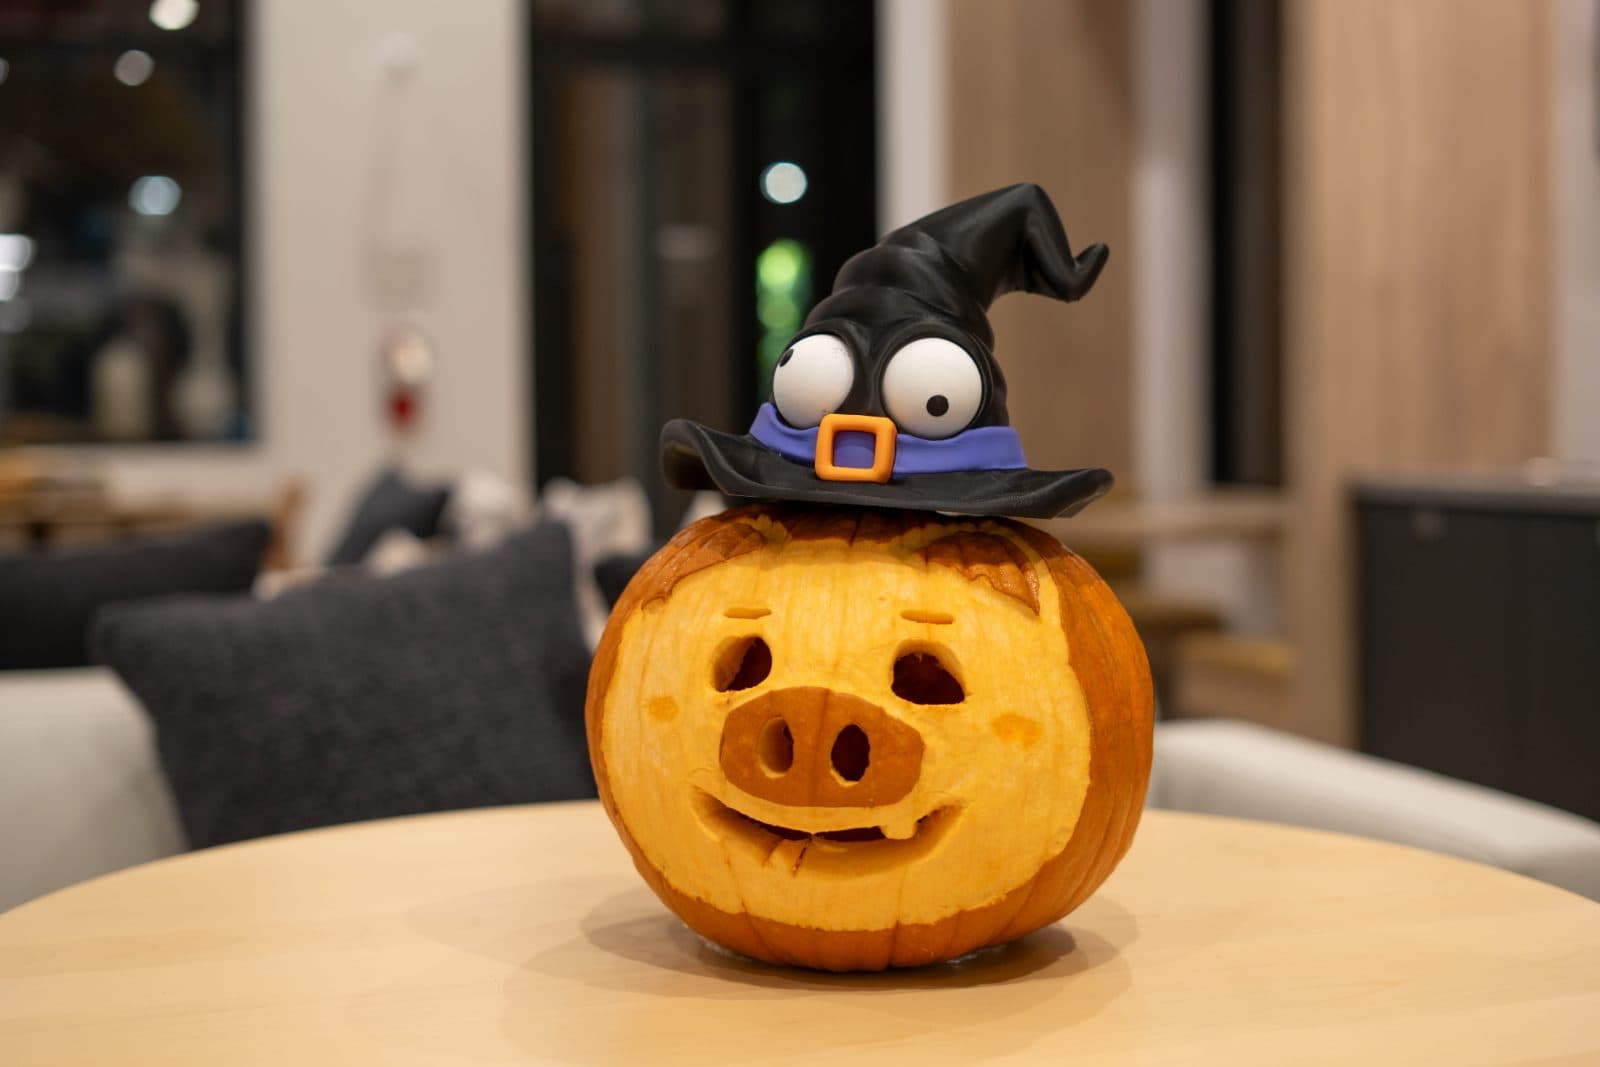
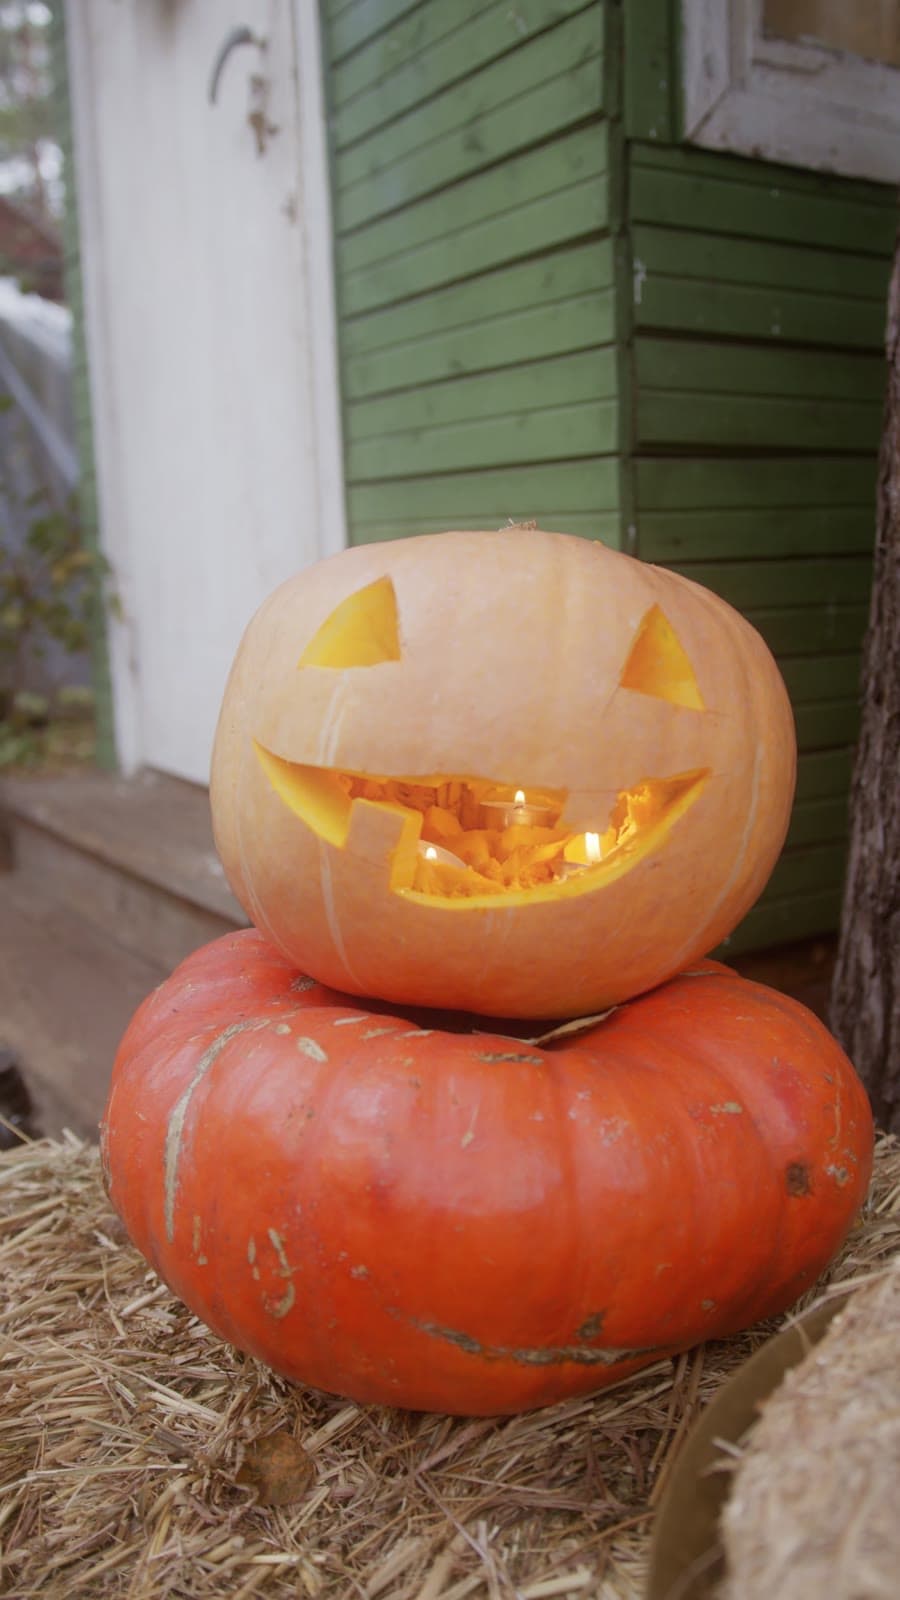
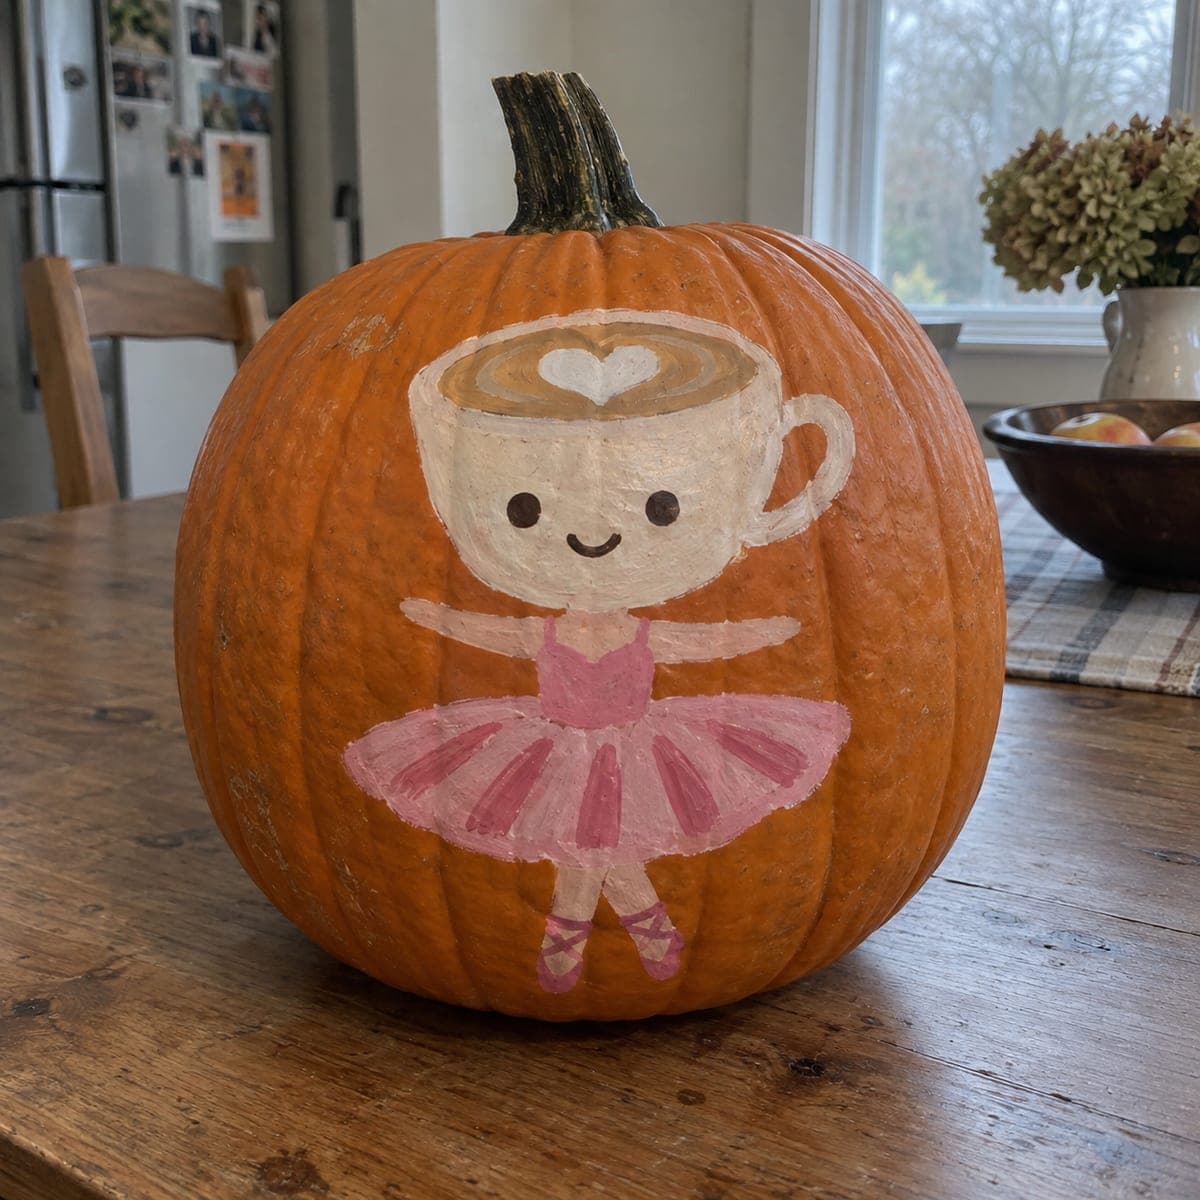
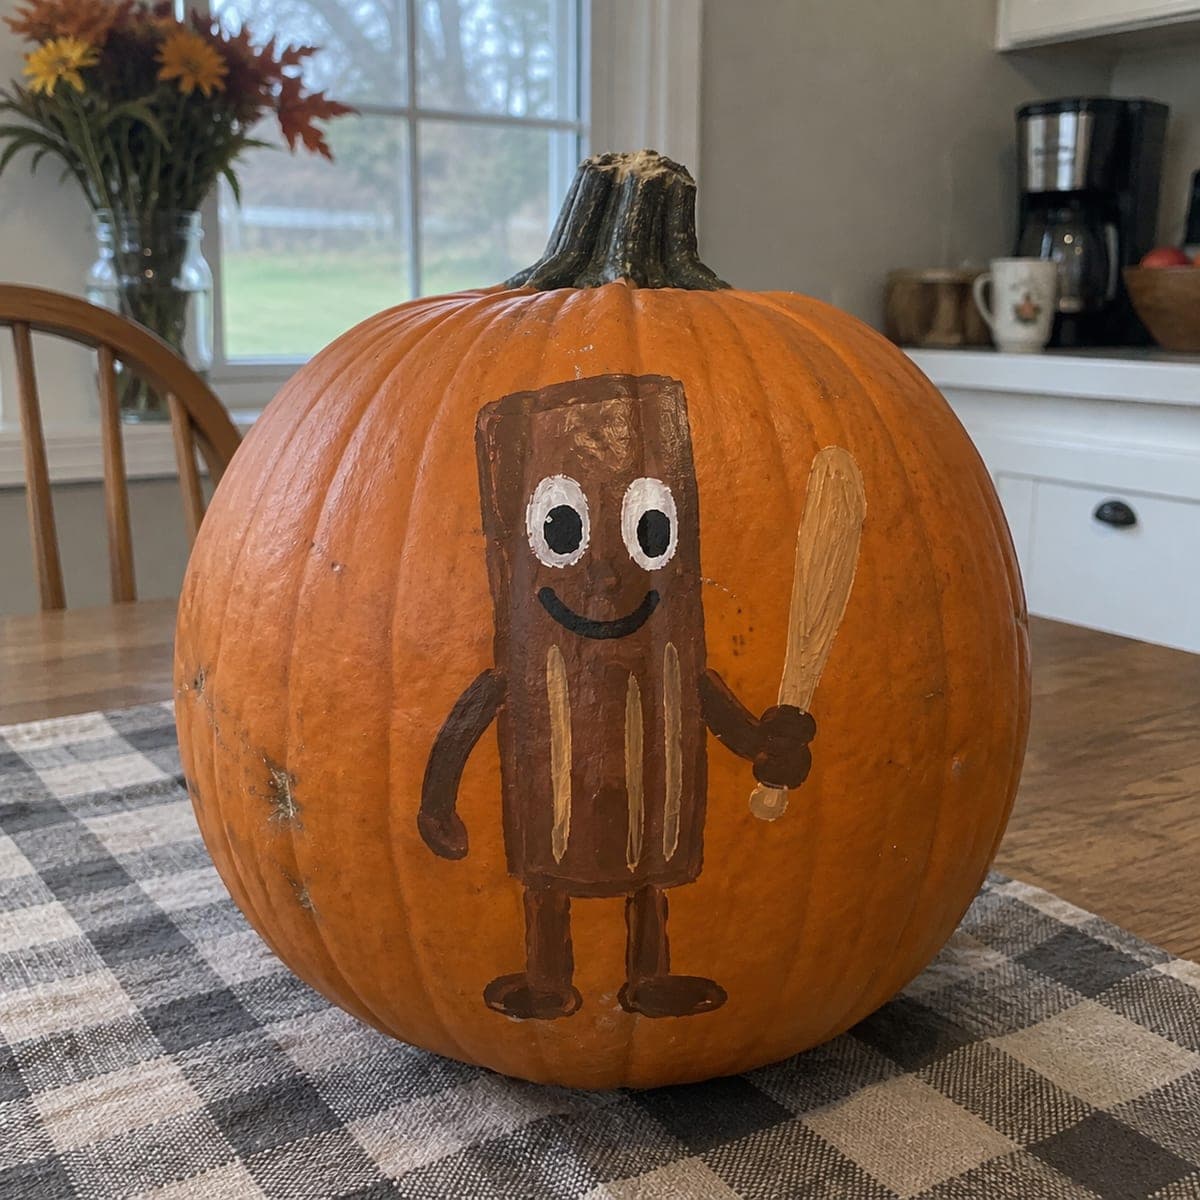
Related stencils
More patterns with a related subject. Compare their skill levels before you choose.
 Beginner-friendly
The Mighty Pout Pumpkin Stencil
Two drooping teardrop eyes slump toward a broad downturned crescent frown, giving this pumpkin the most theatrical pout on the block. All three features are pierced through, and the big simple shapes make it an easy carve with instant comedic payoff. Angle each teardrop eye so both tips point down and outward, and cut the frown from the middle toward each raised corner to keep the curve even.
 Beginner-friendly
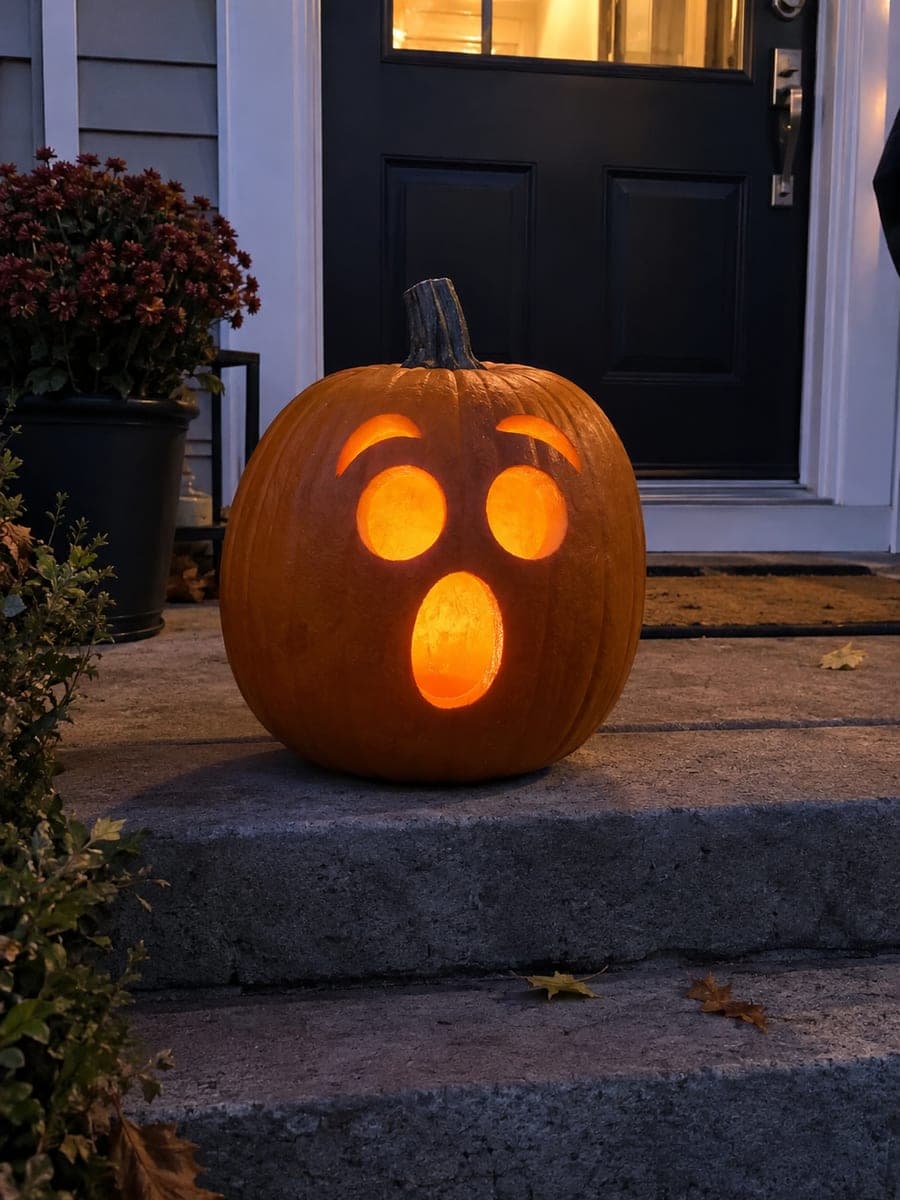
Well I Never Pumpkin Stencil
Two wide oval eyes topped with arched eyebrows hover above a tall oval mouth frozen mid-gasp, giving the pumpkin a permanently astonished expression. The eyes, brows, and mouth are all clean cut-through openings with generous spacing between them. Easy carvers should cut the thin eyebrow arcs first while the wall is strongest, then remove the big ovals; angle the knife slightly outward so each plug pops free without bruising the edges.
 Beginner-friendly
Sunny Smiler Pumpkin Stencil
Two round eyes sit above a broad crescent smile that sweeps almost the full width of the pumpkin, making the friendliest face on the block. All three shapes are simple cut-throughs with no fragile pieces anywhere. It is a perfect first carve: drill or poke start holes in each eye, saw the circles smooth, then cut the long mouth curve in one relaxed pass, keeping the crescent's pointed corners crisp.
 Beginner-friendly
Cheeky Winker Pumpkin Stencil
A playful winking face with one big round open eye, one crescent-shaped winking eye, and a broad open smile showing two square teeth. All the features are simple pierced openings with plenty of solid pumpkin between them, so the face is sturdy and beginner friendly. For this easy carve, cut the large smile first while the wall is strongest, then finish with the crescent wink, angling your blade slightly outward for a clean curve.
 Beginner-friendly
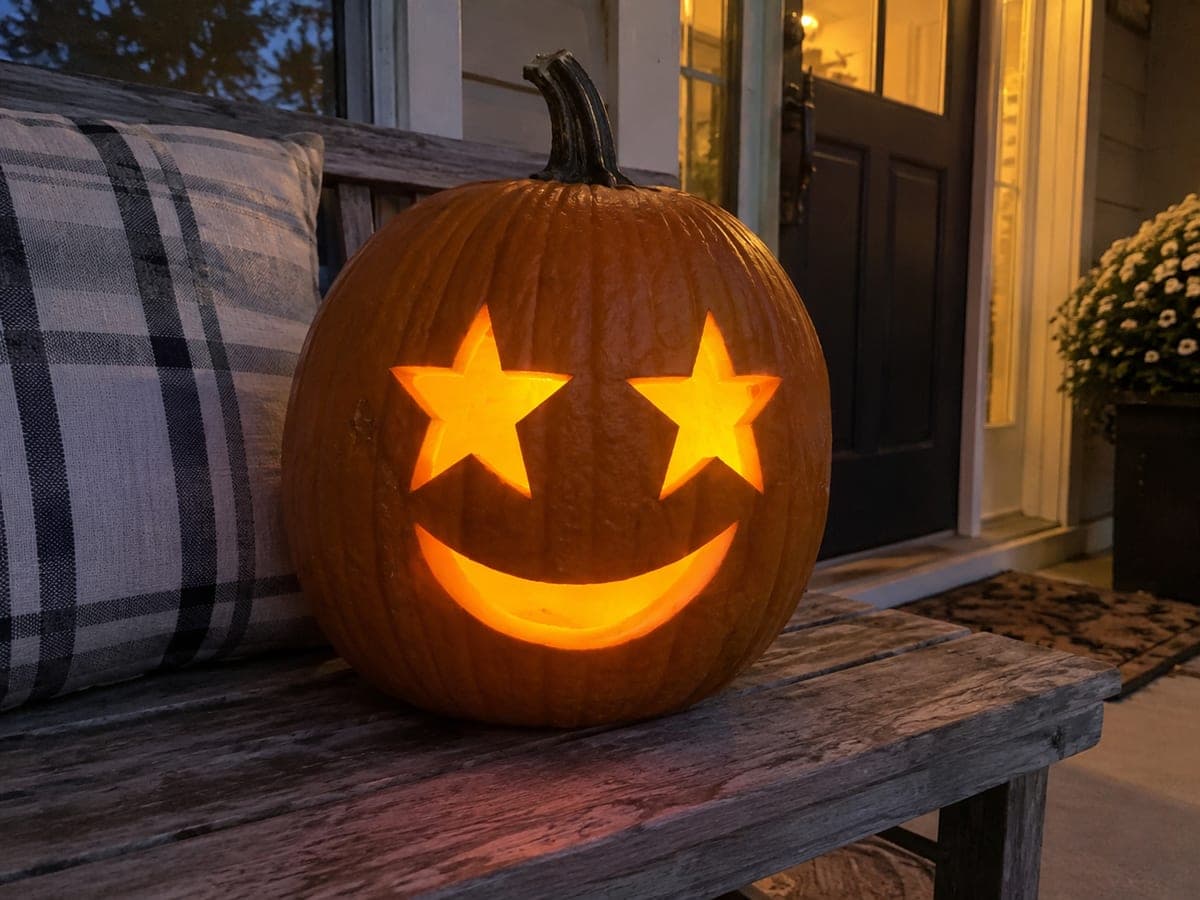
Starstruck Smile Pumpkin Stencil
A star-struck emoji face with two big five-point stars for eyes and a broad crescent smile beneath them. All three shapes are pierced completely through, so the stars and grin beam like the real starry-eyed emoji. It is an easy carve overall, with the star points as the only fiddly spots; poke a pilot hole in the center of each star and cut outward toward every point.
 Beginner-friendly
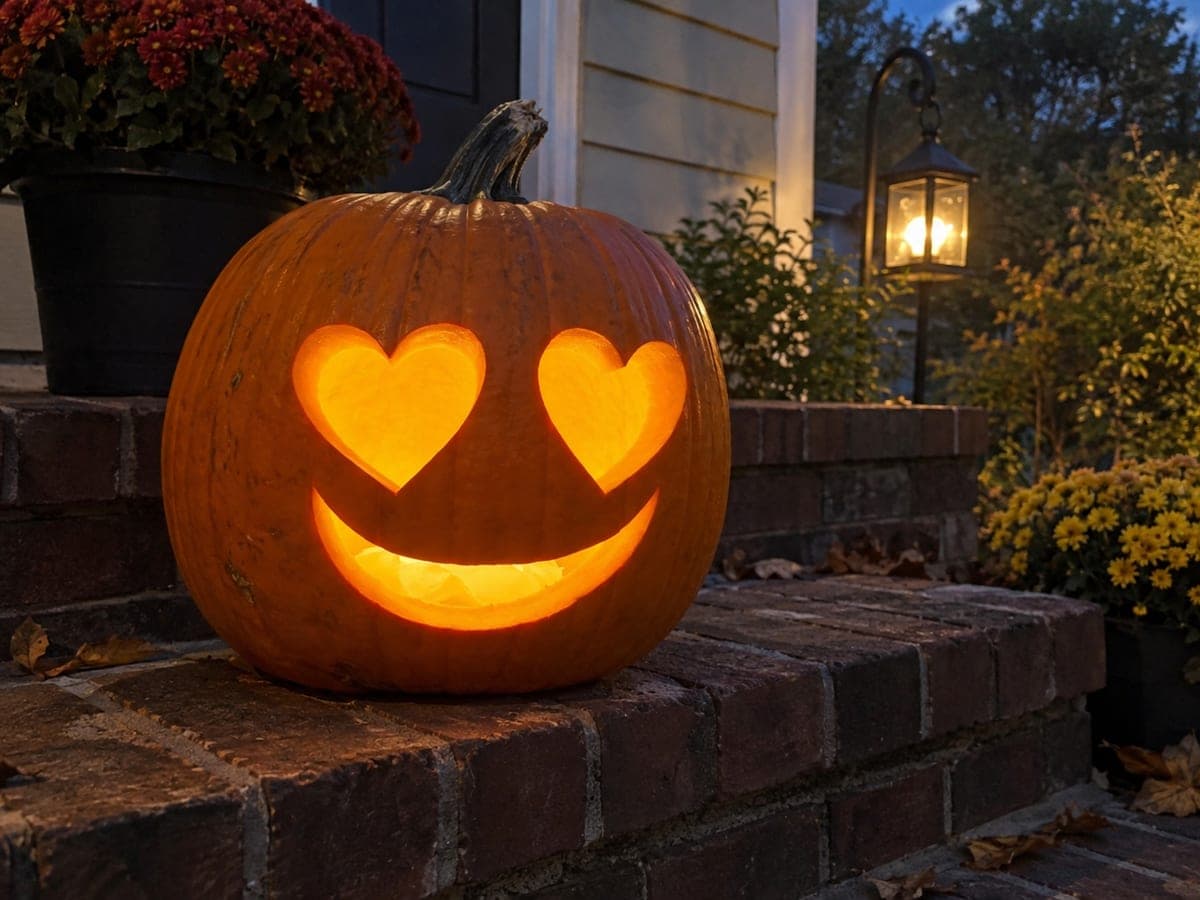
Lovestruck Grin Pumpkin Stencil
Inspired by the heart-eyes emoji, this lovable face pairs two big heart-shaped eyes with a broad crescent smile. All three openings are cut fully through, so the hearts beam bright pink-orange light after dark. The gentle notch at the top of each heart is the only fiddly spot in this easy carve; poke a starter hole in the middle of each heart and saw up into the notch from inside so the point stays sharp.