Pumpkin carving templates
1155 free printable stencils. Download, print, trace, carve.
1155 results · Page 5 of 33
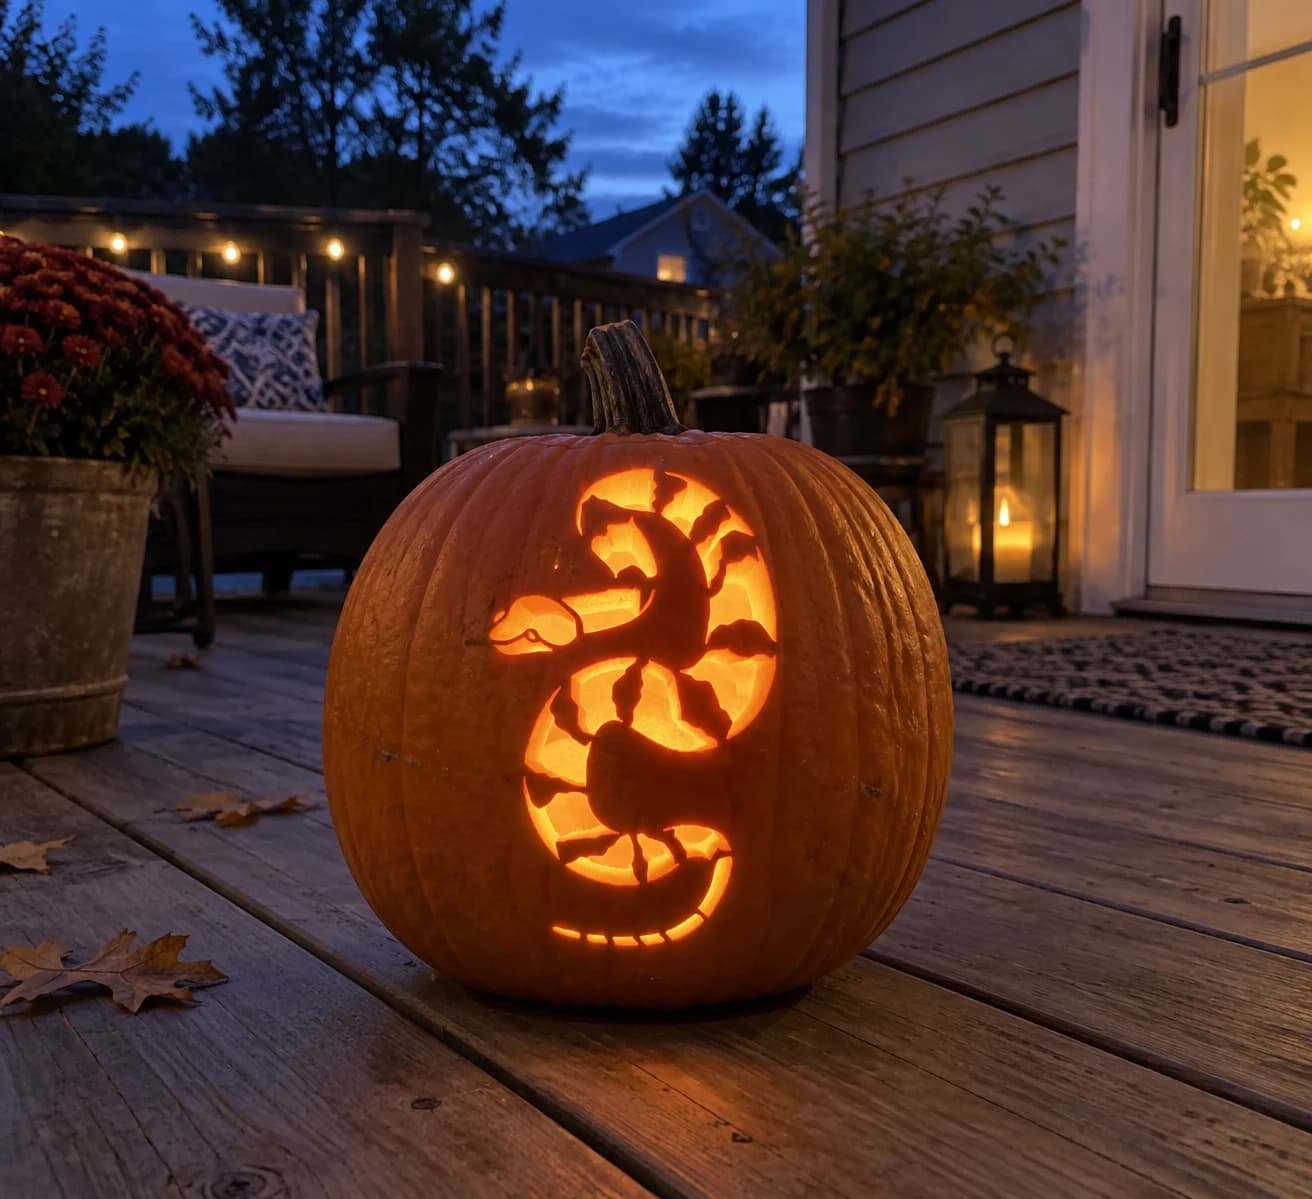
Coiled Snake Pumpkin Stencil
A coiled snake in an S-curve fills this hard pumpkin stencil, its body broken into roughly twenty irregularly shaped scale-pattern segments separated by thin cut lines, with a small triangular head visible at the upper left and the tail tapering to a narrow point at the bottom. When lit, the gaps between scale segments glow white-hot against the orange pumpkin bridges, making the snake's banded pattern pop. Start cutting at the tail tip, where the segments are smallest and most fragile, then work up the body toward the larger mid-coil pieces.
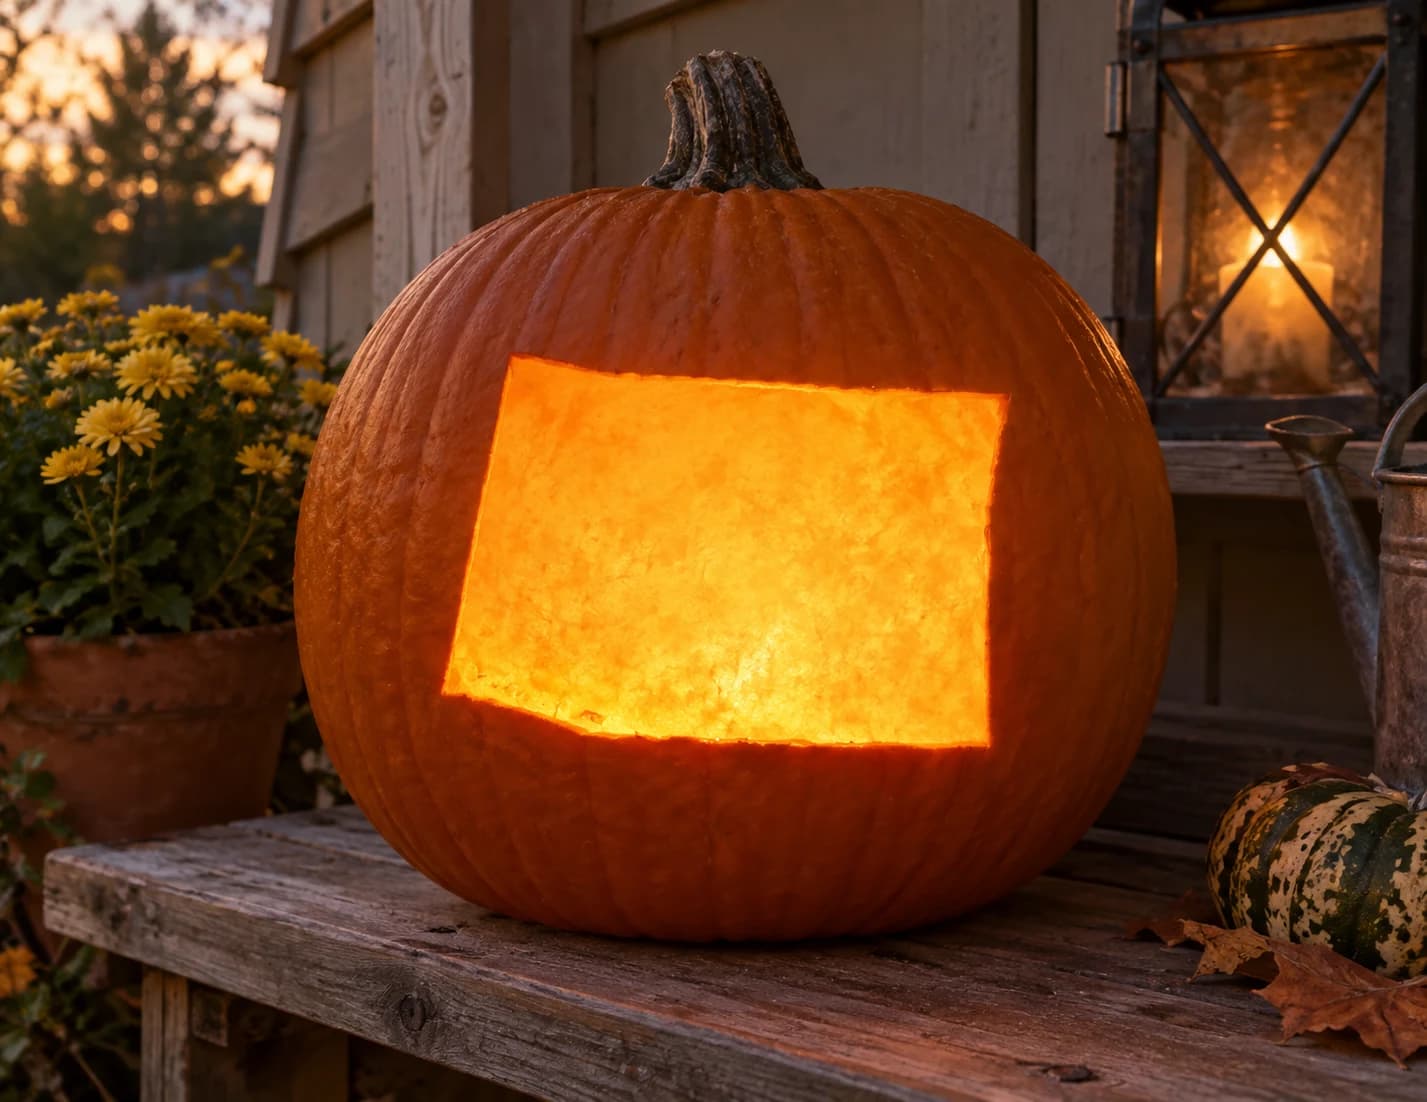
Colorado Pumpkin Stencil
Colorado's nearly rectangular state outline, with its straight top and sides and the slight irregular notch at the lower-left corner, is the entire design of this easy pumpkin stencil. The silhouette cuts out as one large solid piece, leaving the surrounding pumpkin skin intact, so the glowing state shape is the focal point. Because the cutout is large and the border thin, carve slowly along the bottom edge where the curve of the pumpkin is tightest to prevent the shell from cracking under pressure.
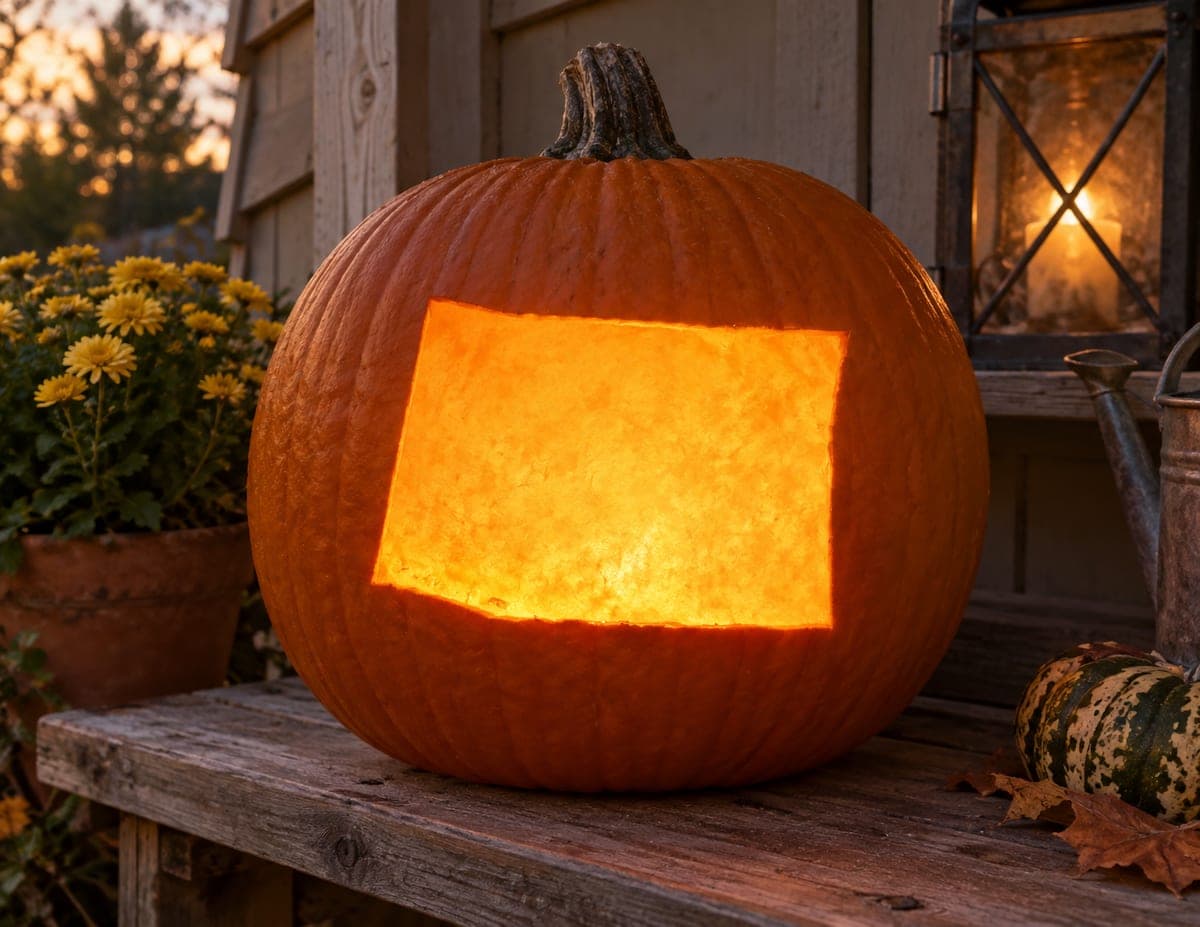
Colorado State Shape
Colorado keeps things wonderfully simple: the state is one clean glowing rectangle cut straight through the pumpkin wall. With just four long cuts you get a bright window of light that any Coloradan will recognize on sight. Score the corners first with the tip of your saw so each straight side meets crisply, and the whole carve comes together in minutes.
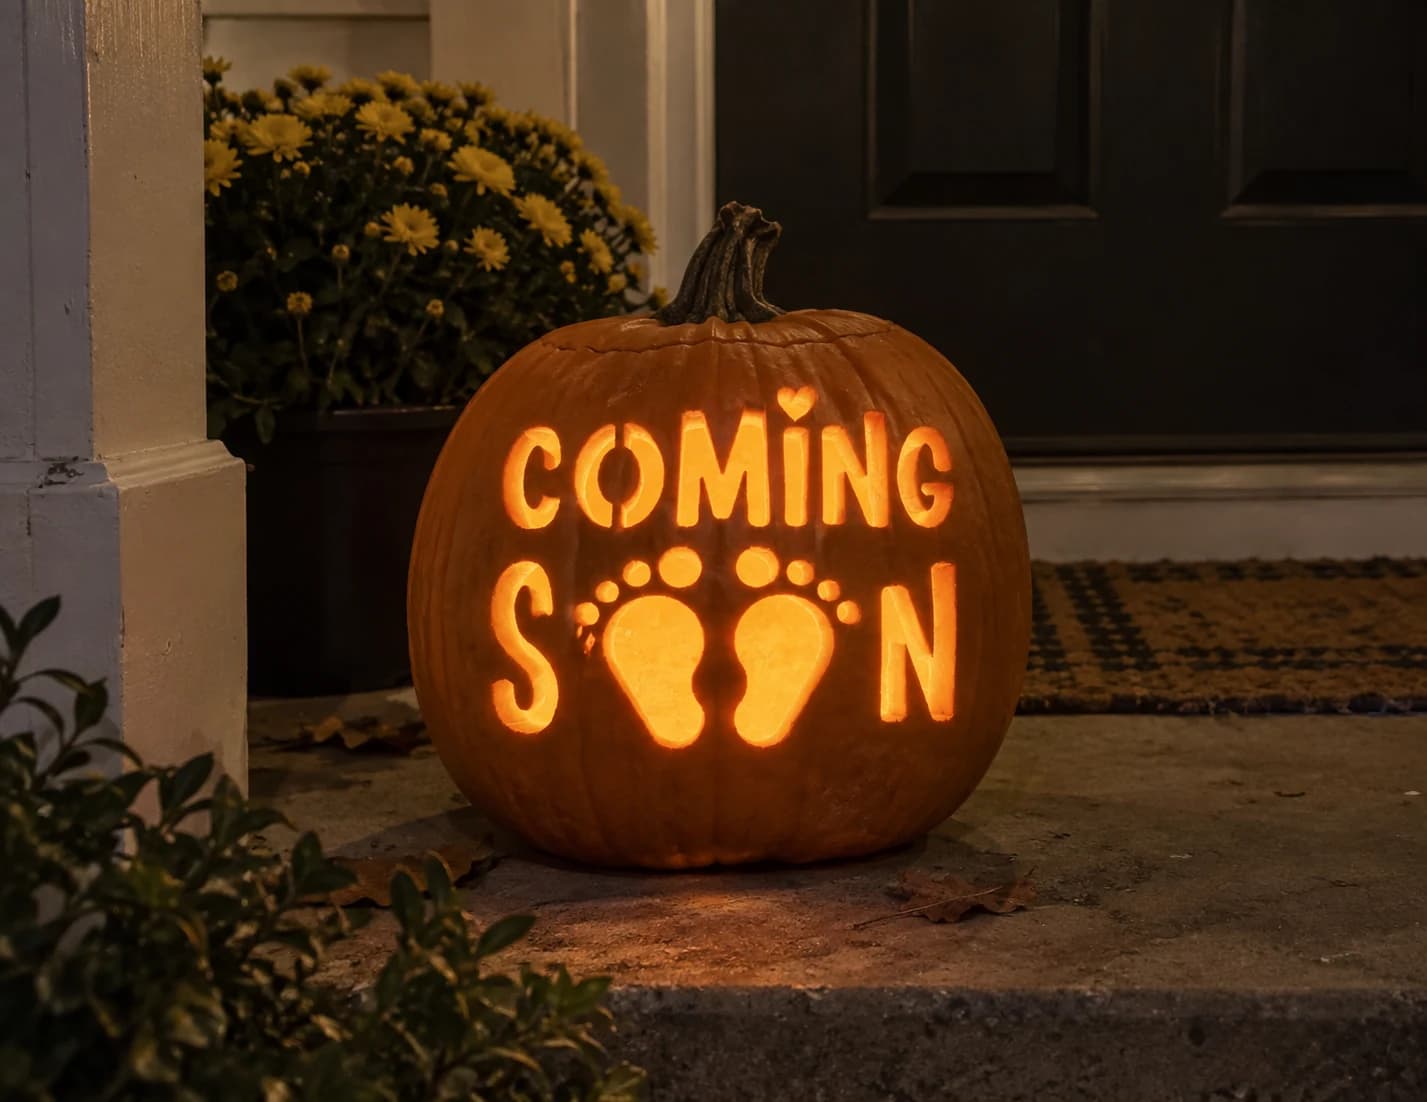
Coming Soon Baby Pumpkin Stencil
This pumpkin stencil spells out "COMING SOON" in chunky rounded letters across two rows, with a pair of baby footprints replacing the two O letters in the word SOON, and a small heart dotting the I above. The letters are each bold and thick, with the interiors of rounded letters like C, G, and the zero-like Os cut away while the outlines stay solid. When carved and lit, the baby-announcement message glows warmly across the pumpkin face. Cut the two enclosed letter counters in COMING first before moving to the footprint shapes, which have the most delicate toe-dot details.
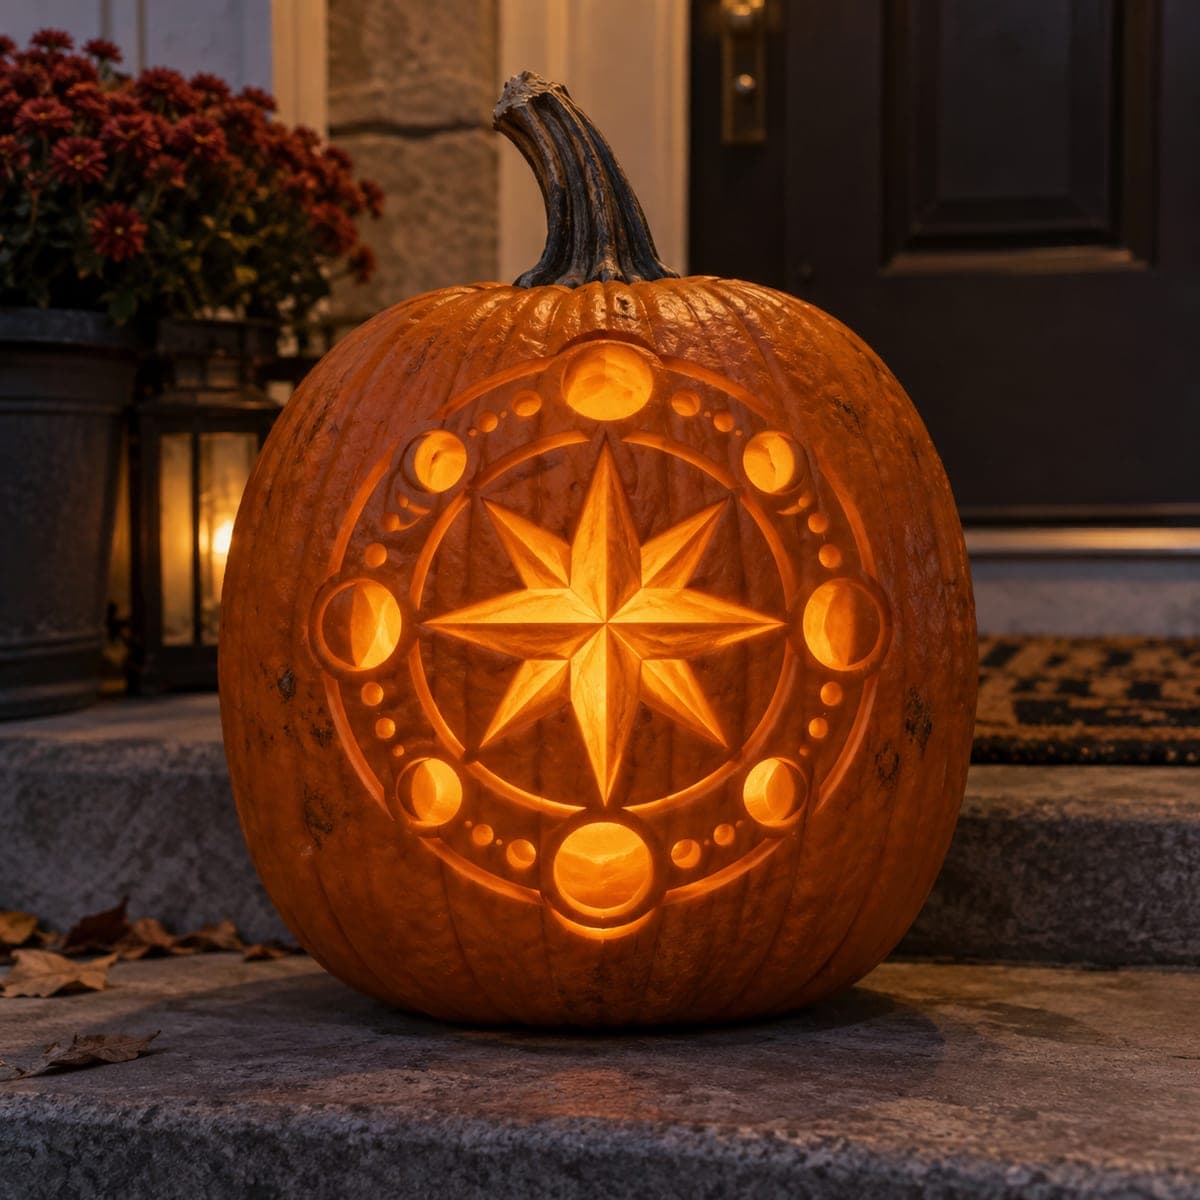
Compass Star & Moon Phases
An eight-pointed compass star anchors the center while a ring of moon phases and beaded dots circles around it, from thin crescents to a full glowing disc. The star's facets and the ring are shaved at varying depths into the skin, with only the deepest moon discs approaching full brightness, giving the design a layered lantern glow. Map your depths first: shallow for the star facets, deeper for each moon as it waxes.
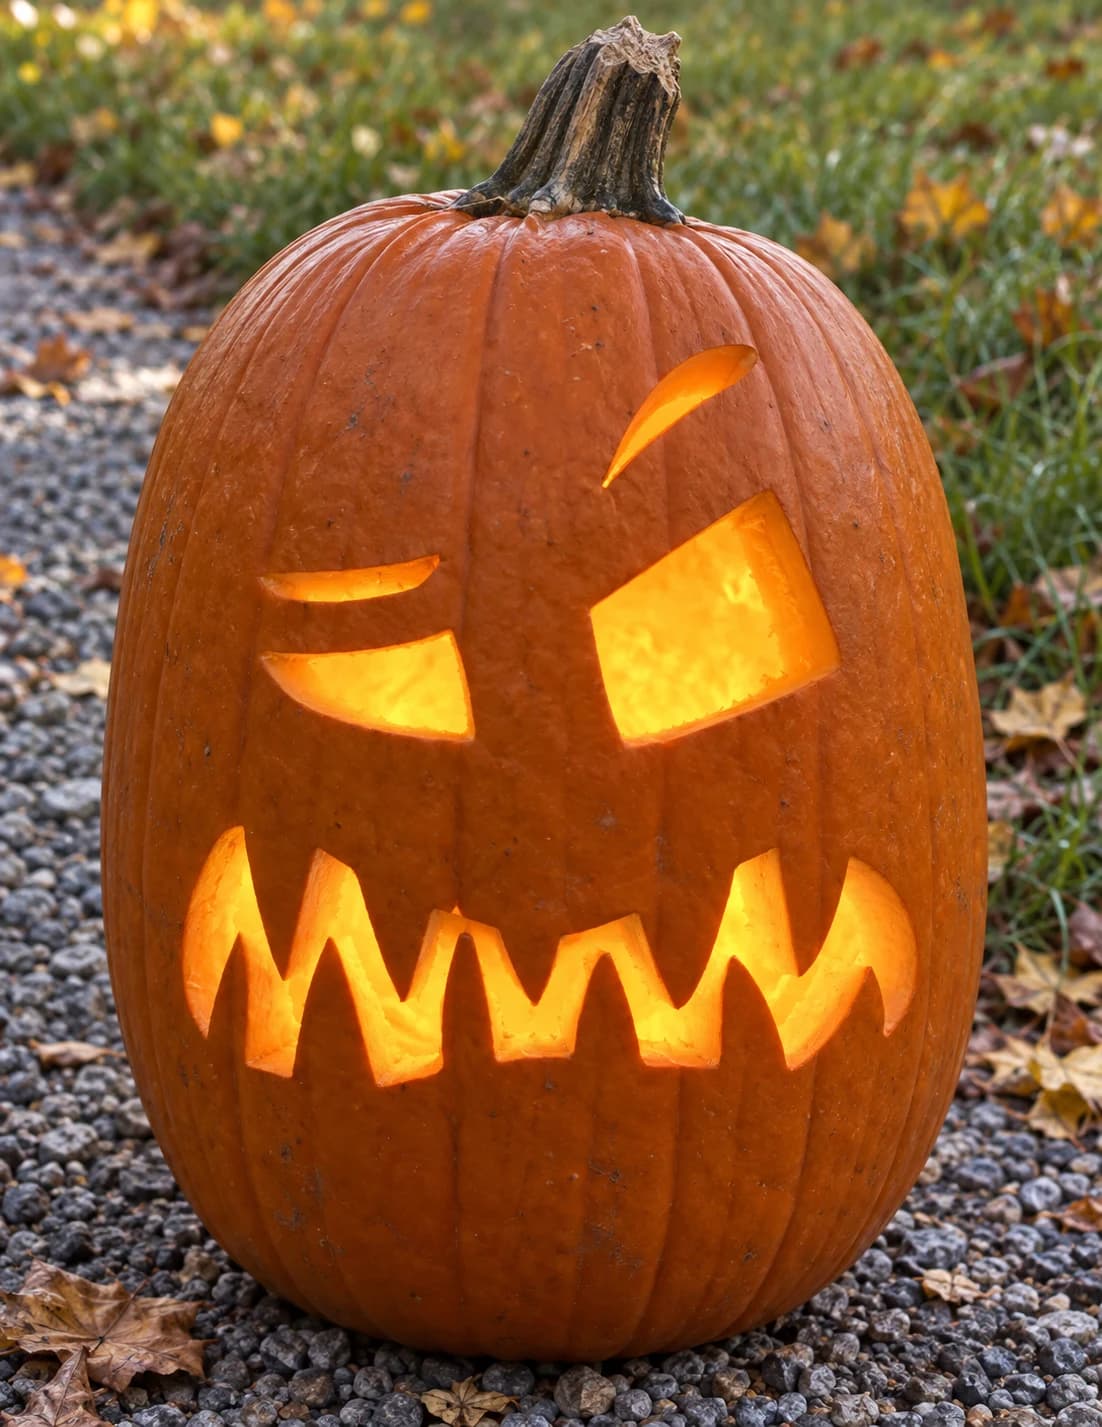
Confused Jack-o-Lantern Pumpkin Stencil
A crooked, puzzled face expression built from two unequal eyes and a wide zigzag mouth forms this easy pumpkin stencil. The left eye is a narrow horizontal slit while the right eye is a large irregular quadrilateral, and both sit below a single small tapered eyebrow. The mouth is a long jagged zigzag cut with peaks and valleys of different heights, giving the whole face a bewildered, off-kilter look. When lit, the mismatched eyes and frantic zigzag line are immediately readable across the yard. Cut the zigzag mouth with short, angled plunge cuts at each peak rather than one long sweeping stroke to keep each point crisp.
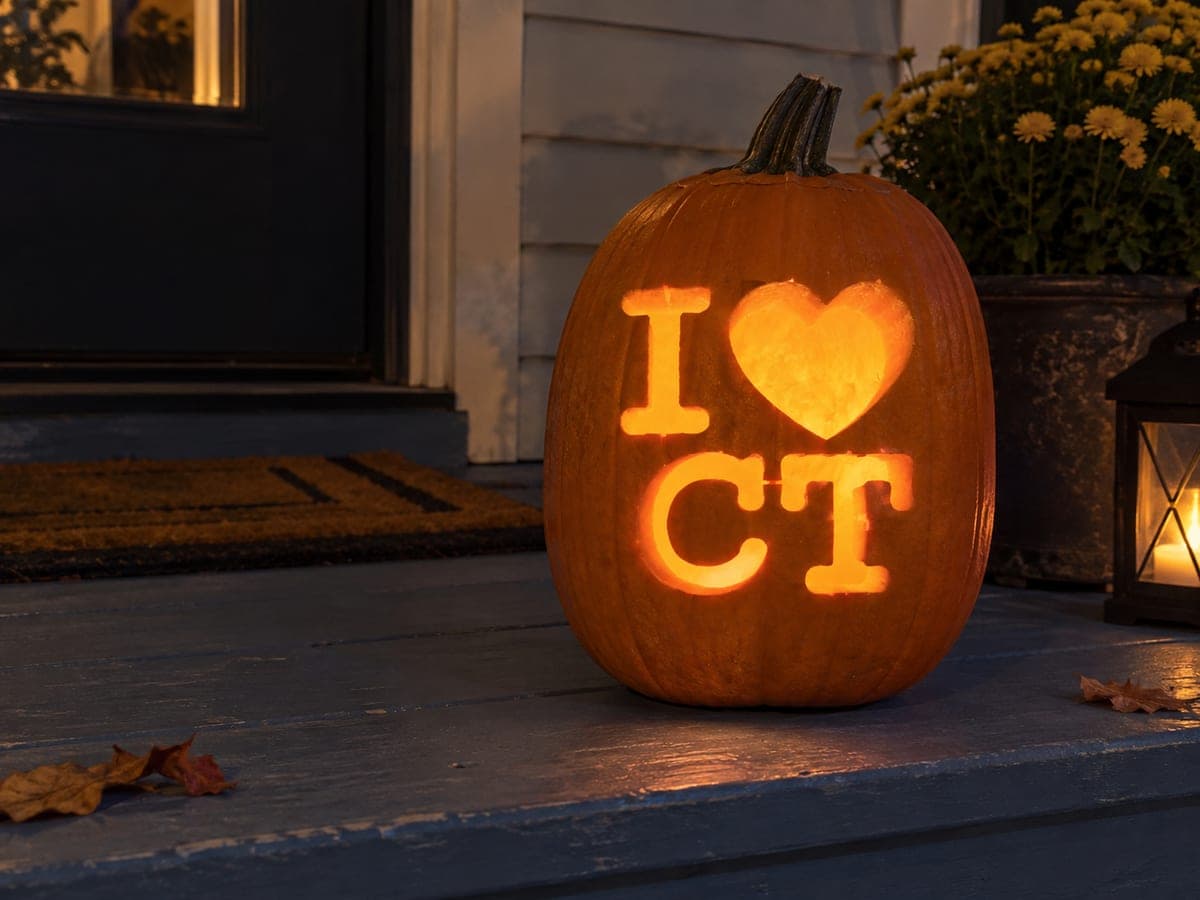
Connecticut Heart Lettering
A hometown-pride message stacked in two rows: a bold letter I beside a big heart on top, with chunky C and T letters below spelling out love for Connecticut. Every letter and the heart are cut through in a thick serif style that glows brightly. This easy lettering carve stays crisp if you cut the interior corners of each serif with the knife tip first, then connect them with straight strokes.
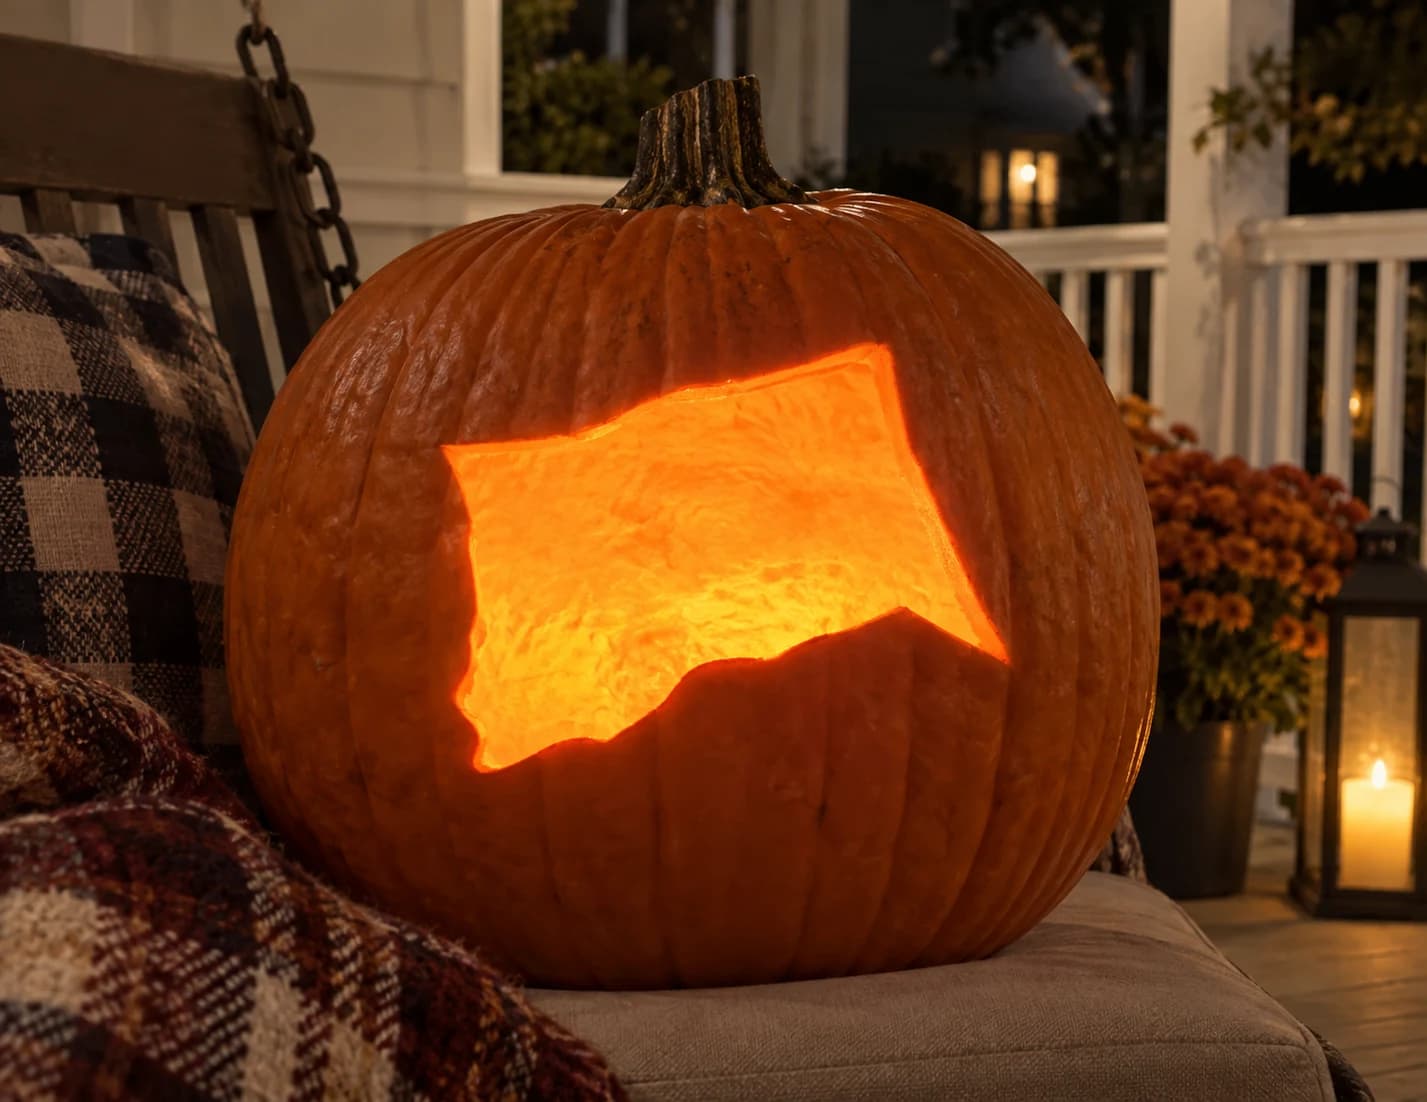
Connecticut Pumpkin Stencil
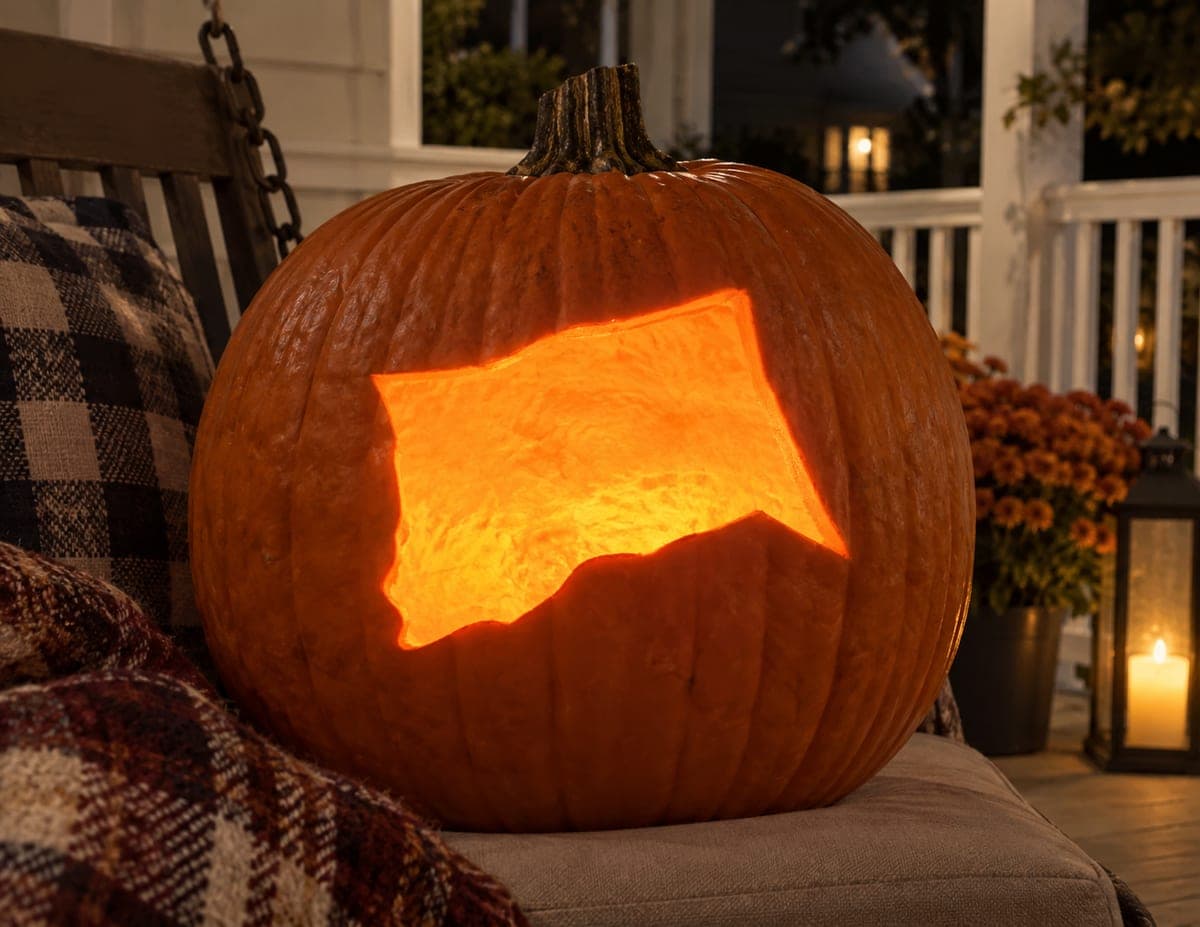
Connecticut's compact, slightly irregular state outline fills this easy pumpkin stencil: a roughly rectangular silhouette with a gentle concave nick at the lower-right corner and subtly wavy edges that trace the actual border contours. The entire shape cuts out as a single piece, glowing in isolation against the uncut orange pumpkin skin. Because the outline has no interior detail, the challenge is keeping the thin shell border even, so use a small detail saw and rotate the pumpkin rather than repositioning your hand at the tight lower-right corner.
Connecticut State Shape
Connecticut glows as a single bold cutout, its mostly straight northern and western borders framing the wavy Long Island Sound coastline along the bottom, with the little southwestern panhandle jutting toward the corner. The whole state shape is removed so light fills the silhouette edge to edge. An easy carve overall; start with the straight border lines, then follow the gentle coastal bumps freehand without worrying about perfection.
Cool Dude Sunglasses Pumpkin Stencil
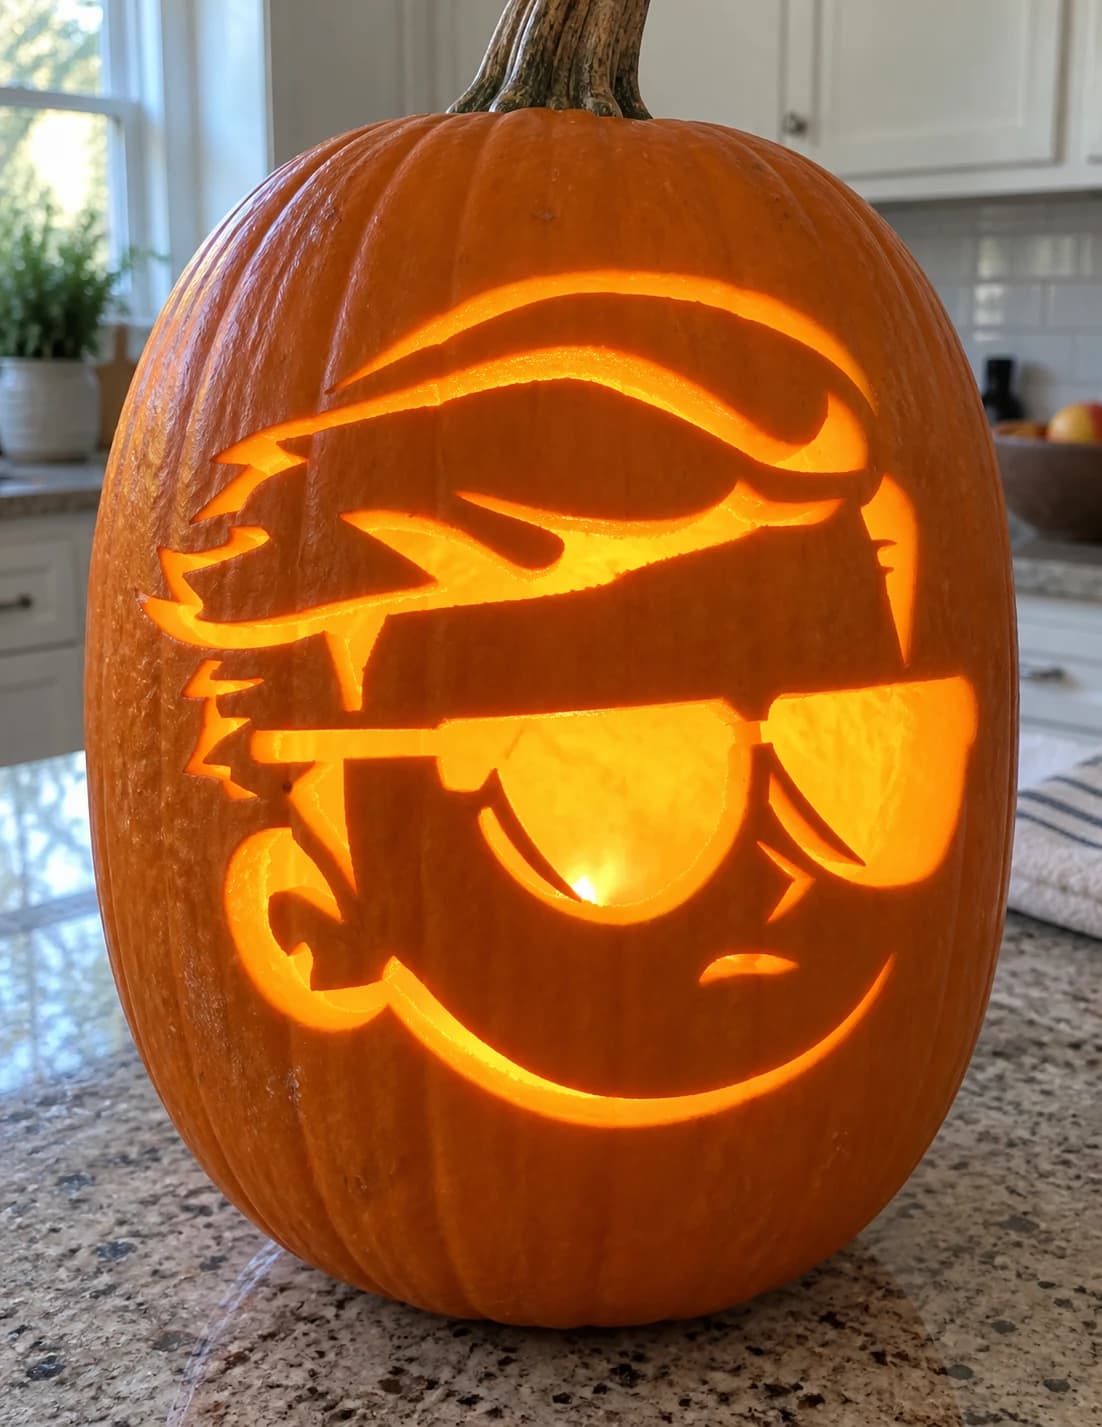
A cartoon face with swept-back windswept hair, heavy brow, and large wraparound sunglasses fills this hard halloween pumpkin stencil, the lenses, hair wisps, and facial contours all rendered as separate cut sections connected by thin skin bridges. Lit from inside, the open sunglasses lenses glow brightly while the raised brow and cheek lines stay solid, giving the face a streetwise, sunlit look in reverse. The thin strands of hair near the temple are the most fragile bridges, so cut them after all the larger facial sections are removed.
Corgi Pumpkin Stencil
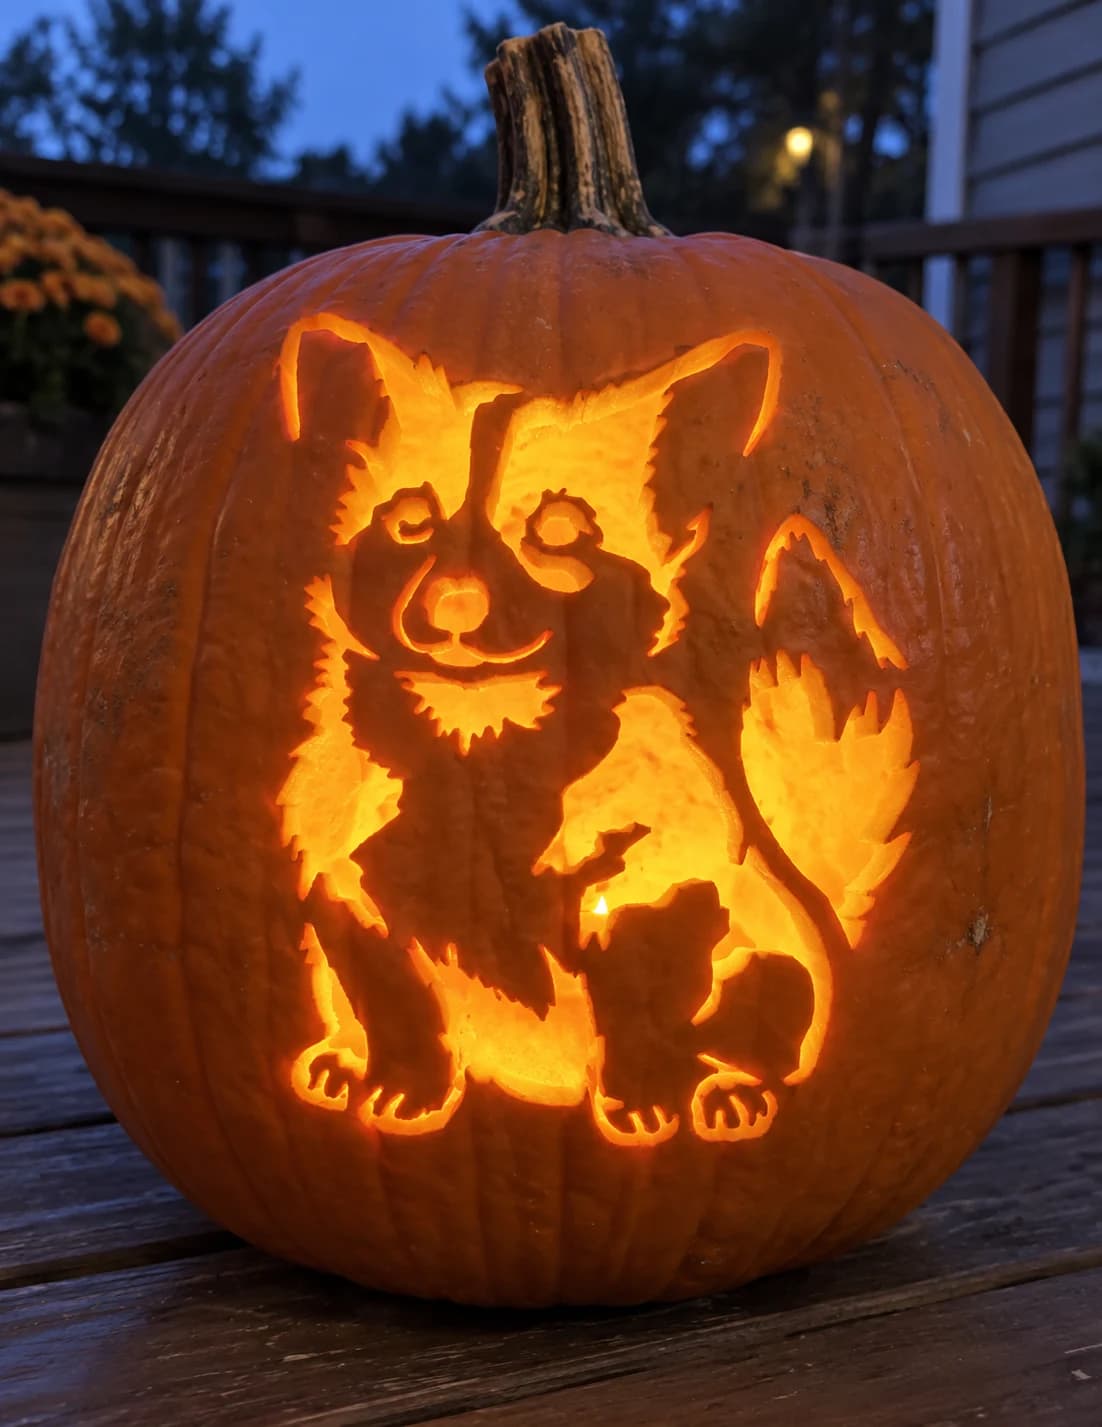
A fluffy corgi puppy sits front-facing on this dog pumpkin stencil, its large upright ears, round eyes with pupils, small round nose, and thick fur ruff all rendered in fine irregular cut lines that break the coat into tufts of light and shadow. The design has many small to medium cut sections across the face and body connected by thin fur-texture bridges. When lit, the corgi face glows warmly with every fur gap illuminated. Cut the small facial features first: the pupil circles inside the eyes, the nose, and the mouth line, before tackling the broader chest and body sections.
Cornucopia Pumpkin Stencil
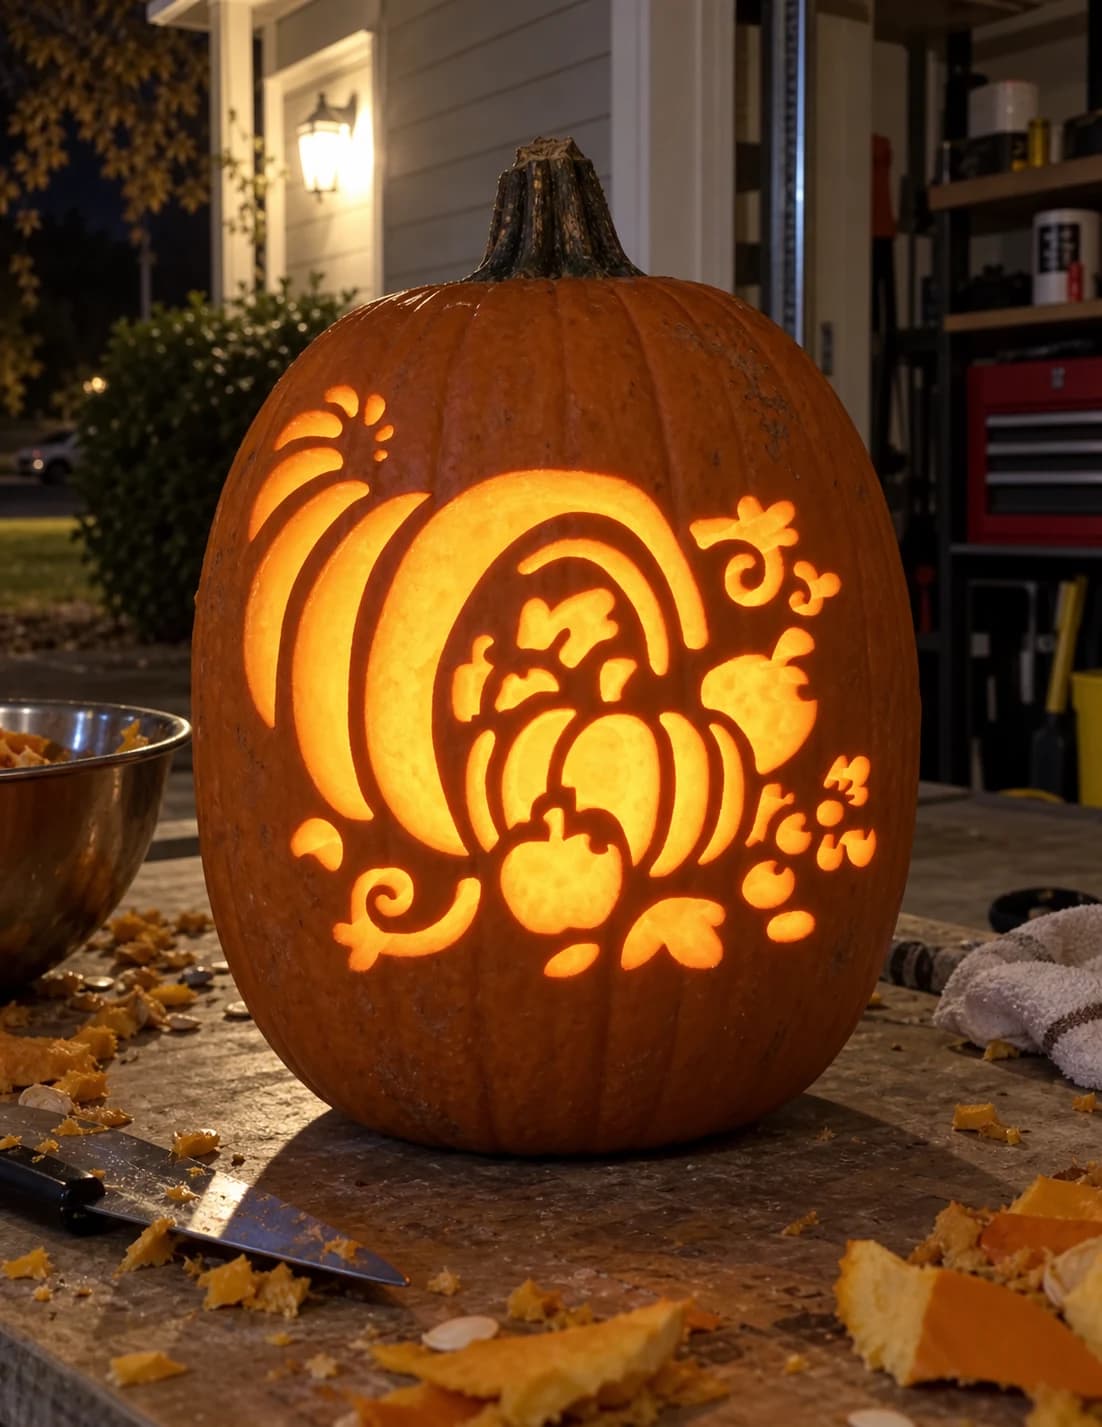
A harvest cornucopia brimming with a small pumpkin, an apple, and assorted gourds fills this pumpkin stencil, with decorative swirling vines and leaf shapes radiating outward from the basket's opening. The woven horn body is built from curved concentric stripe cutouts, while the produce and vine scrolls are independent pierced-through elements against the solid surrounding wall. Cut the small vine scroll tips and round fruit openings before tackling the long curved stripe cuts in the horn body, as the stripe cuts pass close to each other and benefit from the surrounding wall being intact.
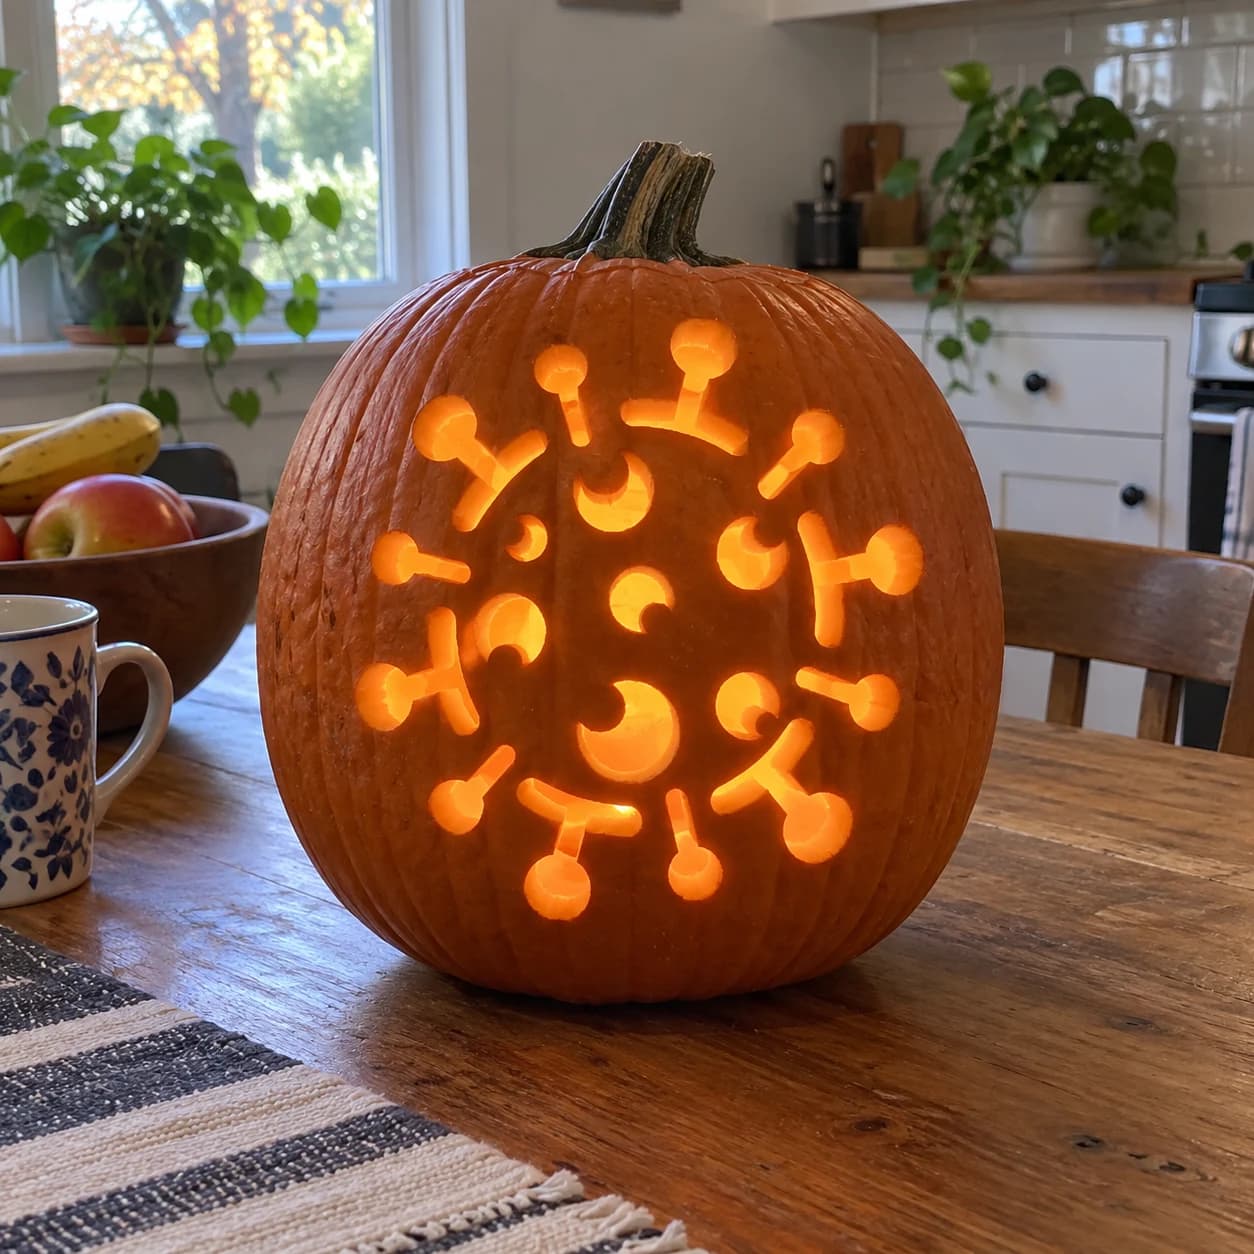
Coronavirus Pumpkin Stencil
This hard-difficulty pumpkin stencil depicts a coronavirus particle rendered as a circular arrangement of spike proteins: round-tipped stalks radiate outward from a central ring of crescent shapes, all cut as individual floating pieces within a large open surround. When lit, the scattered spikes and interior crescents glow as a constellation of shapes against the dark pumpkin. Carve the inner crescent cutouts at the center first, then work spike by spike outward, since removing the outer spikes early can destabilize the central ring.
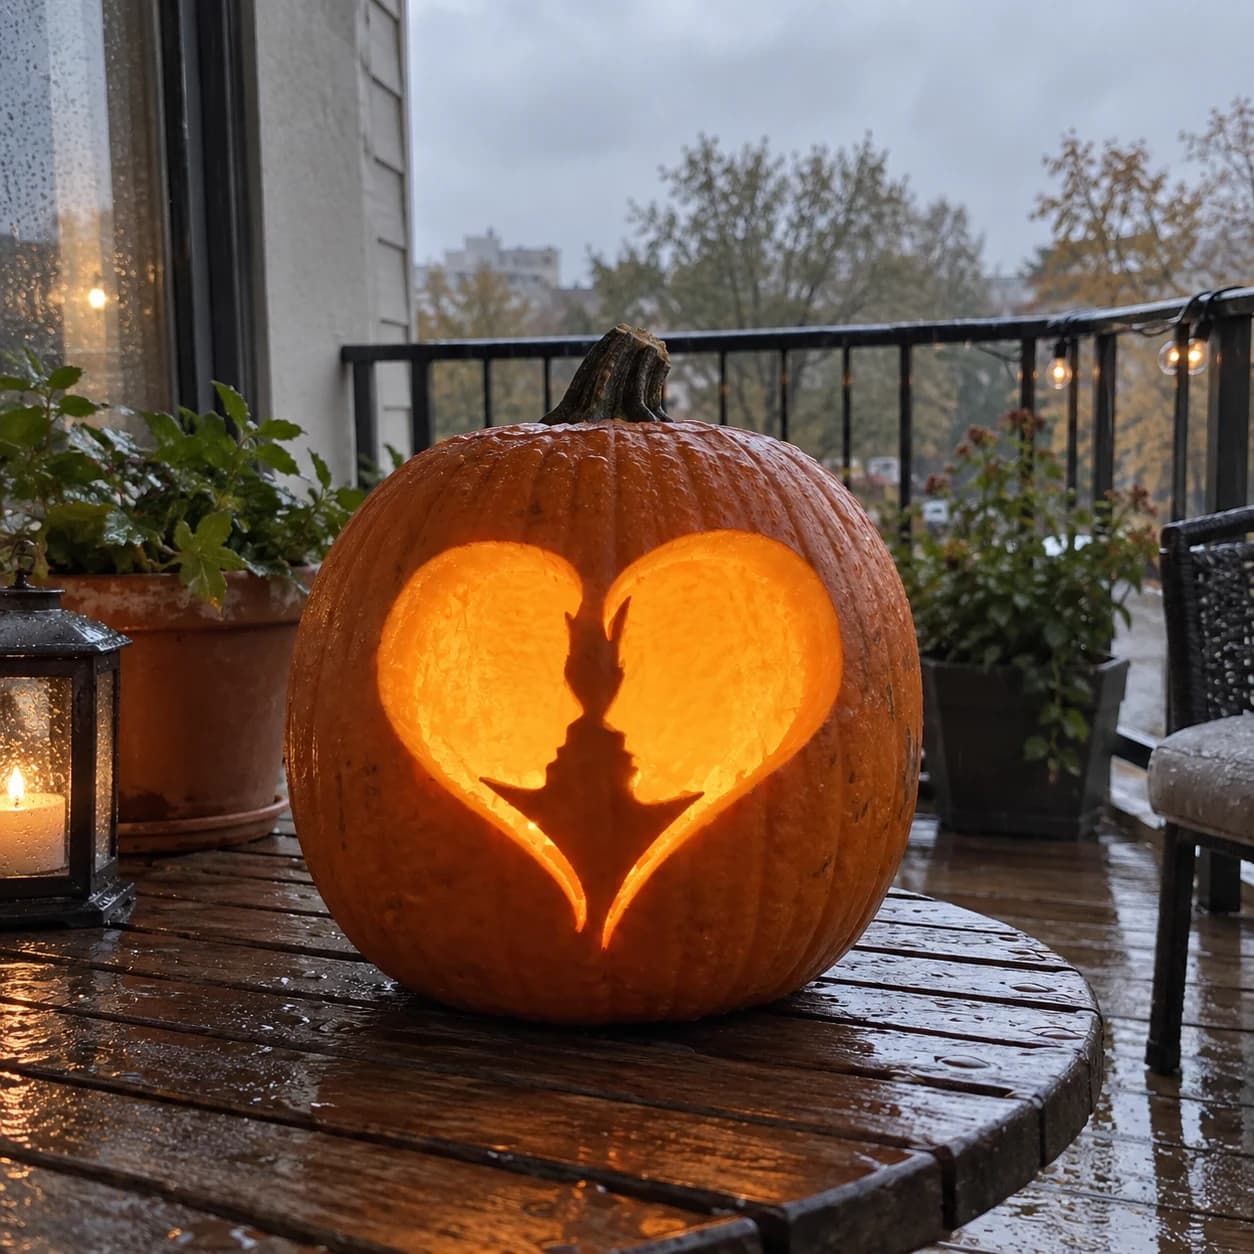
Couple Silhouette Heart Pumpkin Stencil
Two facing human profiles, one with short-cropped hair and one with a pointed ear detail, are arranged nose-to-nose inside a heart shape so their silhouettes form both the couple and the lobes of the heart on this easy romantic pumpkin stencil. The large heart interior is cut away entirely on each side of the profiles, while the facing figures remain as solid dividers. The narrow chin-to-chest strip between the two faces is the key bridge; run your blade along each profile edge independently rather than trying to cut the gap in a single pass.
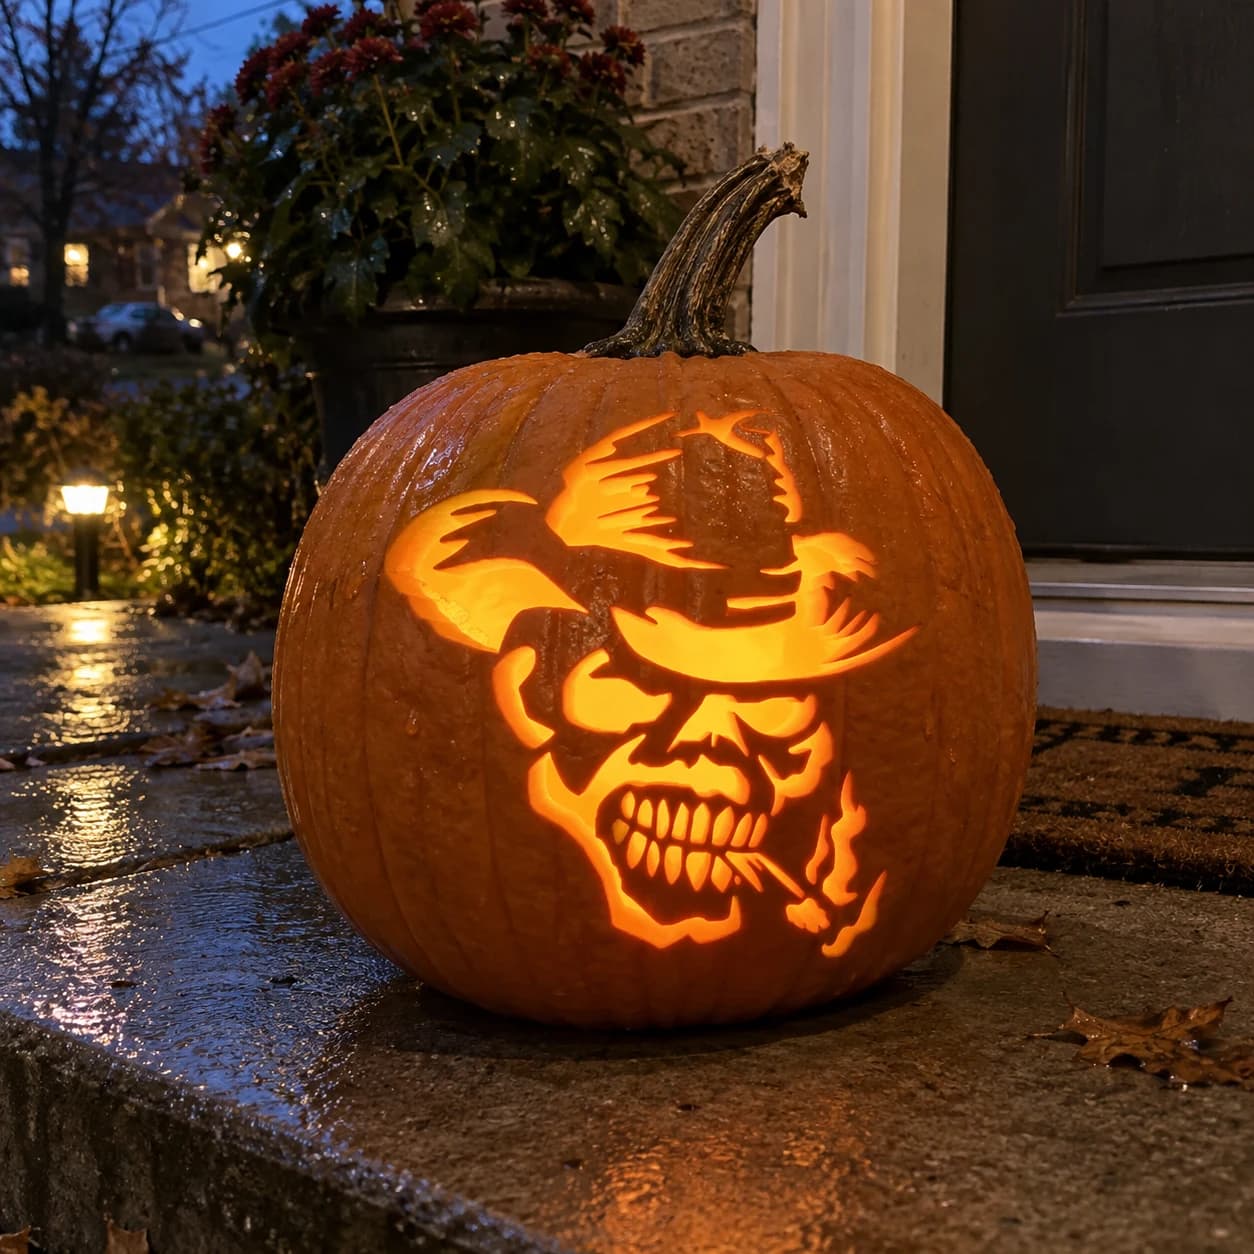
Cowboy Skull Pumpkin Stencil
A grinning cowboy-hat skull faces three-quarters toward the viewer, its wide-brimmed hat battered and torn along the crown. Hollow eye sockets and an open jaw with individually delineated upper and lower teeth are pierced through, while the hat brim, cheekbones, and nose cavity form a complex arrangement of solid bridges. Flame wisps curl at the chin. When lit, the teeth row and eye sockets glow against the dark skull mass, creating a hard-boiled undead outlaw look. Cut each tooth gap individually rather than sweeping through the whole row to keep the ridges crisp.
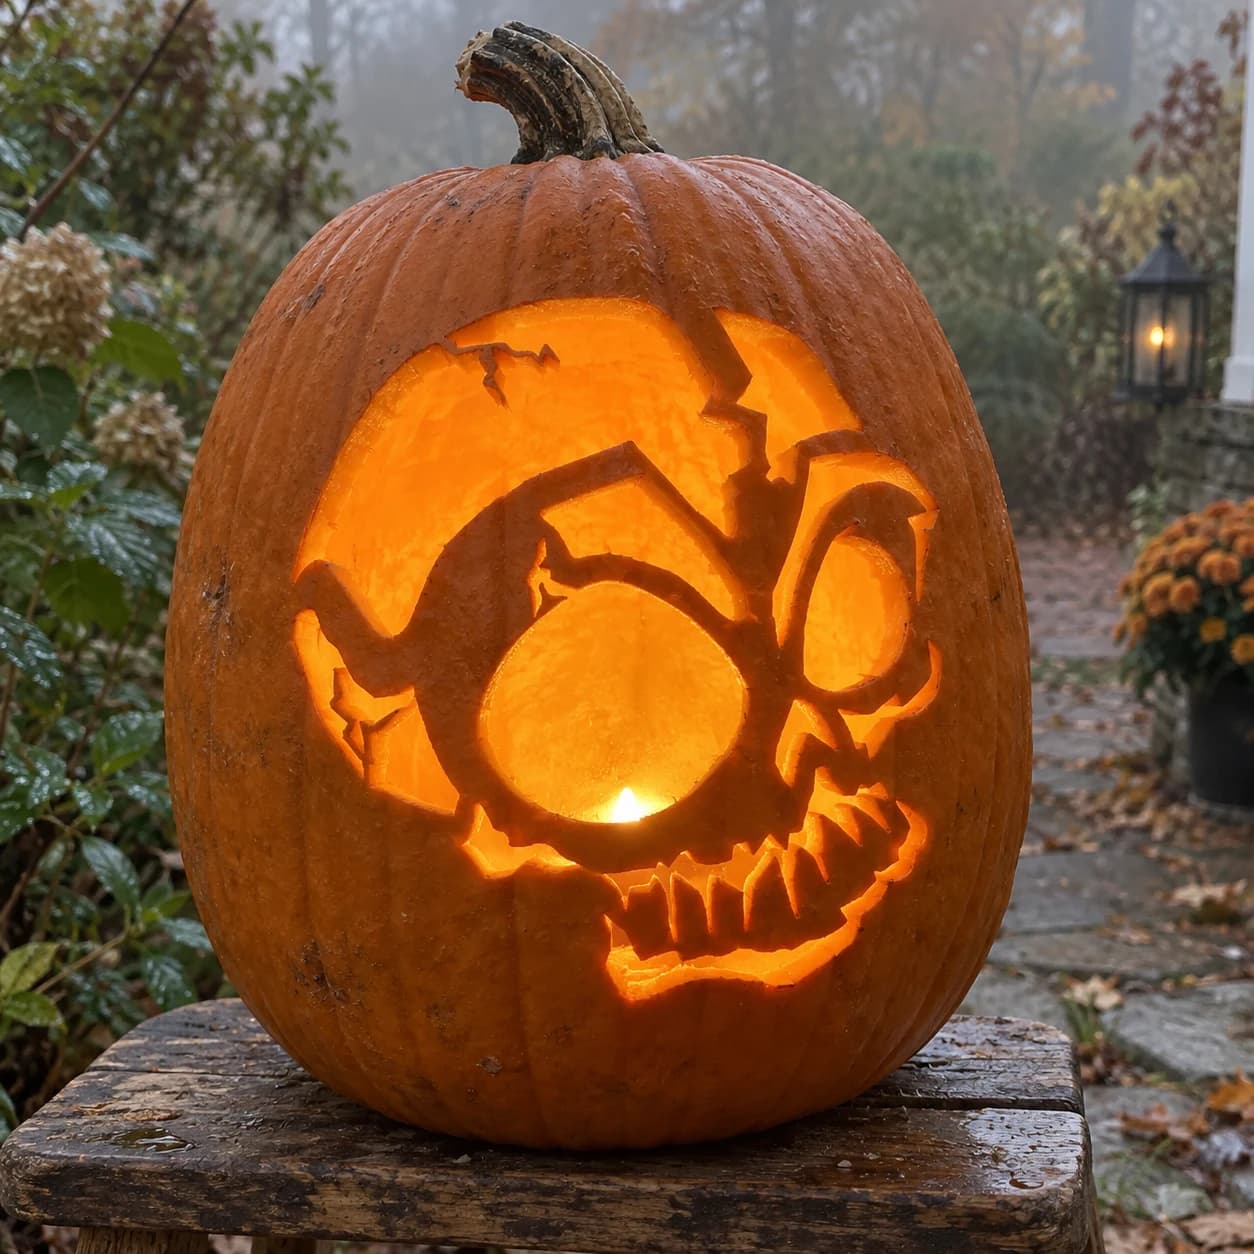
Cracked Skull Pumpkin Stencil
A side-facing human skull, cracked and fragmented, makes up this dramatic pumpkin stencil. Jagged fracture lines split the cranium into separate floating pieces, a single large orbital socket sits center-left, a smaller eye socket appears at the right, and the jaw opens to reveal ragged broken teeth. The intact pumpkin skin forms the skull fragments themselves while the large skull cavity, orbital holes, and tooth gaps are cut away. Carve the thin fracture-line gaps between skull fragments carefully and early, then work outward to the large open skull interior.
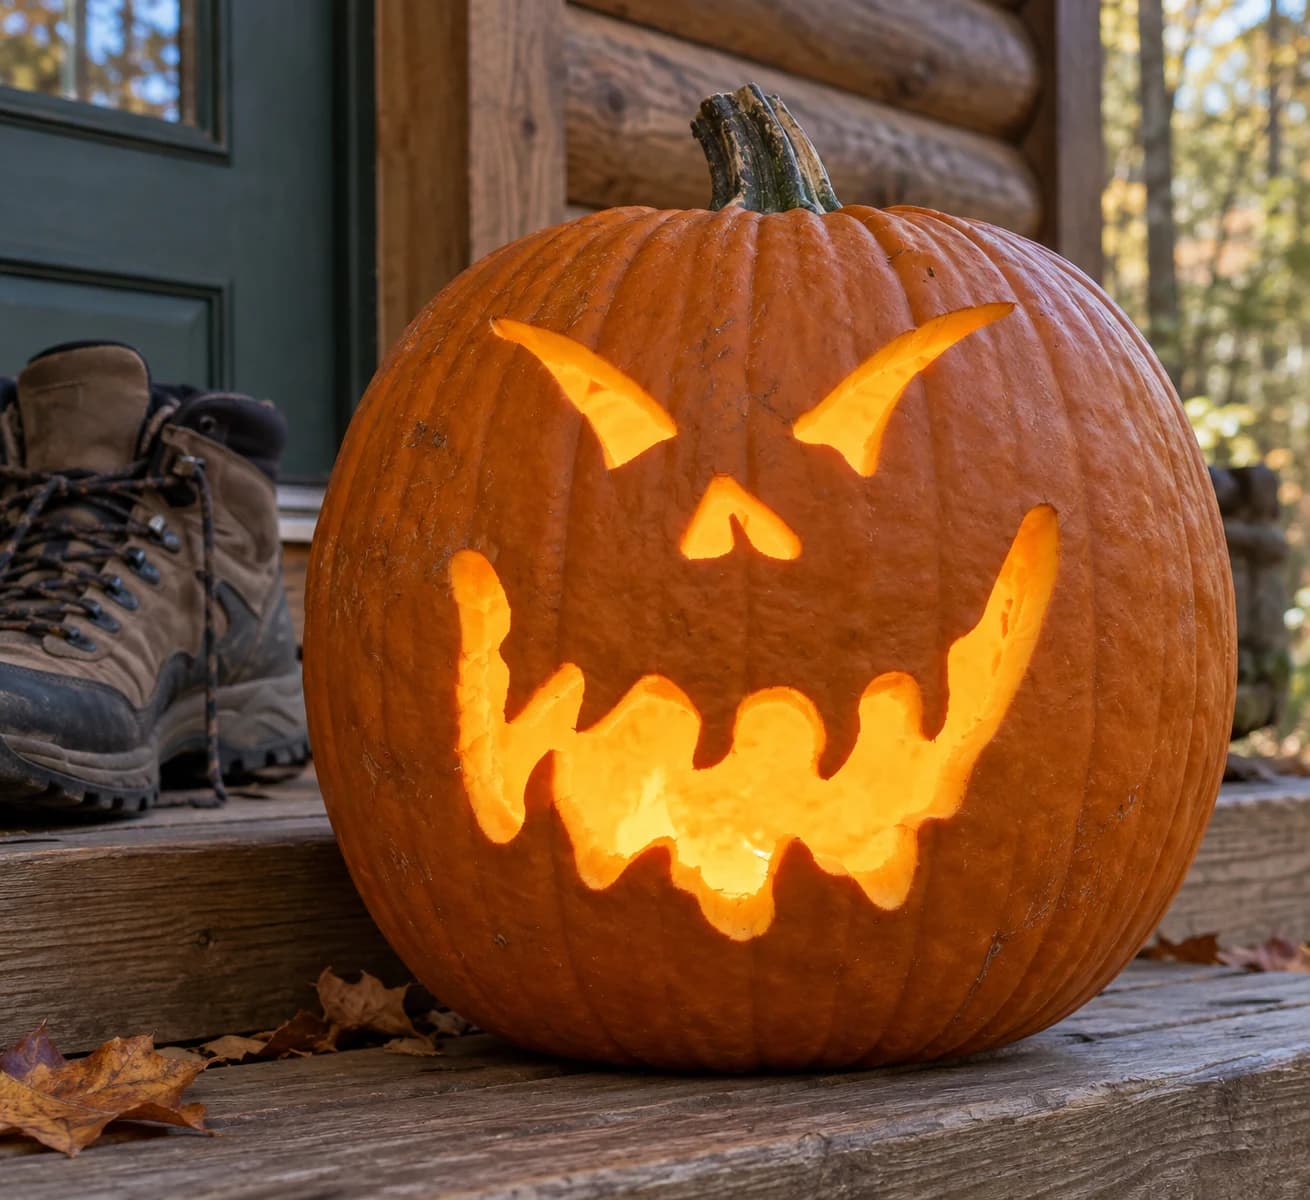
Creepy Ghost Face Pumpkin Stencil
A menacing ghost-inspired pumpkin face built from two sharp curved horn-like eyebrows, a small V-shaped nose opening, and a huge ragged melting mouth that takes up nearly the bottom half of the stencil, with dripping irregular edges that sag downward like ectoplasm. The eyebrows and nose are compact cuts while the massive mouth is one sweeping asymmetric opening with wavy drip points. The drip tips along the mouth's lower edge are the most fragile detail, so cut the straight upper mouth border first, then work down each drip from its widest point toward the tip.
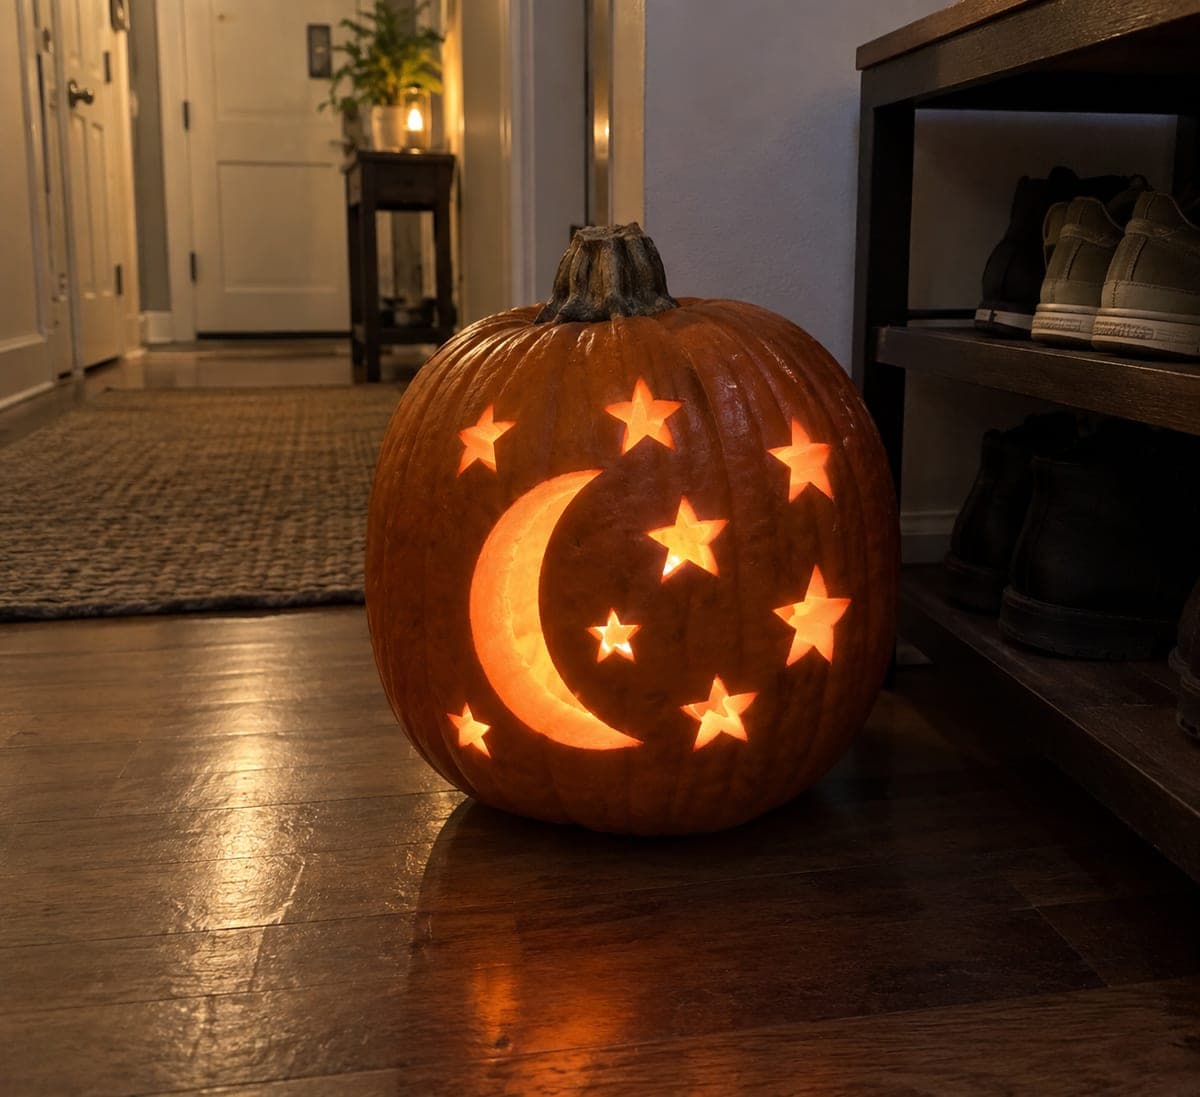
Crescent and Eight Stars
A large crescent moon curves along one side of the pumpkin while eight stars of varied sizes scatter across the rest of the face. Moon and stars are all cut-through openings, turning the pumpkin into a bright celestial lantern with plenty of glow for a dark porch. Eight stars push this to a medium carve simply on repetition, so rotate the pumpkin as you go and cut every star point with a pull stroke toward the center for clean tips.

Crescent and Four Stars
A thick crescent moon anchors the left side of the pumpkin while four five-pointed stars drift across the remaining space. All five elements are clean cut-through openings, so the pumpkin becomes a night-sky lantern with the untouched rind acting as the dark sky between them. It is an easy carve overall; the only care point is the star tips, so cut each star point-to-center in single strokes rather than trying to steer around the whole outline at once.
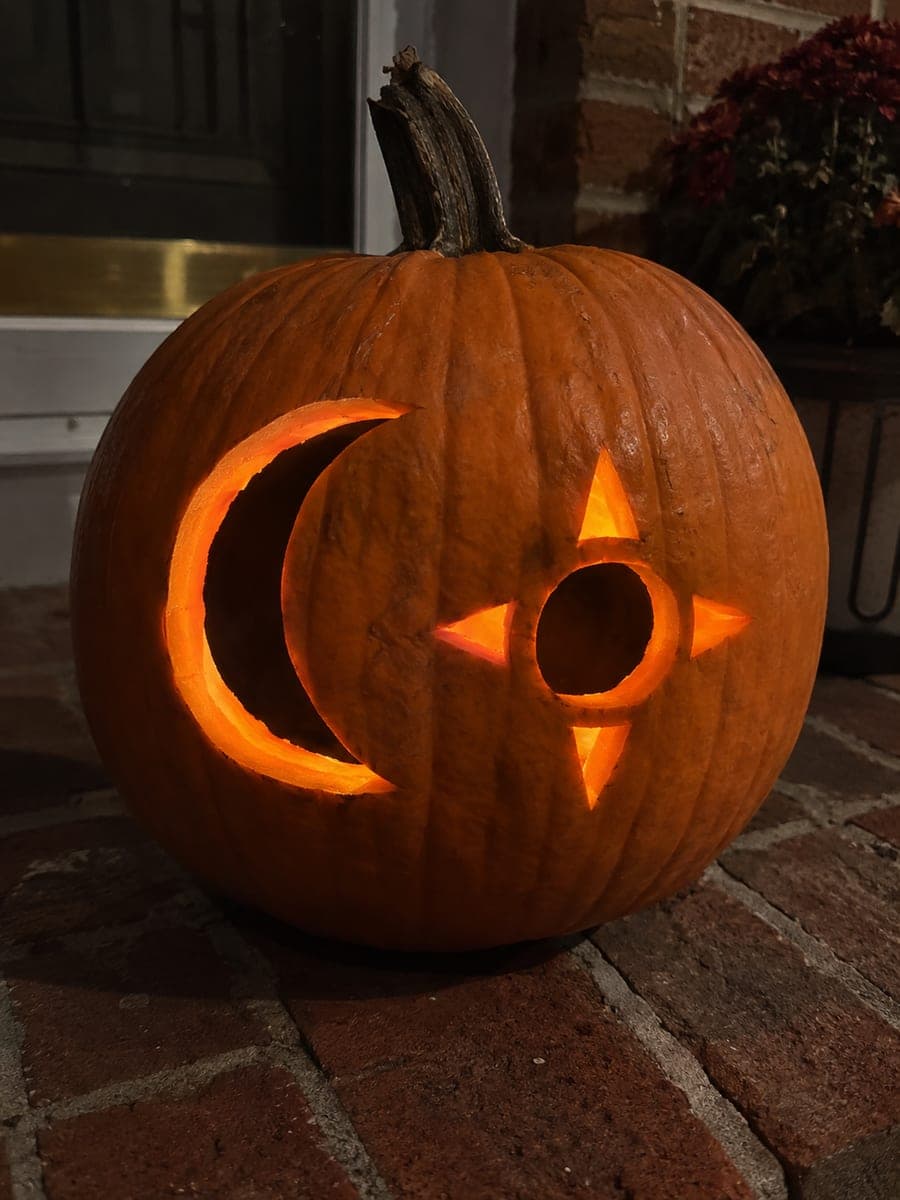
Crescent and Four-Ray Sun
A tall crescent moon pairs with a four-ray sun whose points frame a solid circle of rind at its center, creating a striking celestial emblem. The crescent and the four triangular rays are pierced through, while the sun's middle disc stays attached as a floating island of pumpkin skin. At medium difficulty, cut the four rays individually and avoid nicking the center circle's edge, since that untouched disc is what makes the sun read.
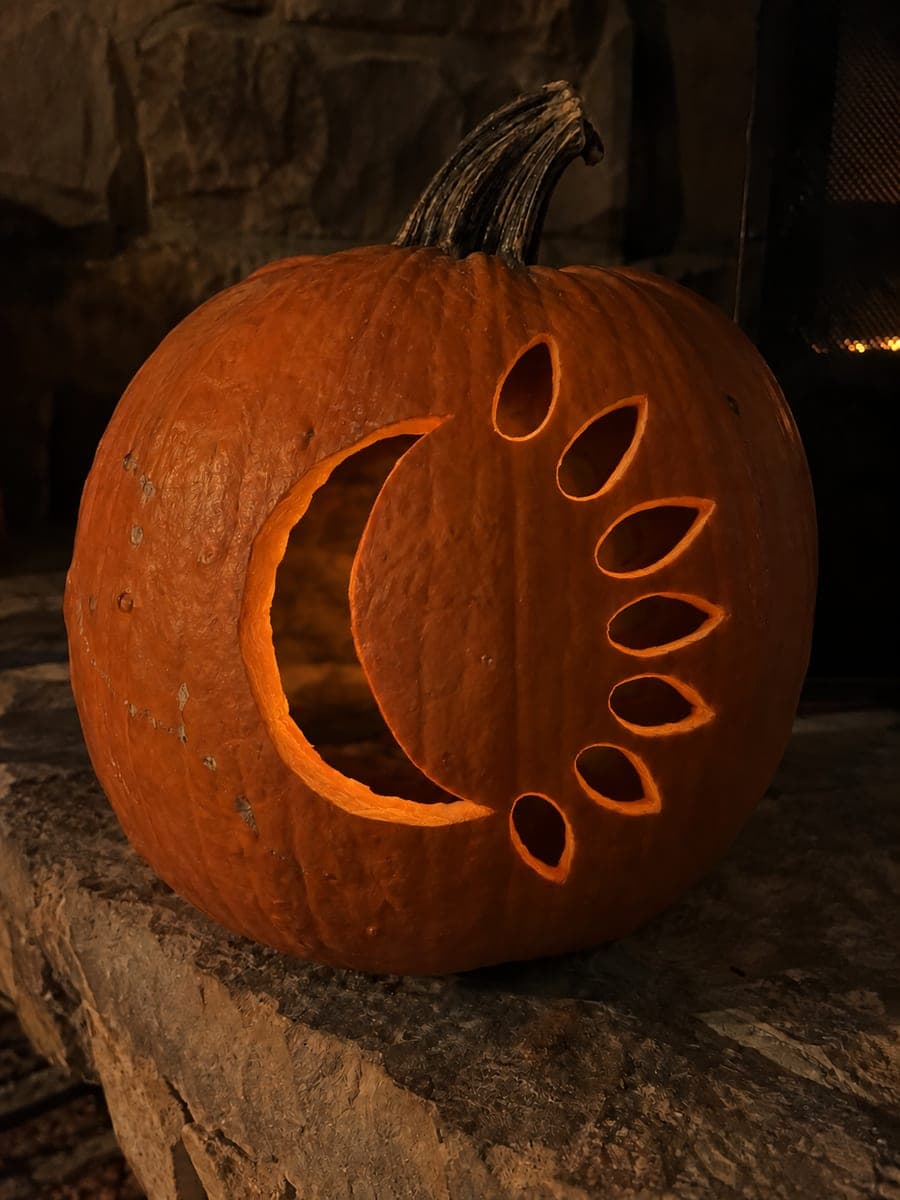
Crescent and Seven Teardrops
A tall crescent moon anchors the left side of this celestial design while a fan of seven teardrop rays arcs around its open curve like scattered moonbeams. Every shape is pierced through, so the crescent throws a big wash of light and the teardrops sparkle around it. Cut the crescent first for this medium design, then do the teardrops smallest to largest; angling your saw slightly outward makes each little petal pop out cleanly.
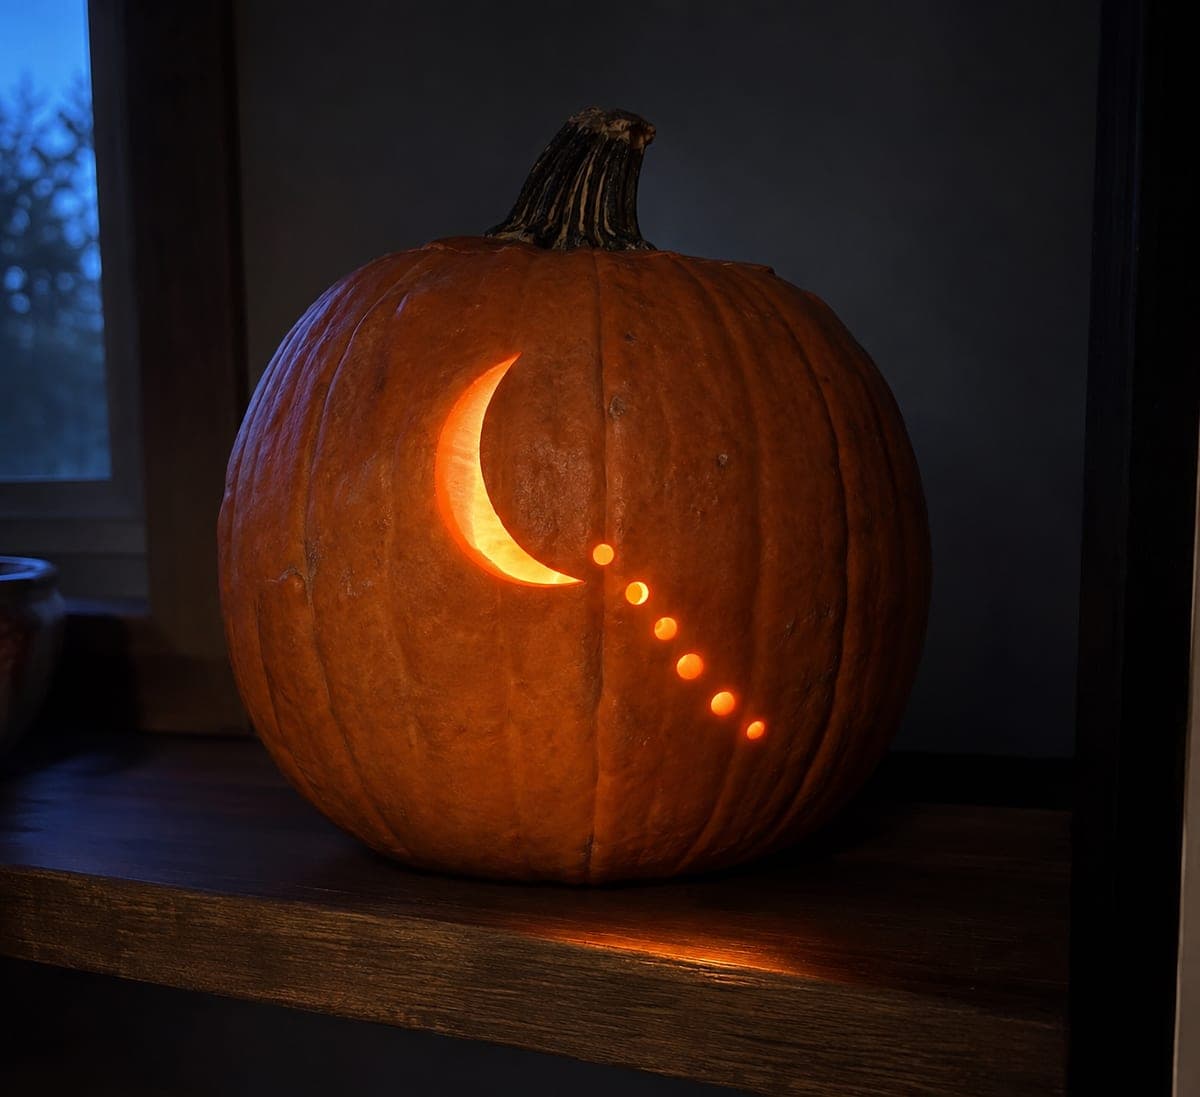
Crescent and Six Falling Dots
A slender crescent moon hangs in the upper corner while a diagonal trail of small round dots falls away beneath it, like fading moonlight. Each shape is pierced through, and the tiny dots do most of the sparkle work against the dark shell. For this easy pattern, punch the dots with an apple corer or drill bit for perfect circles, then saw the thin crescent in two smooth passes.
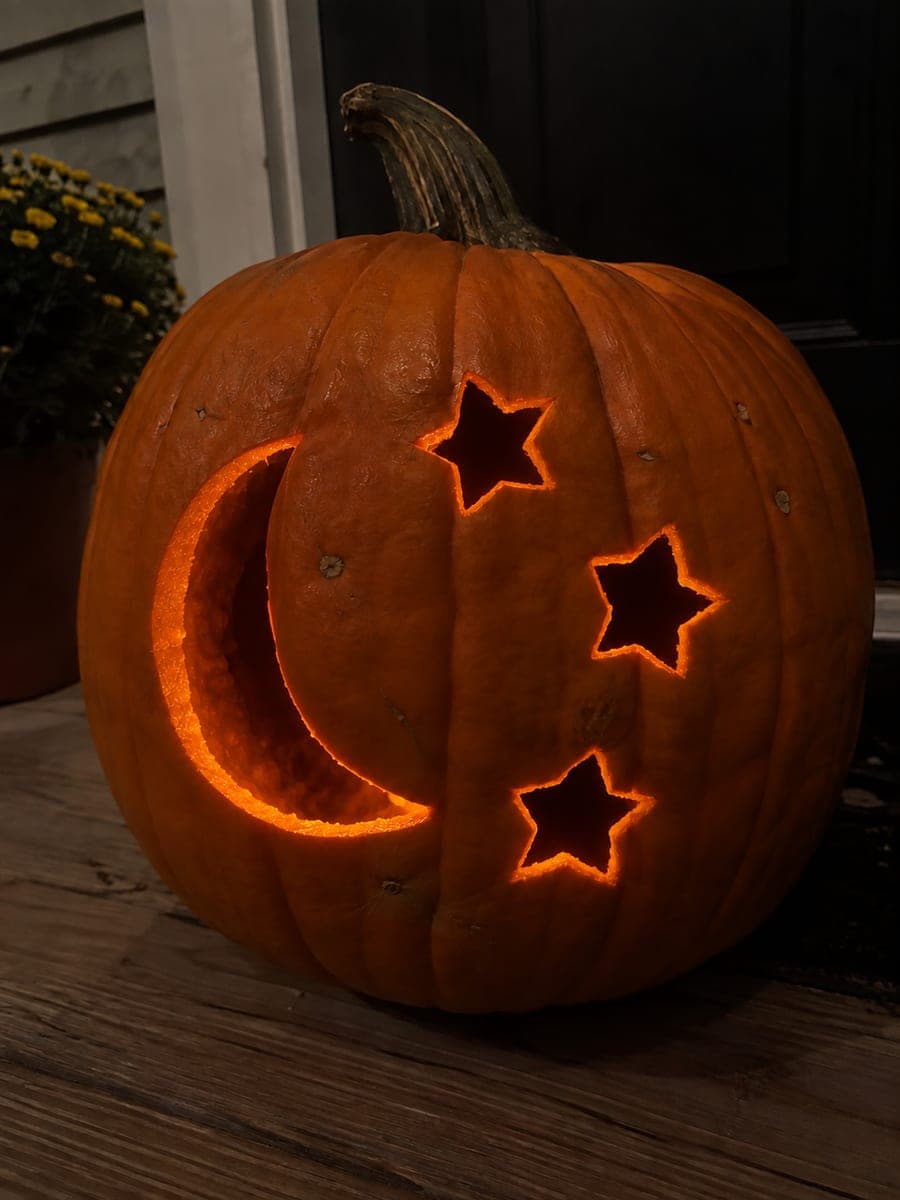
Crescent and Three Stars
A large crescent moon curves down one side of the pumpkin while three five-point stars of different sizes float beside it. All four shapes are cut cleanly through the wall, turning the pumpkin into a glowing night sky that is simple enough for a first-time carver. Since this easy design relies on smooth curves, trace the crescent's inner arc slowly and pop each star out point by point rather than in one piece.

Crescent Eyes and Broad Smile
Two upswept crescent eyes squint with joy above an enormous open smile that stretches nearly the full width of the pumpkin, curling up into playful points at each corner. Just three cut-through openings make the whole face, with no nose, teeth, or fragile bits anywhere. This easy design is pure beginner fun; carve the big smile first while the wall is strongest, then the two eye crescents, angling your blade slightly outward so the pieces push free cleanly.

Crescent Eyes and Curved Smile
Pure cheer: two upturned crescent eyes squint with delight above a huge toothless smile that curls up at both corners. All three shapes are pierced through so the whole face beams with candlelight, and the matching curves give it a warm, laughing character. This easy pattern rewards smooth cutting; saw each crescent in one steady motion following the curve, and round off the smile's corners rather than leaving sharp points.

Crescent Moon & Small Bat
A small bat with scalloped wings glides across a big crescent moon in a classic Halloween night scene. Both shapes are shaved rather than pierced: the moon is peeled into a bright smooth crescent, the bat's wings are etched at a lighter depth, and its body stays as raised rind. A hard shading pattern that rewards patience; keep the moon's inner curve clean since that long sweep frames the entire design.
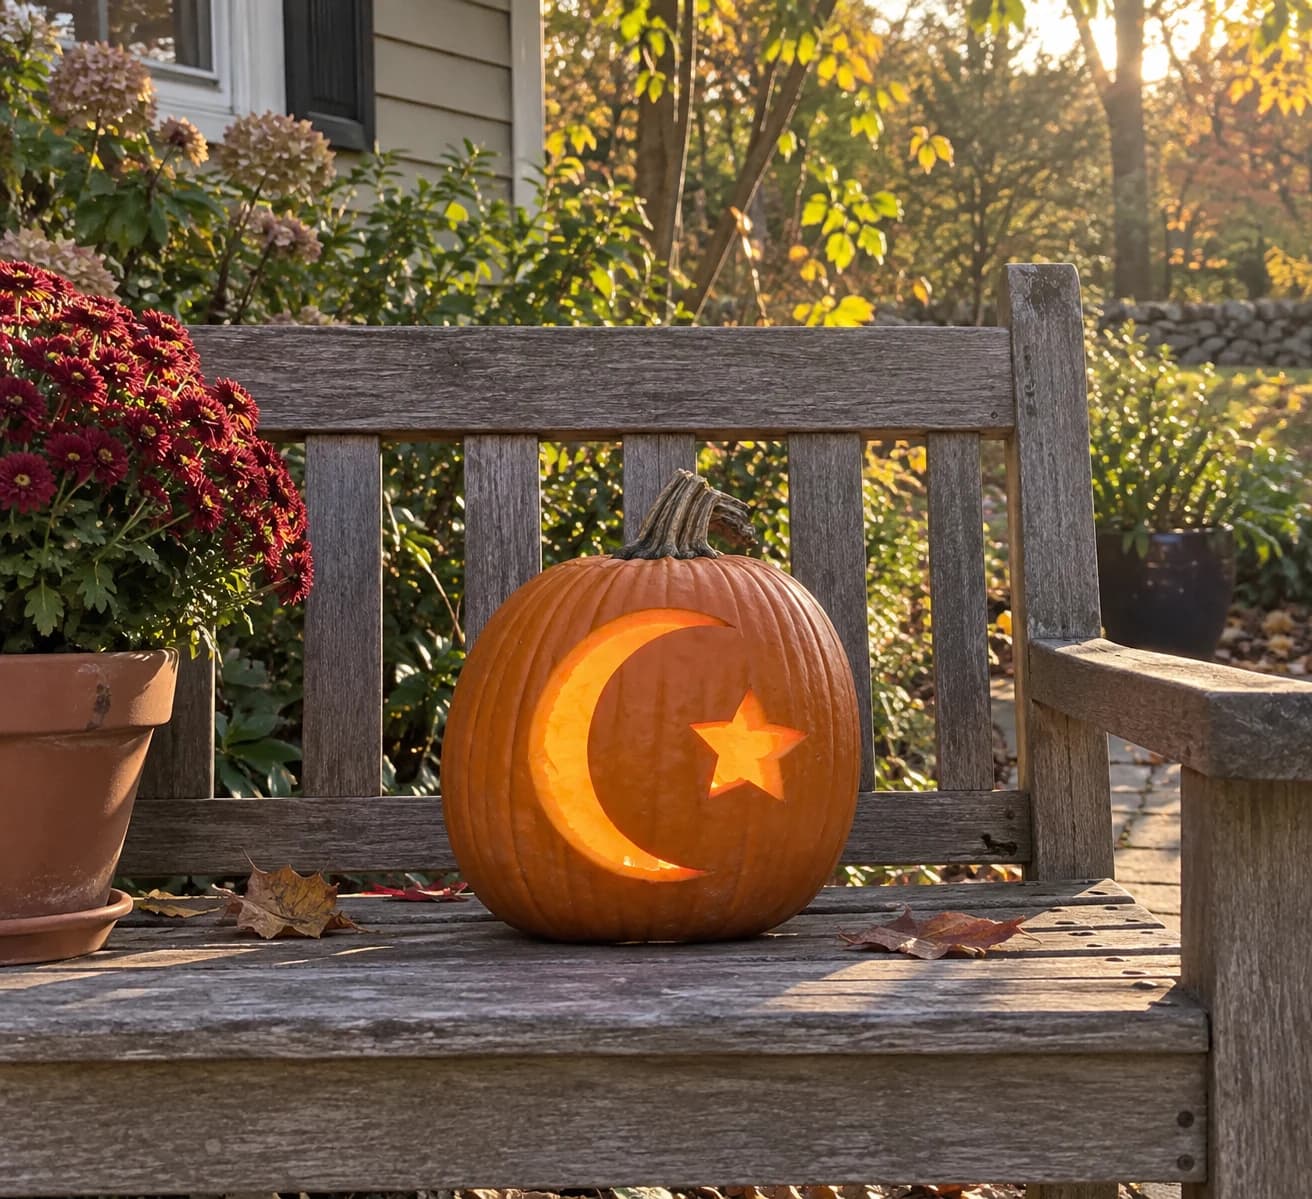
Crescent Moon and Star Pumpkin Stencil
A large crescent moon curves across most of the design while a single five-pointed star sits nestled in the open interior of the crescent in this easy space pumpkin stencil, both shapes carved as open silhouettes. The crescent is a large single cut, and the small star inside it is a separate isolated piece that must be removed independently. Cut the star's five points with precise plunge cuts at each tip before slicing the connecting straight sides, then remove the star before carving the surrounding crescent so your hand has room to maneuver.
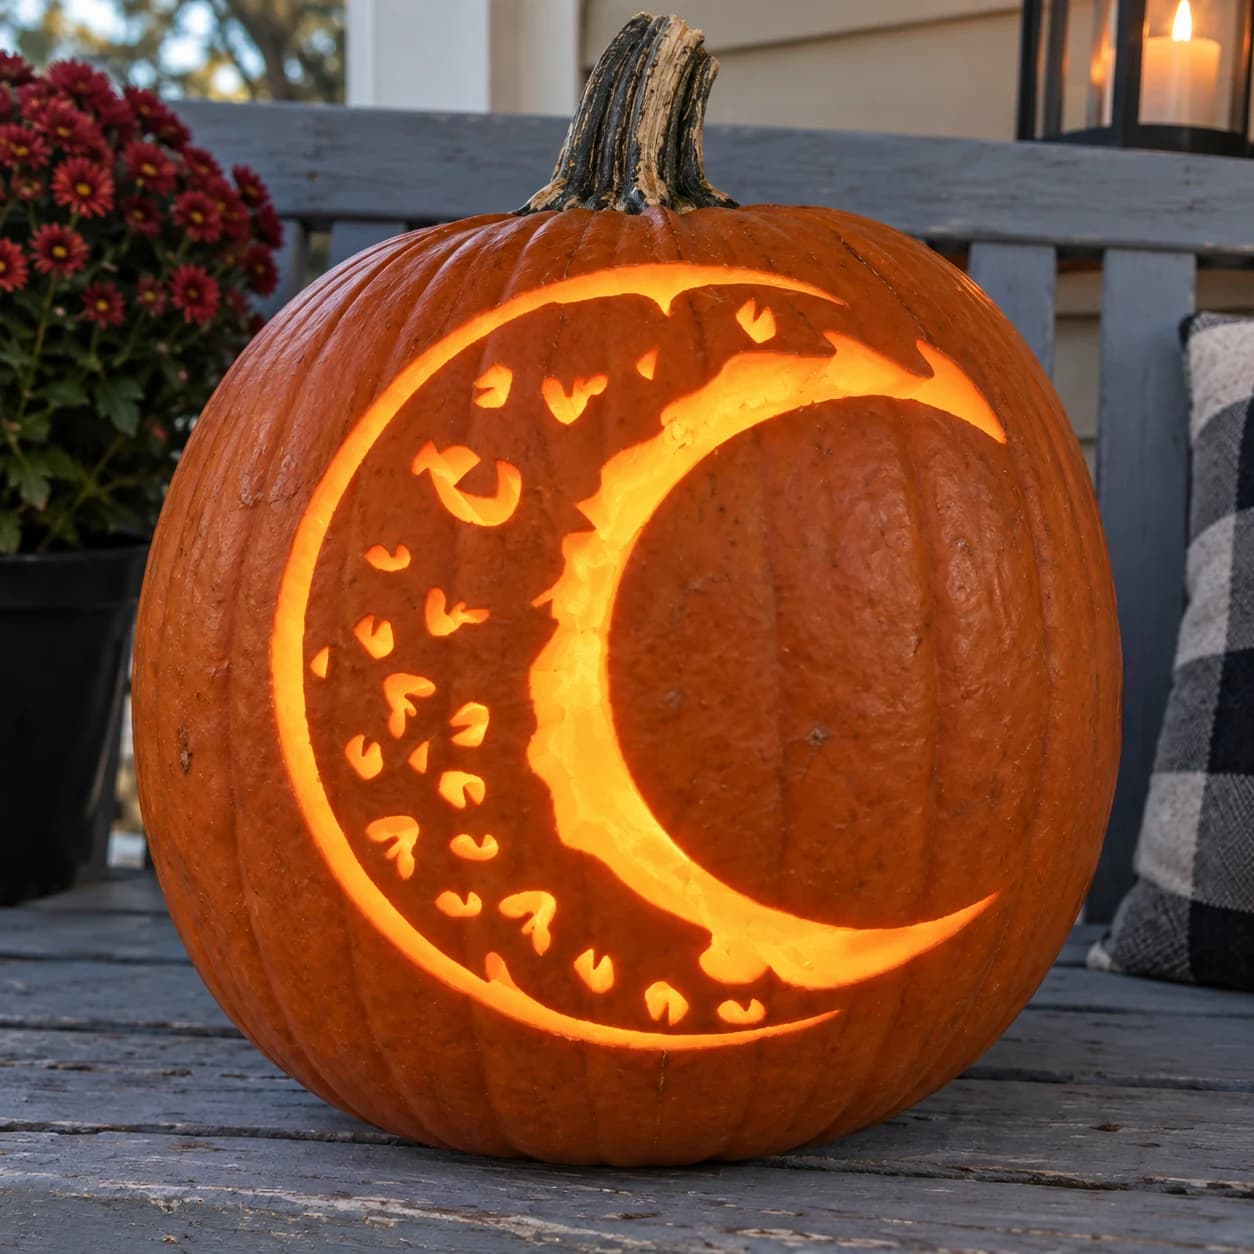
Crescent Moon Pumpkin Stencil
A crescent moon shape faces left, its body filled with a texture of small irregular cut-out marks that suggest the pitted surface of the moon, while a faint face profile is visible along the inner curve of the crescent. The large crescent itself is the main pierced shape, and the small interior texture dots pepper the body, creating a glowing stippled effect when lit from inside. To keep the many small interior marks from causing the crescent body to crumble, carve the outer crescent boundary first, then pick out the texture dots from largest to smallest using a small round drill bit or detail blade.
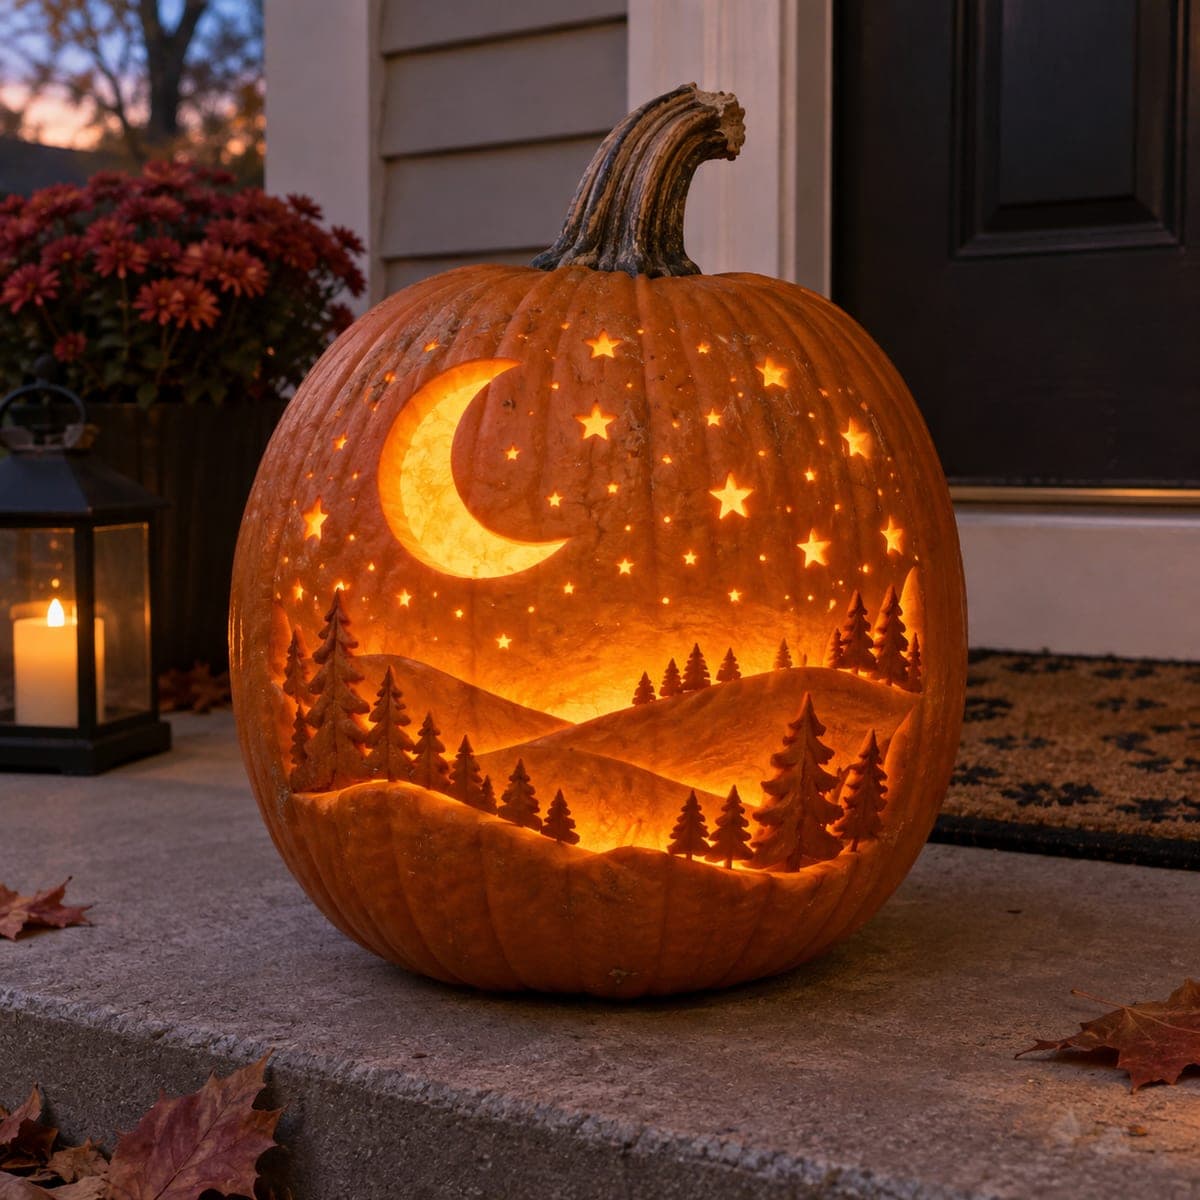
Crescent over Conifer Hills
A crescent moon hangs over rolling hills dotted with pine trees, while dozens of stars and pinprick lights scatter across the sky above the treeline. The entire scene is shaved at varying depths into the pumpkin wall, with the moon and hilltops thinned the most so they glow brightest, and the trees left as dark raised skin. Rough in the hills first, then refine tree silhouettes, and finish with the star pricks last.
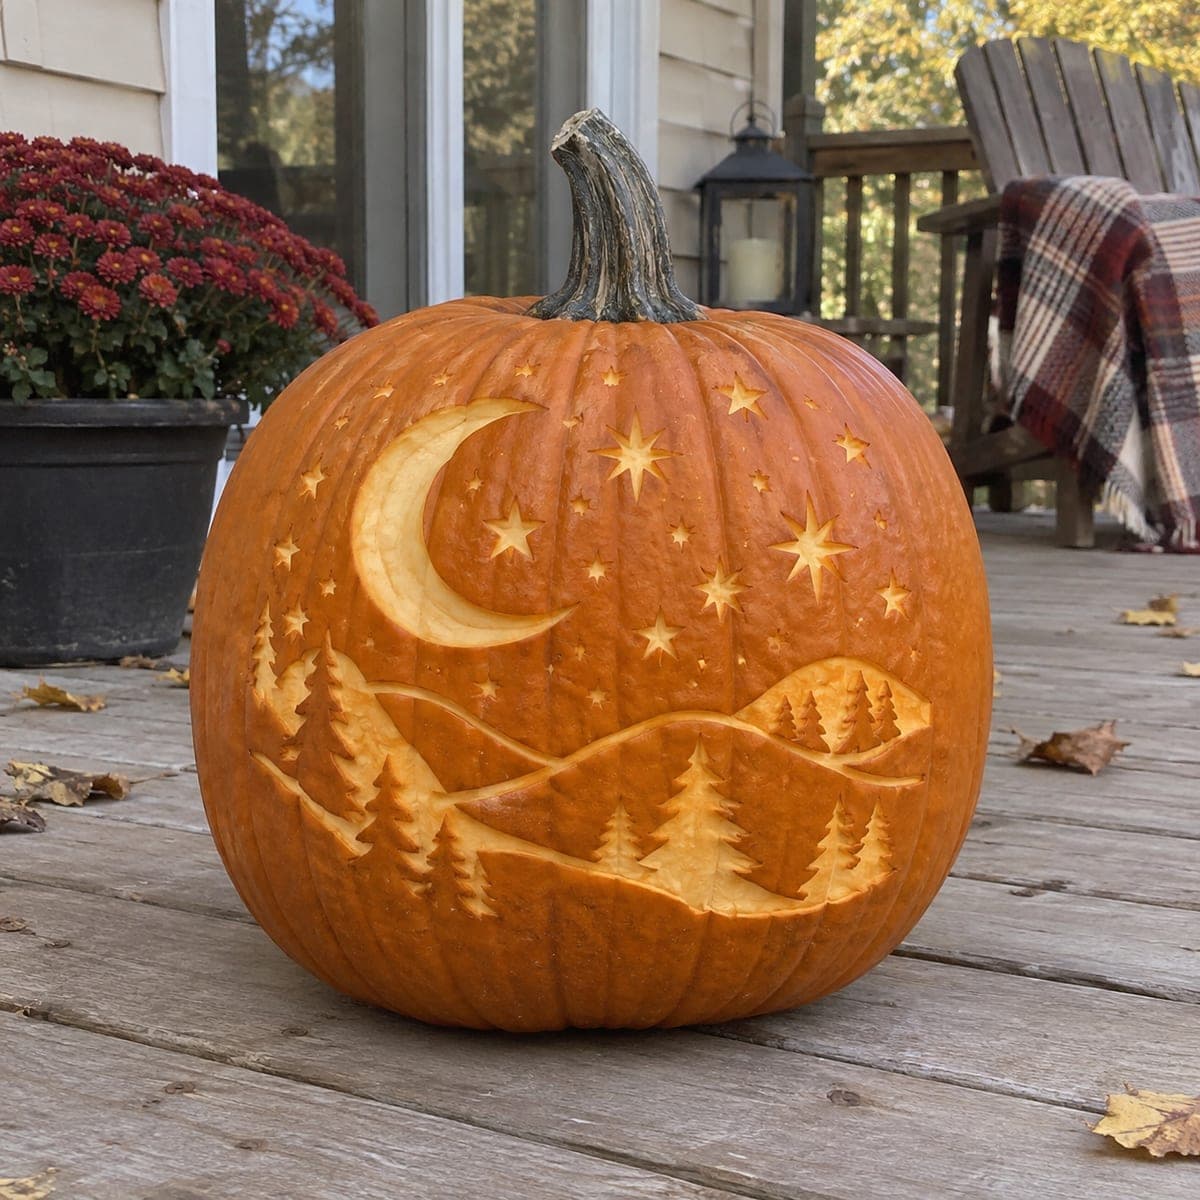
Crescent over Wooded Hills
A dreamy night landscape wraps the pumpkin: a large crescent moon and a sky full of four-point stars shine above rolling wooded hills dotted with pine trees. The whole scene is skin-shave shading with no pierced holes, so moon, stars, ridgelines, and trees glow at different intensities depending on how deep you scrape. As an expert design, map your depths first: carve the moon deepest for the brightest glow, the hills shallowest for a soft dusk.
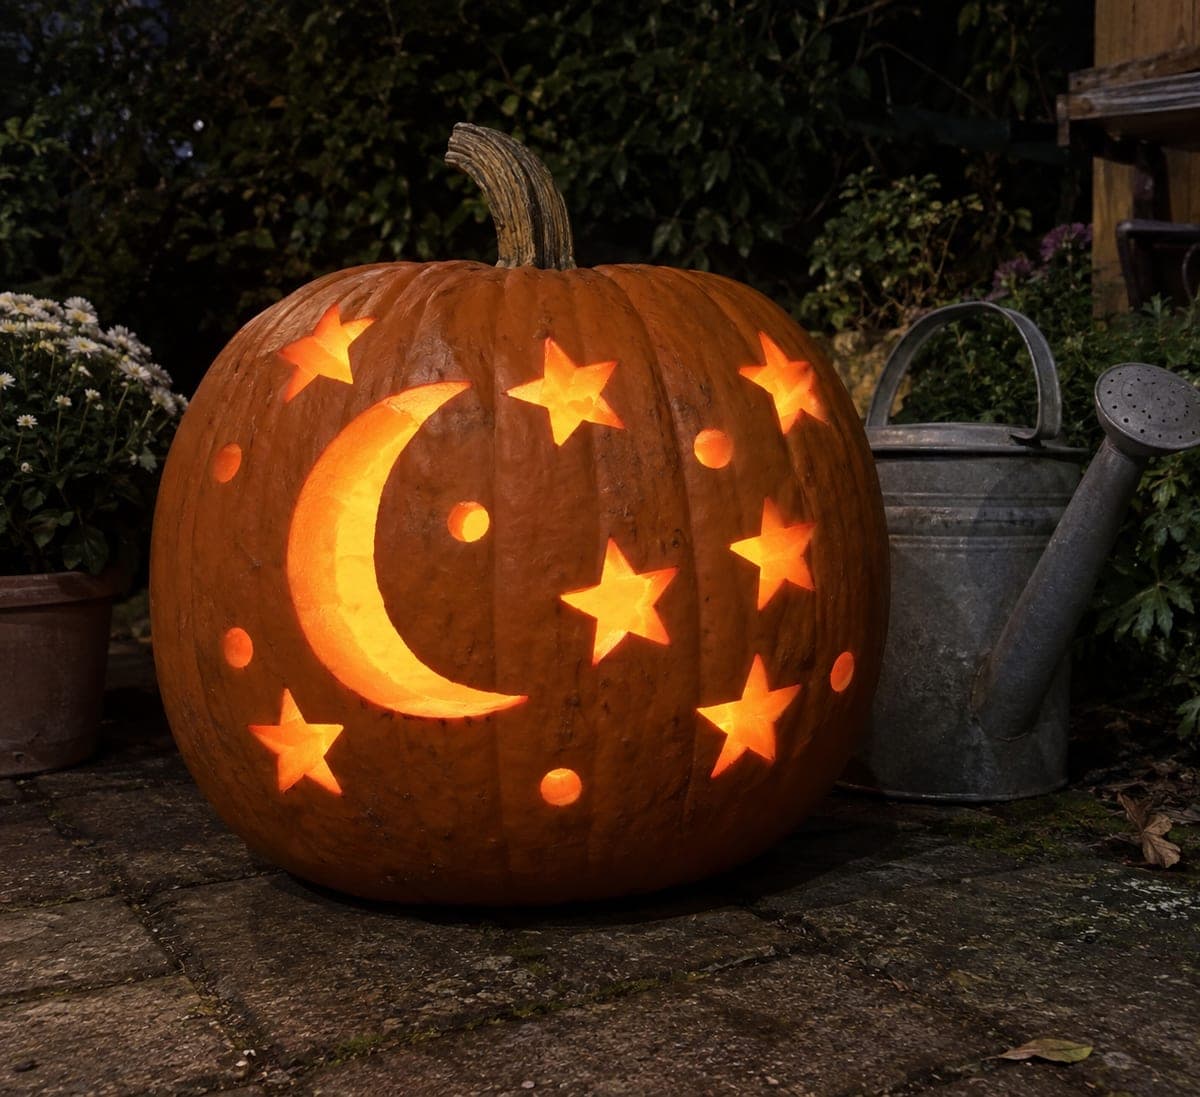
Crescent Seven Stars Six Dots
A large crescent moon glows at the left while seven chunky five-point stars and six round dots scatter across the rest of the pumpkin like a full night sky. Every moon, star, and dot is pierced through, so the whole surface twinkles when lit. Space your cuts out as you go, alternating sides of the pumpkin, so the wall keeps its strength until the final star is freed.
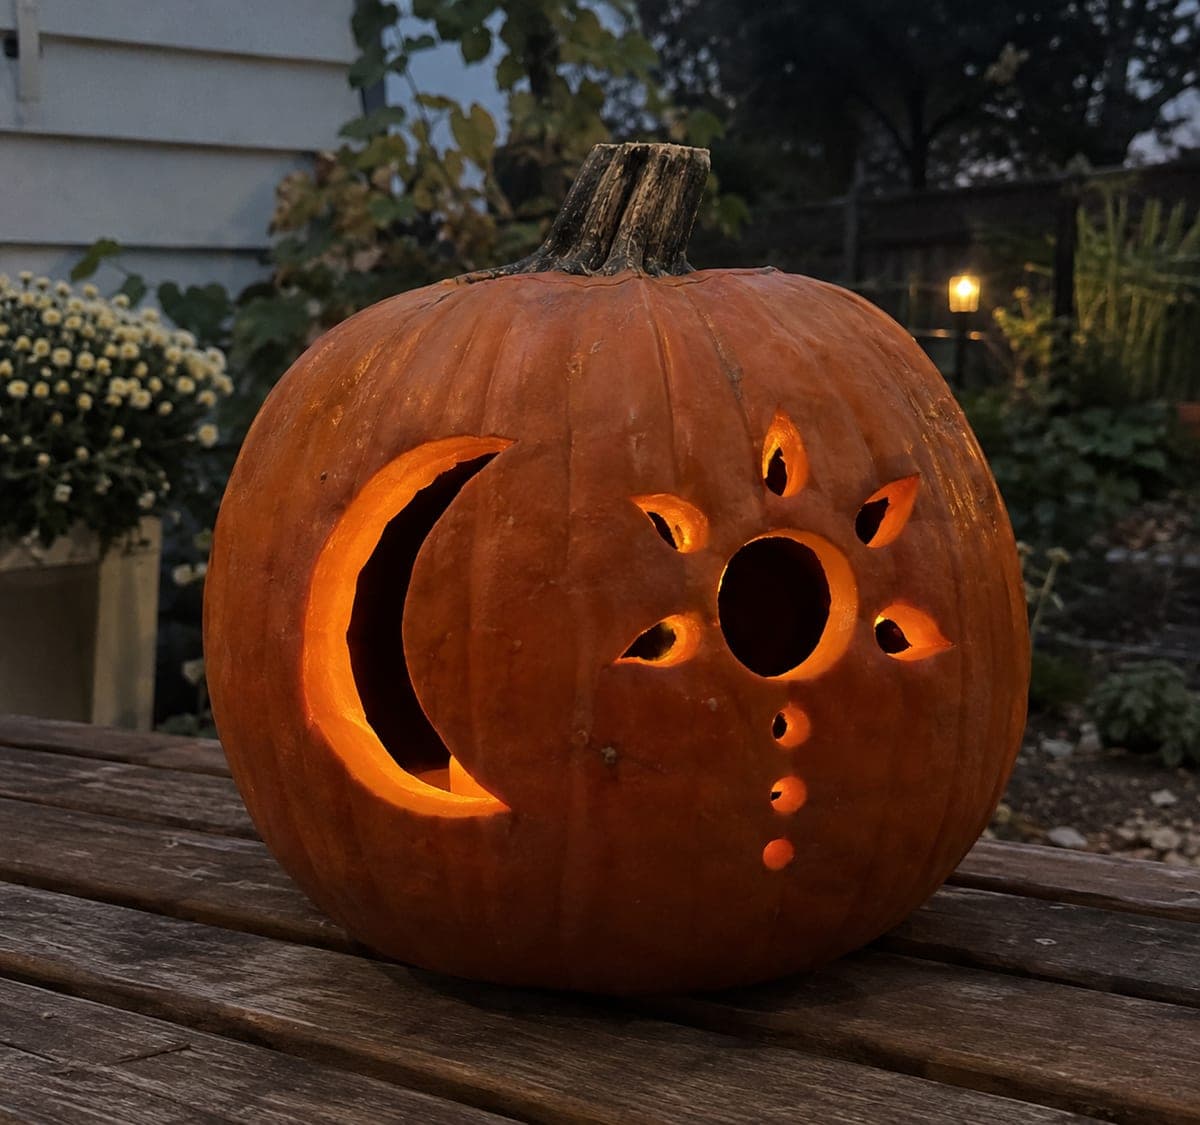
Crescent Sun and Three Dots
A slim crescent moon faces a round sun ringed by teardrop-shaped ray openings, with a trail of three dots descending below the sun. Every element is pierced through, and the varied hole sizes give the lit pumpkin a layered celestial sparkle. Drill or poke the three small dots first while the wall is still rigid, then cut the teardrops, and save the big crescent and sun circle for last.

Crescent Wink and Two Teeth
A playful winking face with one big round open eye, one crescent-shaped winking eye, and a broad open smile showing two square teeth. All the features are simple pierced openings with plenty of solid pumpkin between them, so the face is sturdy and beginner friendly. For this easy carve, cut the large smile first while the wall is strongest, then finish with the crescent wink, angling your blade slightly outward for a clean curve.
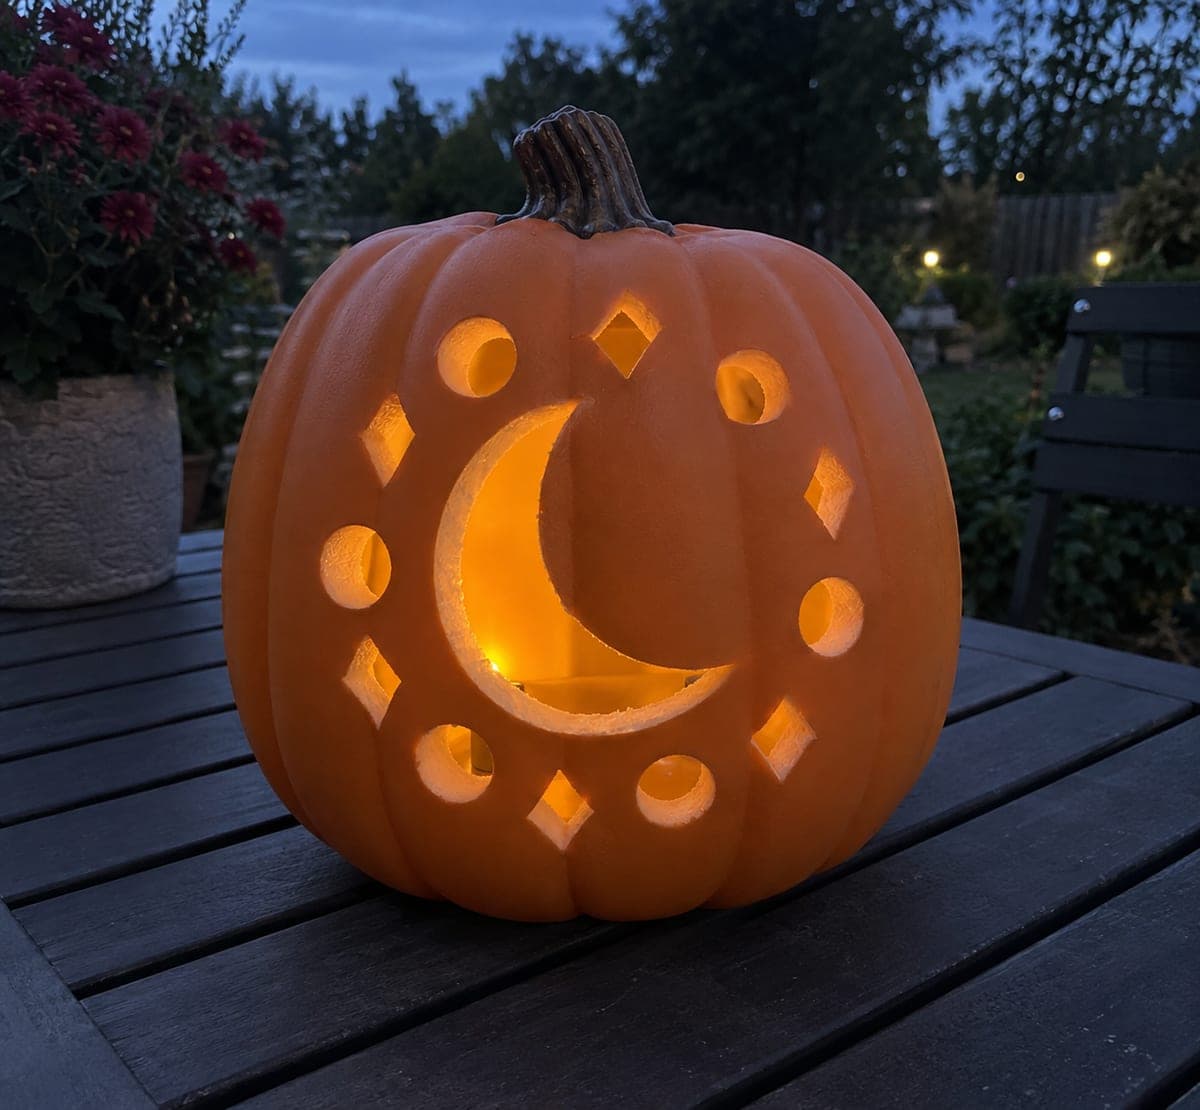
Crescent with Diamond Halo
A bold crescent moon sits at the center of a decorative halo made of alternating circle and diamond openings. Everything is cut fully through, and the ring of small shapes scatters points of light around the big central glow for a celestial, almost boho look. Carve the crescent first, then work around the halo one shape at a time, spacing your cuts so the rind bridges between openings stay sturdy.
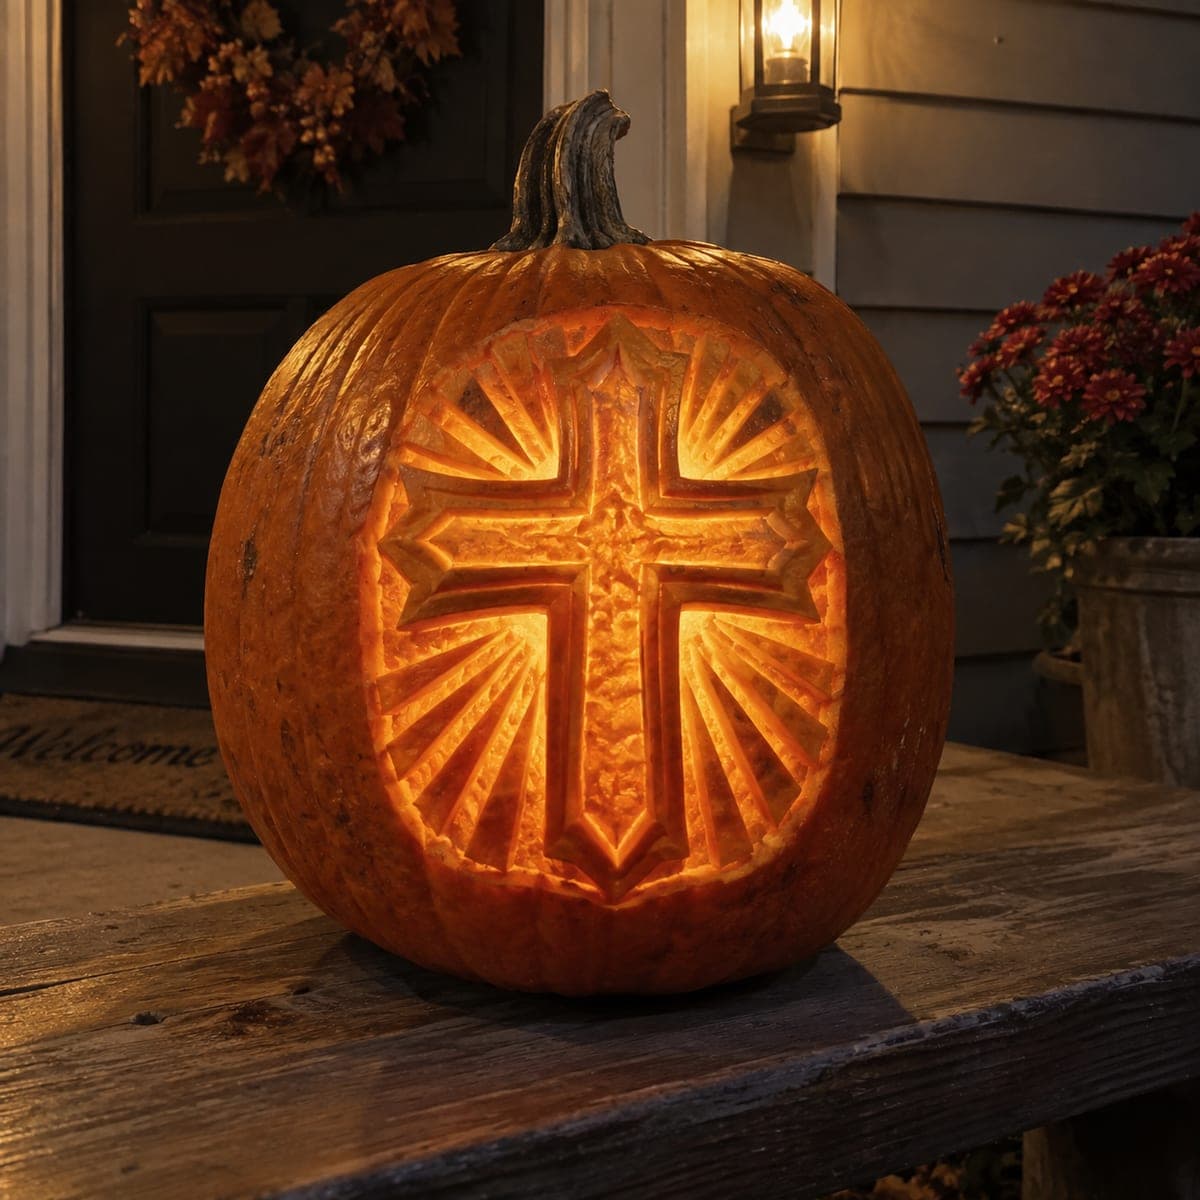
Cross in an Oval Ray Field
An ornate flared cross stands at the center of an oval field of sunburst rays that radiate outward to the design's edge. It is carved entirely in continuous-wall relief: the cross is left raised with beveled edges while the rays are shaved to alternating depths so light plays across the whole medallion. This hard shading piece rewards patience, so establish the cross outline deep and clean first, then carve every ray from the cross outward to keep the bevels crisp.
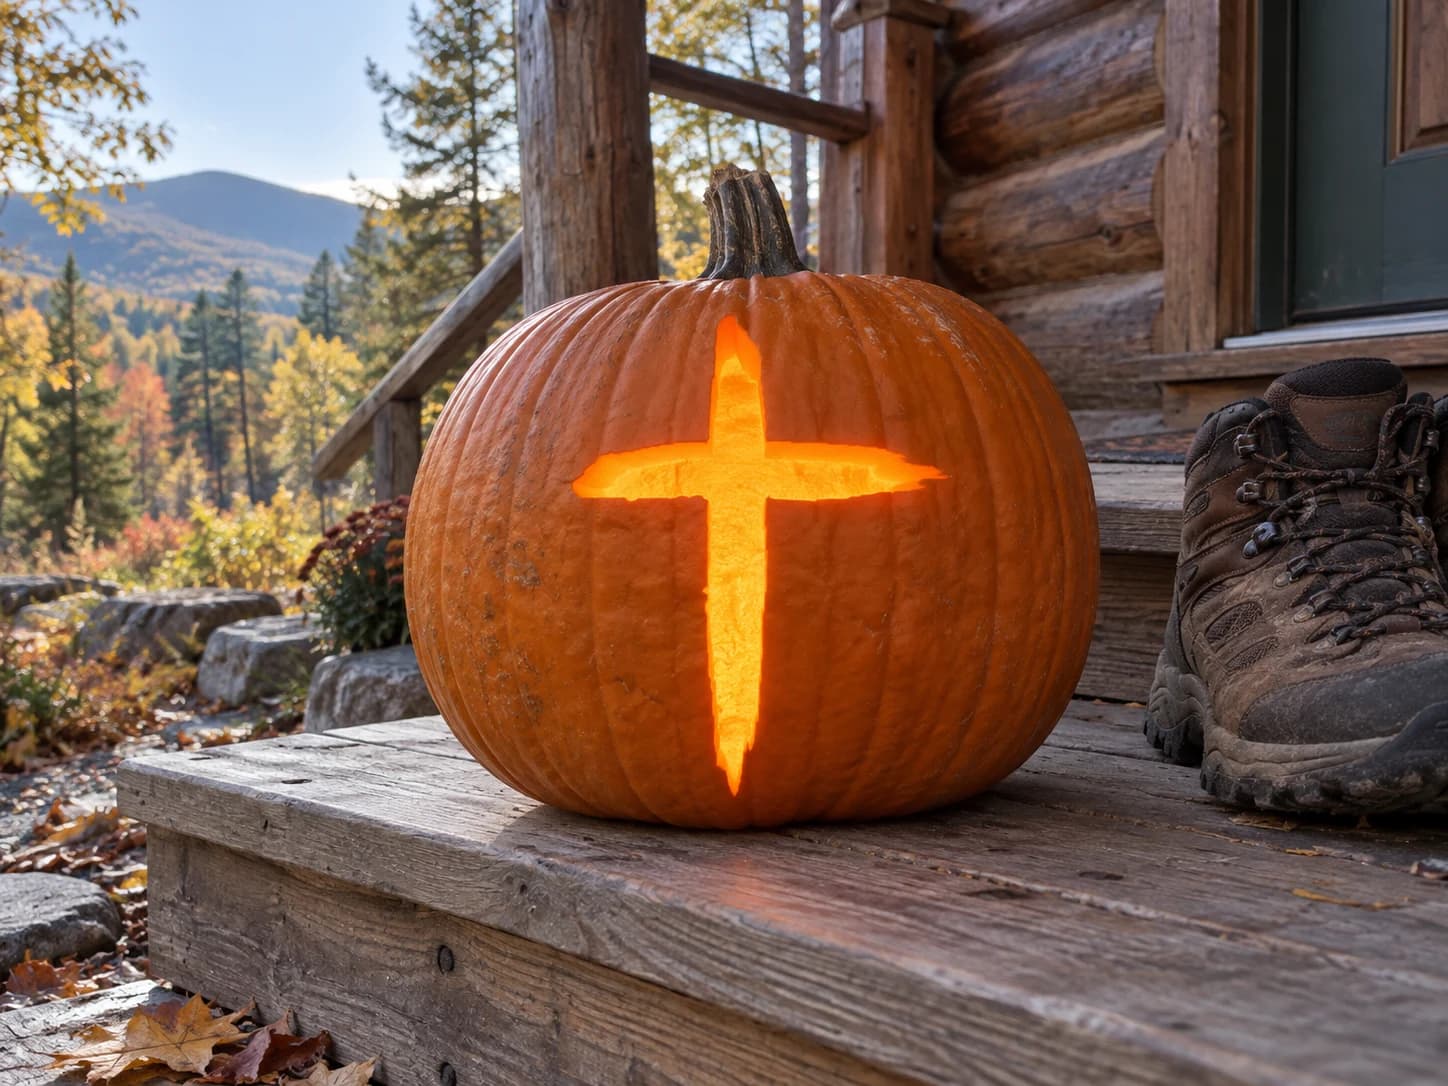
Cross Pumpkin Stencil
A large rugged cross pumpkin stencil with slightly tapered arms and a weathered, hand-drawn outline that gives it an organic, aged character rather than a rigid geometric look. The entire cross shape cuts through as a single opening, and because the arms are wide, the resulting jack-o-lantern casts a bold cross-shaped beam of light. A cross this size removes a substantial amount of shell, so thin the interior pumpkin wall to about half an inch before carving to reduce the risk of the outer edges cracking under the weight of the cut.