Halloween Pumpkin Carving Contest · Starts October 1st · $500 in prizes
← Back to ideas
@ai_concepts
Sep 4, 2026
Big White Daisy Painted Pumpkin CenterpieceAI
0

Big White Daisy Painted Pumpkin Centerpiece

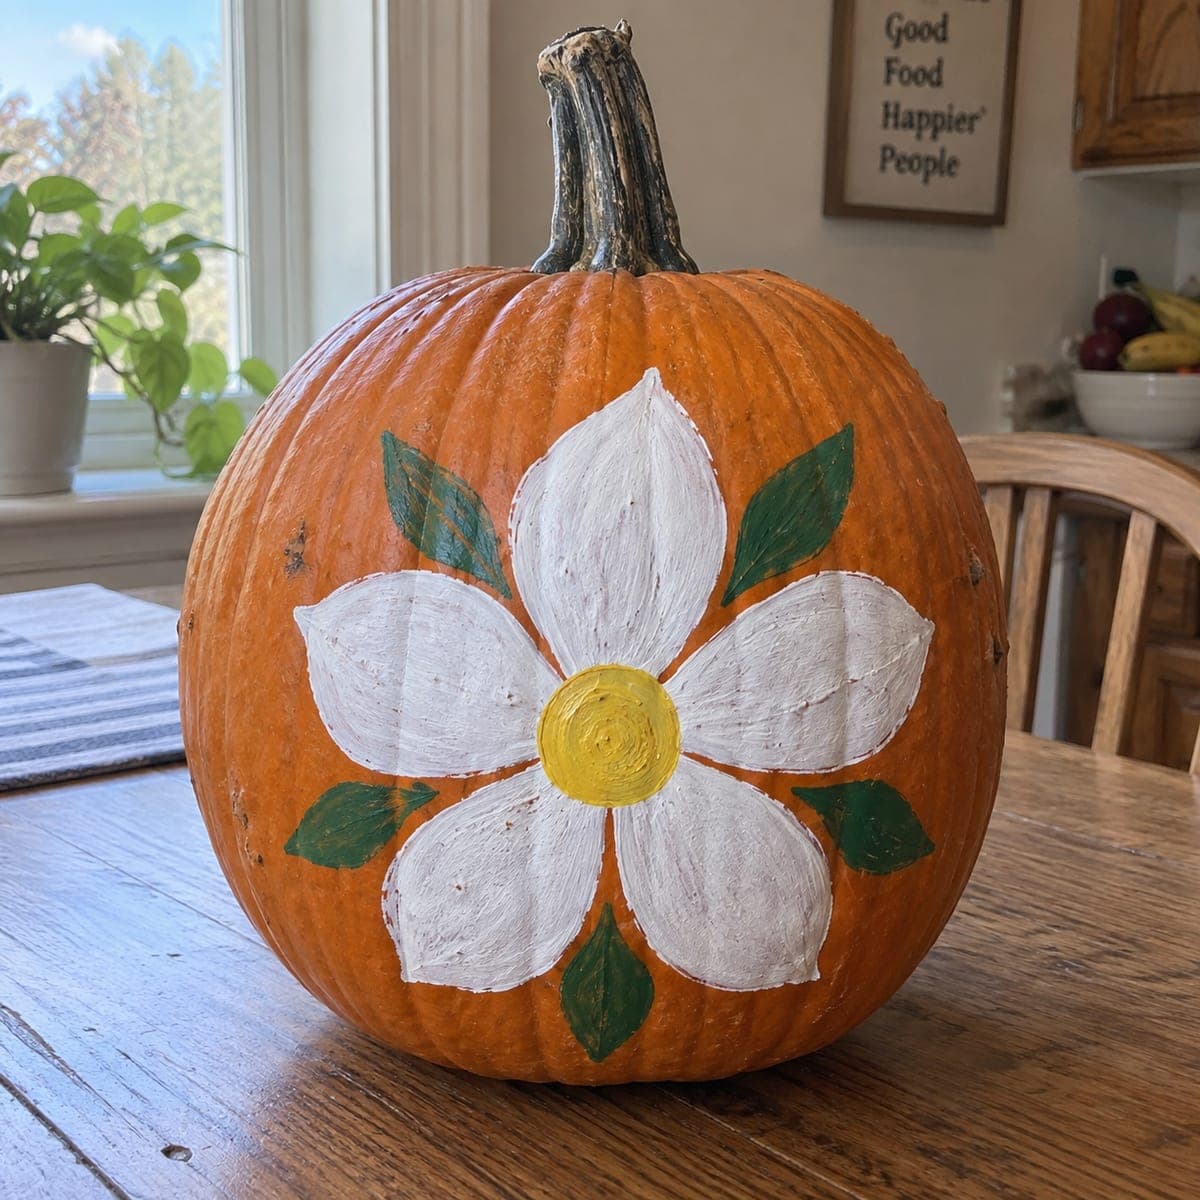
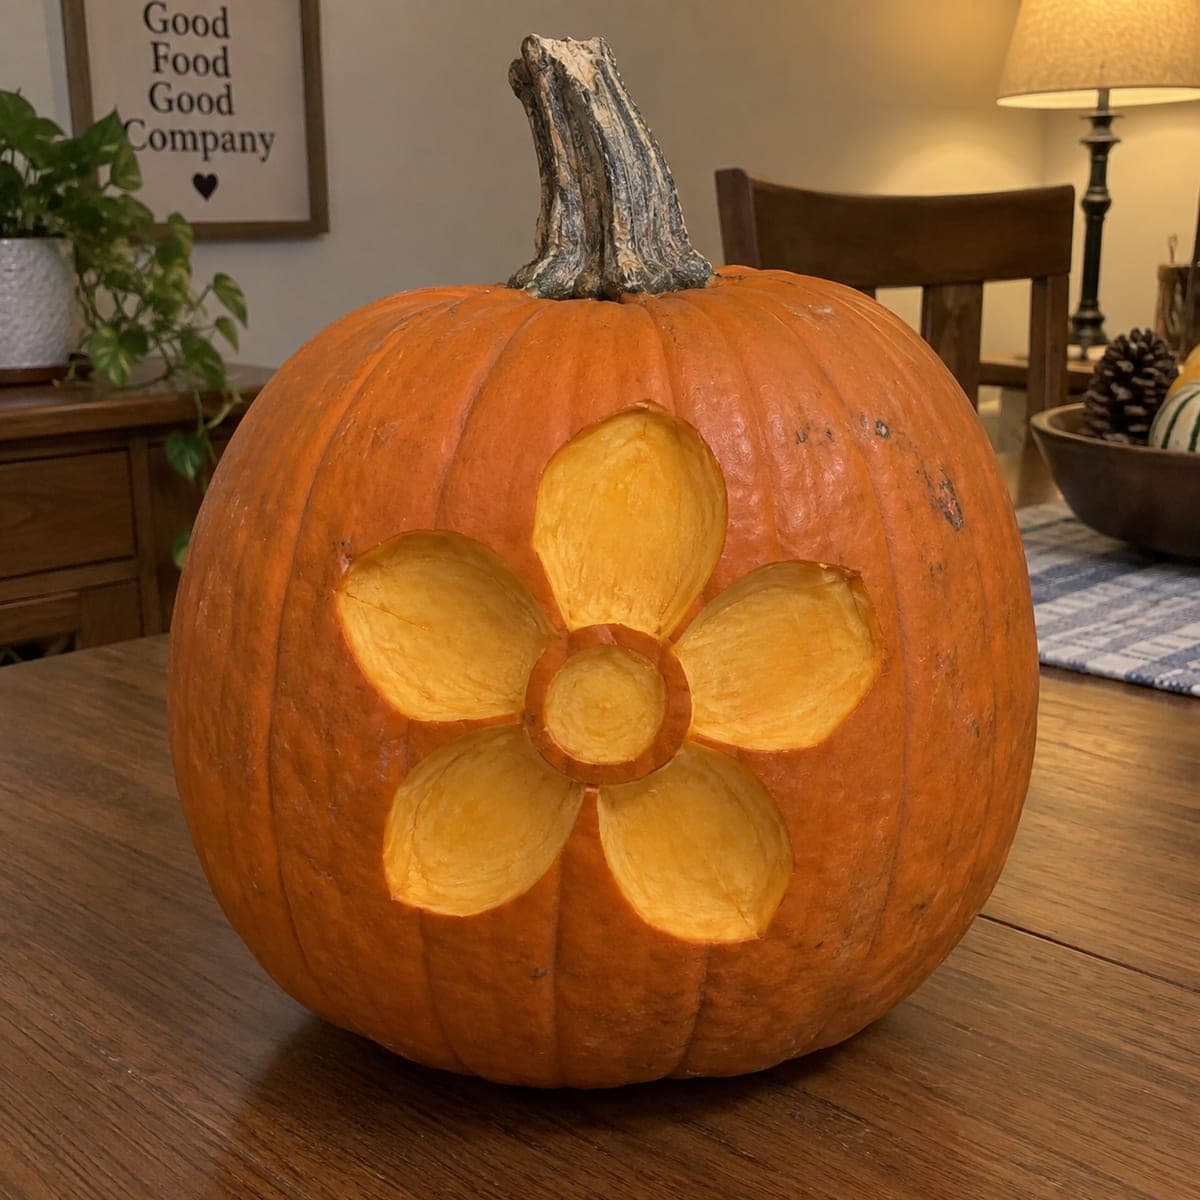
One oversized white flower with a sunny yellow center spans the entire front of this pumpkin, tucked among simple green leaves. The petals are painted in two coats so the white stays bright against the orange, and the visible brush texture gives them a soft folk-art feel. Sketch five petal guidelines from a center dot to keep the bloom balanced, and paint leaves last to fill gaps. A cheerful no-carve pumpkin that suits fall decor well past Halloween.

This is an AI-generated concept image: a realistic, carvable design idea rather than a photo of a finished carve. AI concepts are always labeled and sit out the leaderboard and the contest.

No ratings yet · Sign in to rate
Comments (0)

  • No comments yet — be the first.

Save without an account. Sign in to like or comment.

Our tips for carving a similar design

The core trick here is one oversized white flower centered on the front of the pumpkin, with five balanced petals radiating from a sunny yellow dot. Because it is a no-carve painted design, the plan is to sketch a clean guide first, build the white petals in two coats so they stay bright against the orange, then fill the gaps with simple green leaves last. Visible brush texture is a feature, not a flaw, and gives the whole piece a soft folk-art feel.

Written by PumpkinCarvingIdeas.com, inspired by the image above. These are our suggestions, not instructions from the uploader. This approach to the AI concept has not been tested on a real pumpkin.

From pumpkin to porch

  1. Clean and dry the surface

    Wipe the pumpkin down with a damp cloth to remove dust and any waxy film, then dry it fully. Choose the flattest, most blemish-free face for your flower. A clean, dry surface helps acrylic paint grip instead of beading up. Let it sit a few minutes so no moisture is trapped in the ribs.

  2. Sketch the flower guide

    Make a small dot where the center will sit, roughly in the middle of the front. Draw a light circle for the yellow center, then pencil five evenly spaced petal outlines fanning out from it like spokes. Step back and check the spacing before you commit, since even petals are what sell the balanced look. Keep pencil lines light so they hide under the paint.

  3. Paint the white petals in two coats

    Fill each petal with white acrylic, following the length of the petal with your brush so the strokes read as soft texture. Let the first coat dry completely, then add a second coat to keep the white bright against the orange. Two thinner coats cover better than one thick one and are less likely to crack. Leave a thin sliver of orange between petals so each one stays distinct.

  4. Add the yellow center

    Once the petals are dry, paint the round center with yellow acrylic. Work in a small spiral so the brush marks echo a real flower disc. If the yellow looks pale over the orange, add a second coat after the first dries. Keep the edge crisp where it meets the white petals.

  5. Fill the gaps with leaves

    Paint simple green leaves in the spaces between the petals to fill the empty orange and frame the bloom. A pointed oval with a single center vein is all you need. Vary their angles slightly so they look natural rather than stamped. Paint these last so you can size them to whatever gaps remain.

  6. Seal and stage your centerpiece

    Let everything dry for at least an hour, then brush on a thin coat of matte sealer to protect the paint from smudges and moisture. Set the pumpkin on a table where daylight hits the white petals. Snap your photo near a window so the bright petals pop against the orange skin. Wipe it gently if it gets dusty over the weeks it sits out.

Gather your supplies

Check things off as you get ready.

Work on a stable surface, keep your free hand out of the cutting path, and have an adult handle sharp tools.

Three levels of light

  • Leave intact

    The orange background and the thin slivers between petals stay untouched, keeping that warm pumpkin color as contrast.

  • Peel & shade

    If you want a glow, you could lightly skin-peel the white petals so a dim light behind them reads soft, though as painted they stay solid.

  • Cut through

    Only the yellow center is a candidate for a true cutout if you want one bright dot of light, and it should be cut last.

Learn the carving basics

Before you start cutting

Do I need to carve anything for this design?

No, this is a no-carve painted pumpkin, so you only need paint and brushes. That makes it a great choice for young helpers and for a display you want to keep for weeks. If you later want a little glow, the yellow center is the only spot worth cutting through.

How do I keep the white petals from looking thin and streaky?

Use two coats of white acrylic and let the first dry fully before adding the second. Following the length of each petal with your strokes turns the streaks into intentional texture that looks like real petals. A craft acrylic made for coverage helps the white stay bright over the orange.

How do I space five petals evenly?

Start with a center dot and picture a clock face, placing petals near the 12, then evenly around. Sketch all five in pencil first and step back before painting to fix any that crowd together. Leaving a thin orange gap between petals also helps each one read as its own shape.

Your take belongs here, too.

Changed a detail? Made it simpler? Share a photo of your version and tell the community what worked.

Share your pumpkin

More pumpkins like this

You've reached the end · 8 pumpkins
The Patch Report

Fresh pumpkins, in your inbox.

The best new carvings, ideas worth stealing, and how-tos for carving season. Short, seasonal, and gone by November.

A short email during carving season. Unsubscribe anytime. See our privacy policy.