Halloween Pumpkin Carving Contest · Starts October 1st · $500 in prizes
← Back to ideas
@ai_concepts
Jul 24, 2026
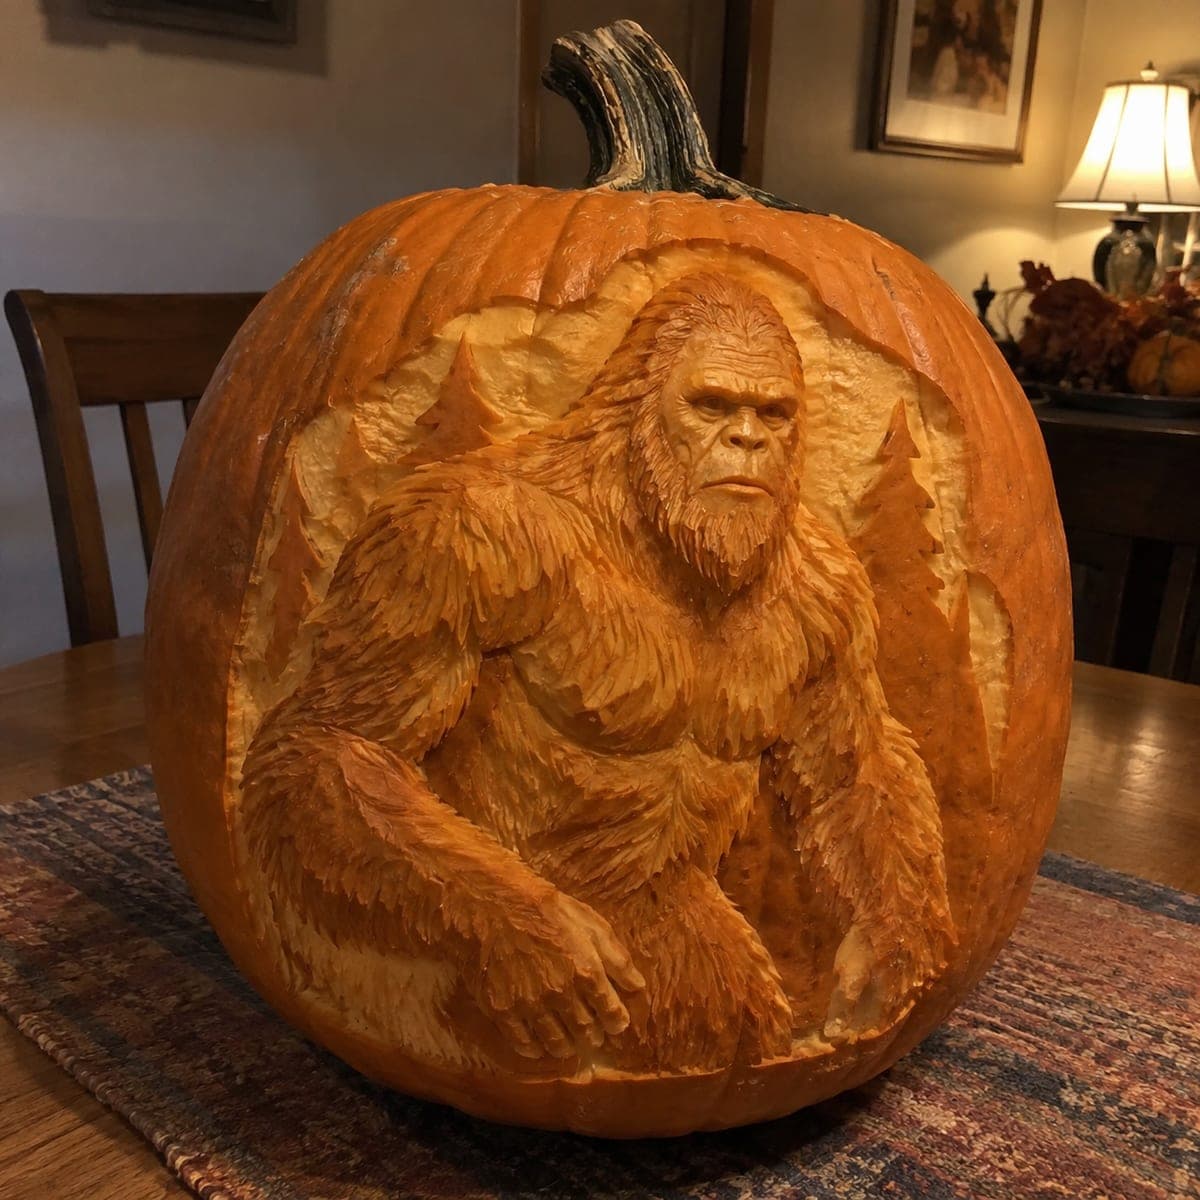
Bigfoot in the Forest Expert Shaded PumpkinAI
0

Bigfoot in the Forest Expert Shaded Pumpkin

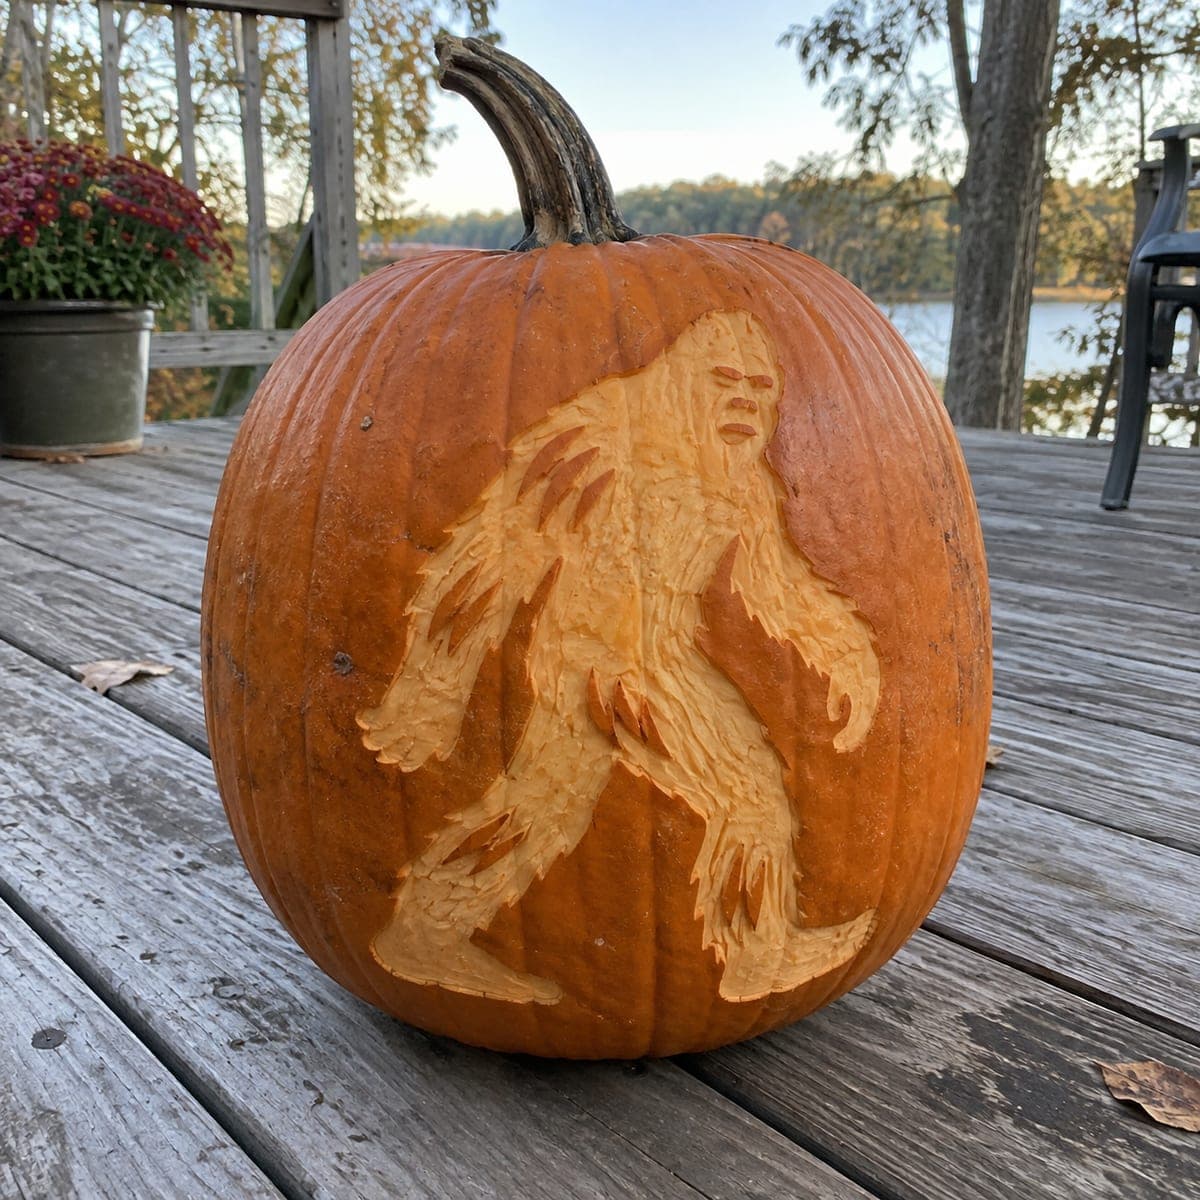
Sasquatch stands amid carved pine trees in this jaw-dropping expert pumpkin carving idea, with thick fur, a muscular torso, and a brooding face rendered in multi-depth surface shading. Every hair tuft is individually etched with a fine loop tool to build a remarkably lifelike texture across the pumpkin skin. Begin with the background tree silhouettes, remove more skin for the mid-ground figure, and leave the darkest fur highlights un-peeled. Displayed under a spotlight or warm lamp, the dimensional fur texture creates a dramatic shadow play.

This is an AI-generated concept image: a realistic, carvable design idea rather than a photo of a finished carve. AI concepts are always labeled and sit out the leaderboard and the contest.

No ratings yet · Sign in to rate
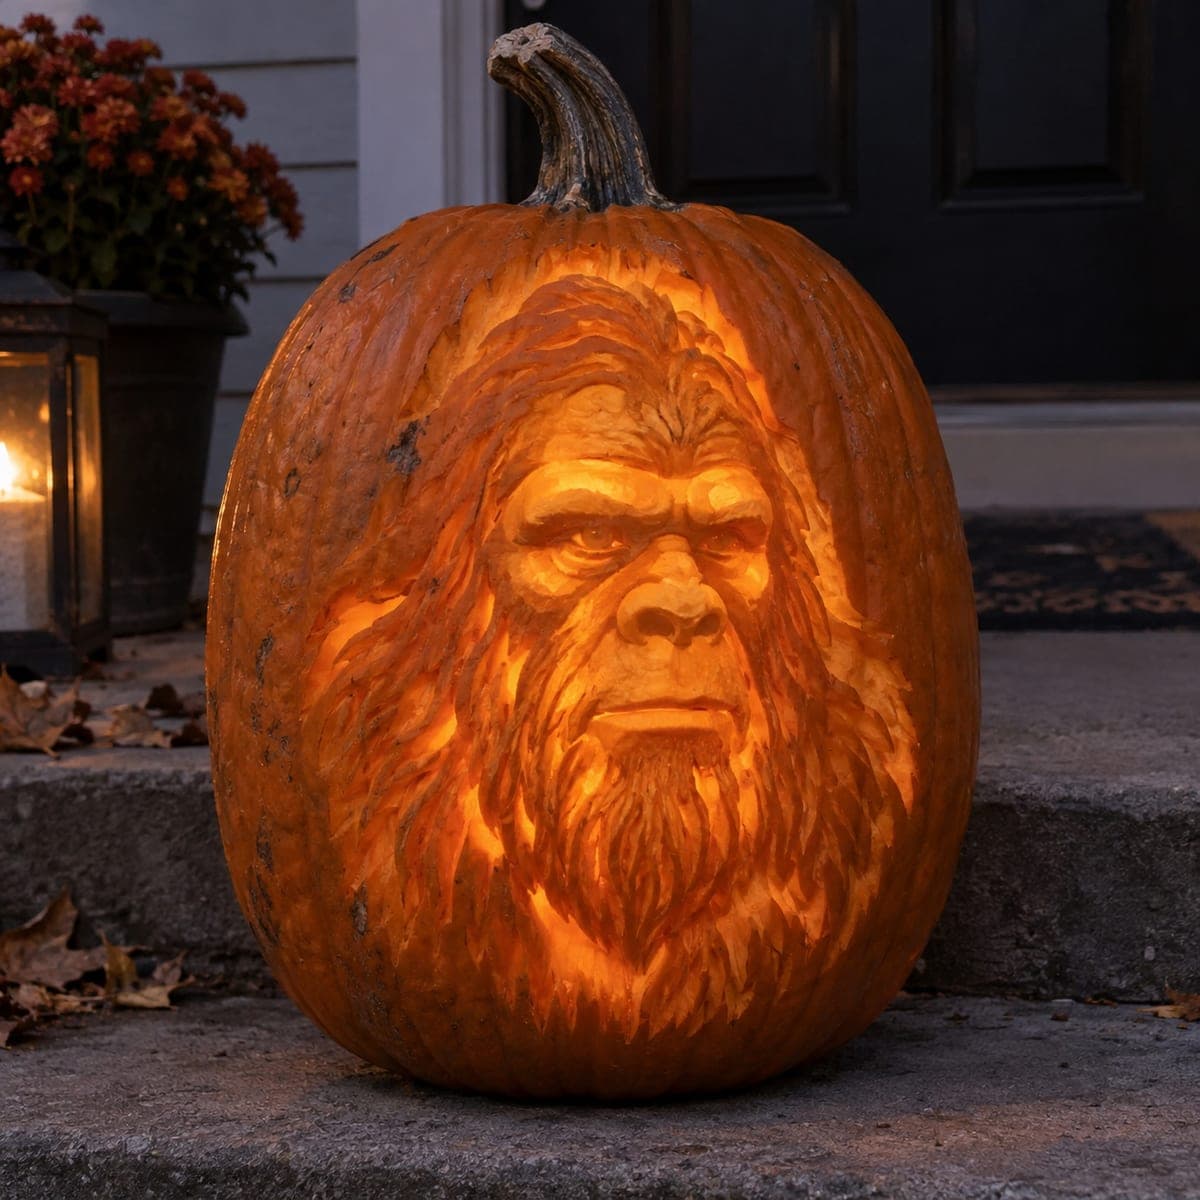
Comments (0)

  • No comments yet — be the first.

Save without an account. Sign in to like or comment.

Our tips for carving a similar design

The core trick here is surface shading, working in three depths rather than cutting all the way through the pumpkin. The plan is to set flat pine silhouettes in the background, peel the skin off the figure to bring it forward, and leave the darkest fur ridges untouched so the raised texture catches the light. Every hair tuft is etched with a fine loop tool to build that lifelike coat.

Written by PumpkinCarvingIdeas.com, inspired by the image above. These are our suggestions, not instructions from the uploader. This approach to the AI concept has not been tested on a real pumpkin.

From pumpkin to porch

  1. Prep and transfer the scene

    Pick a large, smooth pumpkin with a broad flat face for the figure. Scrape the inside wall down to about one inch so light passes through the peeled areas, and drop in an LED puck to test glow. Tape your Bigfoot and pine-tree pattern to the front and poke the main outlines with a transfer tool. Mark which zones are background, mid-ground, and fur ridges before you start cutting.

  2. Set the background trees first

    Shade the pine silhouettes into the skin behind the figure using shallow scoops with a loop tool. Keep these areas thin so they read as a soft, dim glow, not full cutouts. Leave a clean edge where each tree meets the body so the figure will stand in front of it later. Work the whole background before you touch the Bigfoot so you have room to rest your hand.

  3. Peel the figure to bring it forward

    Remove the outer skin across the torso, arms, and face so this mid-ground layer glows brighter than the trees. Vary how deep you go, going a little thinner on the chest and highlights and leaving more thickness in the shadowed areas. This depth difference is what makes the body pop off the background. Take your time and step back often to check the contrast under your light.

  4. Etch the fur texture

    Switch to a fine loop or detail tool and carve the fur one tuft at a time, following the direction the hair would grow. Leave the darkest fur ridges with skin still on them so they stay dark and catch shadow, and scoop between them for lighter valleys. This alternating dark ridge and light valley is what sells the coat. Rotate the pumpkin so you are always pulling the tool comfortably toward yourself.

  5. Refine the face and hands

    The brooding face carries the piece, so work slowly on the brow, cheeks, and nose using gentle depth changes rather than deep cuts. Keep the eyes and mouth as shaded recesses so they stay dark and expressive. Keep the fingers and any thin fur edges attached to solid pumpkin so nothing snaps off. Adults should handle all the sharp detail tools.

  6. Light it and photograph

    Place the LED inside and add a warm lamp or small spotlight off to one side. The side light rakes across the raised fur and throws the shadows that give the texture depth. Mist the cut surfaces with water and refrigerate between viewings to keep the shading crisp. Shoot photos in a dim room so the three light levels stand out.

Gather your supplies

Check things off as you get ready.

Work on a stable surface, keep your free hand out of the cutting path, and have an adult handle sharp tools.

Three levels of light

  • Leave intact

    The darkest fur ridges, the eyes, and the shadowed mouth stay as untouched skin.

  • Peel & shade

    The torso, arms, face, and the background pine trees are skin-peeled for a dim to mid glow.

  • Cut through

    Little to nothing is cut fully through on this shaded design; keep it a surface relief for the strongest texture.

Learn the carving basics

Before you start cutting

This is an AI concept, so can a real pumpkin actually look like this?

No real pumpkin exists for this image, but a similar shaded relief is achievable by a patient carver. Focus on the three depth levels and etched fur rather than any cut-through openings. Expect the texture to be softer than the render, since real pumpkin flesh has limits.

How do I keep the fur from looking flat?

The key is alternating dark ridges and light valleys and always following hair direction. Leave skin on the raised ridges so they hold shadow, and scoop the valleys thinner so they glow. Side lighting does the rest by casting shadows across the texture.

How thin should I peel the figure versus the trees?

Peel the background trees just enough to read as a faint glow, then take the figure a bit thinner so it clearly steps forward. Never go so thin that the wall feels flimsy or tears. Test against your LED as you go and stop when the contrast looks right.

Your take belongs here, too.

Changed a detail? Made it simpler? Share a photo of your version and tell the community what worked.

Share your pumpkin

More pumpkins like this

You've reached the end · 8 pumpkins
The Patch Report

Fresh pumpkins, in your inbox.

The best new carvings, ideas worth stealing, and how-tos for carving season. Short, seasonal, and gone by November.

A short email during carving season. Unsubscribe anytime. See our privacy policy.