Halloween Pumpkin Carving Contest · Starts October 1st · $500 in prizes
← Back to ideas
@ai_concepts
Aug 22, 2026
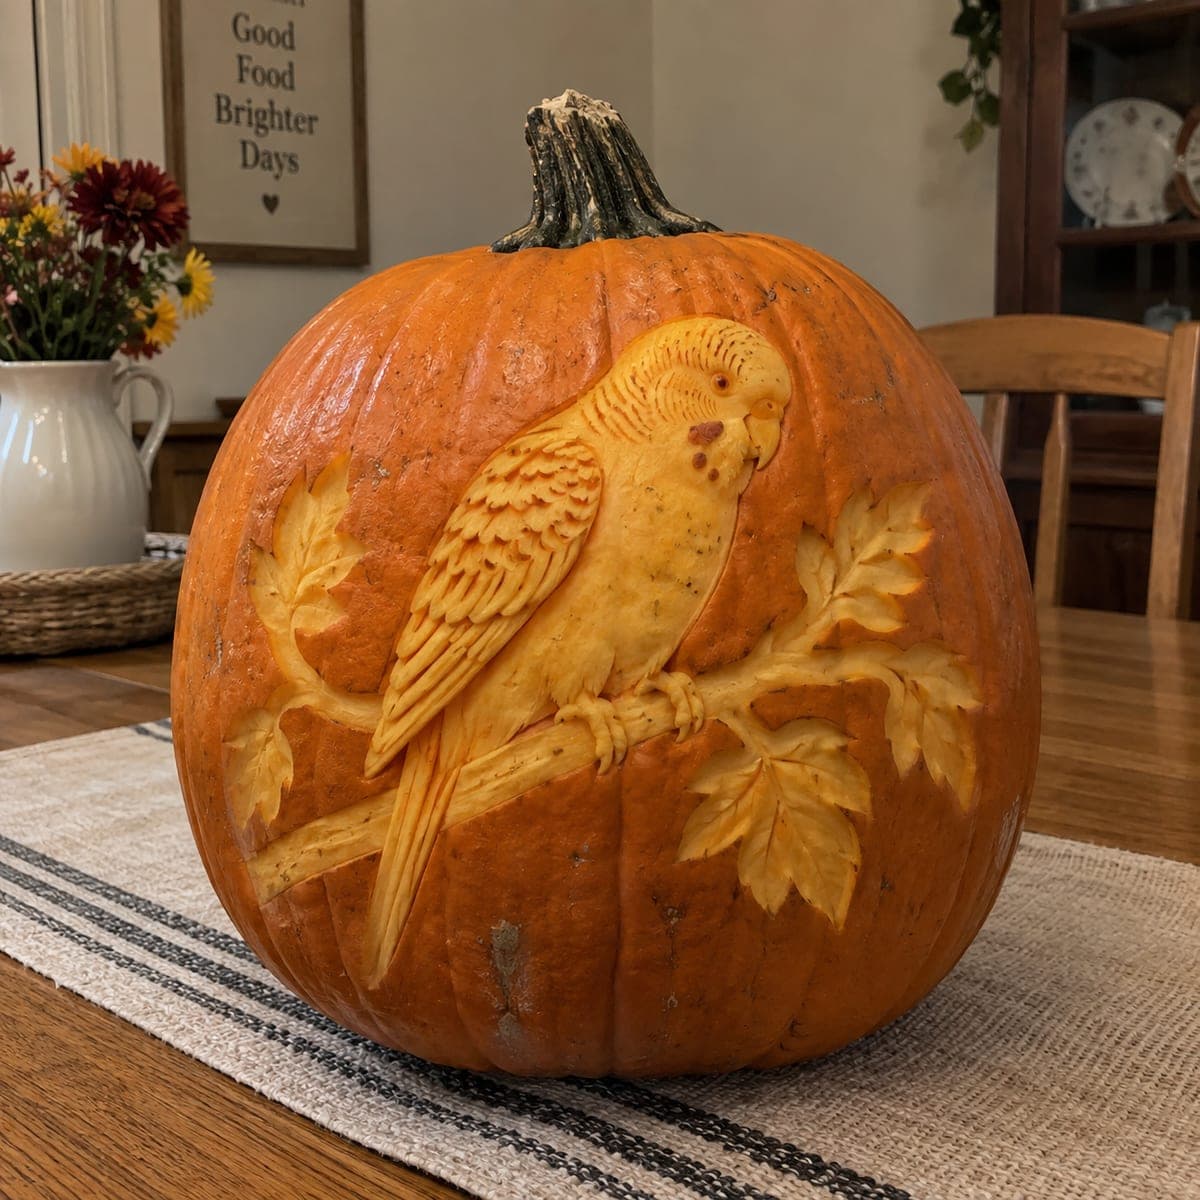
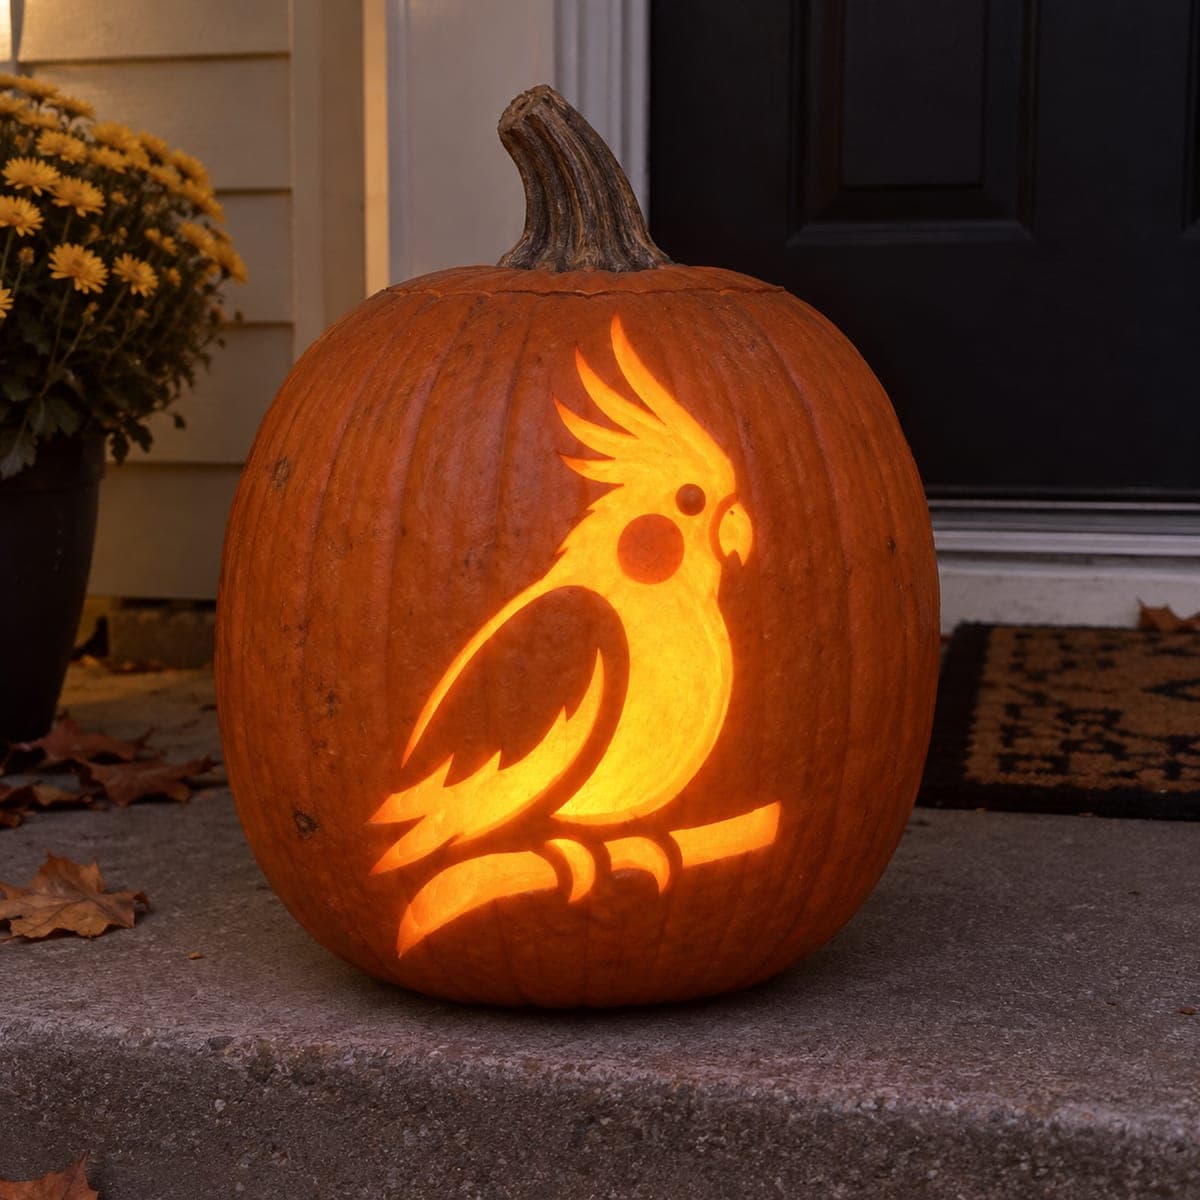
Cockatiel on a Branch Relief Pumpkin CarvingAI
0

Cockatiel on a Branch Relief Pumpkin Carving

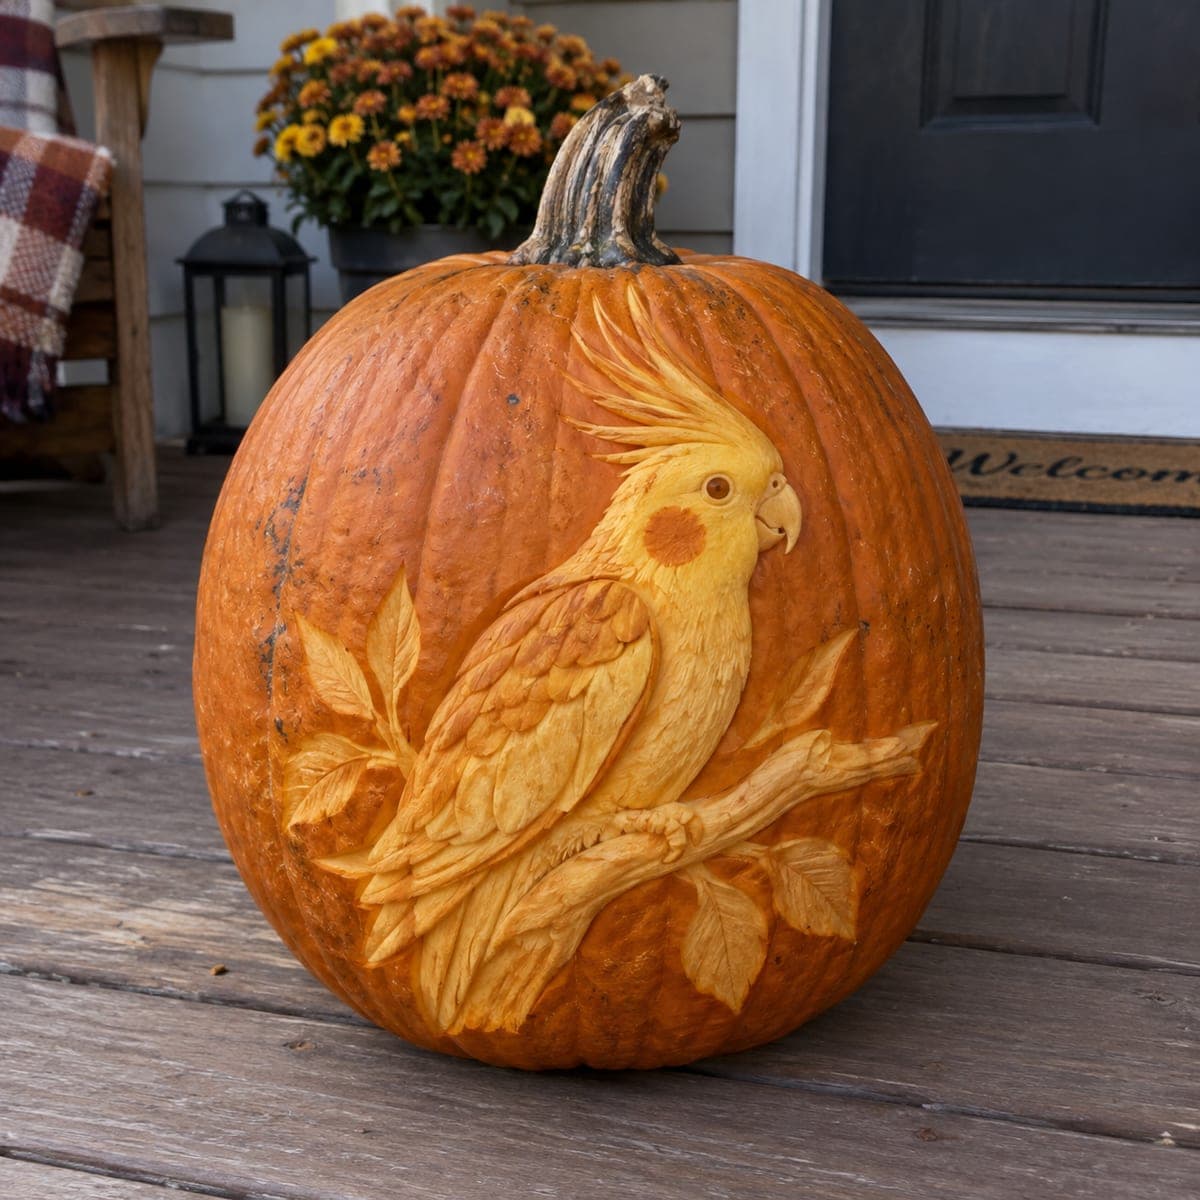
A crested cockatiel perches on a leafy branch in this daylight relief pumpkin, its round cheek patch and layered wing feathers carved in raised detail. The whole scene sits proud of the surface, with the background pared back so the bird appears to step forward. Outline the bird with a V-tool, lower the background evenly around it, then texture the feathers last, and display it where morning light rakes across the carving.

This is an AI-generated concept image: a realistic, carvable design idea rather than a photo of a finished carve. AI concepts are always labeled and sit out the leaderboard and the contest.

No ratings yet · Sign in to rate
Comments (0)

  • No comments yet — be the first.

Save without an account. Sign in to like or comment.

Our tips for carving a similar design

This is a relief carving, so instead of cutting all the way through the shell you lower the background and leave the cockatiel raised above the surface. The core trick is depth in layers: outline the bird and branch, pare the background back evenly so the subject steps forward, then shade the crest, cheek patch, and wing feathers last. Plan to display it in raking daylight rather than lit from inside, since the whole effect lives in the surface texture.

Written by PumpkinCarvingIdeas.com, inspired by the image above. These are our suggestions, not instructions from the uploader. This approach to the AI concept has not been tested on a real pumpkin.

From pumpkin to porch

  1. Transfer the design and study the layers

    Tape your cockatiel-and-branch pattern to a large, smooth-shouldered pumpkin and poke through the main outlines with a pin or transfer tool. Before cutting, decide which parts sit closest to you: the head and near wing are highest, the far wing and branch a touch lower, and the leaves lower still. Marking these depth notes lightly in pencil keeps you from carving everything flat. This is an artistic concept image, so treat it as a target to aim for, not a literal copy.

  2. Cut the outline with a V-tool

    Trace the entire silhouette of the bird, branch, and leaves with a V-gouge, keeping the tool leaning slightly away from the subject so the edge stays crisp. Work in short, controlled strokes and let an adult handle the sharp gouges. Keep leaf tips and the crest feathers connected to the body rather than free-floating so nothing snaps off. Go around twice at a shallow depth instead of forcing one deep pass.

  3. Lower the background evenly

    Using a wide loop or ribbon tool, scoop away the skin and a thin layer of flesh in the open areas around the bird so the background sits recessed. Aim for a consistent depth, checking often by eye and running a fingertip across the edges. Take your time near the crest and tail where the subject meets the background, since a clean step is what makes the bird pop. Save the deepest scooping for the corners furthest from the bird.

  4. Sculpt the body and branch forms

    Now round the raised shapes so they read as a real bird. Gently slope the edges of the head, chest, and folded wing down toward the background so they look three-dimensional rather than like a flat sticker. Round the branch into a cylinder and let the near wing overlap the far one with a soft ridge between them. Keep checking from an arm's length away as you go.

  5. Shade the feathers and cheek patch last

    Save the fine work for the end, when the big forms are settled. Use a small V-tool for the swept crest lines and short curved strokes for the layered wing feathers, following the direction they grow. Peel a shallow skin layer for the round cheek patch and the soft chest so they glow a touch warmer than the pale carved feathers. Blend the transitions with a fine loop tool for a smooth, painterly finish.

  6. Seal, stage, and photograph in daylight

    Coat every cut surface with a thin layer of petroleum jelly or a spray sealer to slow drying and browning. Set the pumpkin on a porch or step where morning or late-day sun rakes across it at a low angle, which throws shadows into the recessed background and makes the bird stand out. Skip an interior candle; an external light or plain daylight shows relief work best. Refresh the sealer daily and shoot photos early while the carving is crisp.

Gather your supplies

Check things off as you get ready.

Work on a stable surface, keep your free hand out of the cutting path, and have an adult handle sharp tools.

Three levels of light

  • Leave intact

    The untouched orange skin of the background and any deep leaf shadows stays darkest.

  • Peel & shade

    The round cheek patch, soft chest, and body feathers get a shallow skin peel for a warm mid tone.

  • Cut through

    The crest tips, pale wing feathers, and branch edges are pared deepest to catch the most light.

Learn the carving basics

Before you start cutting

Do I cut all the way through the pumpkin anywhere?

No, this is a relief carving, so you only remove skin and a thin layer of flesh. The bird and branch stay raised while the background is lowered around them. Keeping the shell mostly intact is what lets the surface catch daylight and hold fine feather detail.

How do I keep the crest and leaf tips from breaking off?

Because you are shading rather than cutting through, most thin shapes stay backed by pumpkin flesh, which is what keeps them strong. Carve the crest as grooves on a raised area instead of freestanding spikes, and leave each leaf tip connected to the branch or body. Work shallow and avoid undercutting anything to a fragile edge.

Why display it in daylight instead of with a candle inside?

Relief carvings show their depth through shadow, not backlight, so a low-angle sun or a side-mounted LED reveals the raised bird far better than a light inside the pumpkin. An interior flame would also do nothing here since there are no cut-through openings. Position it so morning or evening light rakes across the face.

Your take belongs here, too.

Changed a detail? Made it simpler? Share a photo of your version and tell the community what worked.

Share your pumpkin

More pumpkins like this

You've reached the end · 8 pumpkins
The Patch Report

Fresh pumpkins, in your inbox.

The best new carvings, ideas worth stealing, and how-tos for carving season. Short, seasonal, and gone by November.

A short email during carving season. Unsubscribe anytime. See our privacy policy.