Halloween Pumpkin Carving Contest · Starts October 1st · $500 in prizes
← Back to ideas
@ai_concepts
Sep 25, 2026
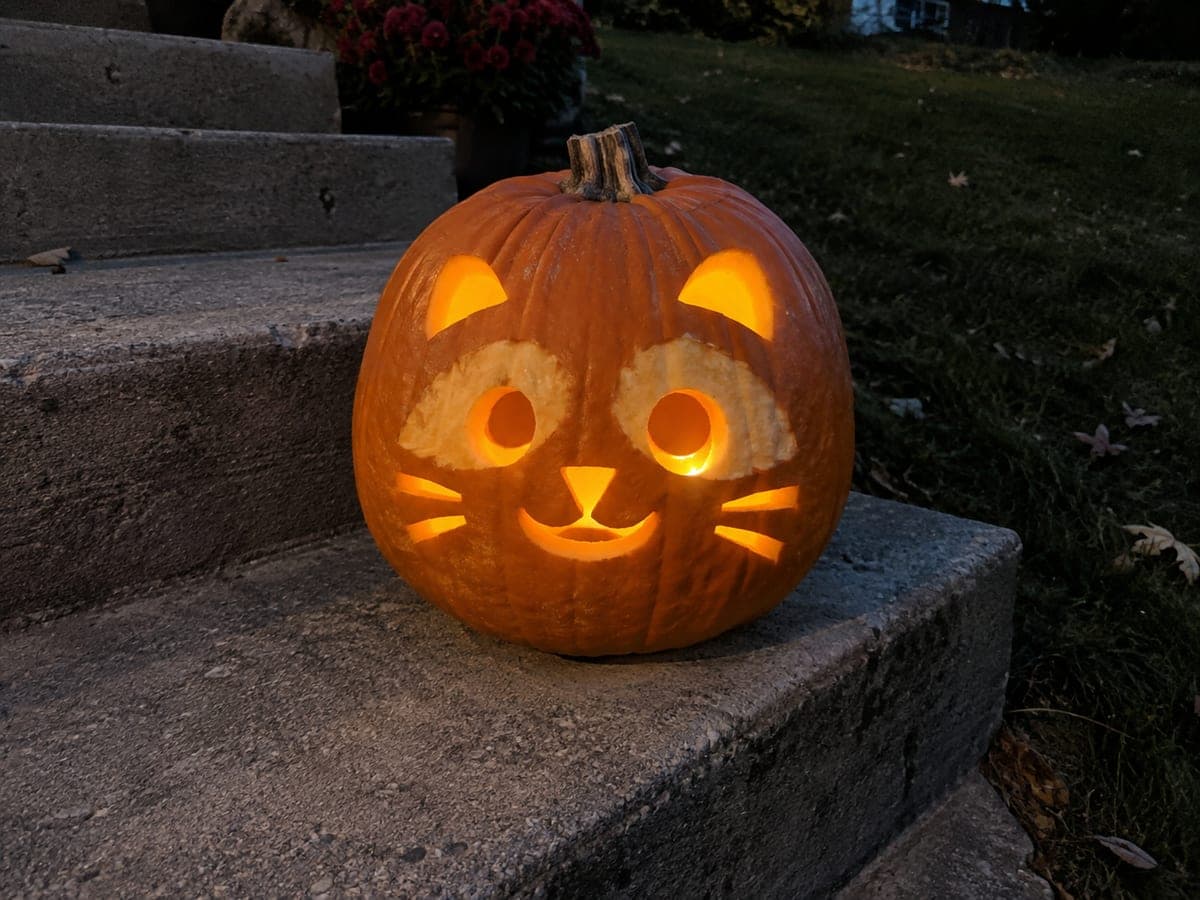
Cute Kitten Pumpkin with Round Eyes and Whisker HolesAI
0

Report this carving

Tell us what is wrong. Reports are private.

Cute Kitten Pumpkin with Round Eyes and Whisker Holes

Round eyes, a small bow-shaped mouth and four tiny whisker openings are all it takes to make this adorable easy cute cat pumpkin carving. Every hole is cut as a completely independent aperture with no retained pupil islands, keeping the design safe for beginners. Mark each opening with a sharpie before cutting to ensure even spacing on the pumpkin's face. A small LED tea light placed close to the back wall pushes an even warm glow through the round eye openings.

No ratings yet · Sign in to rate
Comments (0)

  • No comments yet — be the first.

Save without an account. Sign in to like or comment.

Our tips for carving a similar design

Everything here is a standalone hole with generous rind between each cut, which is exactly what makes this a beginner success. The round eyes, bow-shaped mouth and four tiny whisker openings are simple shapes that transfer cleanly and carve quickly. Spacing them evenly before you cut is the only real skill required.

From pumpkin to porch

  1. Prep the pumpkin

    Cut the lid from the back or base to preserve the stem, then scoop the interior clean with a large spoon. Scrape the front wall down to about 2.5 cm thick so the LED glow fills the round eye openings evenly. Dry the surface before marking.

  2. Mark the opening positions

    Use a ruler and a marker to mark the center point of each eye, the mouth center and the two pairs of whisker positions. Checking symmetry at this stage prevents one eye from sitting higher than the other. The four whisker holes should radiate at a gentle angle from just below the nose position.

  3. Cut the eyes

    Use a small keyhole saw or pumpkin carving saw to cut out both round eye circles. Cut with smooth circular strokes and push each piece inward once it is free. Because the holes have no retained interior pieces, this is a clean, forgiving cut.

  4. Cut the bow mouth

    A bow-shaped mouth is just two shallow curves meeting at a center point. Cut the upper curve first, then the lower curve, and remove the small piece that falls between them. Keep the mouth well below the eyes so the face does not look crowded.

  5. Add whisker holes

    Punch or cut four small oval or circular whisker openings, two on each side of the implied nose area. These can be as small as a centimeter across. Push each piece inward once the cut is complete. Short controlled strokes from the saw tip prevent cracking in such small holes.

  6. Light and display

    Place a small LED tea light close to the back wall so its glow spreads forward through the round eye openings. Set the pumpkin at eye level on a porch railing or windowsill where visitors will meet its gaze directly. Apply petroleum jelly to all cut edges to extend the carve life.

Written with AI to match this design

Gather your supplies

Check things off as you get ready.

Work on a stable surface, keep your free hand out of the cutting path, and have an adult handle sharp tools.

Three levels of light

  • Leave intact

    All rind between the openings, including the forehead, cheeks and chin, stays solid and unlit.

  • Peel & shade

    None. Only through-cuts are used.

  • Cut through

    Both round eyes, the bow mouth and all four whisker holes are cut through for full LED glow.

Learn the carving basics

Before you start cutting

How do I make the round eyes look like circles rather than ovals?

Draw the circles with a compass or round coin before cutting so you have a perfectly round guide to follow. Cutting freehand circles tends to produce ovals. Take your time following the drawn circle, especially at the top and bottom where the curve is tightest.

The bow mouth shape is confusing me. Can I simplify it?

A simple curved smile cut as one smooth arc is an easy substitute and still reads as a kitten expression. Trace a gentle upward curve with a coin or lid as a guide, then cut along it as a single hole. The bow detail adds charm but is not essential to the design.

My whisker holes are tearing rather than cutting cleanly. What is wrong?

Very small holes tend to tear if you use too large a blade or push too hard. Switch to the tip of a thin detail saw and use very short pecking strokes rather than a continuous push. Chilling the pumpkin before cutting firms the flesh and reduces tearing in small areas.

Your take belongs here, too.

Changed a detail? Made it simpler? Share a photo of your version and tell the community what worked.

Share your pumpkin

More pumpkins like this

You've reached the end · 8 pumpkins
The Patch Report

Fresh pumpkins, in your inbox.

The best new carvings, ideas worth stealing, and how-tos for carving season. Short, seasonal, and gone by November.

A short email during carving season. Unsubscribe anytime. See our privacy policy.