Halloween Pumpkin Carving Contest · Starts October 1st · $500 in prizes
← Back to ideas
@ai_concepts
Sep 25, 2026
Easy Cat Head and Witch Hat Combined Silhouette PumpkinAI
0

Report this carving

Tell us what is wrong. Reports are private.

Easy Cat Head and Witch Hat Combined Silhouette Pumpkin

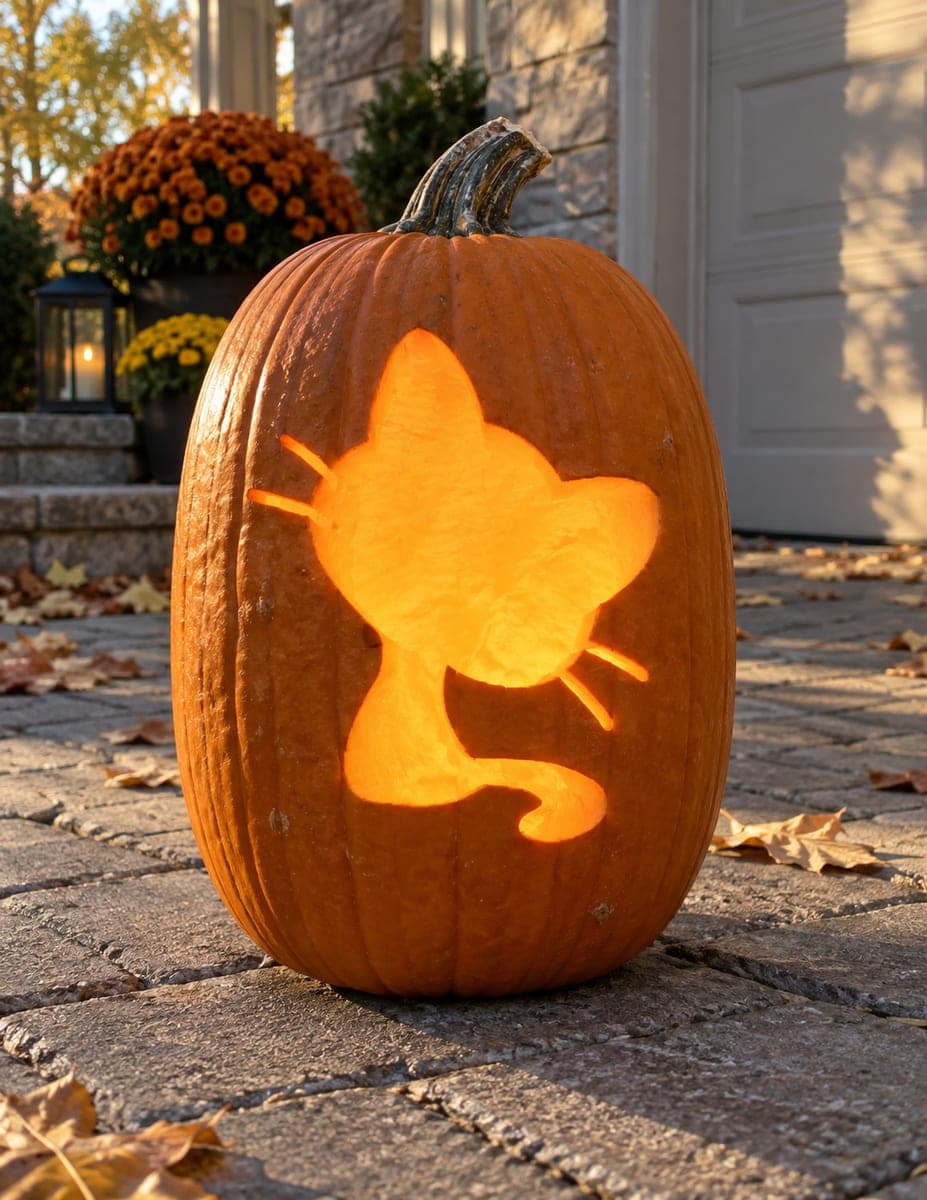
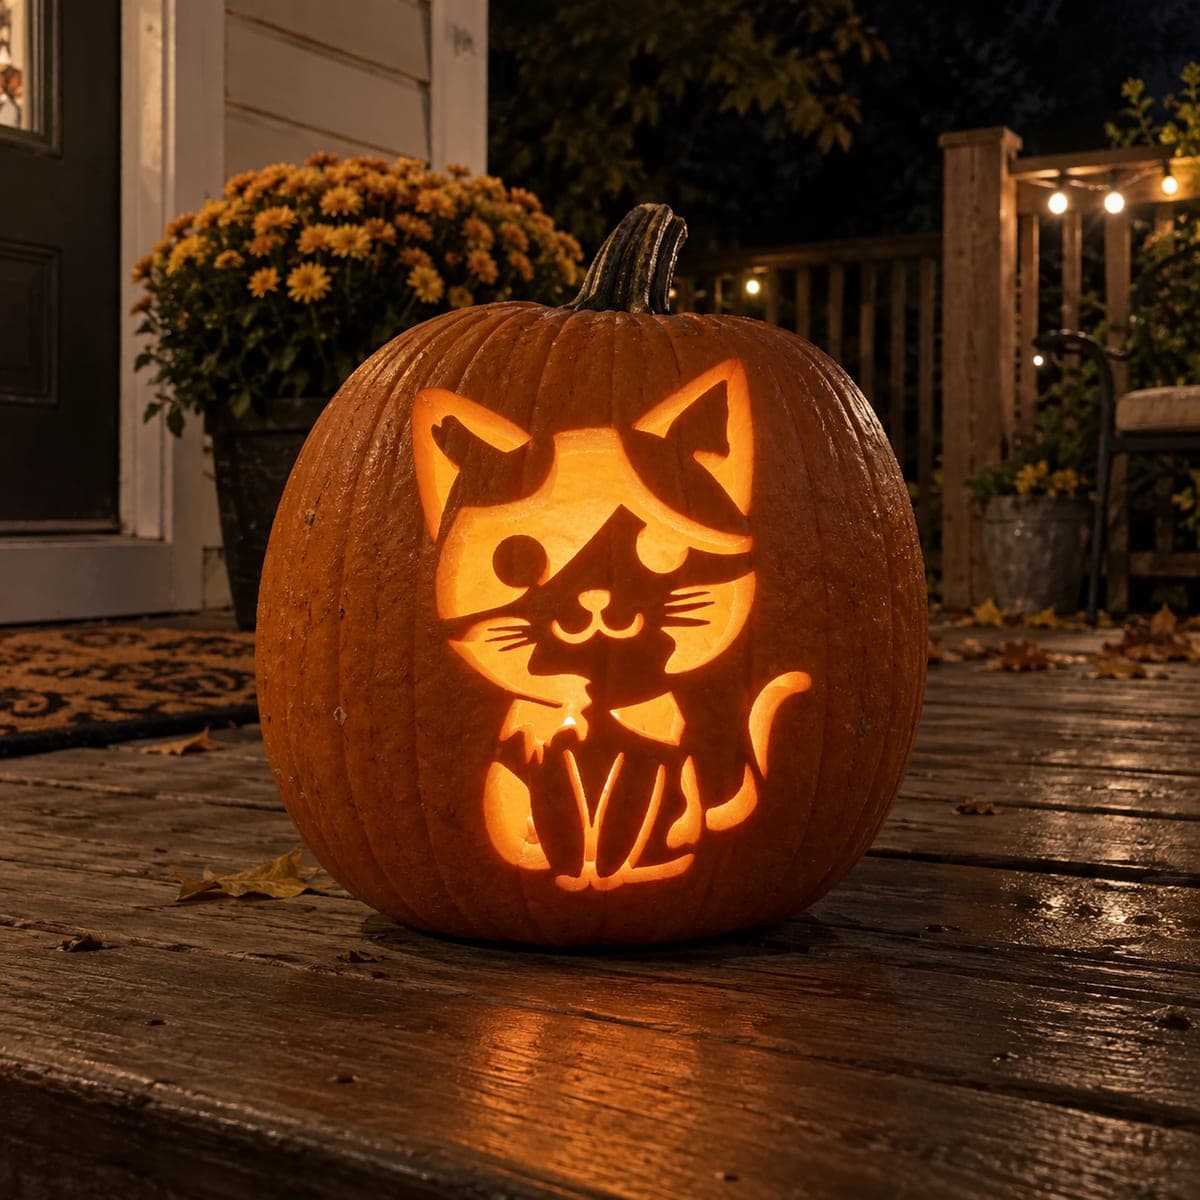
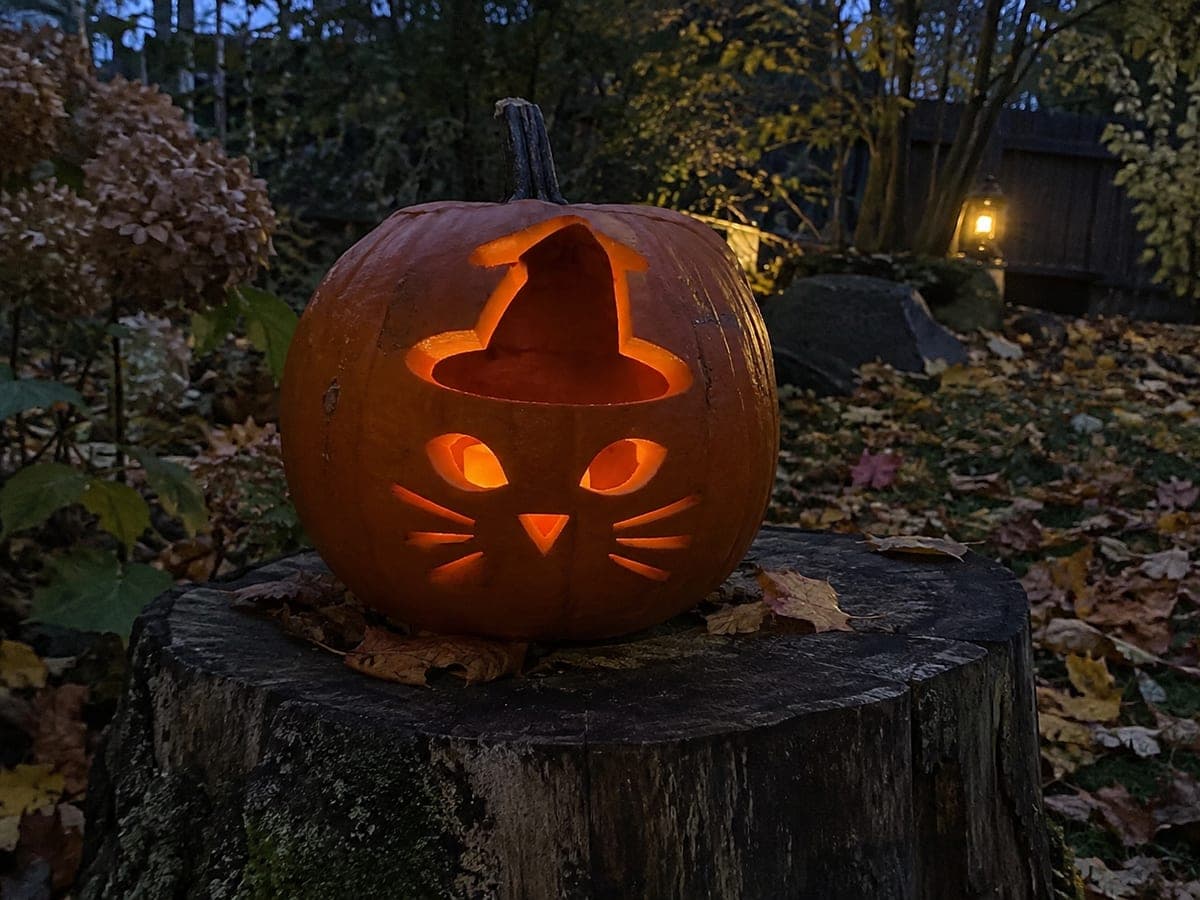
A single empty opening combining a cat's rounded cheeks, two pointed ears, a broad hat brim and a blunt bent hat tip is cut cleanly through the rind as one cohesive void in this easy cat with witch hat pumpkin carving. No internal eyes, buckle or border cut are needed, keeping the design beginner-friendly with no floating pieces. Use a detail knife to navigate the tight concave space between the ears and hat brim carefully. On a painted porch step at night, the combined silhouette reads as a cheerful Halloween icon.

No ratings yet · Sign in to rate
Comments (0)

  • No comments yet — be the first.

Save without an account. Sign in to like or comment.

Our tips for carving a similar design

The entire design is a single cohesive void combining a rounded cat face, two pointed ears, a broad brim and a bent hat tip. Because there are no interior islands or floating pieces, the only structural challenge is the tight concave area where the ears meet the brim. Cut slowly through those curves and the rest of the opening follows easily.

From pumpkin to porch

  1. Prepare the pumpkin

    Scoop the pumpkin through a back or bottom opening rather than the top so the hat tip stays intact. Remove seeds and scrape the interior wall to about an inch thick where the design will be cut. Dry the outer surface with a paper towel so the transfer sticks cleanly.

  2. Transfer the silhouette

    Print the combined cat-and-hat outline at the size you want and tape it flat against the pumpkin. Use a poke tool or thin nail to perforate along every edge of the silhouette, then remove the paper and connect the dots with a marker. The concave gap between the ear tips and the hat brim is where accuracy matters most.

  3. Cut the outer edges

    Use a thin detail saw to cut along the cat cheeks, ears and hat brim first. Keep the blade perpendicular to the rind and let the saw do the work with light forward strokes. Pause often to check that the cut is progressing cleanly without tearing.

  4. Navigate the concave gap

    Switch to a narrow detail knife for the tight concave space between the ears and the brim. Make short controlled entry cuts from both sides toward the narrowest point rather than trying to saw through it in one pass. Adults should handle this step; the blade can slip in tight curves.

  5. Pop out the void and clean up

    Gently push the cut piece inward from the front. If it resists, trace any uncut sections with the knife before forcing it. Use a small file or folded sandpaper to smooth any jagged edges around the opening.

  6. Light and display

    Place a battery-powered LED candle inside and step back to check the silhouette reads cleanly. Position the pumpkin on a painted porch step at a slight angle so the hat tip is visible. The single glowing void photographs best against a dark background.

Written with AI to match this design

Gather your supplies

Check things off as you get ready.

Work on a stable surface, keep your free hand out of the cutting path, and have an adult handle sharp tools.

Three levels of light

  • Leave intact

    All surrounding orange rind, which stays completely dark

  • Peel & shade

    None, this design has no partial-glow areas

  • Cut through

    The entire combined cat-head-and-witch-hat void, which glows as one bright opening

Learn the carving basics

Before you start cutting

How do I keep the concave gap between the ears and brim from cracking?

Approach that tight curve from both sides with short strokes rather than one long pass. Make sure the rind is scraped to a consistent thickness in that area so you are not fighting through a thick spot. Go slowly and the rind will release cleanly.

Can I scale the silhouette up or down for a bigger or smaller pumpkin?

Yes. Resize the template on your printer before transferring it. The only thing to watch is that the hat brim stays wide enough relative to the ear spacing so the shape still reads as a unified icon at your chosen size.

Will the design still look good if my pumpkin is not perfectly round?

An elongated pumpkin can actually improve the hat's proportions by giving the tip more vertical room. Just center the design on the flattest front face and adjust the brim angle slightly to follow any natural curve.

Your take belongs here, too.

Changed a detail? Made it simpler? Share a photo of your version and tell the community what worked.

Share your pumpkin

More pumpkins like this

You've reached the end · 8 pumpkins
The Patch Report

Fresh pumpkins, in your inbox.

The best new carvings, ideas worth stealing, and how-tos for carving season. Short, seasonal, and gone by November.

A short email during carving season. Unsubscribe anytime. See our privacy policy.