Halloween Pumpkin Carving Contest · Starts October 1st · $500 in prizes
← Back to ideas
@ai_concepts
Sep 25, 2026
Cat Witch Hat and Broom Pumpkin Oval WindowAI
0

Report this carving

Tell us what is wrong. Reports are private.

Cat Witch Hat and Broom Pumpkin Oval Window

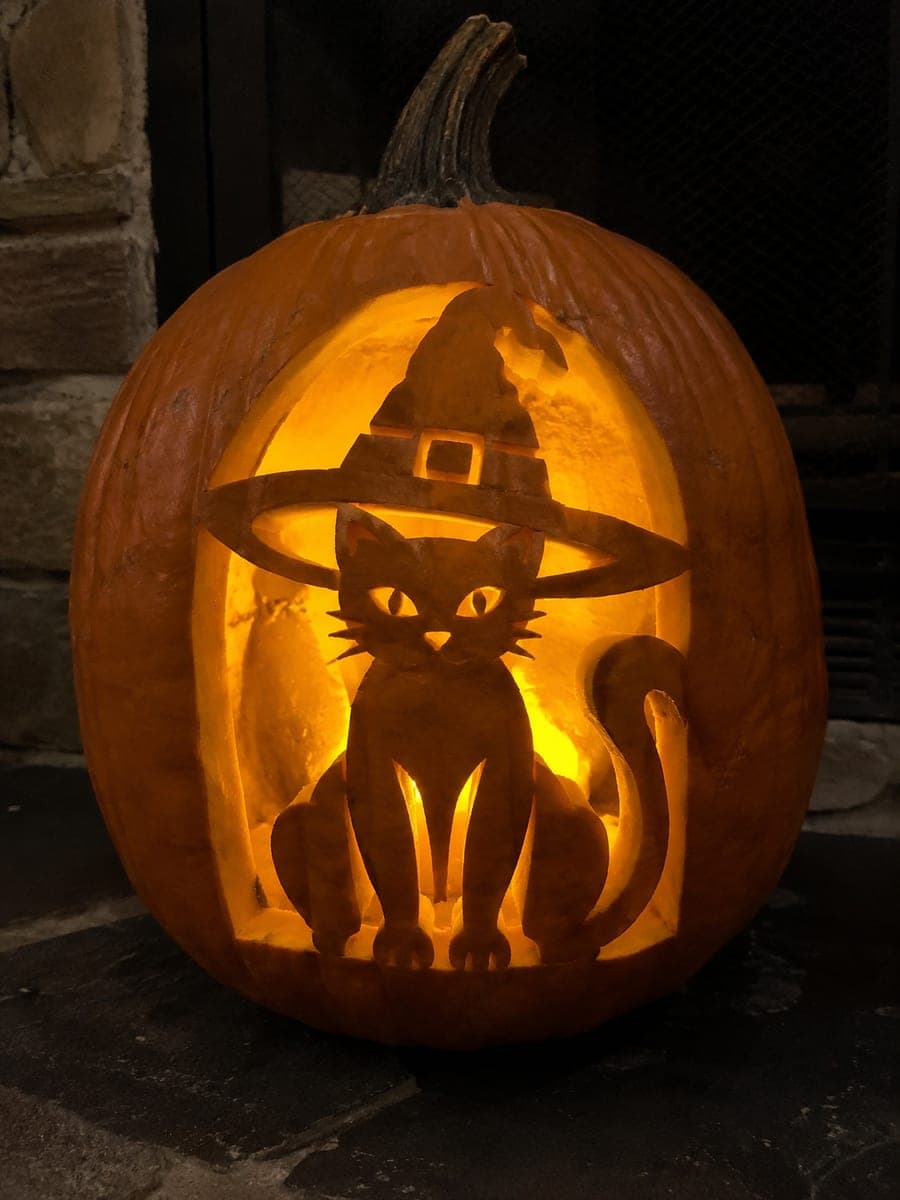
A retained cat wearing a broad crooked witch hat holds a broom inside an oval window, with paws, tail and broom base attached to the wide bottom frame, hat brim joining both sides and the blunt hat tip merging with the top in this expert cat with witch hat pumpkin carving. Small eye holes and separated hat-band slots add detail, while fur and broom-bristle slots divided by thick ribs provide texture without floating pieces. Map all bridge points on paper before cutting and begin with the oval window border to establish the frame.

No ratings yet · Sign in to rate

Comments (0)

  • No comments yet — be the first.

Save without an account. Sign in to like or comment.

Our tips for carving a similar design

Every element of this carving must be anchored to the oval frame through at least one bridge: the paws and broom base into the bottom, the hat brim into the sides and the hat tip into the top. Mapping all bridge points on paper before touching the pumpkin is not optional at this complexity level. Starting with the oval border establishes the frame that holds everything else together.

From pumpkin to porch

  1. Map the design on paper

    Sketch or print the oval, the cat, hat and broom and mark every point where a design element touches the frame. Label each bridge and note its minimum safe width. At this level of complexity, having a bridge map in hand during carving prevents accidental cuts through a critical connection.

  2. Hollow and prep the pumpkin

    Access the interior from the back and scrape the entire front wall to a consistent inch of thickness. Thinner spots near the oval edge can crack when you cut the frame border, so spend extra time here before transferring the design.

  3. Transfer the full pattern

    Tape the pattern to the pumpkin and poke-transfer every element including the fur slots and broom bristle divisions. Remove the paper and trace the perforations with a marker, using different colors for through-cuts and scored areas to avoid confusion during cutting.

  4. Cut the oval border first

    Use a detail saw to cut the full oval border, establishing the frame. Work slowly around the tightest curves. Remove the oval background piece, leaving the cat-hat-broom assembly attached at all marked bridge points.

  5. Remove background sections and add apertures

    Cut away background sections around the cat body and hat systematically, from widest sections toward narrowest. Cut the small eye holes through completely and separate the hat-band slots carefully, keeping them short. Leave all bridge connections untouched.

  6. Score fur and broom-bristle slots last

    Use a detail knife to score the fur groove slots and broom-bristle divisions, removing just the top rind layer. Divide bristle clusters with thick ribs of intact rind between them. Score lightly and check depth frequently to avoid cutting through in a structurally thin area.

Written with AI to match this design

Gather your supplies

Check things off as you get ready.

Work on a stable surface, keep your free hand out of the cutting path, and have an adult handle sharp tools.

Three levels of light

  • Leave intact

    The retained cat, hat and broom body, which stays dark against the glowing oval background

  • Peel & shade

    Fur groove slots and broom-bristle score lines, which show subtle mid-tone contrast

  • Cut through

    Oval background sections, small eye holes and hat-band slots, which glow fully

Learn the carving basics

Before you start cutting

What is the safest order for cutting the internal background sections?

Cut the largest background panels first while the shell is at maximum rigidity, then work down to smaller sections between design elements. Always cut away from bridge points and leave the narrowest sections adjacent to bridges for the very last pass.

How wide should the broom-bristle ribs be?

Keep each rib at least a centimeter wide. Thinner ribs will flex and potentially snap when pressure is applied nearby. The bristle effect reads well visually even with sturdy ribs.

If a bridge partially cracks during cutting, can I repair it?

Stop cutting immediately. Let the pumpkin rest and press the crack closed gently. Apply a thin line of craft glue from the interior and let it set for at least 20 minutes before continuing. Widening the bridge slightly on either side of the crack with a light filing motion can also help distribute load.

Your take belongs here, too.

Changed a detail? Made it simpler? Share a photo of your version and tell the community what worked.

Share your pumpkin

More pumpkins like this

You've reached the end · 8 pumpkins
The Patch Report

Fresh pumpkins, in your inbox.

The best new carvings, ideas worth stealing, and how-tos for carving season. Short, seasonal, and gone by November.

A short email during carving season. Unsubscribe anytime. See our privacy policy.