Halloween Pumpkin Carving Contest · Starts October 1st · $500 in prizes
← Back to ideas
@ai_concepts
Sep 3, 2026
Daydreaming Fairy Relief Pumpkin SculptureAI
0

Daydreaming Fairy Relief Pumpkin Sculpture

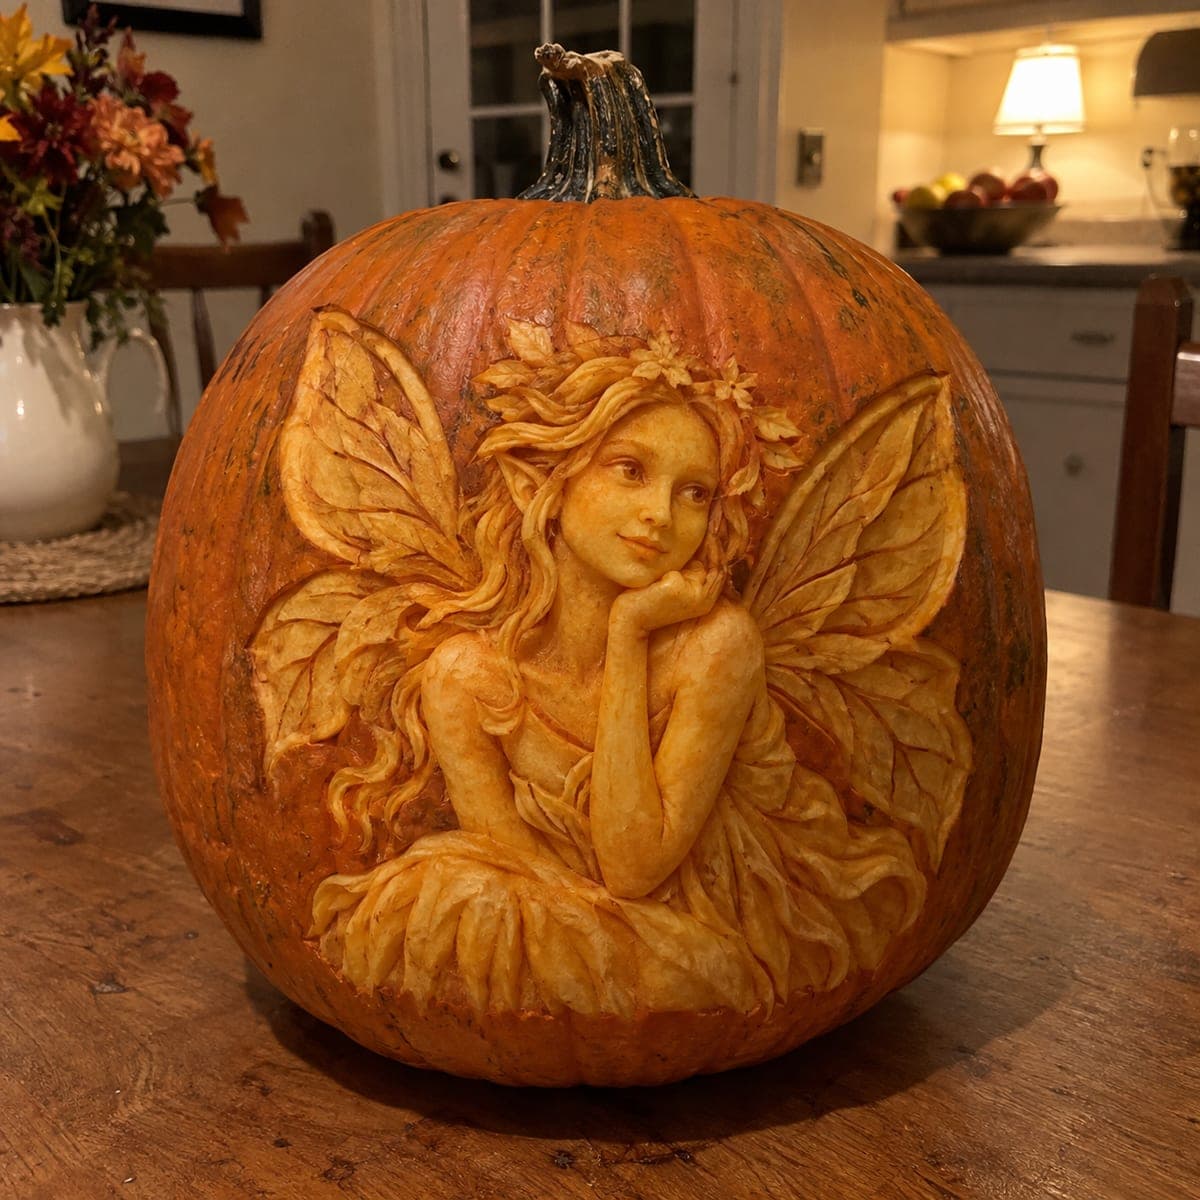
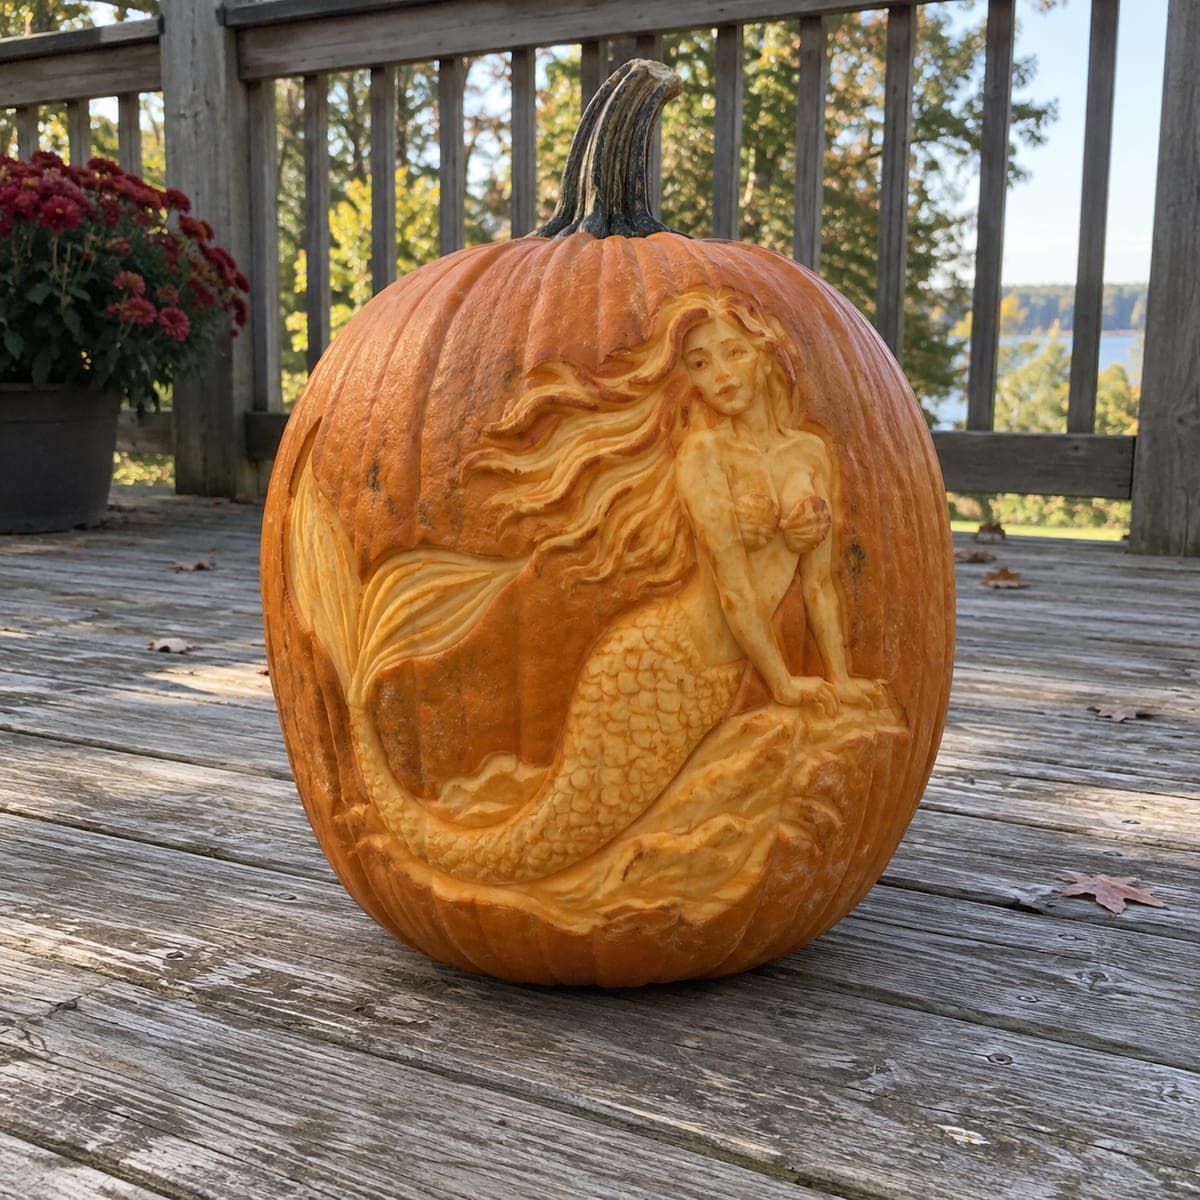
A fairy rests her chin on her hand, framed by veined butterfly wings and a petal skirt, all sculpted in high relief across the pumpkin's face. The flowing hair and layered wing membranes are shaved from the flesh with loop tools, leaving the darker skin as a natural background. Carve the deepest background areas first to establish contrast, then refine the face with the smallest ribbon tool you own. Kept cool and misted, a relief sculpture like this holds for several days.

This is an AI-generated concept image: a realistic, carvable design idea rather than a photo of a finished carve. AI concepts are always labeled and sit out the leaderboard and the contest.

No ratings yet · Sign in to rate
Comments (0)

  • No comments yet — be the first.

Save without an account. Sign in to like or comment.

Our tips for carving a similar design

This design is pure relief sculpture, so almost nothing gets cut all the way through. The trick is shaving the flesh to different depths so peeled areas glow while the untouched skin stays dark as a natural background. Plan the whole scene first: fairy, veined wings, petal skirt, and flowing hair all sculpted in shallow layers with loop and ribbon tools.

Written by PumpkinCarvingIdeas.com, inspired by the image above. These are our suggestions, not instructions from the uploader. This approach to the AI concept has not been tested on a real pumpkin.

From pumpkin to porch

  1. Transfer and map your depths

    Pick a wide, blemish-free pumpkin and wipe it clean. Tape your fairy pattern to the flattest face and poke through the main outlines with a pin or trace them with a washable marker. Before cutting, mentally note which areas will stay dark skin, which get lightly shaved, and which get the deepest scooping. A quick sketch of your depth plan saves mistakes later.

  2. Open a back access hole

    Since this is relief work you do not need a big lid on top. Have an adult cut a modest round hole in the back so you can reach in, thin the wall from the inside, and place a light. Thinning the wall behind the face to about one inch lets more glow pass through the shaved areas. Scrape the inside smooth with a scoop.

  3. Carve the deep background first

    Establish contrast by cutting the deepest areas around the fairy and between the wing lobes. Use a medium loop tool to remove flesh where the design recedes, working slowly and keeping your free hand behind the blade path. Leave the outer background as untouched skin so it reads dark. Getting these lows in early gives you a reference for every shallower layer.

  4. Shave the wings, skirt, and hair

    Switch to a loop tool and shave the wing membranes, petal skirt folds, and flowing hair to a mid depth so they glow softly. Vary your pressure to suggest layered petals and the fan of each wing. Leave thin raised ridges between sections to act as veins and hair strands, which also keep the relief structurally strong. Do not undercut these ridges or they will crumble.

  5. Refine the face and hands

    Use the smallest ribbon tool you own for the face, resting chin, and delicate fingers. Take off only a whisper of flesh at a time to shape the cheeks, nose, and closed serene expression. Keep the brightest, thinnest shaving for the highlights on the cheekbone and knuckles. Step back often to check the light reads as a face and not a flat patch.

  6. Light it and keep it fresh

    Drop a battery LED puck inside through the back hole, never a candle, since the thin wall and fine detail are easy to scorch. Mist the carved flesh with water and wipe the surface, then store the pumpkin cool between showings. A relief sculpture like this holds several days if you re-mist and refrigerate it overnight. Photograph it in a dim room to capture the depth.

Gather your supplies

Check things off as you get ready.

Work on a stable surface, keep your free hand out of the cutting path, and have an adult handle sharp tools.

Three levels of light

  • Leave intact

    The outer background and the darkest recesses between the wings stay untouched skin so they read deep and shadowy.

  • Peel & shade

    The wing membranes, petal skirt, and flowing hair are shaved to a mid depth for a warm dim glow.

  • Cut through

    The thinnest shavings on the face, cheekbone, and fingers pass the most light for the brightest highlights.

Learn the carving basics

Before you start cutting

Do I need to cut any holes all the way through?

Almost none. This is a relief sculpture, so the glow comes from shaving flesh to different depths rather than open cutouts. The only real opening is a modest hole in the back for access and the light.

How thin should the wall be behind the face?

Aim for about one inch behind the shaved areas so light passes through as a soft glow. Thin from the inside with a scoop and check often by holding a light to the wall. Going much thinner risks the fine face detail collapsing.

This looks like an AI concept, so can a real pumpkin actually do this?

Yes, the design is achievable as a shading relief on a real pumpkin, though it is expert level. Keep the wing veins and hair strands as attached raised ridges rather than free-standing pieces so nothing snaps off. Work slowly and treat it as sculpting, not slicing.

Your take belongs here, too.

Changed a detail? Made it simpler? Share a photo of your version and tell the community what worked.

Share your pumpkin

More pumpkins like this

You've reached the end · 8 pumpkins
The Patch Report

Fresh pumpkins, in your inbox.

The best new carvings, ideas worth stealing, and how-tos for carving season. Short, seasonal, and gone by November.

A short email during carving season. Unsubscribe anytime. See our privacy policy.