Halloween Pumpkin Carving Contest Β· Starts October 1st Β· $500 in prizes
← Back to ideas
@ai_concepts
Sep 25, 2026
Expert Brookhaven House Residents Car Pumpkin PorchAI
0

Report this carving

Tell us what is wrong. Reports are private.

Expert Brookhaven House Residents Car Pumpkin Porch

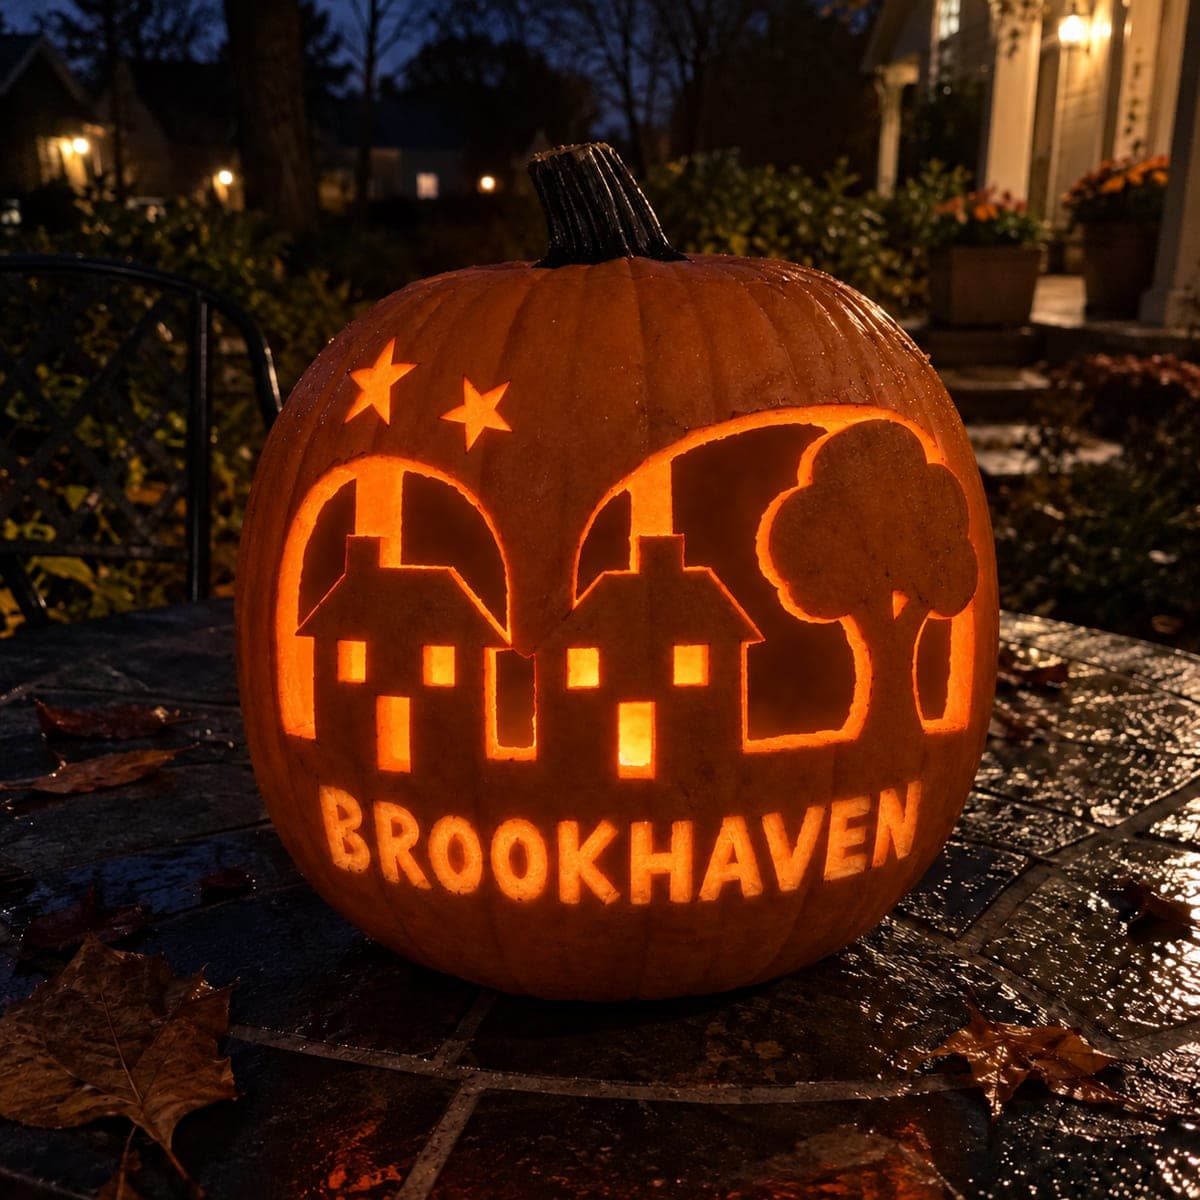
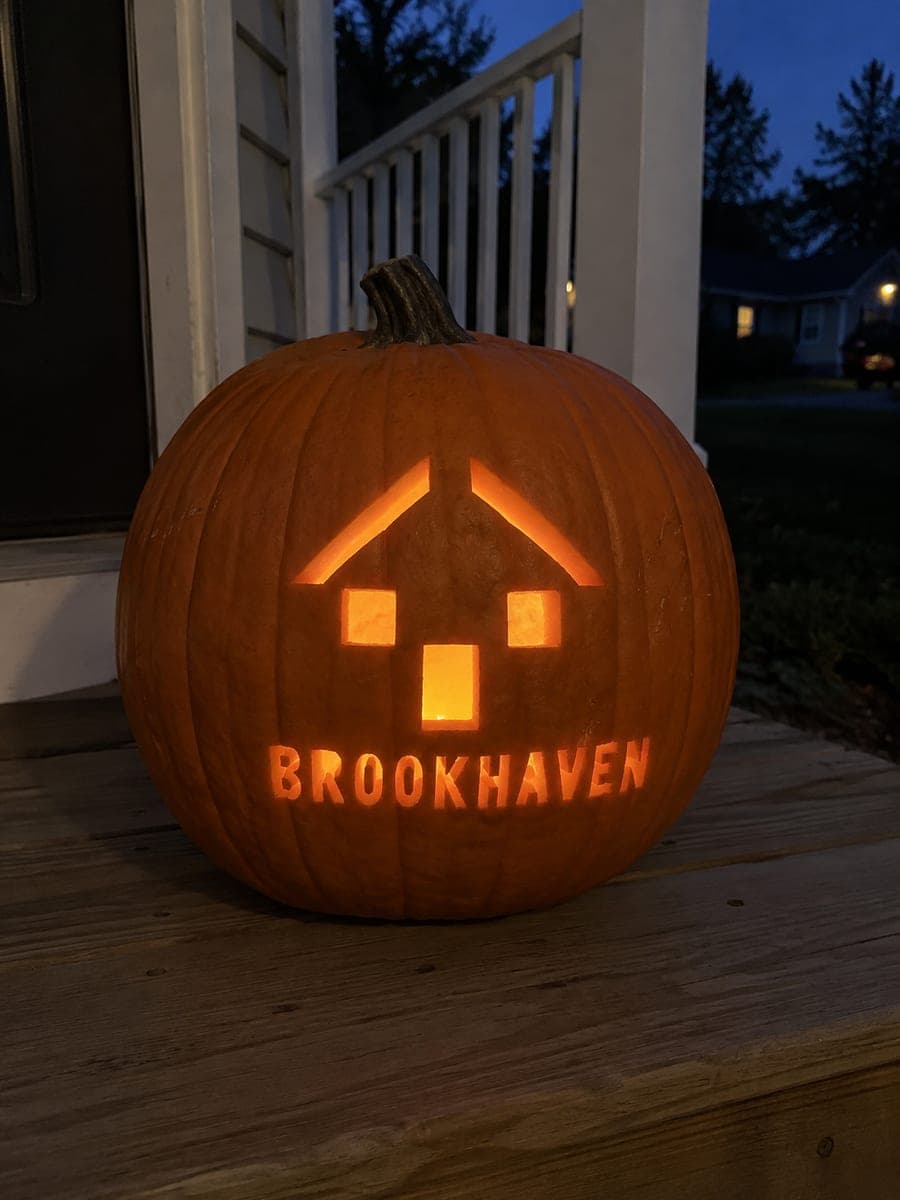
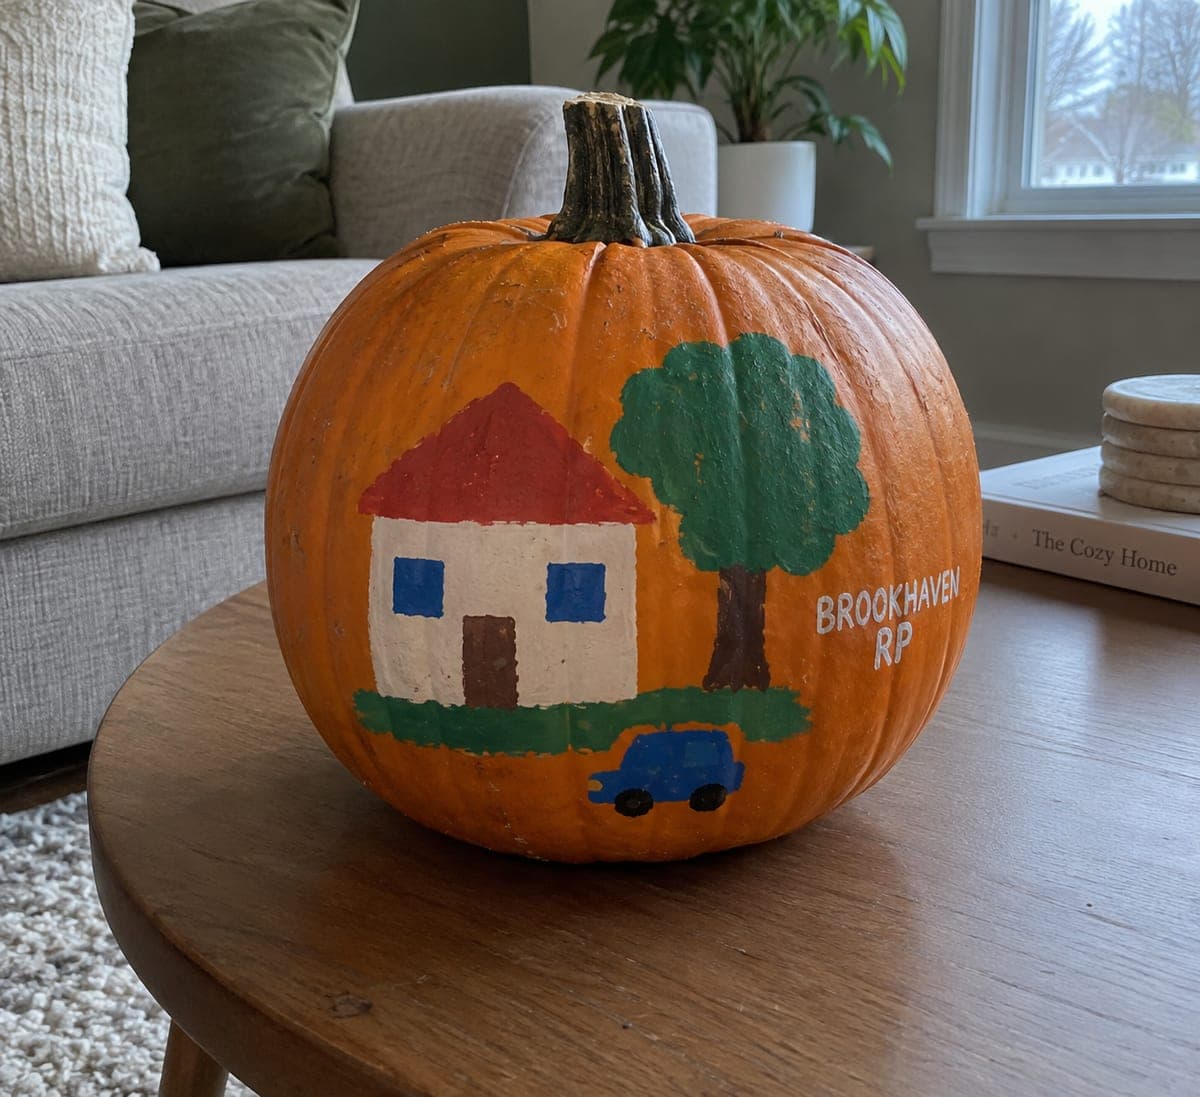
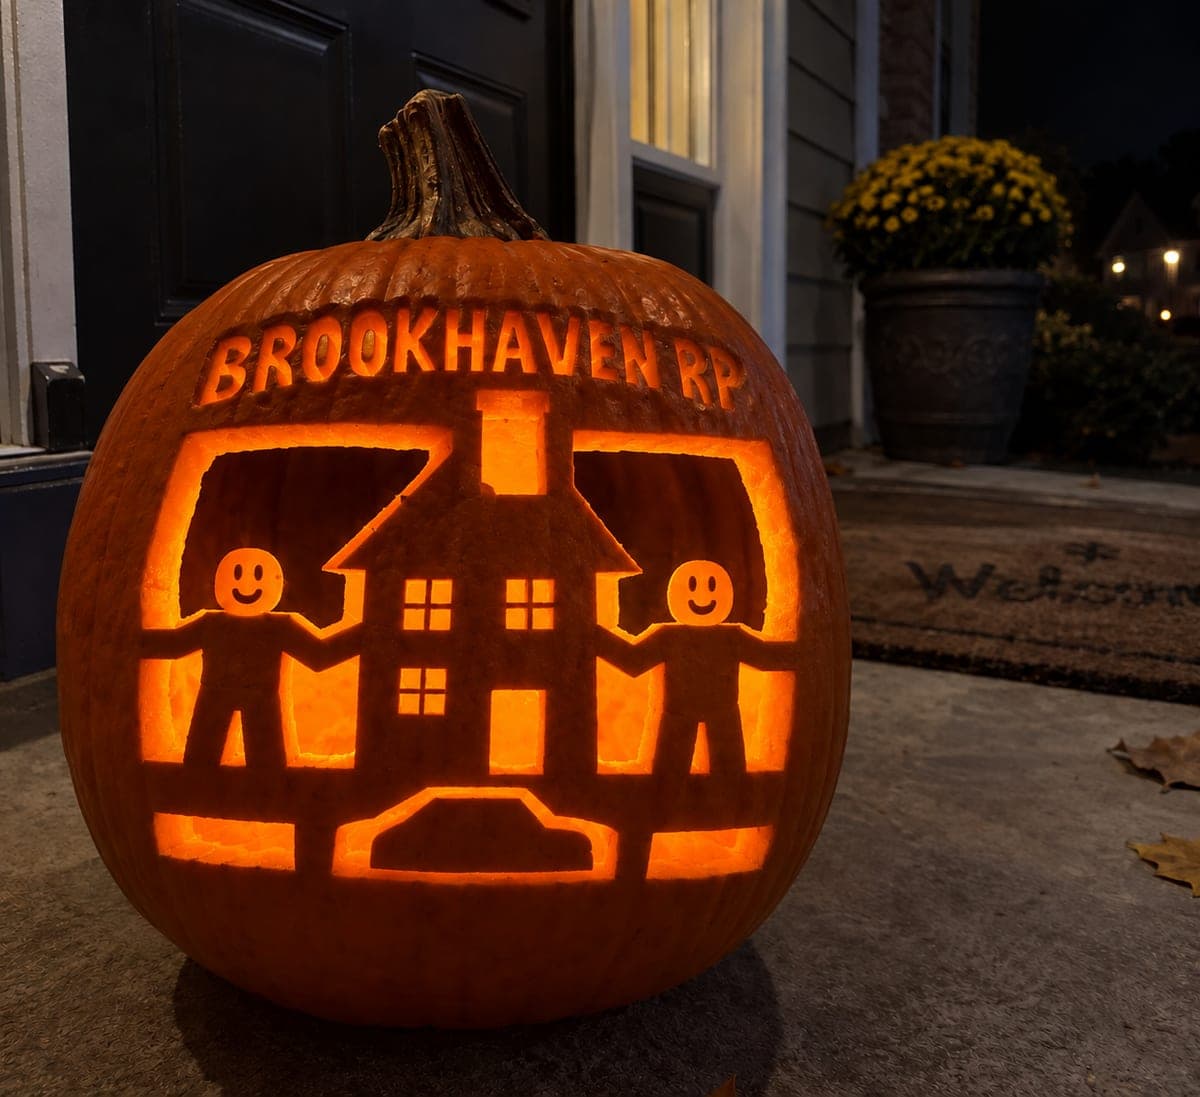
The expert brookhaven pumpkin carving places a full neighborhood scene on the porch, with the house and resident figures connected through bases and side arms, the house roof joined to the upper border, and all main background, window, and door openings cut clear. Resident faces are shallow backed rather than fully open to preserve fine detail, and the small retained car at the lower rind anchors that corner without any floating inner windows. Transfer this busy stencil section by section to avoid losing registration.

No ratings yet Β· Sign in to rate

Comments (0)

  • No comments yet β€” be the first.

Save without an account. Sign in to like or comment.

Our tips for carving a similar design

The house, resident figures, and car all stay connected through their bases and side arms to the surrounding structure, with the house roof joined to the upper border. Resident faces are shallow-backed rather than fully open to preserve fine detail in what would otherwise be very small through-cuts. Transferring this dense stencil section by section maintains accurate registration across the full width of the composition.

From pumpkin to porch

  1. Select the largest suitable pumpkin

    The detail density of this design needs every available centimeter of rind. Choose the largest, flattest-faced pumpkin available, at least 30 cm wide. Cut the lid from the bottom, scoop walls to 2 cm, and confirm the interior surface is smooth enough for consistent shallow-etch work.

  2. Transfer the stencil in sections

    Divide the stencil into three vertical sections: left figures, central house, right car and figure. Transfer and pin each section in sequence, confirming that section boundaries align before moving to the next. Mark all bridge connections in color before removing any stencil paper.

  3. Establish the house roof and base frame

    Cut the house roof connection to the upper border first, followed by the base rail connection. With the house frame anchored top and bottom, you have a stable structure to work inward from. Do not open any background sections yet.

  4. Define resident figures and car

    Cut the outer silhouettes of the resident figures, connecting each one through its base to the lower rail and its arms to adjacent elements. Cut the small retained car shape along its silhouette, keeping it attached to the lower rind. Adults handle all cutting. Confirm arm and base bridges are intact after each figure.

  5. Open main backgrounds, windows, and doors

    Cut the main background sections, window apertures, and door opening as full through-cuts, working systematically from one end of the composition to the other. Remove only background sections that should glow. Shallow-etch the resident faces and title text rather than cutting through them.

  6. Light with multiple LEDs and display on the porch

    Three small LED tea lights distributed across the interior width will illuminate the full scene evenly. Set on a porch with no competing light source behind the pumpkin so the full complexity of the scene glows against a dark background.

Written with AI to match this design

Gather your supplies

Check things off as you get ready.

Work on a stable surface, keep your free hand out of the cutting path, and have an adult handle sharp tools.

Three levels of light

  • Leave intact

    House body, figure bodies, car shape, and all bridge connections stay fully dark as the structural silhouette.

  • Peel & shade

    Resident faces and title lettering are shallow-etched for soft secondary glow.

  • Cut through

    Main background sections, window apertures, and door opening are fully cut through for bright primary glow.

Learn the carving basics

Before you start cutting

How do I avoid losing stencil registration when transferring such a wide design in sections?

Overlap each stencil section by about 2 cm with the previous one and use the overlapping area to confirm alignment before pinning. Secure the stencil paper with masking tape that wraps over the pumpkin edge so it cannot shift during perforating.

The resident faces are very small. How shallow should the etch be?

Etch just deep enough to remove the outer orange skin layer, roughly 1 to 2 mm. On very small face areas, a fine-tipped detail gouge or even a scalpel blade held flat works better than a standard gouge because it gives precise depth control without removing too much material.

How far in advance can I carve this without the design degrading?

An expert carving this dense removes a large amount of rind and will begin to dehydrate within 24 to 48 hours of carving. Carve no more than two days before your display date and store the finished pumpkin in a refrigerator wrapped loosely in a damp paper towel between sessions.

Your take belongs here, too.

Changed a detail? Made it simpler? Share a photo of your version and tell the community what worked.

Share your pumpkin

More pumpkins like this

You've reached the end Β· 8 pumpkins
The Patch Report

Fresh pumpkins, in your inbox.

The best new carvings, ideas worth stealing, and how-tos for carving season. Short, seasonal, and gone by November.

A short email during carving season. Unsubscribe anytime. See our privacy policy.