@gourdon_ramsay
Sep 7, 2026
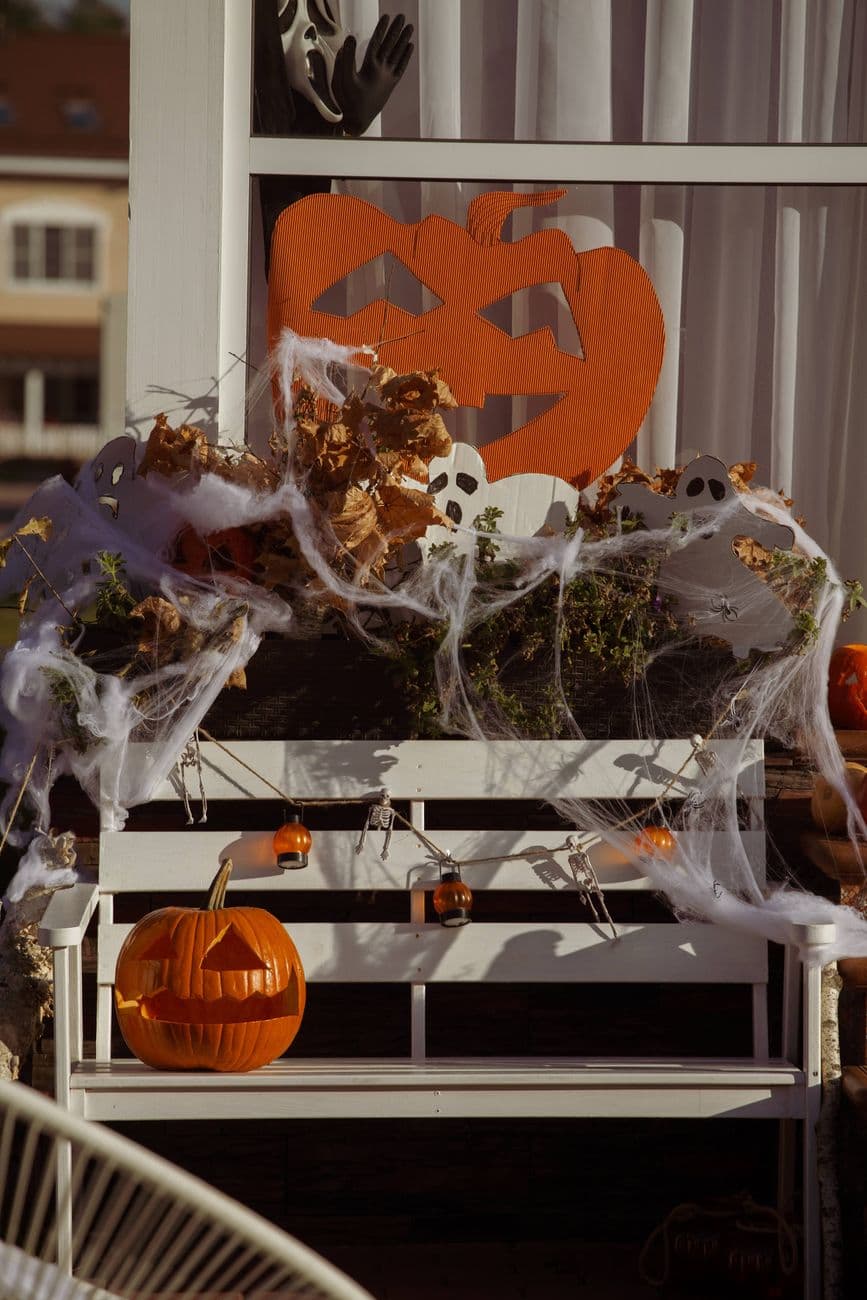
This is the classic jack-o-lantern face, and its whole charm is bold, simple cutouts that read clearly from across a porch. The core trick is keeping the shapes clean and generous so light pours through the triangle eyes, small nose, and jagged smile. Plan the whole face first, then cut the largest openings last so the shell stays sturdy while you work.
Written by PumpkinCarvingIdeas.com, inspired by @gourdon_ramsay's photo above. These are our suggestions, not instructions from the uploader, and this approach hasn't been tested on their exact carve.
Choose a medium, evenly round pumpkin that sits flat without rocking. Wipe the surface clean and dry it. Sketch your triangle eyes, a small triangle nose, and a wide toothy grin with a washable marker. Space the features so there is solid pumpkin between them to hold everything together.
An adult should cut a lid on top, angling the knife inward so the lid rests on a ledge instead of falling in. Scoop out the seeds and pulp with a sturdy spoon or scraper. Thin the front wall where the face will go down to about one inch so your cuts go easier. A thinner wall makes the light spread better too.
Start with the smaller shapes, the two triangle eyes and the nose. Use a small serrated carving saw and let the tool do the work with gentle back and forth strokes. Keep your free hand behind the blade, never in front of it. Push the cut pieces out from the inside once each shape is fully separated.
Save the big mouth for last since it is the largest opening and weakens the shell most. Carve the top edge of the smile first, then the pointed teeth, leaving each tooth attached to the pumpkin above. Take your time on the zigzag so the points stay crisp. Tidy any rough edges with the saw tip.
Trim stray strings inside and smooth the cut edges. Drop in a battery LED tea light or a small LED puck rather than a flame, which is safer and will not scorch the lid. Set the lid back on, leaving a small gap at the back for airflow and cord access. Test it in a dark room and widen any cut that looks dim.
Place your pumpkin on a step or bench where the face is at eye level. A few dry leaves or a wisp of stretched cotton web adds a graveyard mood without hiding the carving. Shoot in low light so the glow reads bright against the shadows. Take one photo straight on and one from a slight angle to show the depth.
Check things off as you get ready.
Work on a stable surface, keep your free hand out of the cutting path, and have an adult handle sharp tools.
The full outer skin of the pumpkin stays dark and holds the face shapes apart.
Scrape a thin halo around the eyes and mouth if you want a soft orange glow bleeding out from the edges.
The triangle eyes, nose, and jagged grin are cut clean through for the brightest light.
Keep at least an inch of solid pumpkin between every feature. That bridge of skin is what holds the face together and stops the shell from sagging once the big grin is open. If features feel cramped, shrink them slightly rather than moving them closer.
Thin, tall teeth are fragile, so make them a little wider and shorter for strength. Carve the top line of the smile first, then shape each tooth downward while it stays anchored to the pumpkin above. Go slow and let the saw glide instead of forcing it.
Skip the flame and use a battery LED light instead. It gives the same warm glow, will not tip over or scorch the lid, and is safe to leave on a porch or bench. Warm-white or flicker LEDs mimic candlelight nicely.
Changed a detail? Made it simpler? Share a photo of your version and tell the community what worked.
The best new carvings, ideas worth stealing, and how-tos for carving season. Short, seasonal, and gone by November.







Comments (0)