Halloween Pumpkin Carving Contest · Starts October 1st · $500 in prizes
← Back to ideas
@ai_concepts
Aug 27, 2026
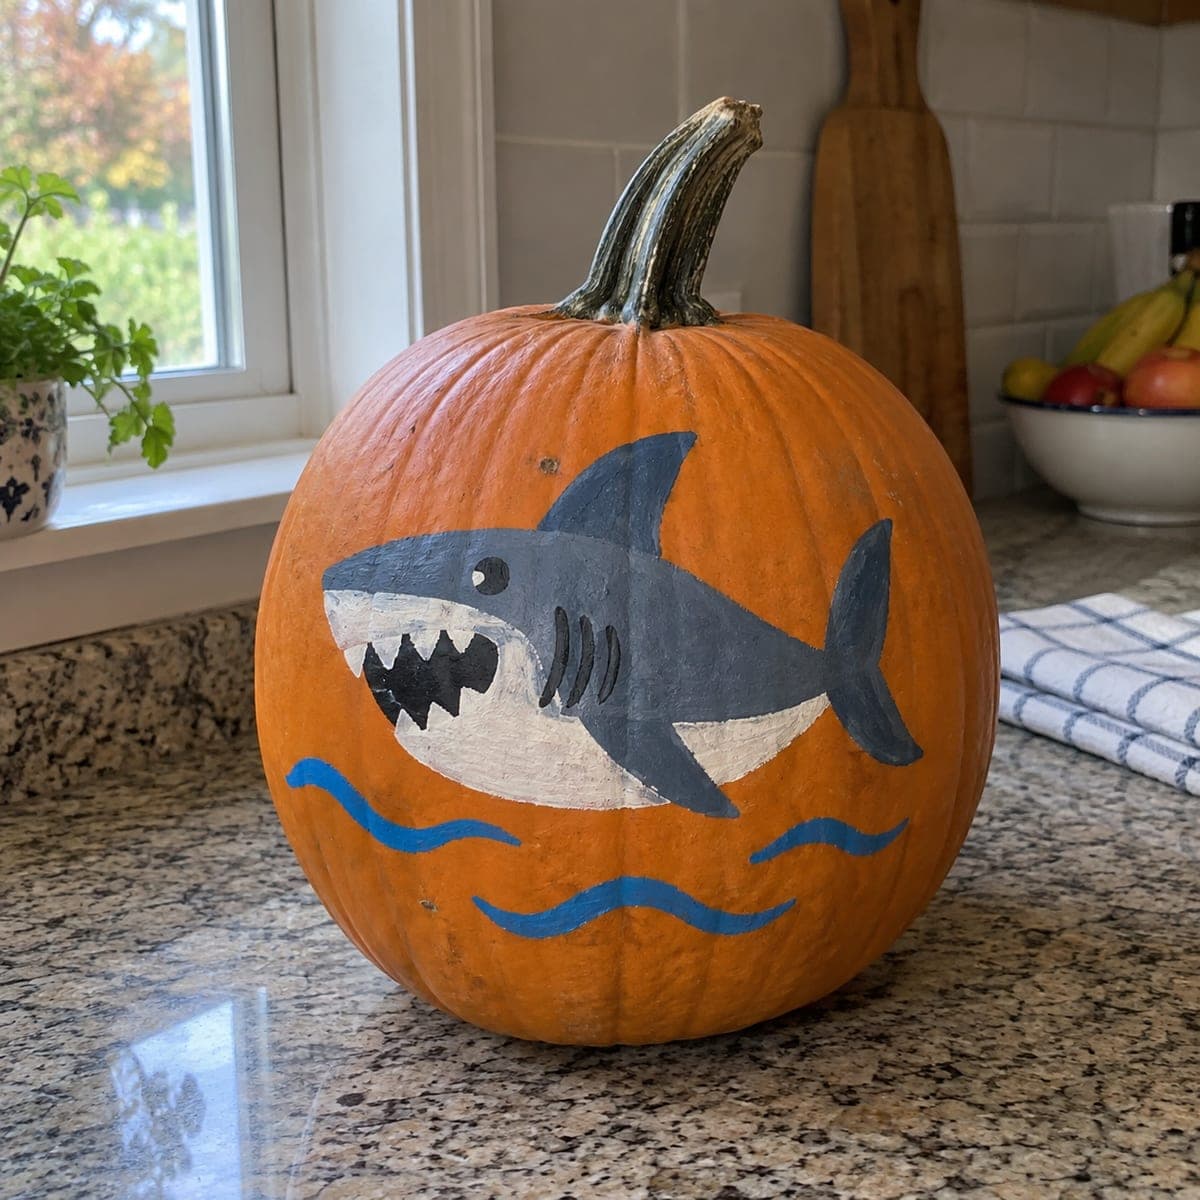
Great White Shark Attack Carved PumpkinAI
0

Great White Shark Attack Carved Pumpkin

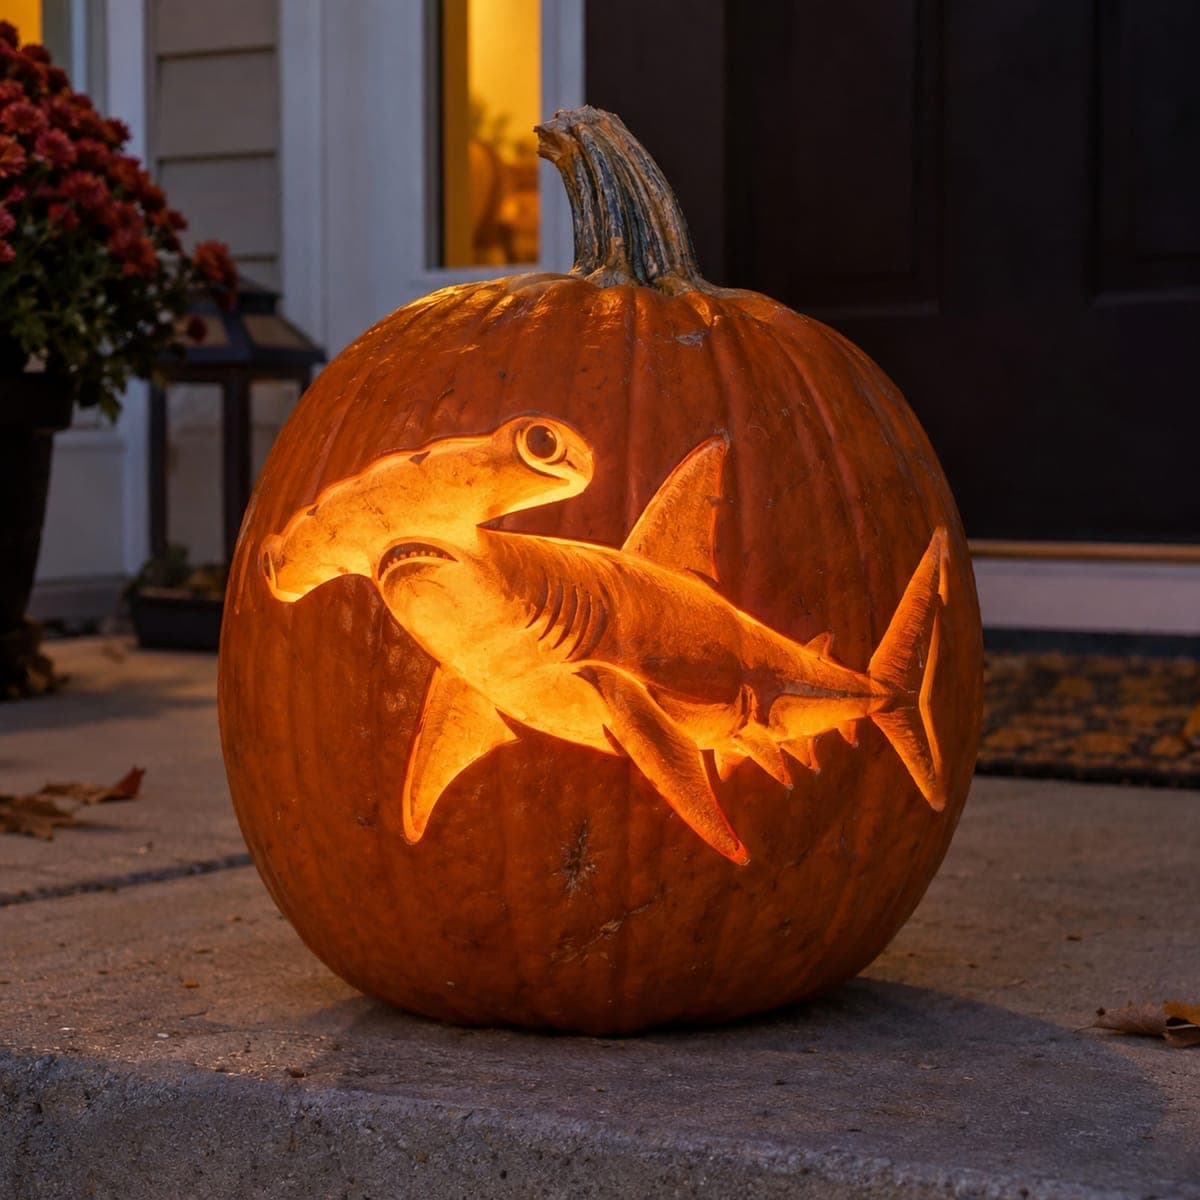
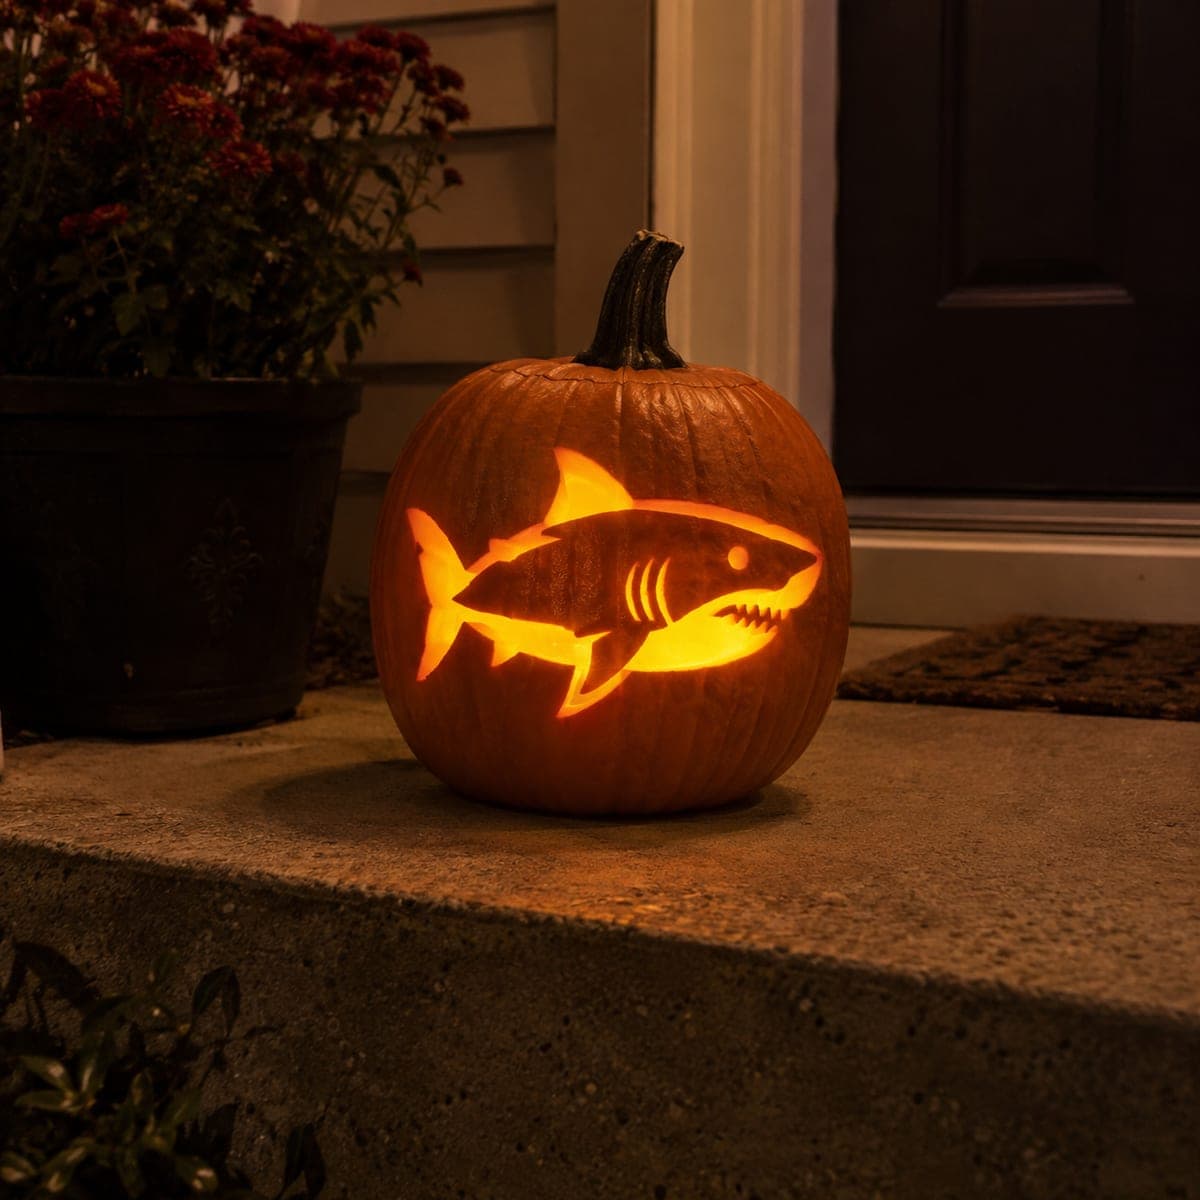
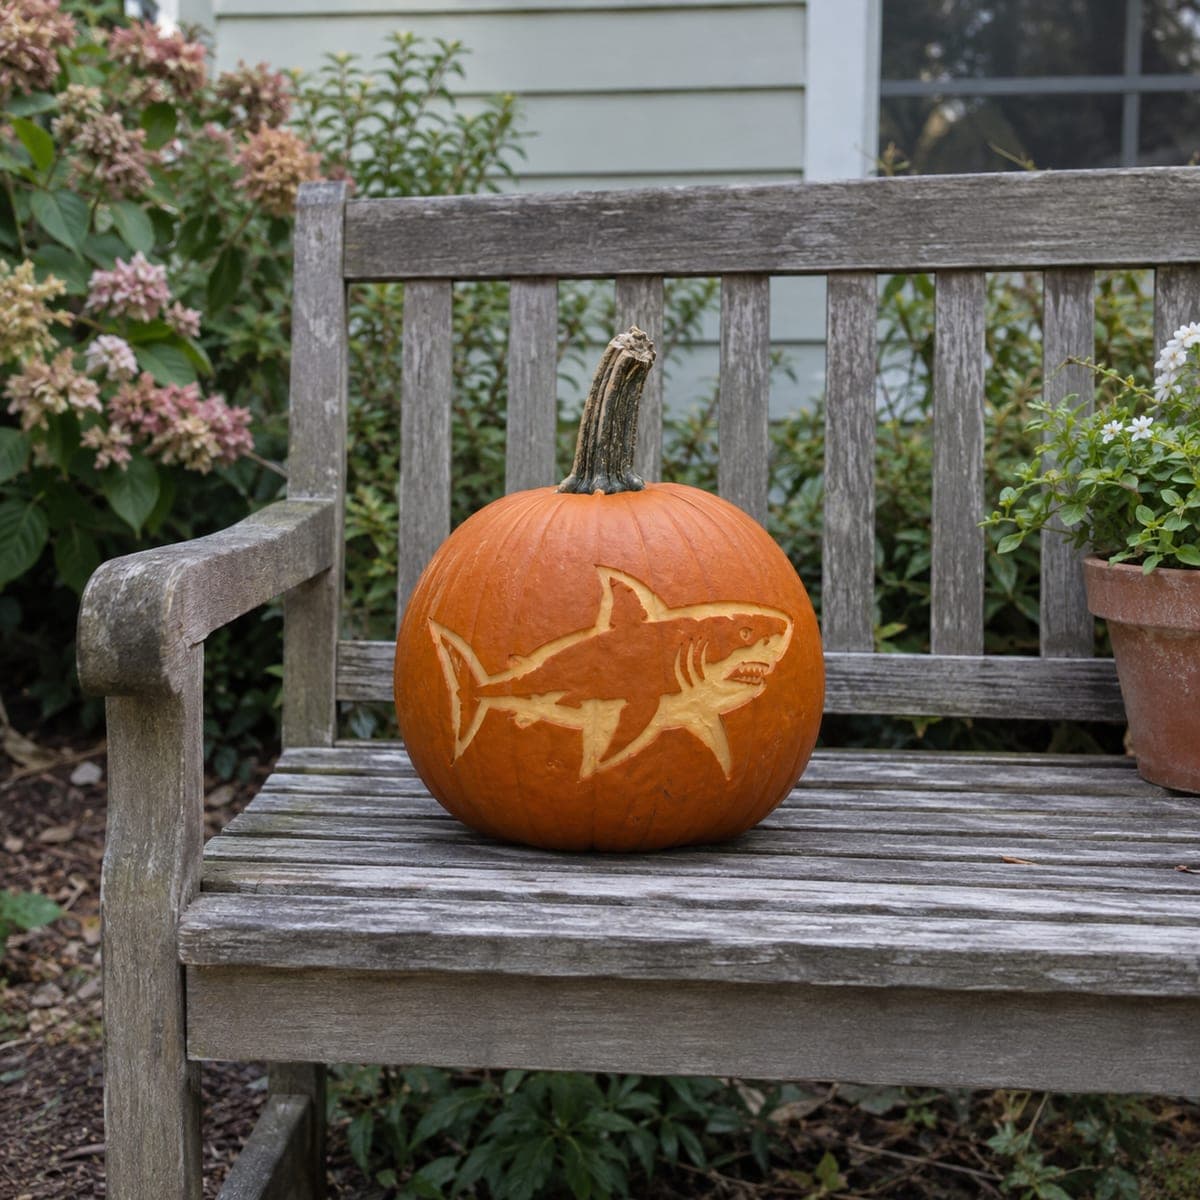
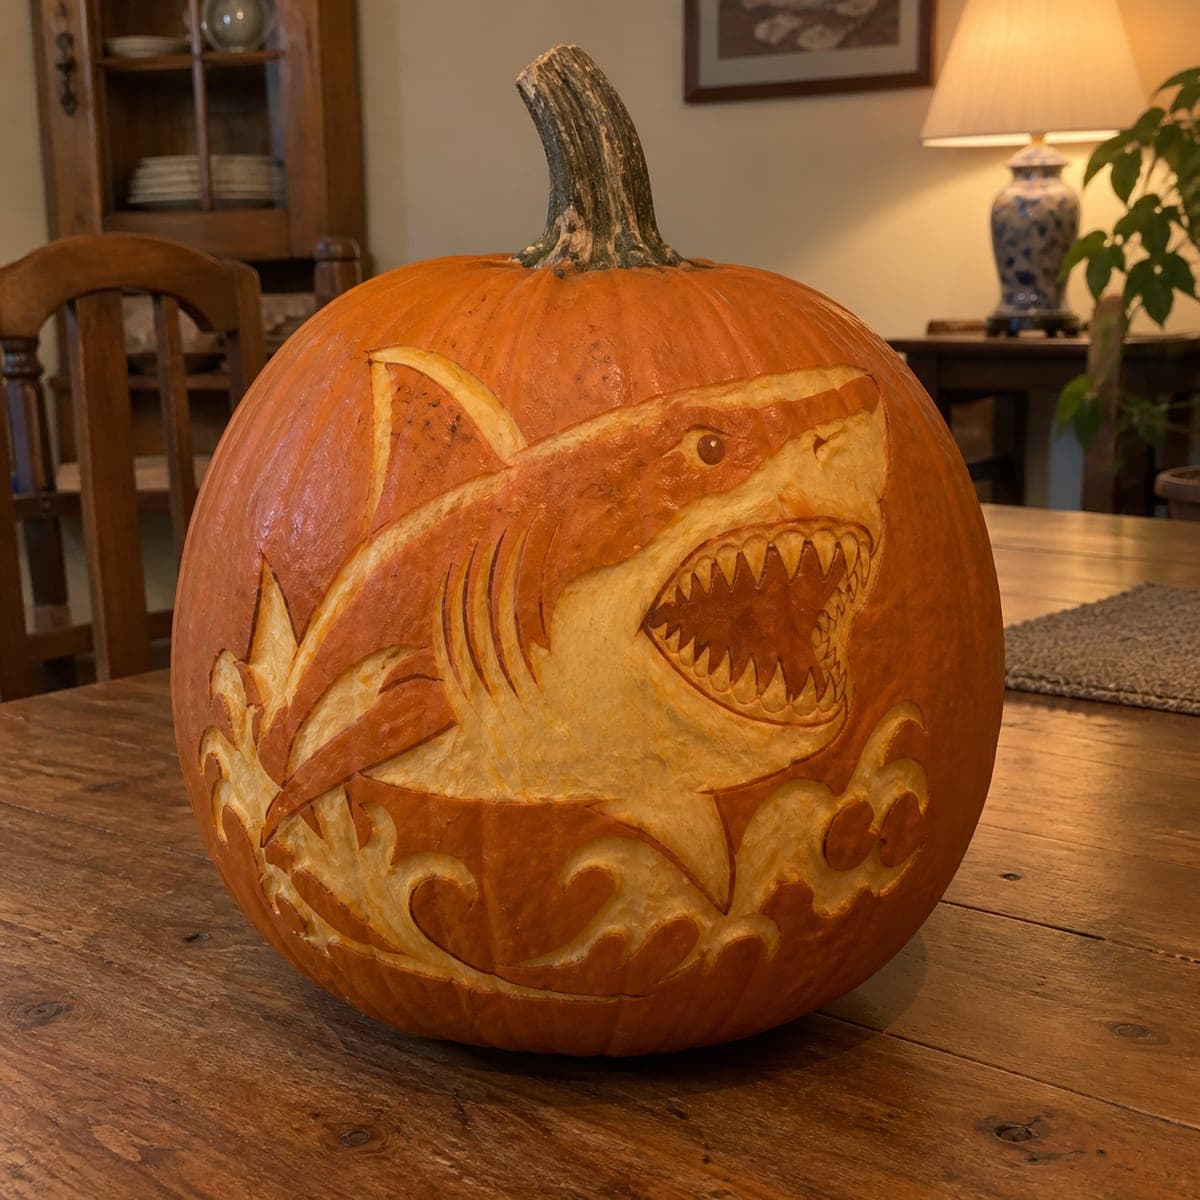
Jaws wide and teeth bared, a great white shark bursts through curling etched waves that wrap most of the way around this pumpkin. The whole scene is surface-carved at varying depths, with the mouth and wave crests shaved thinnest so they read brightest under light. Rough in the shark's body first, then cut each triangular tooth with a v-gouge so the points stay crisp.

This is an AI-generated concept image: a realistic, carvable design idea rather than a photo of a finished carve. AI concepts are always labeled and sit out the leaderboard and the contest.

No ratings yet · Sign in to rate
Comments (0)

  • No comments yet — be the first.

Save without an account. Sign in to like or comment.

Our tips for carving a similar design

The core trick here is depth control: this is a surface relief carving where nothing gets cut all the way through, and brightness comes entirely from how thin you shave each layer. Rough in the shark's body at a medium depth first, then push the open jaws and wave crests thinnest so they glow brightest. Save the crisp triangular teeth for last so their points stay clean.

Written by PumpkinCarvingIdeas.com, inspired by the image above. These are our suggestions, not instructions from the uploader. This approach to the AI concept has not been tested on a real pumpkin.

From pumpkin to porch

  1. Transfer and plan your depths

    Tape a shark and wave stencil onto the smoothest side of a large pumpkin and poke the outlines with a transfer tool. Before you cut, mark three zones in your head: the untouched skin, the lightly peeled skin, and the thinnest shaved areas. A quick sketch or shaded printout at your side keeps the values straight. Working out depth now saves you from over-cutting later.

  2. Scrape off the skin for the mid tones

    With a ribbon or loop tool, peel the outer skin from the shark's body, fins, and the broad wave shapes. Aim for an even, shallow removal that exposes the pale flesh but leaves plenty of thickness. This layer is your dim orange glow and the backbone of the whole scene. Keep your strokes smooth so light reads evenly across the body.

  3. Shade the body with graded depth

    Go back over the shark and deepen the belly, the inside of the mouth, and the shadowed side of each wave. The thinner you shave, the brighter it will read under light, so build a gradient from dark back to bright belly. Use a small loop tool for the gill slits and the curl of each wave crest. Step back often to check the values from a few feet away.

  4. Cut the teeth with a v-gouge

    Switch to a v-gouge and carve each triangular tooth as a thin, sharp channel around the open mouth. Work slowly and leave a little uncarved skin between teeth so the points stay crisp and attached. Do not cut all the way through; a shallow trench reads as a bright tooth against the dark mouth. The gaps between teeth are what make the jaws convincing, so keep them narrow and even.

  5. Shave the wave crests thinnest

    For the brightest highlights, thin the tips of the curling waves and the shark's teeth even further until the wall is nearly translucent. Check by holding an LED behind the shell as you go. Stop before the flesh feels flimsy, since these are the most fragile spots on the whole design. This top layer of brightness is what sells the shark bursting through the water.

  6. Light it and photograph

    Drop in a battery LED puck rather than a candle so the thin shaded areas do not scorch. Rotate the light until the belly and wave crests pop and the untouched skin frames the scene in shadow. Because this is a surface carving, it dries out fast, so mist it and bag it in the fridge between showings. Shoot in a dim room to catch the glow through the thinnest teeth and crests.

Gather your supplies

Check things off as you get ready.

Work on a stable surface, keep your free hand out of the cutting path, and have an adult handle sharp tools.

Three levels of light

  • Leave intact

    The upper pumpkin, the background around the scene, and the shark's dark topside stay as untouched skin.

  • Peel & shade

    The shark's body, fins, gill slits, and the broad wave shapes get skin-peeled for a mid orange glow.

  • Cut through

    The open mouth interior, the triangular teeth, and the curling wave crests are shaved thinnest for the brightest light, with no full cutouts.

Learn the carving basics

Before you start cutting

Do I need to cut any holes all the way through?

No, this design is a surface relief carving from front to back. All the brightness comes from shaving the flesh to different thicknesses, not from open cutouts. That keeps the shell strong enough to hold the delicate teeth and wave tips.

How do I keep the teeth from breaking?

Carve each tooth as a shallow v-gouge trench rather than cutting fully through, and leave a thin ridge of skin between every tooth. Those ridges act as bridges that hold the points in place. Save the teeth for near the end so you are not bumping them while carving the body.

This is an AI concept, so how do I make it work on a real pumpkin?

Pick the largest, smoothest pumpkin you can find so the shark and the wraparound waves have room. Keep the shaded areas at a workable thickness and only thin the crests and teeth at the very end. A real shell behaves differently than a render, so test brightness with an LED as you go and stop before the flesh gets fragile.

Your take belongs here, too.

Changed a detail? Made it simpler? Share a photo of your version and tell the community what worked.

Share your pumpkin

More pumpkins like this

You've reached the end · 8 pumpkins
The Patch Report

Fresh pumpkins, in your inbox.

The best new carvings, ideas worth stealing, and how-tos for carving season. Short, seasonal, and gone by November.

A short email during carving season. Unsubscribe anytime. See our privacy policy.