Halloween Pumpkin Carving Contest · Starts October 1st · $500 in prizes
← Back to ideas
@ai_concepts
Jul 25, 2026
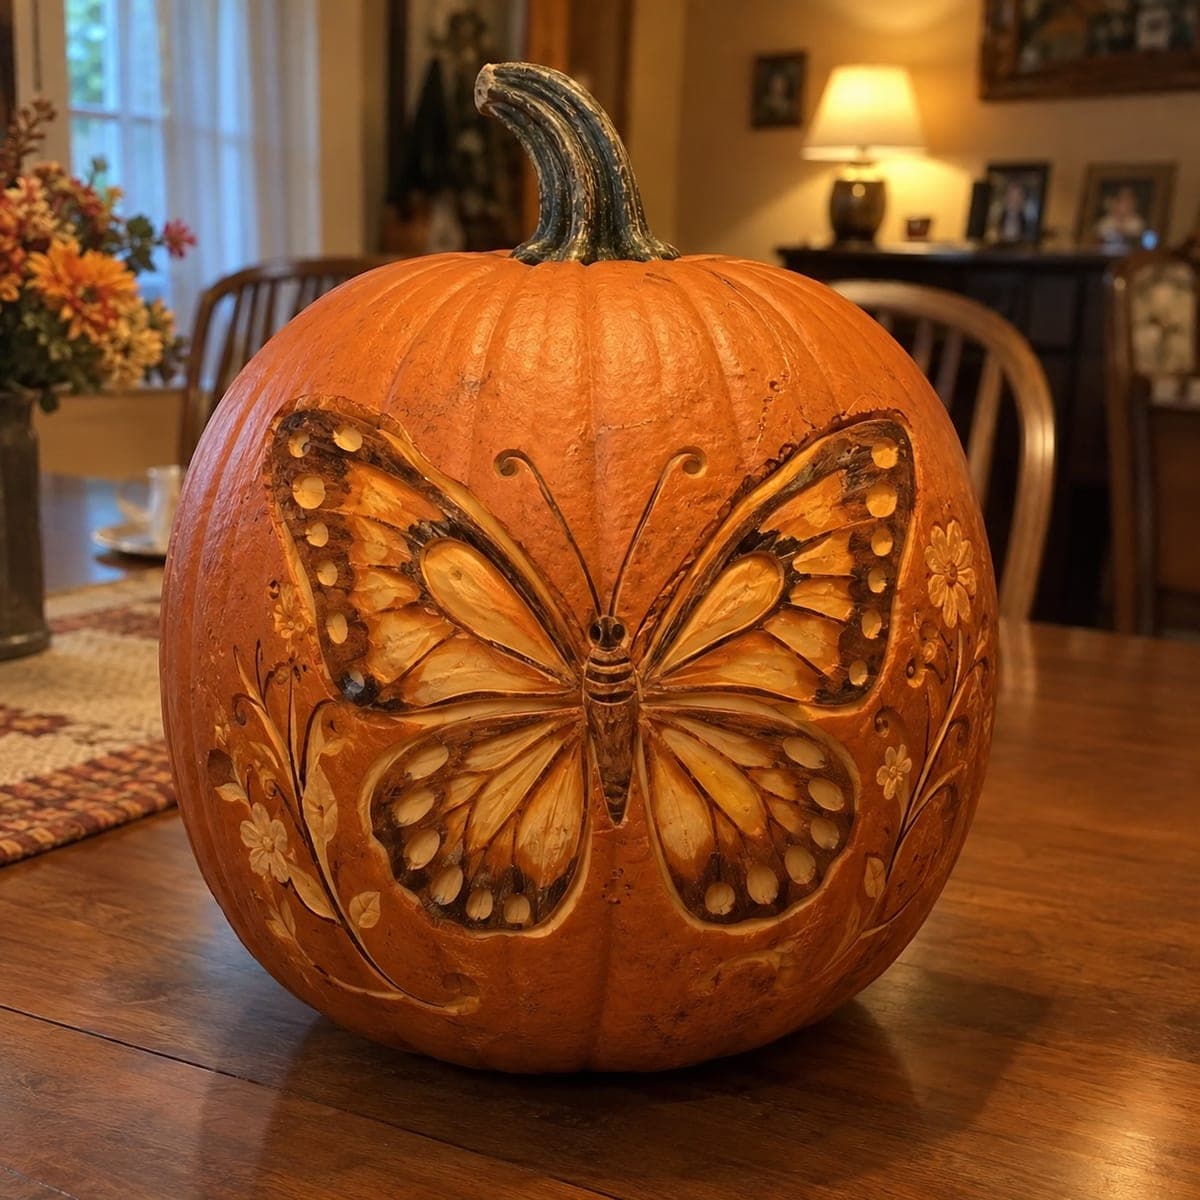
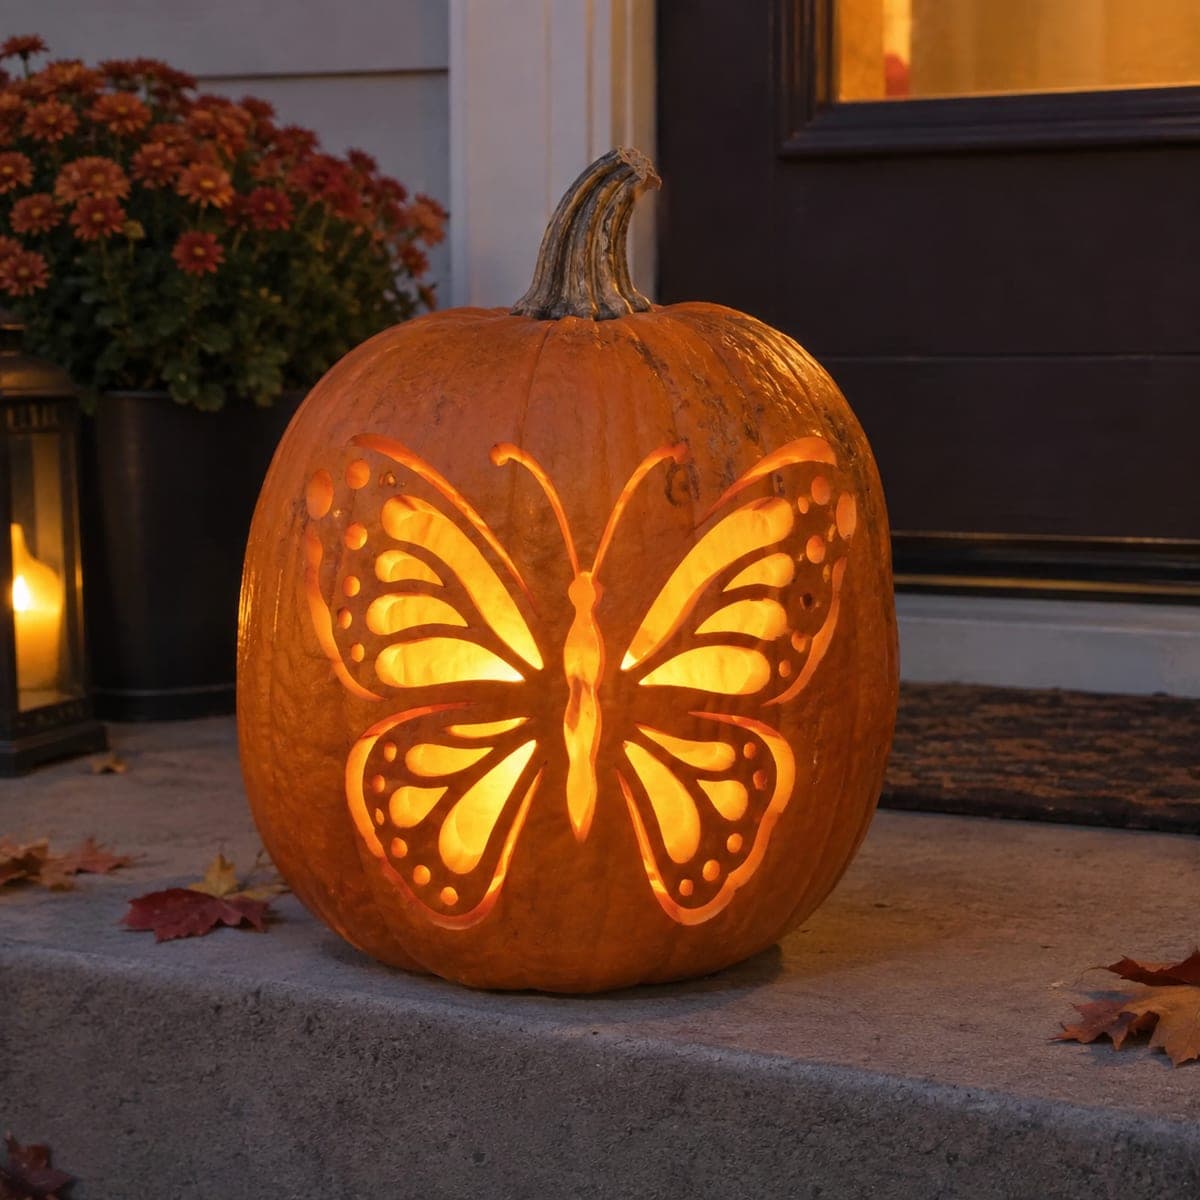
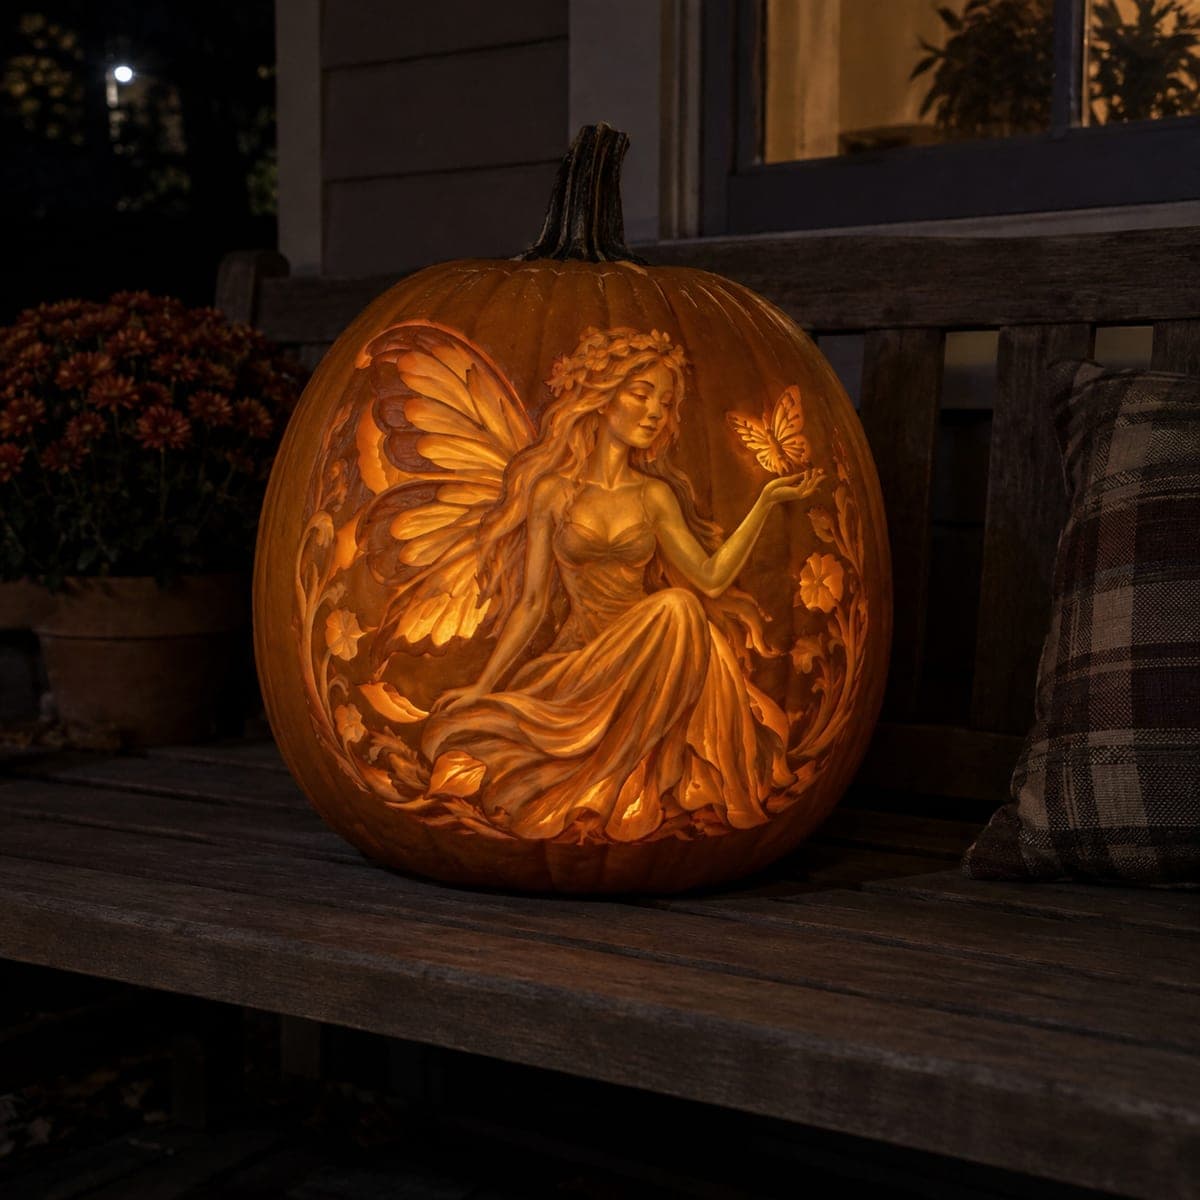
Monarch Butterfly Etched Pumpkin With Floral VinesAI
0

Monarch Butterfly Etched Pumpkin With Floral Vines

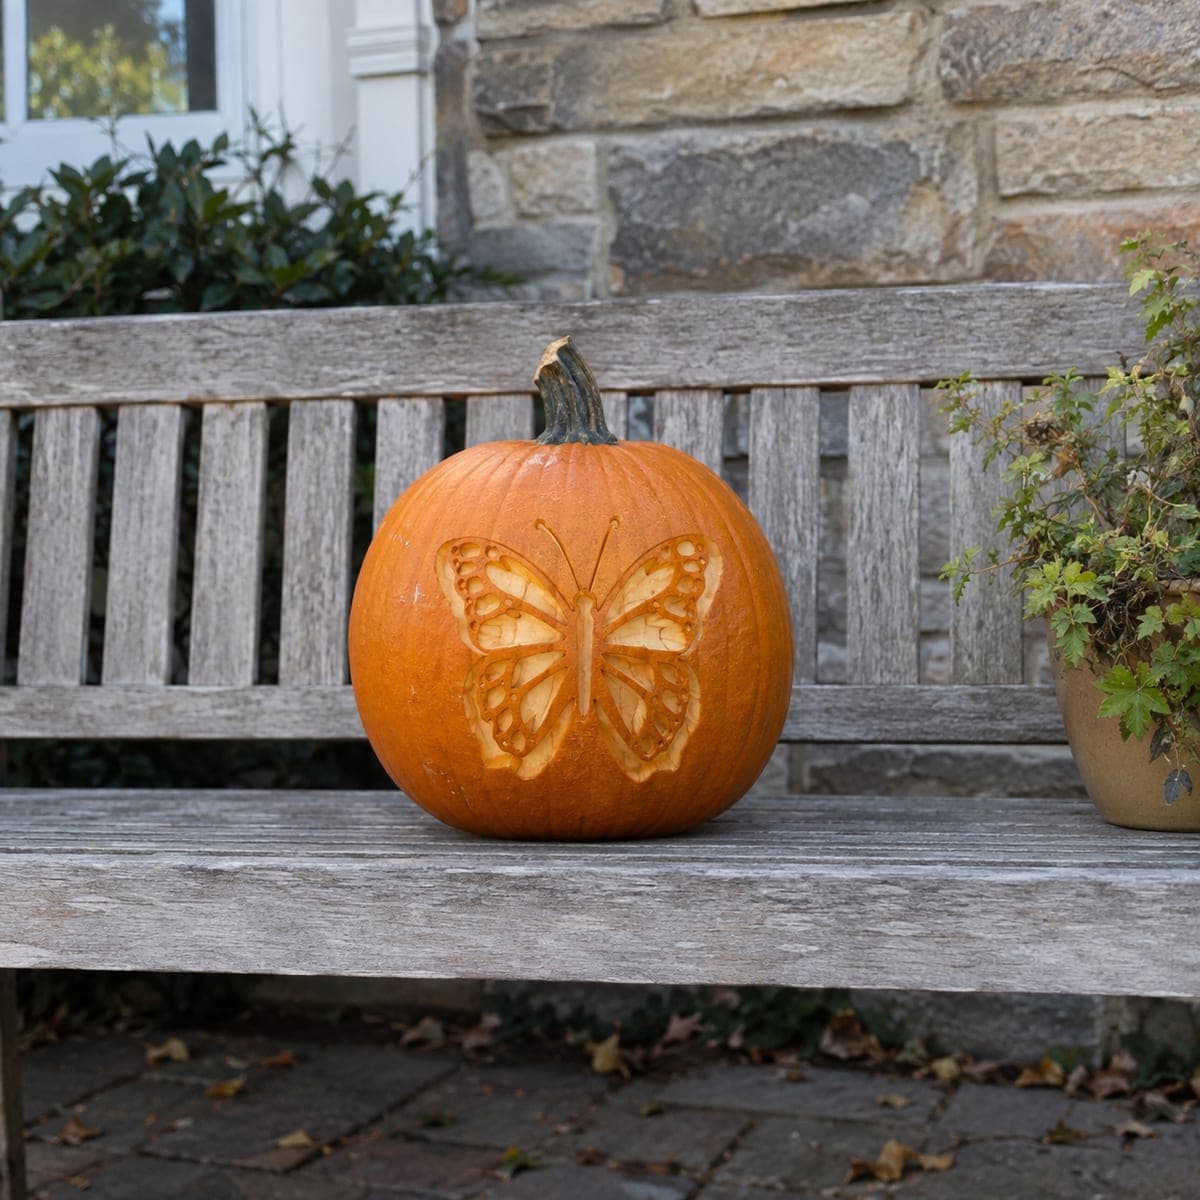
A monarch-style butterfly spreads patterned wings across this etched pumpkin, bordered by delicate flowers and trailing vines. Wing symmetry makes or breaks the design, so fold a paper stencil in half to cut both sides identical before transferring it with pin pricks. The dark veins and wing borders are untouched skin while the panels between them are shaved pale, and a brown antiquing wash deepens the contrast.

This is an AI-generated concept image: a realistic, carvable design idea rather than a photo of a finished carve. AI concepts are always labeled and sit out the leaderboard and the contest.

No ratings yet · Sign in to rate
Comments (0)

  • No comments yet — be the first.

Save without an account. Sign in to like or comment.

Our tips for carving a similar design

The core trick here is contrast through shading rather than cutouts, so the whole butterfly reads as light panels framed by dark veins. Since no real pumpkin exists in this AI concept, plan a version where you shave the wing panels down to pale flesh while leaving the veins and borders as untouched skin. A soft brown antiquing wash at the end deepens every line and pulls the design together.

Written by PumpkinCarvingIdeas.com, inspired by the image above. These are our suggestions, not instructions from the uploader. This approach to the AI concept has not been tested on a real pumpkin.

From pumpkin to porch

  1. Build a symmetrical stencil

    Draw or print one butterfly wing, then fold the paper down the center line and cut both sides at once so they match exactly. Wing symmetry is what makes this design believable, so take your time here. Add the flowers and trailing vines to the side panels while the paper is flat. Tape the whole stencil onto a clean, dry pumpkin.

  2. Transfer with pin pricks

    Poke closely spaced holes along every line with a pin or a poker tool, following the veins, wing borders, flowers, and vines. Lift the paper and connect the dots lightly with a washable marker if the pattern is hard to read. Double check that both wings still line up before you touch a blade. This dotted map keeps you from cutting freehand into an uneven shape.

  3. Score the outlines

    With a small detail knife or a lino-style gouge, cut shallow lines just through the skin along all your traced lines. Keep these cuts light, since they are boundaries, not openings. Score around the body, the vein network, the wing edge dots, and every flower and leaf. These grooves will trap the antiquing wash later and stop your shaving from bleeding across a line.

  4. Shave the light panels

    Use a ribbon or loop tool to peel the skin off the wing panels between the veins, taking off just the orange layer to reach pale flesh. Work each panel to an even depth so it glows uniformly. Leave the veins, wing borders, body stripes, and dot row as full untouched skin so they stay dark. This shading step is where the monarch pattern comes alive.

  5. Shade the florals and vines

    Peel the flower petals and leaves the same way, keeping the center lines and stems as raised skin for definition. Vary the depth slightly on curling vines so they look dimensional. Brush off crumbs, then wipe a thin brown antiquing wash of watered acrylic or coffee over the whole face. Immediately buff the raised skin so the wash settles into your scored grooves and shaded pockets.

  6. Light it and photograph

    Because this design is etched rather than cut through, set an LED puck or a string of warm LEDs behind or inside a lidless pumpkin so light rakes across the panels. Never use a candle, since the thin shaved areas can scorch and the wash can smell. Photograph in a dim room with one soft lamp nearby to keep the warm indoor glow. Turn the pumpkin until the pale panels read brightest against the dark veins.

Gather your supplies

Check things off as you get ready.

Work on a stable surface, keep your free hand out of the cutting path, and have an adult handle sharp tools.

Three levels of light

  • Leave intact

    The dark veins, wing borders, body stripes, and the row of edge dots stay as untouched skin.

  • Peel & shade

    The wing panels between the veins plus the flower petals and leaves are shaved pale for a soft mid glow.

  • Cut through

    Nothing is cut fully through on this etched design, keeping the pattern crisp and the shell strong.

Learn the carving basics

Before you start cutting

How do I keep both wings matching?

Cut your stencil folded in half so the two sides are identical from the start. Transfer it with pin pricks and check the dots line up before any cutting. If one shaved panel drifts wider than its twin, stop and even them out early rather than at the end.

Since this is etched, how deep should I shave?

Only remove the outer orange skin to reach the pale layer just beneath, usually an eighth of an inch or less. Consistent depth matters more than going deep, because uneven shaving looks blotchy when lit. Keep the veins and borders at full skin height for contrast.

How do I get the dark antique contrast?

Mix watered-down brown acrylic or use strong brewed coffee as a wash. Brush it over the finished face, then quickly buff the raised skin so pigment sinks into your scored lines and shaved pockets. This deepens the veins and makes the pale panels pop without any extra cutting.

Your take belongs here, too.

Changed a detail? Made it simpler? Share a photo of your version and tell the community what worked.

Share your pumpkin

More pumpkins like this

You've reached the end · 8 pumpkins
The Patch Report

Fresh pumpkins, in your inbox.

The best new carvings, ideas worth stealing, and how-tos for carving season. Short, seasonal, and gone by November.

A short email during carving season. Unsubscribe anytime. See our privacy policy.