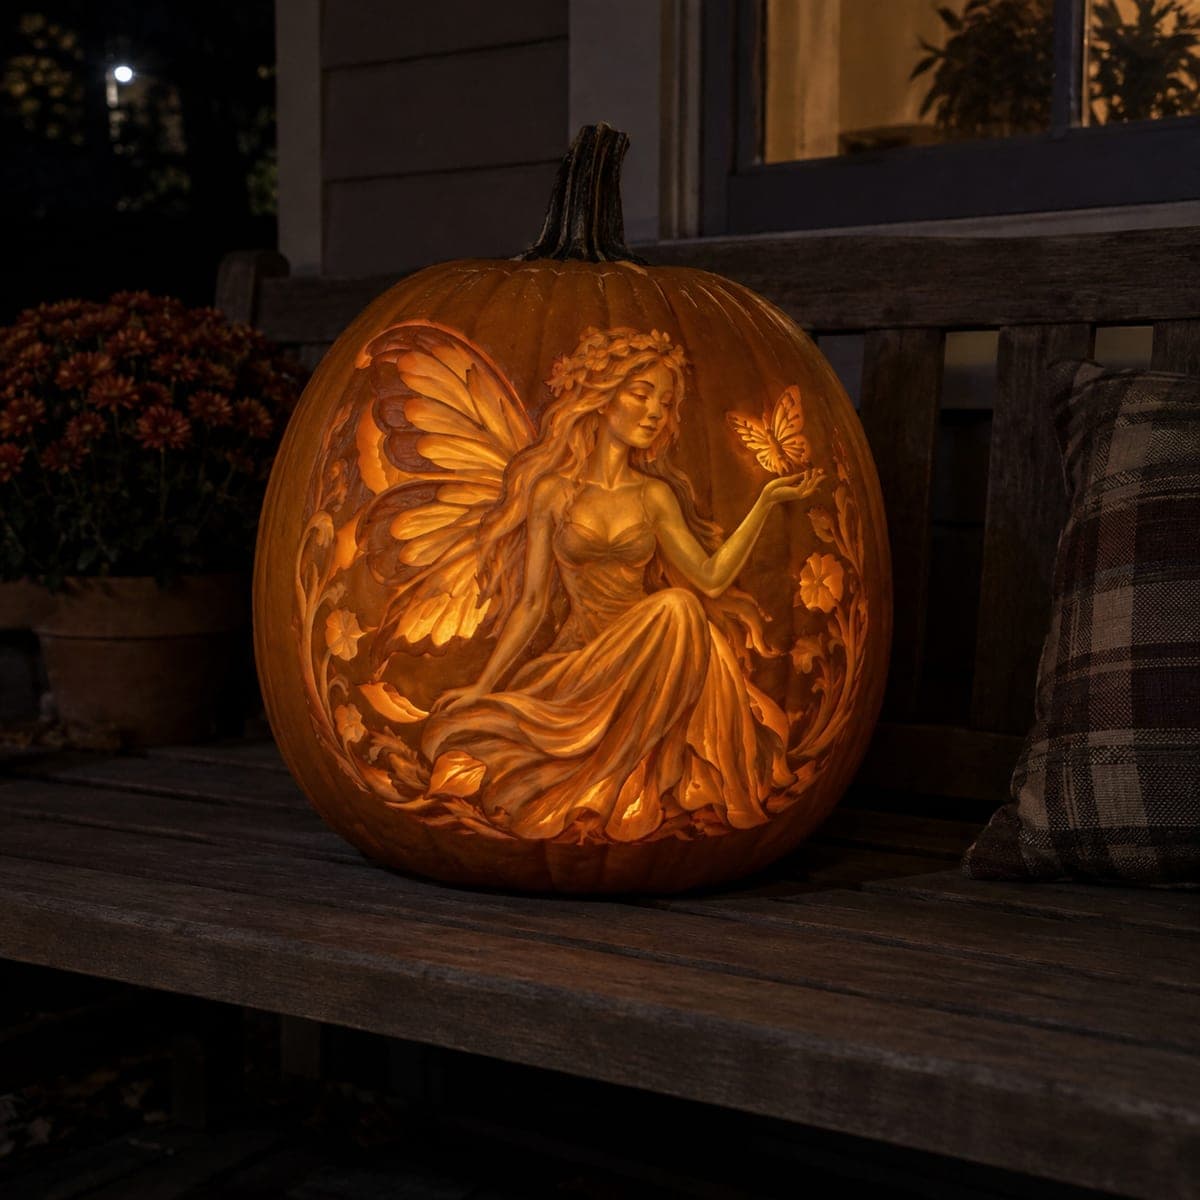
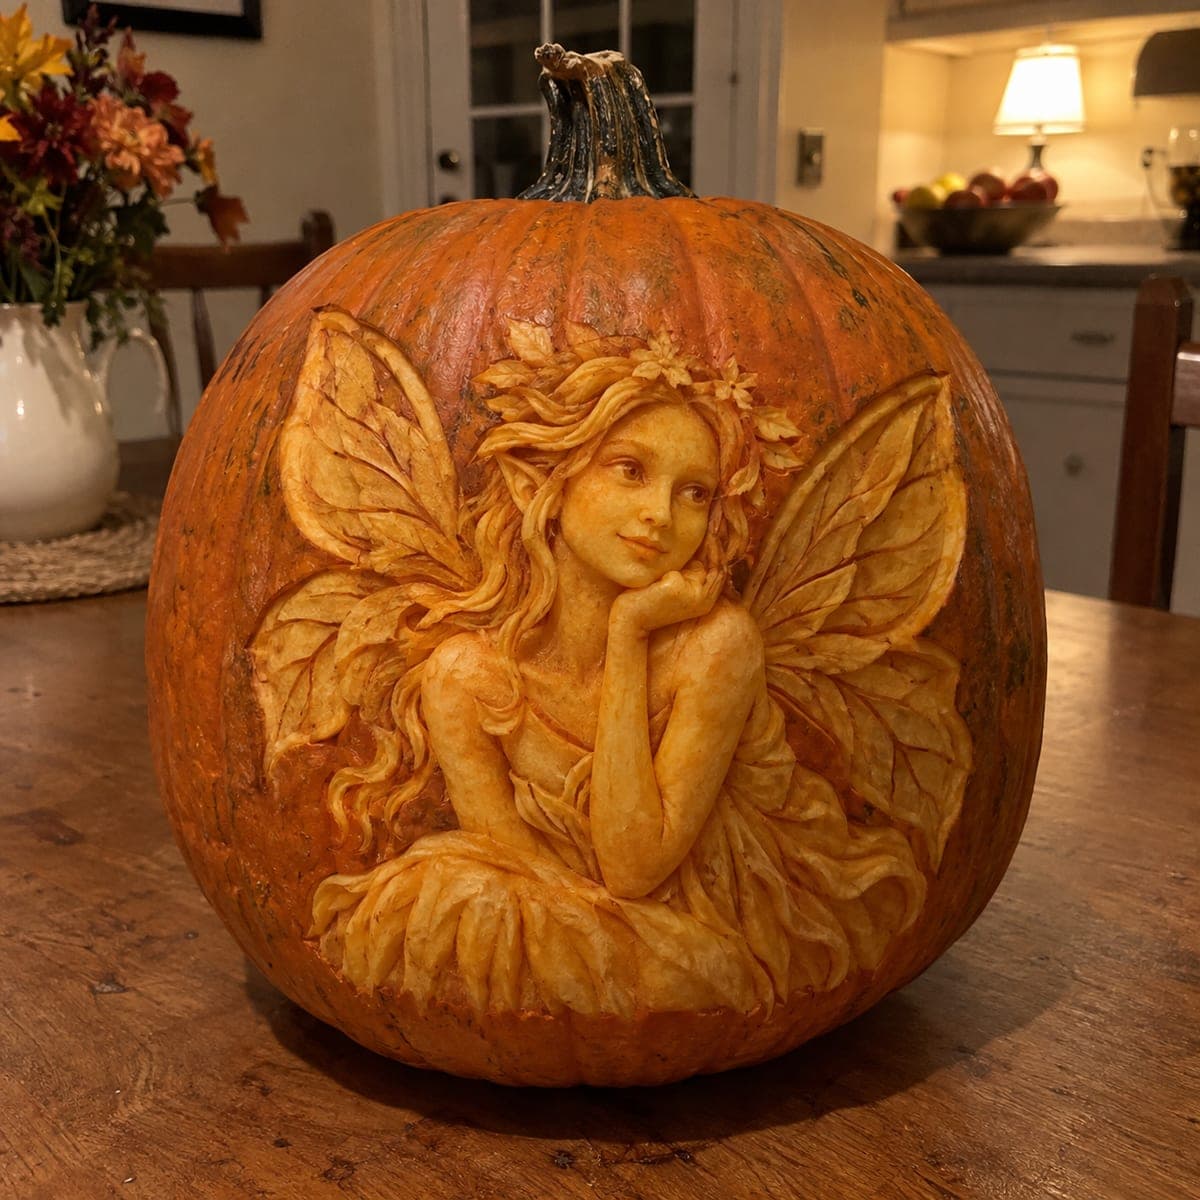
A woodland fairy with sweeping wings reaches toward a butterfly, surrounded by carved vines and blossoms that fill the whole face of the pumpkin. Every fold of her dress and wing vein is etched at a different depth, an expert shading project that rewards slow work with loop tools and frequent checks against an interior light. Transfer the design with a printed pattern and pounce wheel, carve the face and hands first while the wall is firm, and light it with a steady LED rather than a flickering candle.
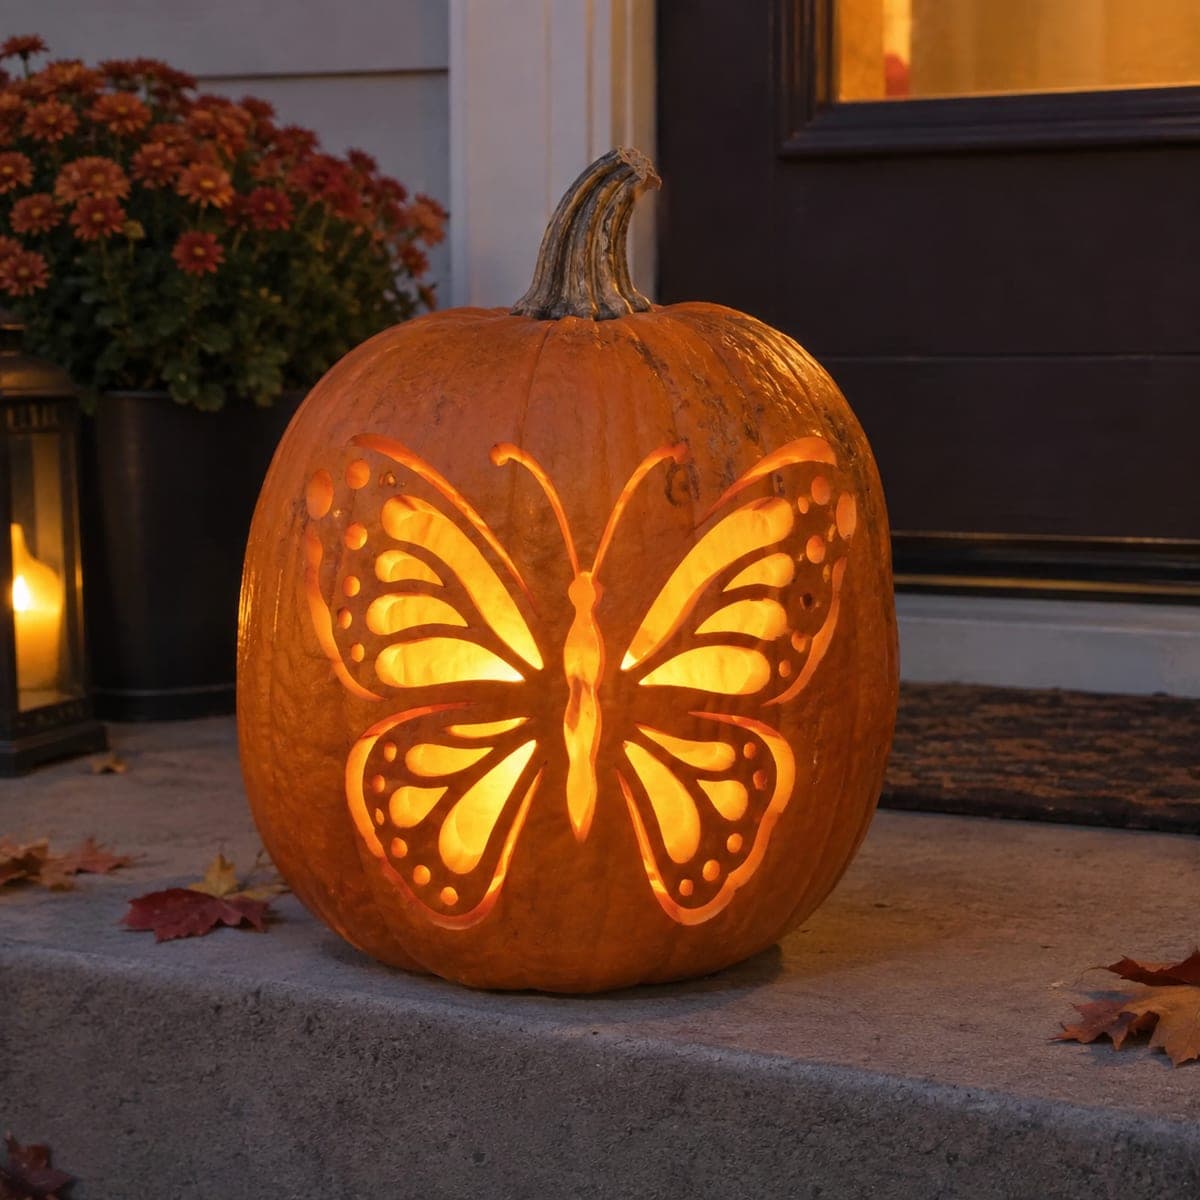
This is an AI-generated concept image: a realistic, carvable design idea rather than a photo of a finished carve. AI concepts are always labeled and sit out the leaderboard and the contest.
This design lives almost entirely in shading, not cutting, so the fairy, her wings, and the surrounding vines are carved to many different depths rather than punched through. The core trick is treating the pumpkin wall like clay you scrape away in layers, going deepest where you want the brightest glow and barely scratching where you want dark. Plan the whole face first, save any true cutouts for the very end, and check your work against an interior LED constantly.
Written by PumpkinCarvingIdeas.com, inspired by the image above. These are our suggestions, not instructions from the uploader. This approach to the AI concept has not been tested on a real pumpkin.
From pumpkin to porch
1
Prep the pumpkin and transfer the pattern
Pick a tall pumpkin with a broad, smooth front and a wall thick enough to carve into without breaking through. Cut a lid or a back door and clean the inside, thinning the carving area to a consistent depth so light passes evenly. Print your fairy and butterfly pattern, tape it flat over the front, and transfer the outlines with a pounce wheel or a poking tool. Take off the paper and darken the key lines with a washable marker so you can read the design as you work.
2
Map your depths before you carve
Decide which areas will stay untouched skin, which will be peeled thin, and which will be scooped deep for the brightest glow. Lightly mark these zones so you do not lose track once the surface gets busy. Her lit dress folds, the inner wing panels, and the butterfly will be your brightest spots. Keeping this map in mind is what makes an expert shading piece read clearly instead of turning muddy.
3
Carve the face and hands first
Work the fairy's face, neck, and reaching hand while the pumpkin wall is still firm and fully supported. Use small loop tools to gently scrape and round these delicate forms, taking off thin passes and checking the shape often. Keep the face fairly shallow so it reads as a soft mid-tone rather than a glaring bright patch. Going slow here protects the most important part of the design from a slip you cannot undo.
4
Shade the wings, dress, and vines
Move outward into the wings, the flowing dress, and the surrounding vines and blossoms. Scrape deeper where you want warm light to pour through, like the inner wing sections and the folds of fabric, and leave shallower ridges for the wing veins and vine outlines. Vary your pressure to build a smooth gradient from dark skin to glowing thin areas. Stop and hold a light inside every few minutes, since depth is much easier to read lit than in daylight.
5
Add the butterfly and any small cutouts
Bring the butterfly to life last, since it is the focal accent near her hand. If you want it to be the single brightest point, you can cut fully through its wings, but keep thin bridges between the wing segments so the shape holds together. Leave any true cutouts, like small gaps in the vines, until the end so the wall stays strong while you do the heavy shading. Clean up ragged edges with a fine detail tool.
6
Light it and photograph
Set a steady LED puck or a battery string inside, never a candle, so the flame will not flatten your careful gradients or dry the carving out. Diffuse the light if it is too hot in one spot, and rotate the pumpkin until the face and butterfly catch the warmest glow. Mist the cut surfaces and wrap the pumpkin in plastic in the fridge overnight to keep the fine shading crisp. Shoot your photo after dark against a simple background so the detail stands out.
Gather your supplies
Check things off as you get ready.
Work on a stable surface, keep your free hand out of the cutting path, and have an adult handle sharp tools.
Three levels of light
Leave intact
Untouched skin stays dark for the background, the outer wing edges, and the deepest vine shadows.
Peel & shade
Peeled thin skin gives the soft mid glow on her face, neck, hair, and the raised wing veins and dress ridges.
Cut through
Deep scoops and any full cutouts give the brightest light through the inner wings, the lit dress folds, and the butterfly.
Since this is a concept image, can a real pumpkin actually hold this much detail?
Yes, if you treat it as a deep-relief shading project rather than a cut-through design. Almost everything here is scraped to varying depths, which a real pumpkin wall handles well when it is thinned evenly first. Keep the butterfly wings and vine gaps connected with small bridges so nothing thin snaps.
How do I keep the fairy's face from looking blank or too bright?
Carve the face shallow so it reads as a gentle mid-tone, not a glaring hole of light. Round the cheeks, brow, and closed eye softly with a small loop tool and resist the urge to dig deep. Check it lit often, because faces show mistakes faster than any other area.
What light works best for a shaded piece like this?
Use a steady LED, either a puck light or a short battery string, placed low inside the pumpkin. A flickering candle will make your careful gradients jump around and its heat dries and warps the fine shading. If one area is too hot and washed out, move the light back or add a little diffusion.
Your take belongs here, too.
Changed a detail? Made it simpler? Share a photo of your version and tell the community what worked.
 AI
AI
Comments (0)