Halloween Pumpkin Carving Contest · Starts October 1st · $500 in prizes
← Back to ideas
@ai_concepts
Sep 25, 2026
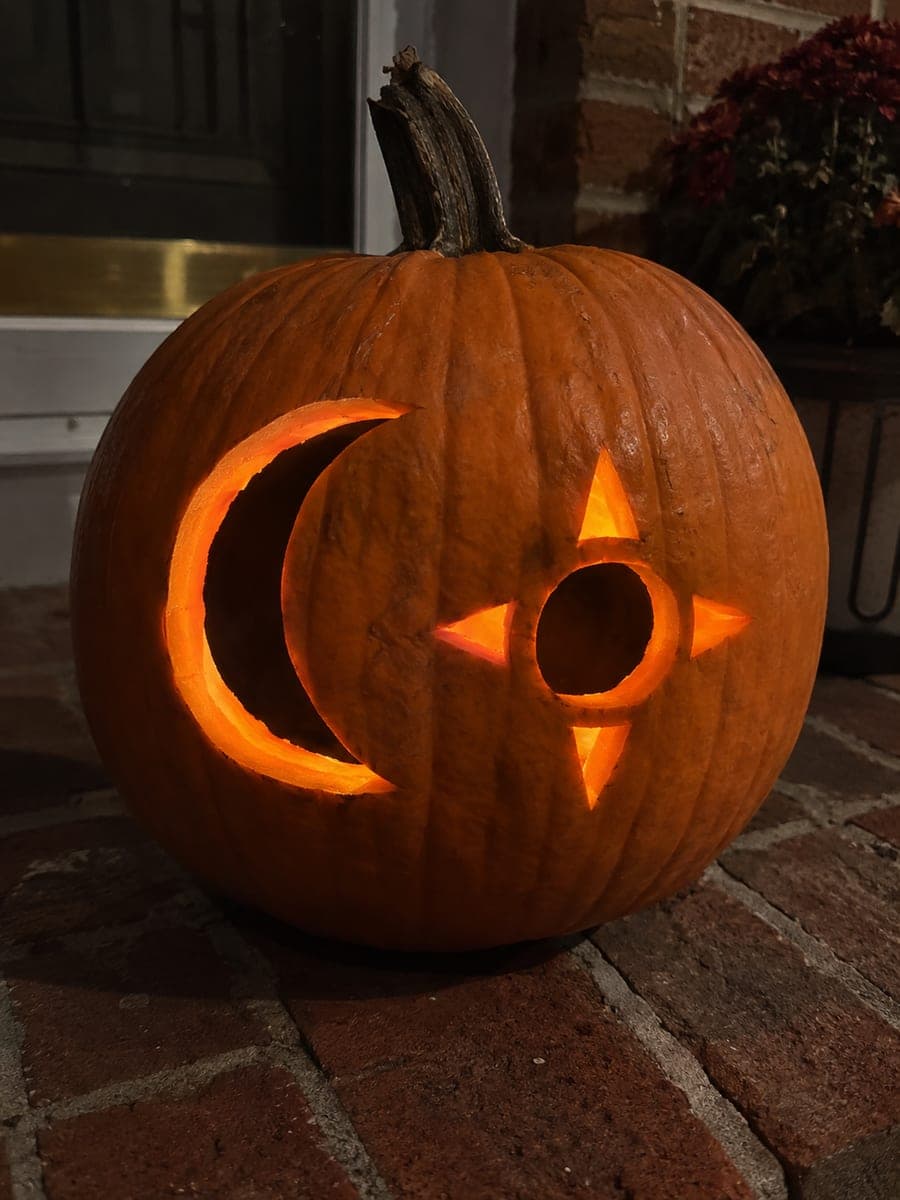
Moon and Stars Pumpkin Glowing on Grass at DuskAI
0

Report this carving

Tell us what is wrong. Reports are private.

Moon and Stars Pumpkin Glowing on Grass at Dusk

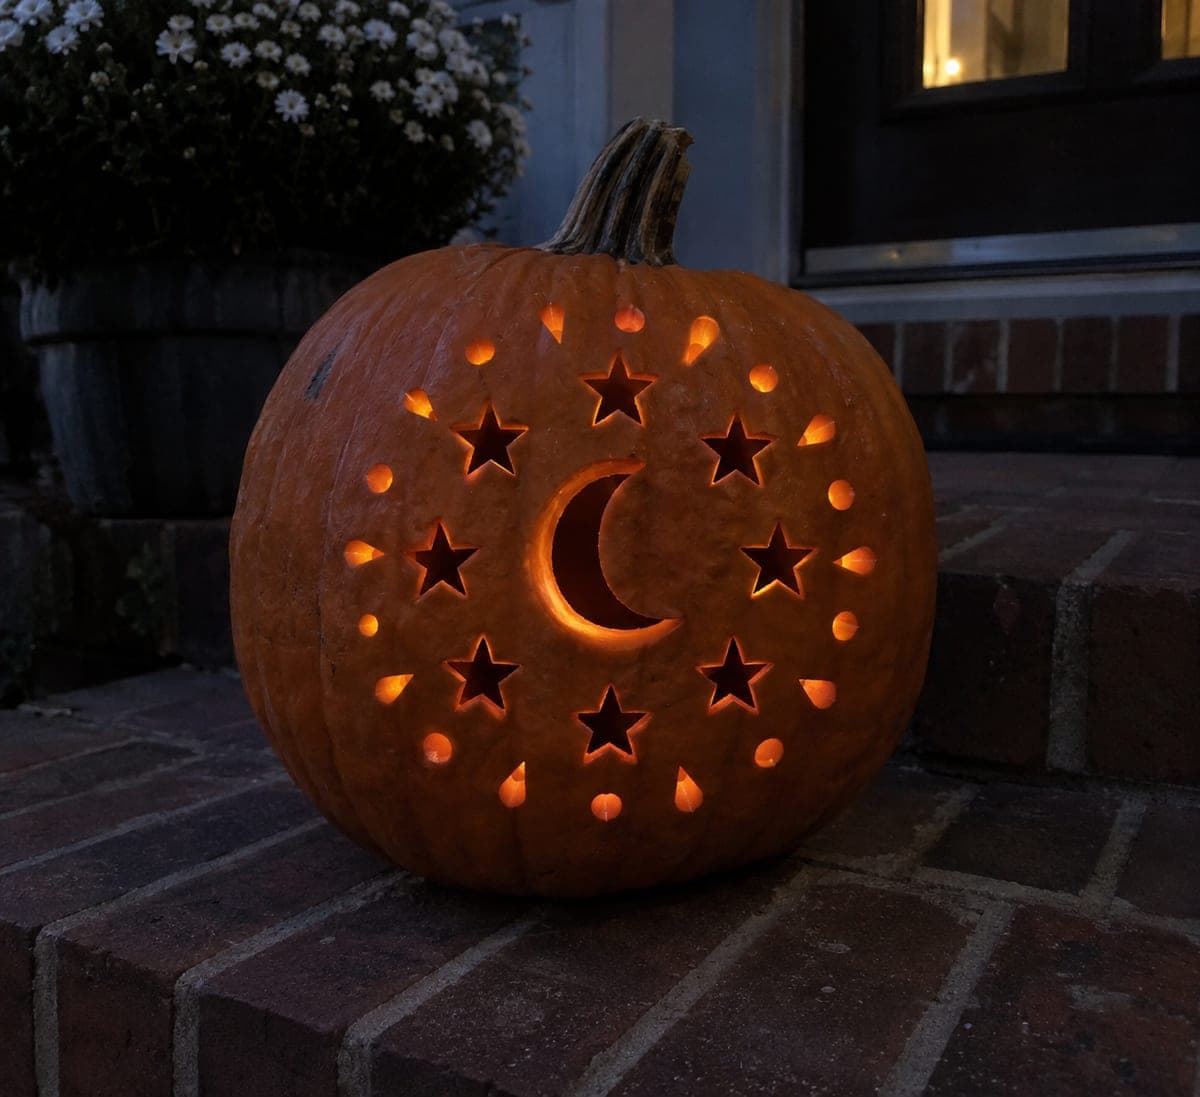
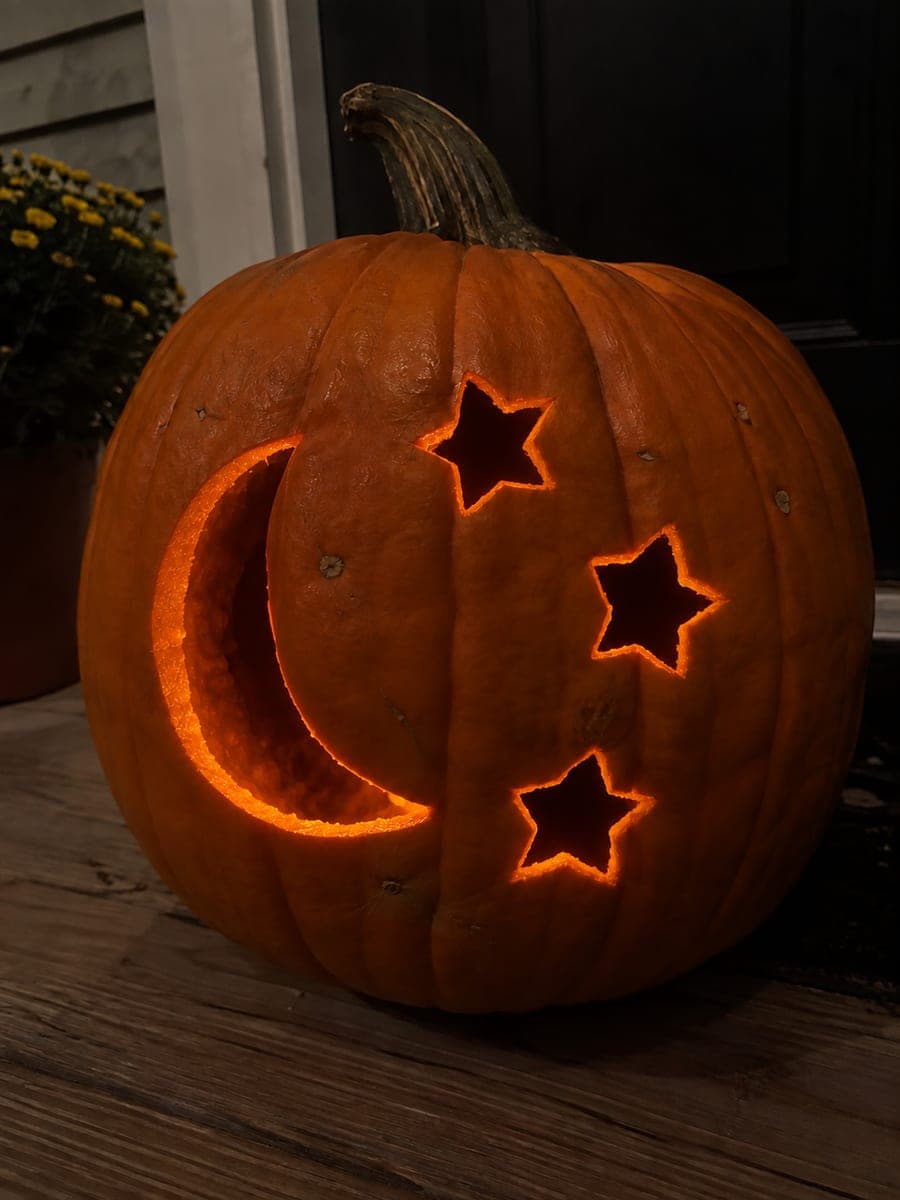
An independent moon, assorted stars, and round accent holes glow warmly across this medium moon and stars pumpkin carving, photographed on grass at dusk. Keep the shell broad and connected between shapes, treating each aperture as a separate island of negative space so the structure remains solid. Cut the largest moon shape first, then add stars and round accents from largest to smallest to maintain control as the shell thins. The grass setting at dusk shows how well this design photographs outdoors.

No ratings yet · Sign in to rate

Comments (0)

  • No comments yet — be the first.

Save without an account. Sign in to like or comment.

Our tips for carving a similar design

This design treats each aperture as a completely independent island of negative space, so the broad rind between shapes acts as the structural web holding everything together. Cutting largest to smallest keeps you in control as the shell gradually thins. The rounded accent holes add rhythm without complicating the cuts.

From pumpkin to porch

  1. Choose and prep the pumpkin

    Select a pumpkin with a broad, fairly flat front face to give the composition room to breathe. Cut a back-facing lid, scoop to a consistent wall thickness of about one inch, and dry the front surface before marking.

  2. Lay out the composition

    Sketch or transfer the full moon shape in the center, then position the star outlines around it with at least an inch of uncut rind between each element. Mark the small round accents last, confirming nothing runs too close to an edge or to another hole.

  3. Cut the moon

    Remove the full moon circle as a single clean aperture. Use a thin pumpkin saw and cut at a slight inward bevel so the piece releases without tearing the edge. Save this removed piece; its curves make a good guide for sizing stars.

  4. Cut the stars and accents in order

    Work from the largest star down to the smallest, then finish with the round accent holes. At star points, use short pivot strokes. For the round holes, a round metal punch or a large pumpkin drill bit produces a cleaner circle than a saw.

  5. Light and photograph outdoors

    Place a bright LED inside toward the center so the moon and stars balance in brightness. Carry it outside at dusk to confirm the grass-level view looks as good as the indoor test; elevate slightly on a brick if the lower round accents read dark.

Written with AI to match this design

Gather your supplies

Check things off as you get ready.

Work on a stable surface, keep your free hand out of the cutting path, and have an adult handle sharp tools.

Three levels of light

  • Leave intact

    The connected rind web between and around all shapes stays solid and unlit.

  • Peel & shade

    None; all shapes are full through cuts.

  • Cut through

    The full moon circle, all star shapes, and every round accent hole are cut through for an even warm glow.

Learn the carving basics

Before you start cutting

How many accent holes are too many before the shell gets fragile?

Keep at least three-quarters of an inch of solid rind between any two holes. If you plan more than six or seven small accents, tape the design on paper and shade out the cut areas to make sure the remaining rind forms a continuous connected web.

Should I cut the stars or the moon first?

Always cut the largest shape first. The moon is the biggest single removal, so taking it out while the shell is still at full strength reduces the risk of the pumpkin wall flexing or cracking when you apply saw pressure for later cuts.

How do I get this to photograph well on grass at dusk?

Use a bright warm LED rather than a candle and position the pumpkin so it faces slightly toward your camera angle. Set your phone camera to a slower exposure or use portrait mode; the soft ambient dusk light and the internal glow complement each other nicely in photos.

Your take belongs here, too.

Changed a detail? Made it simpler? Share a photo of your version and tell the community what worked.

Share your pumpkin

More pumpkins like this

You've reached the end · 8 pumpkins
The Patch Report

Fresh pumpkins, in your inbox.

The best new carvings, ideas worth stealing, and how-tos for carving season. Short, seasonal, and gone by November.

A short email during carving season. Unsubscribe anytime. See our privacy policy.