Halloween Pumpkin Carving Contest · Starts October 1st · $500 in prizes
← Back to ideas
@ai_concepts
Sep 25, 2026
Twin Crescent Moons and Star Trail Pumpkin on StoneAI
0

Report this carving

Tell us what is wrong. Reports are private.

Twin Crescent Moons and Star Trail Pumpkin on Stone

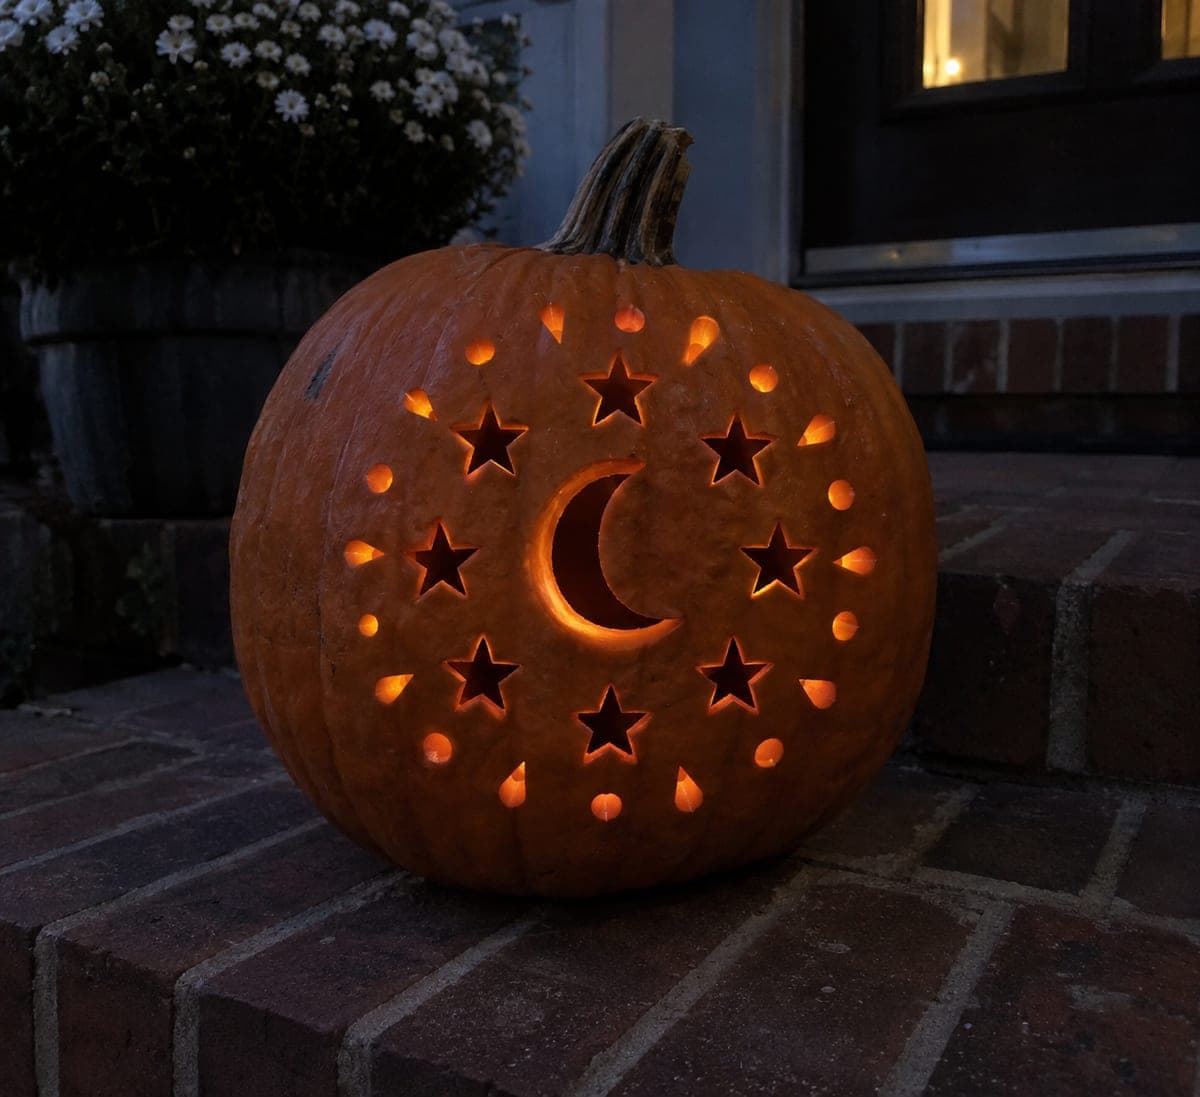
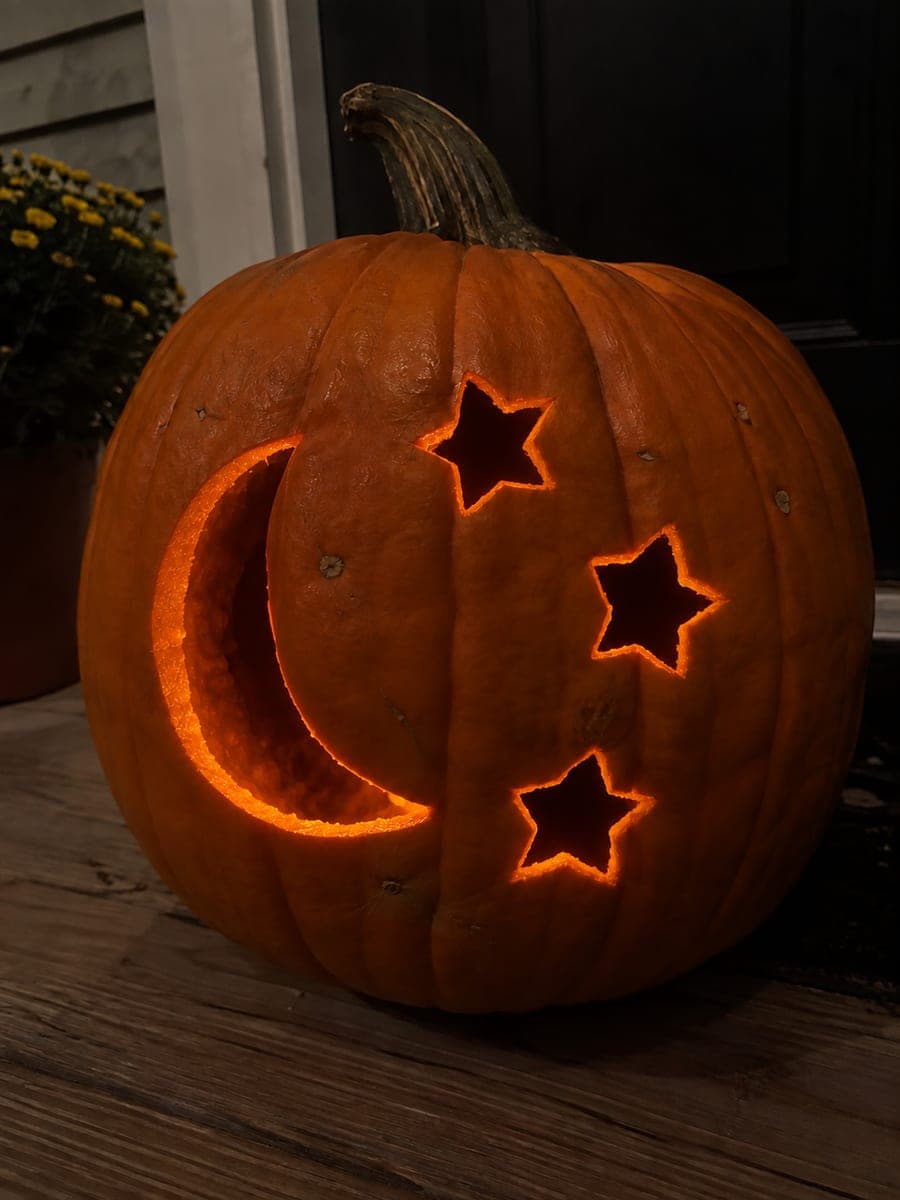
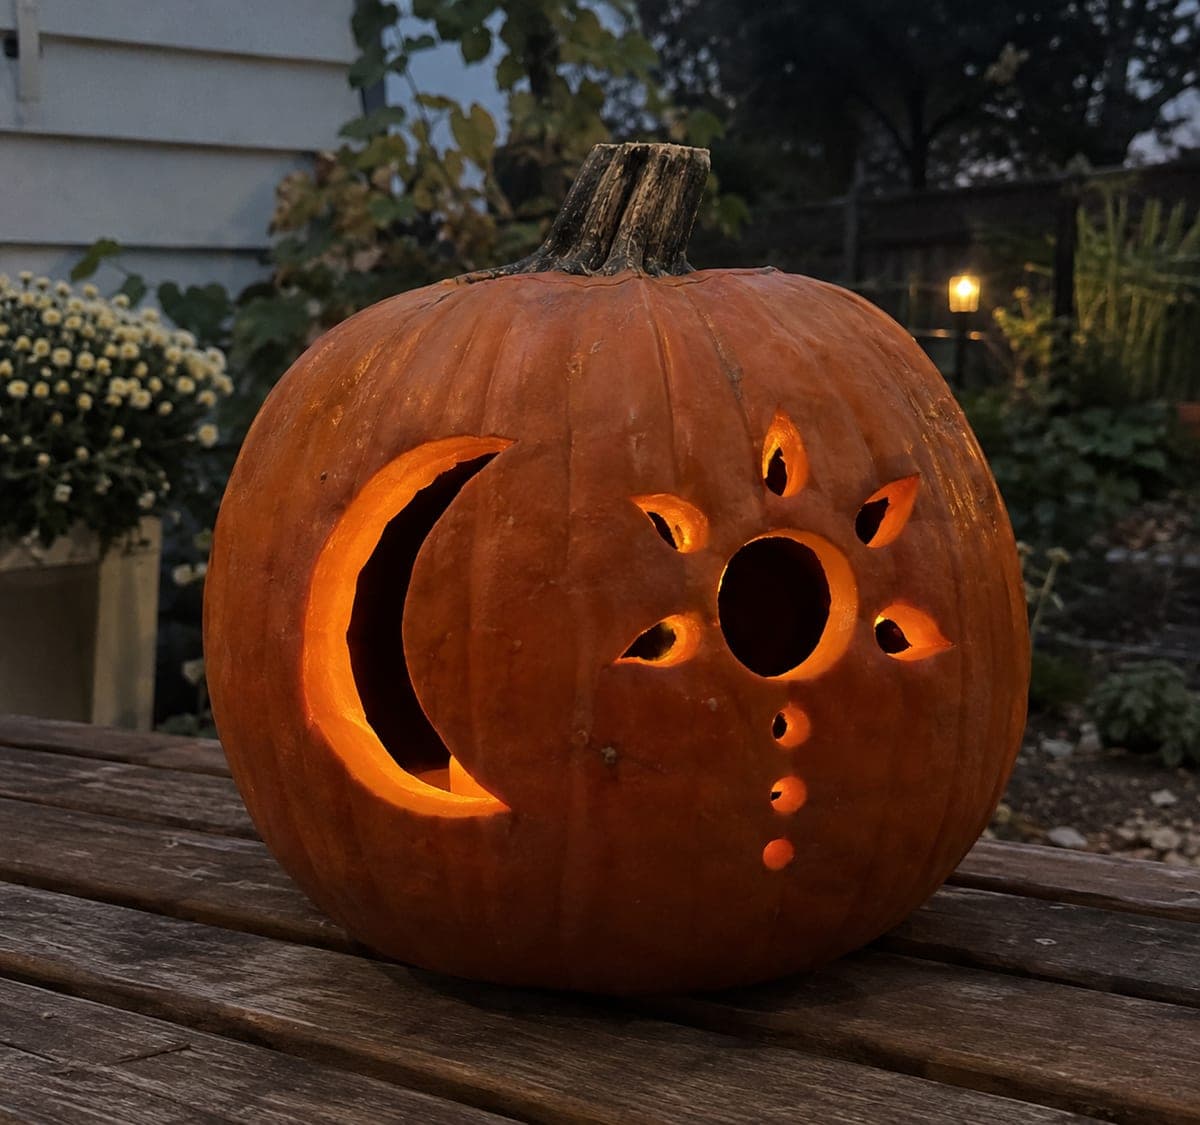
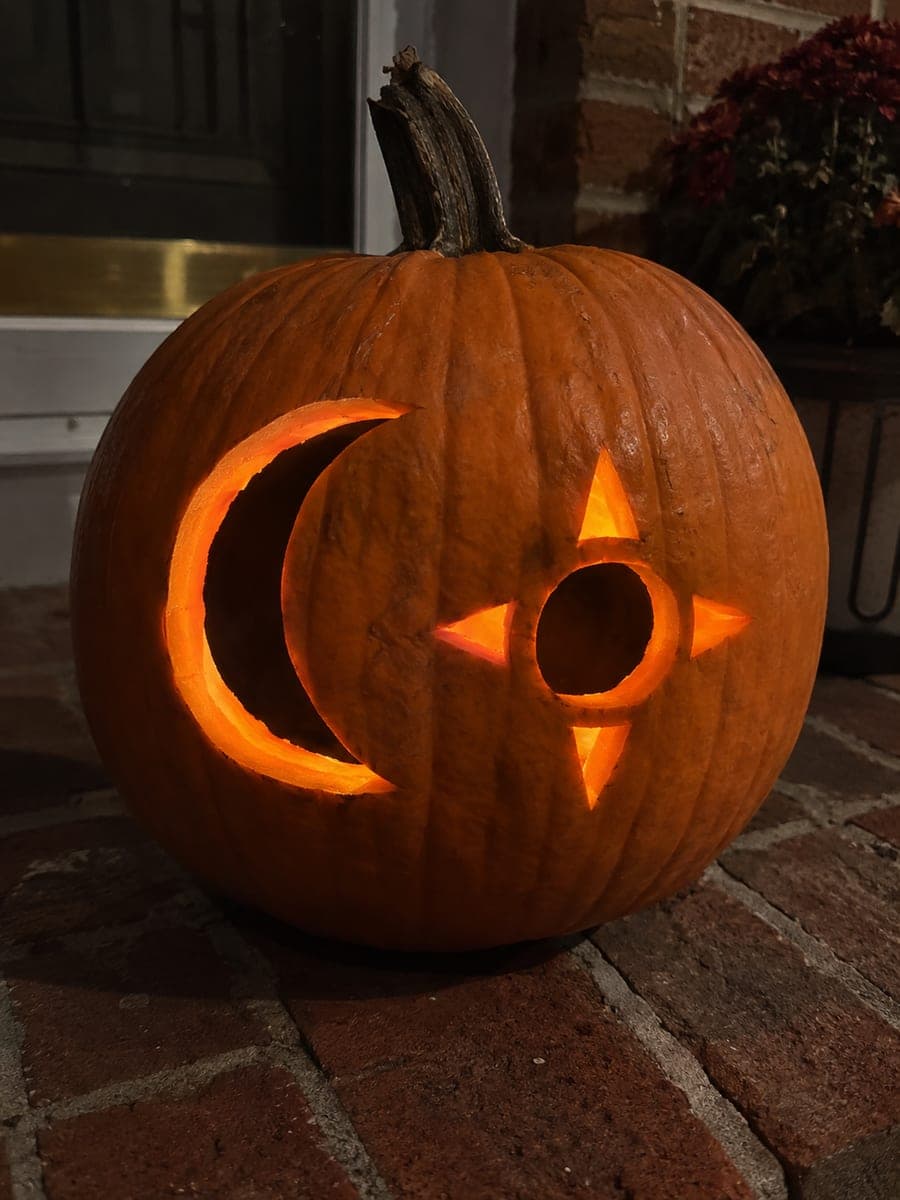
Two crescent moons bracket a trail of carved stars on this hard moon and stars pumpkin carving, displayed on a stone surface. All celestial shapes are separate empty holes joined only by generous rind bridges, so plan the spacing carefully before the first cut. Printing and taping the template directly to the rind gives the most accurate star point placement. Stone placement reflects the glow nicely and doubles the visual impact at night.

No ratings yet · Sign in to rate

Comments (0)

  • No comments yet — be the first.

Save without an account. Sign in to like or comment.

Our tips for carving a similar design

All celestial shapes, both crescents and every star, are fully punched through with the shell's integrity depending entirely on the rind bridges between them. Planning the spacing on paper before the first cut is the single most important step; every bridge must be a minimum of three-quarters of an inch wide to survive the star trail cuts. A printed template taped directly to the rind gives the most accurate point placement for the tighter star cluster.

From pumpkin to porch

  1. Plan the composition on paper first

    Sketch both crescents flanking a central column of stars on a piece of paper the same width as your pumpkin face. Shade in the cut areas and verify that every strip of rind between shapes connects back to the uncut outer shell. Adjust spacing until no bridge is narrower than three-quarters of an inch.

  2. Transfer with a pinprick template

    Tape the paper template firmly to the pumpkin face. Use a pushpin to perforate the outline of each shape at quarter-inch intervals. Remove the paper and connect the perforations with a fine chalk marker line before any cutting begins.

  3. Hollow the pumpkin

    Cut a back-side lid and scoop the interior to a consistent one-inch wall thickness. Thinner walls make the star points easier to cut but reduce structural strength; one inch is the right balance for this level of detail.

  4. Cut crescents first

    Remove each crescent as two curved passes: the outer convex arc first, then the inner concave arc. Take short pivot strokes on the concave cuts to stay on the line. Confirm both crescents are fully released and their surrounding bridges are solid before moving to the stars.

  5. Cut stars from largest to smallest

    Work down the star trail from the biggest star to the smallest. At each inward point use a rocking pivot cut, not a forcing motion. Adult carvers should handle all saw work; star points are the most likely place for blades to slip.

  6. Light and display on stone

    Place a warm LED toward the back center. Set the pumpkin on a stone surface, which will reflect light upward and slightly double the visual depth. Step back to check that all star trail elements glow evenly; elevate the LED on a folded card if the upper crescents look brighter than the lower stars.

Written with AI to match this design

Gather your supplies

Check things off as you get ready.

Work on a stable surface, keep your free hand out of the cutting path, and have an adult handle sharp tools.

Three levels of light

  • Leave intact

    All rind bridges between and surrounding the crescents and stars stay dark and solid.

  • Peel & shade

    None; the design relies on full through cuts only.

  • Cut through

    Both crescent moon shapes and every star in the trail are cut completely through for full glow.

Learn the carving basics

Before you start cutting

What is the minimum bridge width I should keep between shapes?

Three-quarters of an inch is the practical minimum for a hard-level multi-element design. At that width, rind is strong enough to hold under saw pressure without cracking but thin enough to look elegant from a few feet away.

How do I cut accurate star points without overcutting?

Stop the saw blade just short of each inward corner, back it out slightly, and pivot before completing the corner. Overcuts at the inner angles weaken the bridge rind more than almost any other mistake, so slow down at every inward point.

The stone surface is uneven and my pumpkin wobbles. What should I do?

Cut a small flat slice off the bottom of the pumpkin so it sits level. Alternatively, set it on a folded kitchen towel to stabilize it without risking a fall onto the hard surface.

Your take belongs here, too.

Changed a detail? Made it simpler? Share a photo of your version and tell the community what worked.

Share your pumpkin

More pumpkins like this

You've reached the end · 8 pumpkins
The Patch Report

Fresh pumpkins, in your inbox.

The best new carvings, ideas worth stealing, and how-tos for carving season. Short, seasonal, and gone by November.

A short email during carving season. Unsubscribe anytime. See our privacy policy.