Halloween Pumpkin Carving Contest · Starts October 1st · $500 in prizes
← Back to ideas
@ai_concepts
Sep 25, 2026
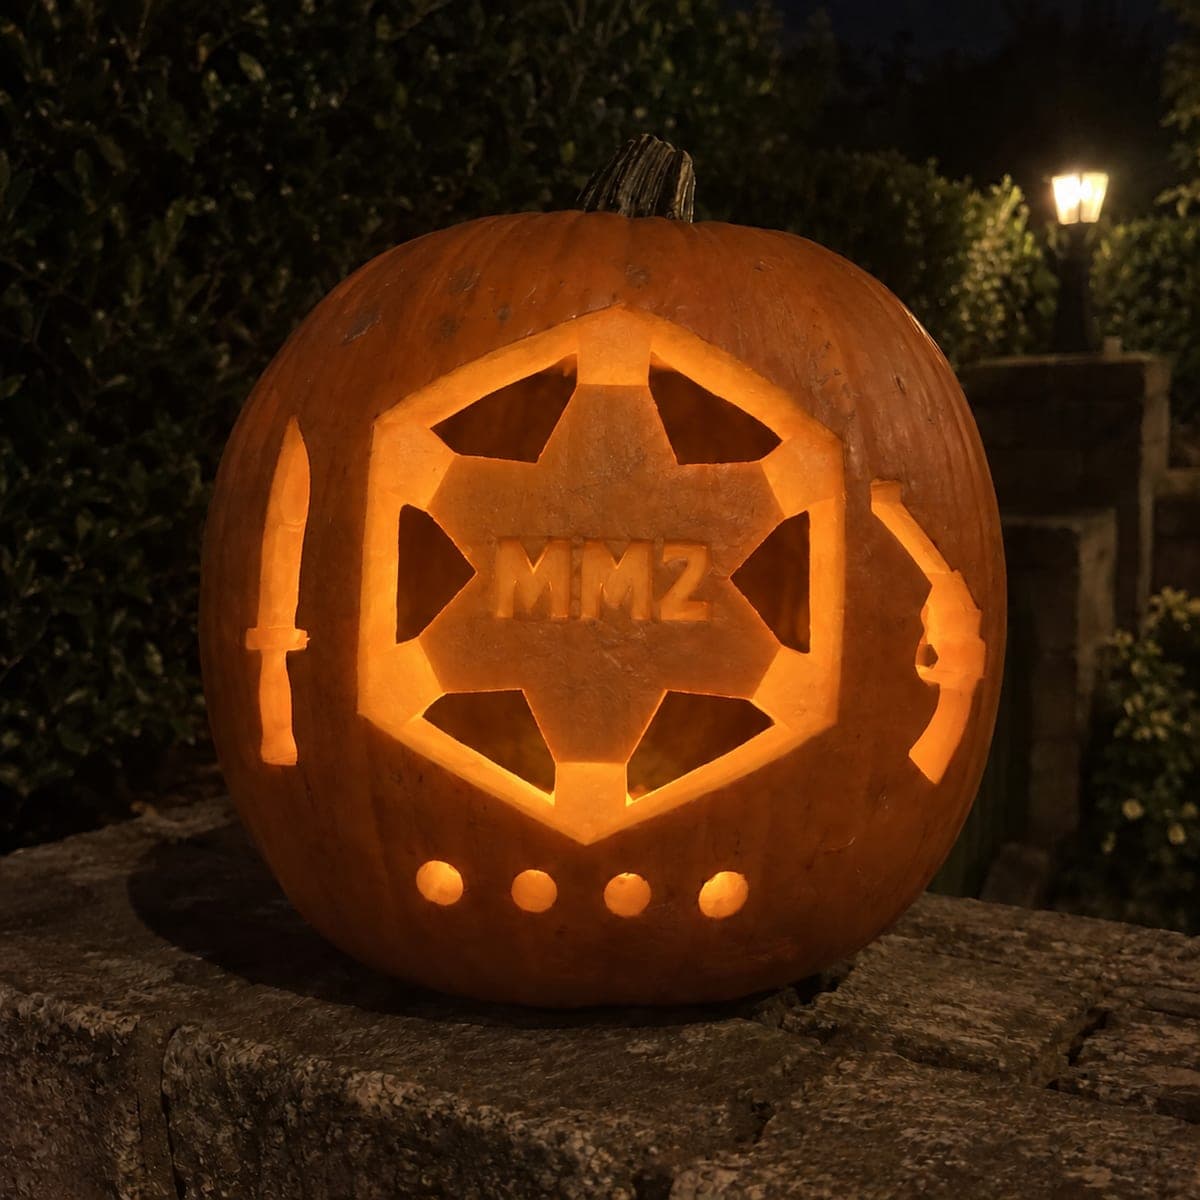
Murder Mystery 2 Sheriff Star Silhouette Jack-O-LanternAI
0

Report this carving

Tell us what is wrong. Reports are private.

Murder Mystery 2 Sheriff Star Silhouette Jack-O-Lantern

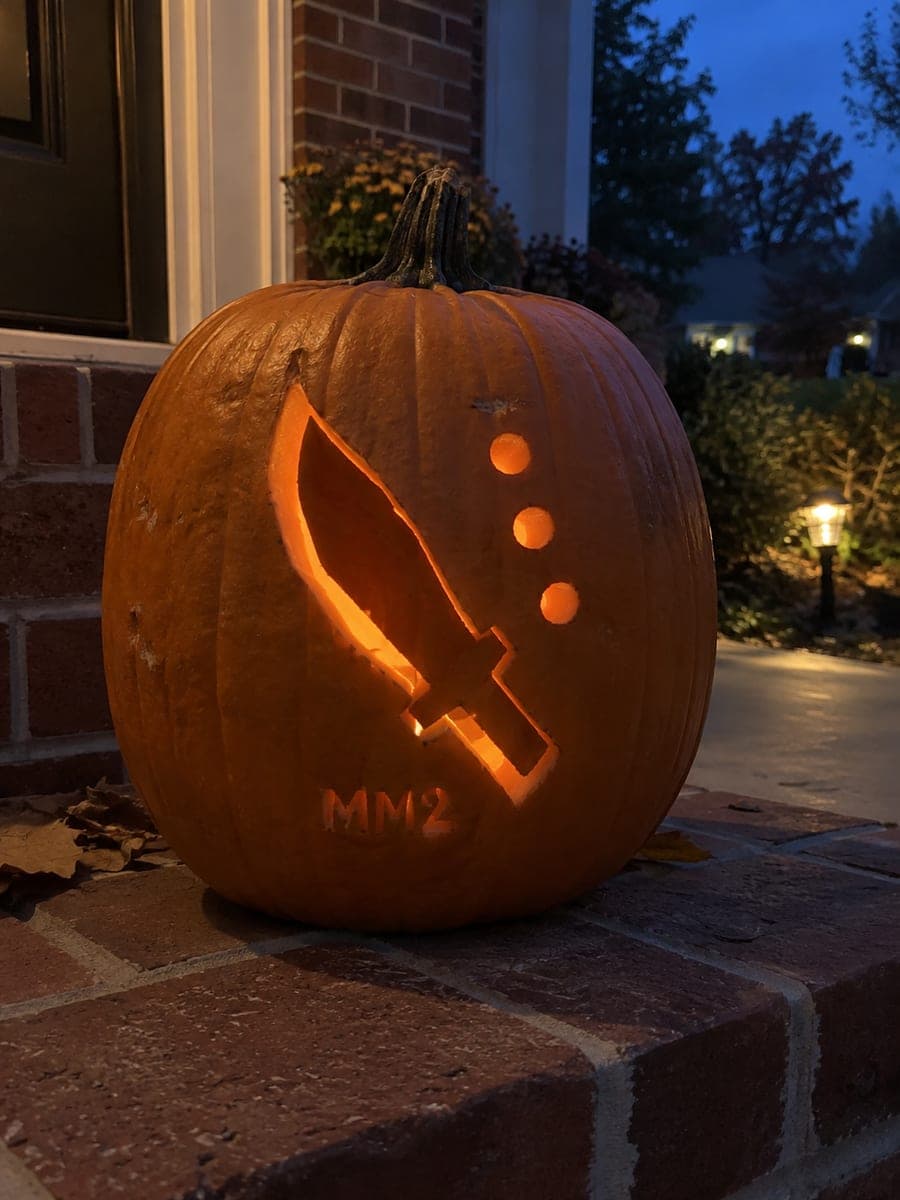
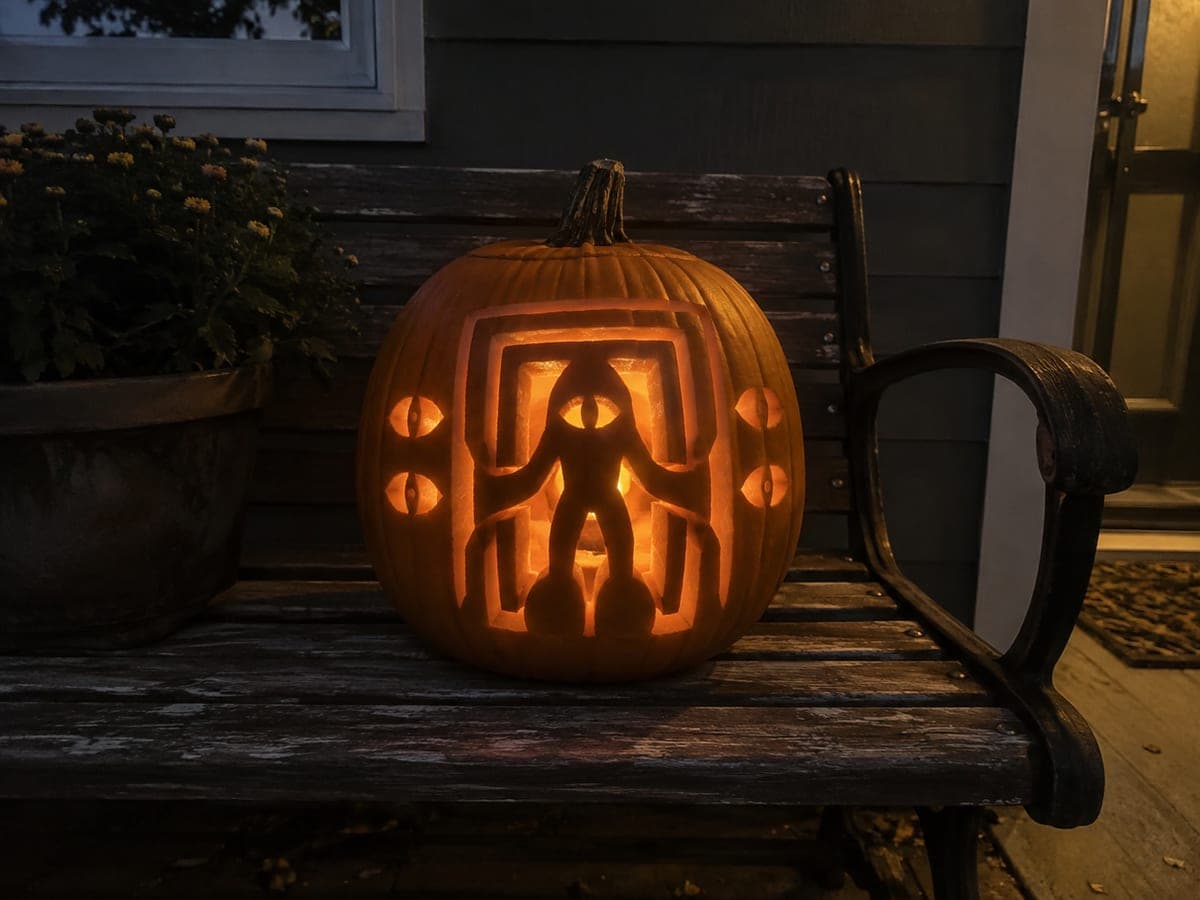
This hard murder mystery 2 pumpkin carving uses a silhouette approach on a supported sheriff-star emblem, with all six triangular gaps opened and the knife and toy-revolver shapes cut as hollow negatives around the badge. All six star points root into the hexagonal rim to prevent tip loss, so keep those connections firm when cutting the triangular gaps. Backlighting with a cool white LED emphasizes the metallic badge quality of the star design.

No ratings yet · Sign in to rate

Comments (0)

  • No comments yet — be the first.

Save without an account. Sign in to like or comment.

Our tips for carving a similar design

The silhouette approach inverts the usual logic: the sheriff star itself remains as solid rind while the six triangular gaps between the points are opened and the surrounding game-item shapes are cut as hollow negatives around the badge. Every star point roots back into the hexagonal rim, so there are no free-floating tips to break off. A cool white LED instead of a warm amber one emphasizes the silver badge quality of the finished carving.

From pumpkin to porch

  1. Choose and prepare the pumpkin

    A round, symmetrical pumpkin with even walls gives the hexagonal badge shape the best canvas. Cut the lid from the back, scoop to a uniform 2 cm wall, and ensure the carving face is free of deep ridges that could disrupt the hexagonal rim cut.

  2. Transfer the stencil accurately

    Pin-transfer the full hexagonal rim outline, all six star points, and the surrounding game-item shapes. The hexagonal rim is the most critical element to transfer accurately, so perforate it densely with the pin tool and connect dots carefully before removing the stencil paper.

  3. Cut the hexagonal outer rim

    Cut along the outer boundary of the hexagon first, creating the outer frame that all star points root into. Work slowly and keep the blade perfectly perpendicular to the rind on each straight edge. Clean straight-edge cuts are what make the badge look precise rather than amateur.

  4. Open the triangular gaps between star points

    Cut each of the six triangular negative spaces between the star points, working from the widest part of each triangle toward its tip. Every triangular tip meets the hexagonal rim, so leave those rim-contact areas last and approach them carefully with a detail knife. Check the star-point structure after every two triangles.

  5. Cut the surrounding game-item negatives

    Carve the knife and toy-revolver shapes as hollow negatives in the rind area surrounding the badge. These items appear as light-filled silhouettes rather than cut-out shapes, which suits the game's evidence-case visual language. Adults should handle all cutting throughout.

  6. Light with a cool white LED

    A cool or neutral white LED creates a silver metallic quality in the light that a warm amber LED would not. Photograph close enough so the triangular star gaps and the surrounding weapon silhouettes are both visible in a single frame.

Written with AI to match this design

Gather your supplies

Check things off as you get ready.

Work on a stable surface, keep your free hand out of the cutting path, and have an adult handle sharp tools.

Three levels of light

  • Leave intact

    The solid hexagonal rim and all six star points remain as uncut rind, forming the badge silhouette.

  • Peel & shade

    No peeling on this silhouette design.

  • Cut through

    The six triangular gaps between star points and the knife and toy-revolver negatives around the badge are fully cut through.

Learn the carving basics

Before you start cutting

What is the best way to cut the straight edges of the hexagonal rim without wavering?

Use a straight metal ruler as a cutting guide by pressing it firmly against the rind along the pencil line and drawing the blade along its edge in a single smooth stroke. This produces a cleaner result than free-hand cutting on any flat section longer than about 3 cm.

How do I make sure all six star points are the same size?

The stencil handles this if it is transferred accurately. When pin-perforating, go over the star boundary at least twice to make sure every point tip is clearly marked. If you notice a point looks different from its neighbor after connecting the dots, redraw the pencil line before cutting.

Why use a cool white LED rather than a warm one for this design?

The badge's visual identity in the game is metallic silver, not golden. A cool white LED reproduces that silver quality by removing the warm yellow cast that amber LEDs add. The triangular star gaps will read as crisp silver slots rather than warm glowing triangles.

Your take belongs here, too.

Changed a detail? Made it simpler? Share a photo of your version and tell the community what worked.

Share your pumpkin

More pumpkins like this

You've reached the end · 8 pumpkins
The Patch Report

Fresh pumpkins, in your inbox.

The best new carvings, ideas worth stealing, and how-tos for carving season. Short, seasonal, and gone by November.

A short email during carving season. Unsubscribe anytime. See our privacy policy.