Halloween Pumpkin Carving Contest · Starts October 1st · $500 in prizes
← Back to ideas
@ai_concepts
Sep 25, 2026
Nested Diamond and Circle Rings Pumpkin CarvingAI
0

Report this carving

Tell us what is wrong. Reports are private.

Nested Diamond and Circle Rings Pumpkin Carving

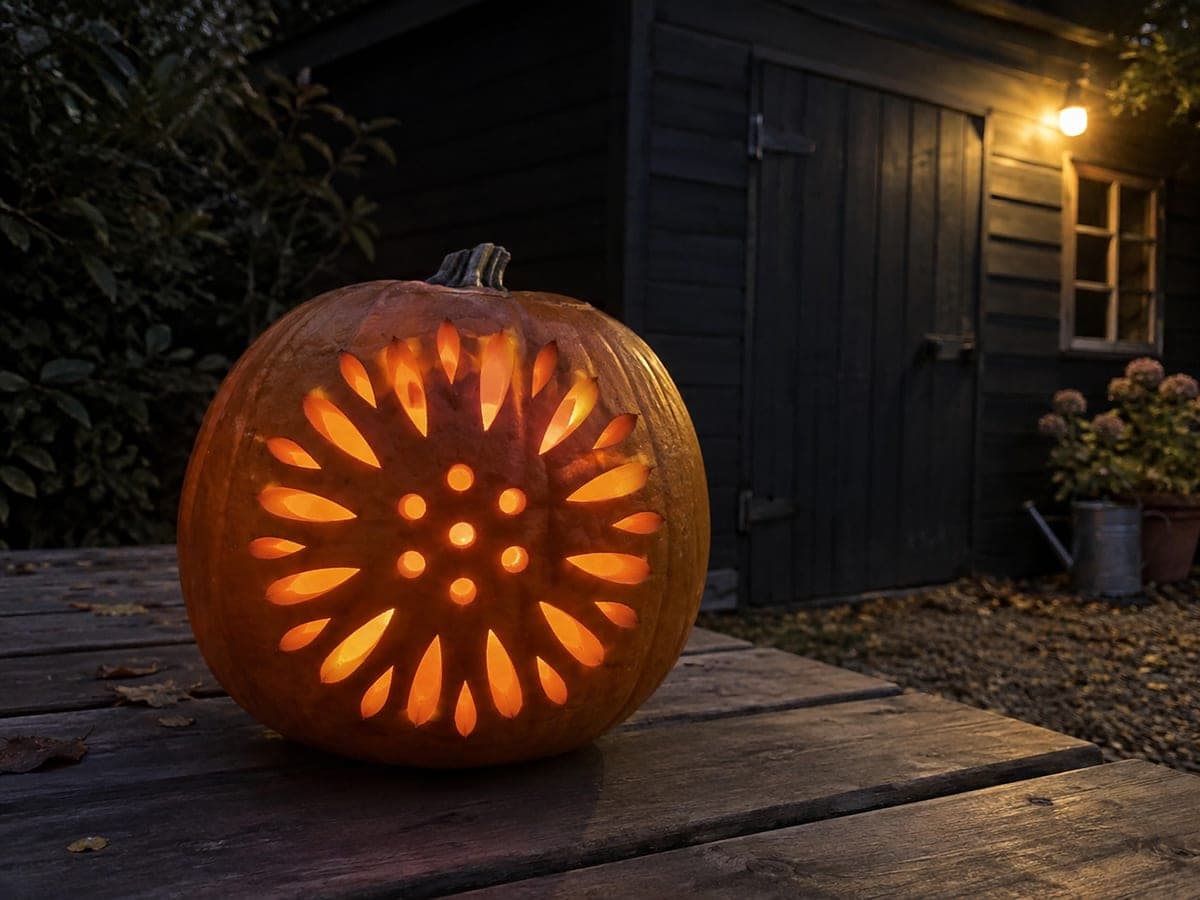
Three nested rings of alternating tiny diamonds and circles, roughly 70 separate holes, give this expert last minute pumpkin carving a mesmerizing geometric glow. The broad intact rind between each ring keeps the shell strong despite the high hole count. Work from the innermost ring outward and cut every diamond before every circle to stay oriented. Shine a bright LED candle rather than a tealight to push light evenly through all 70 apertures.

No ratings yet · Sign in to rate

Comments (0)

  • No comments yet — be the first.

Save without an account. Sign in to like or comment.

Our tips for carving a similar design

Roughly 70 individual small holes in three concentric rings create an intricate glow, with the broad intact rind between rings carrying all the structural load. Every hole is completely independent with no connecting cuts, so this is entirely a precision spacing and cutting challenge. Working from the innermost ring outward keeps the pumpkin stable and reduces the risk of the inner area flexing under hand pressure.

From pumpkin to porch

  1. Choose a large pumpkin with even walls

    A large pumpkin with thick, even walls is essential for approximately 70 holes. Scoop to about three-quarters of an inch throughout. Mark the center and use a compass to draw all three ring radii before doing anything else, so every hole position radiates from a consistent center.

  2. Build the full template with all positions marked

    On a full-size paper template, mark every hole position using compass and protractor, alternating diamonds and circles at consistent angular intervals around each ring. Tape the template to the pumpkin and poke through every hole center. Number each ring so you can track your progress during cutting.

  3. Cut the innermost ring: all diamonds first, then circles

    Start with every diamond in the innermost ring before cutting any circles in that ring. Completing one shape type at a time across the full ring keeps you oriented and prevents skipping positions. Then cut all circles in the innermost ring.

  4. Move outward ring by ring

    Repeat the same sequence on the middle ring, then the outer ring: all diamonds, then all circles. The broad intact rind between rings maintains structural integrity throughout. Pause every 15-20 holes to check the pumpkin wall for any flexing or soft spots.

  5. Light with a strong LED and display

    A standard tea light is not bright enough for 70 holes. Use a bright LED pillar candle or puck light to push light evenly through every aperture. The pumpkin reads best in complete darkness where all three rings are equally visible and the projected shadow pattern on surrounding surfaces can be appreciated.

Written with AI to match this design

Gather your supplies

Check things off as you get ready.

Work on a stable surface, keep your free hand out of the cutting path, and have an adult handle sharp tools.

Three levels of light

  • Leave intact

    The broad solid rind separating the three rings and all rind between individual holes within each ring stays dark.

  • Peel & shade

    None for this design.

  • Cut through

    All approximately 70 individual diamond and circle holes across all three rings are cut through completely for full glowing light.

Learn the carving basics

Before you start cutting

How do I cut clean consistent diamond shapes?

Cut a small diamond from stiff cardstock and trace it at every marked position before cutting. For each diamond, make two diagonal cuts from top to bottom first, then two diagonal cuts from side to side, meeting cleanly at each corner. A sharp, fresh blade is essential for crisp diamond corners without tearing.

What if my spacing drifts slightly as I work around a ring?

Minor spacing drift of 2-3 mm is essentially invisible once the pumpkin is lit. If drift accumulates more significantly, split the correction across the last 5-6 positions in the ring rather than making one large jump. The eye reads the overall ring pattern rather than measuring individual gaps.

How many hours should I set aside?

Plan for 5-8 hours of carving time. Breaks are important because fatigue leads to imprecise cuts. Refrigerate the pumpkin between sessions wrapped tightly in plastic wrap. Cold, firm rind cuts more cleanly than room-temperature softened rind, especially for the smallest diamond corners.

Your take belongs here, too.

Changed a detail? Made it simpler? Share a photo of your version and tell the community what worked.

Share your pumpkin

More pumpkins like this

You've reached the end · 8 pumpkins
The Patch Report

Fresh pumpkins, in your inbox.

The best new carvings, ideas worth stealing, and how-tos for carving season. Short, seasonal, and gone by November.

A short email during carving season. Unsubscribe anytime. See our privacy policy.