Halloween Pumpkin Carving Contest · Starts October 1st · $500 in prizes
← Back to ideas
@ai_concepts
Aug 7, 2026
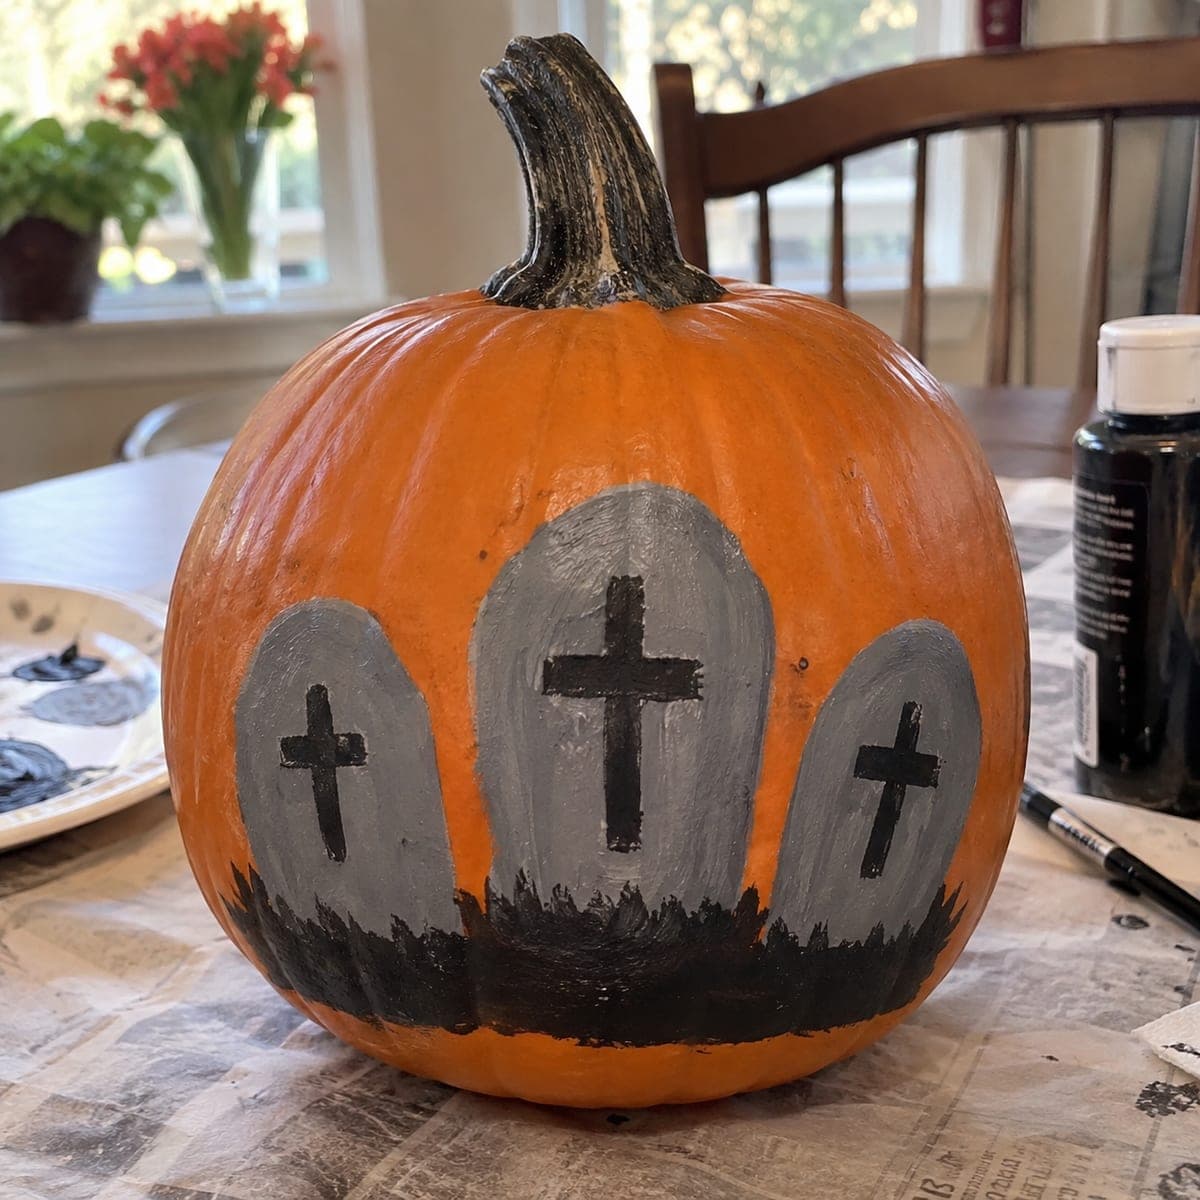
Painted Graveyard Tombstone Pumpkin With CrossesAI
0

Painted Graveyard Tombstone Pumpkin With Crosses

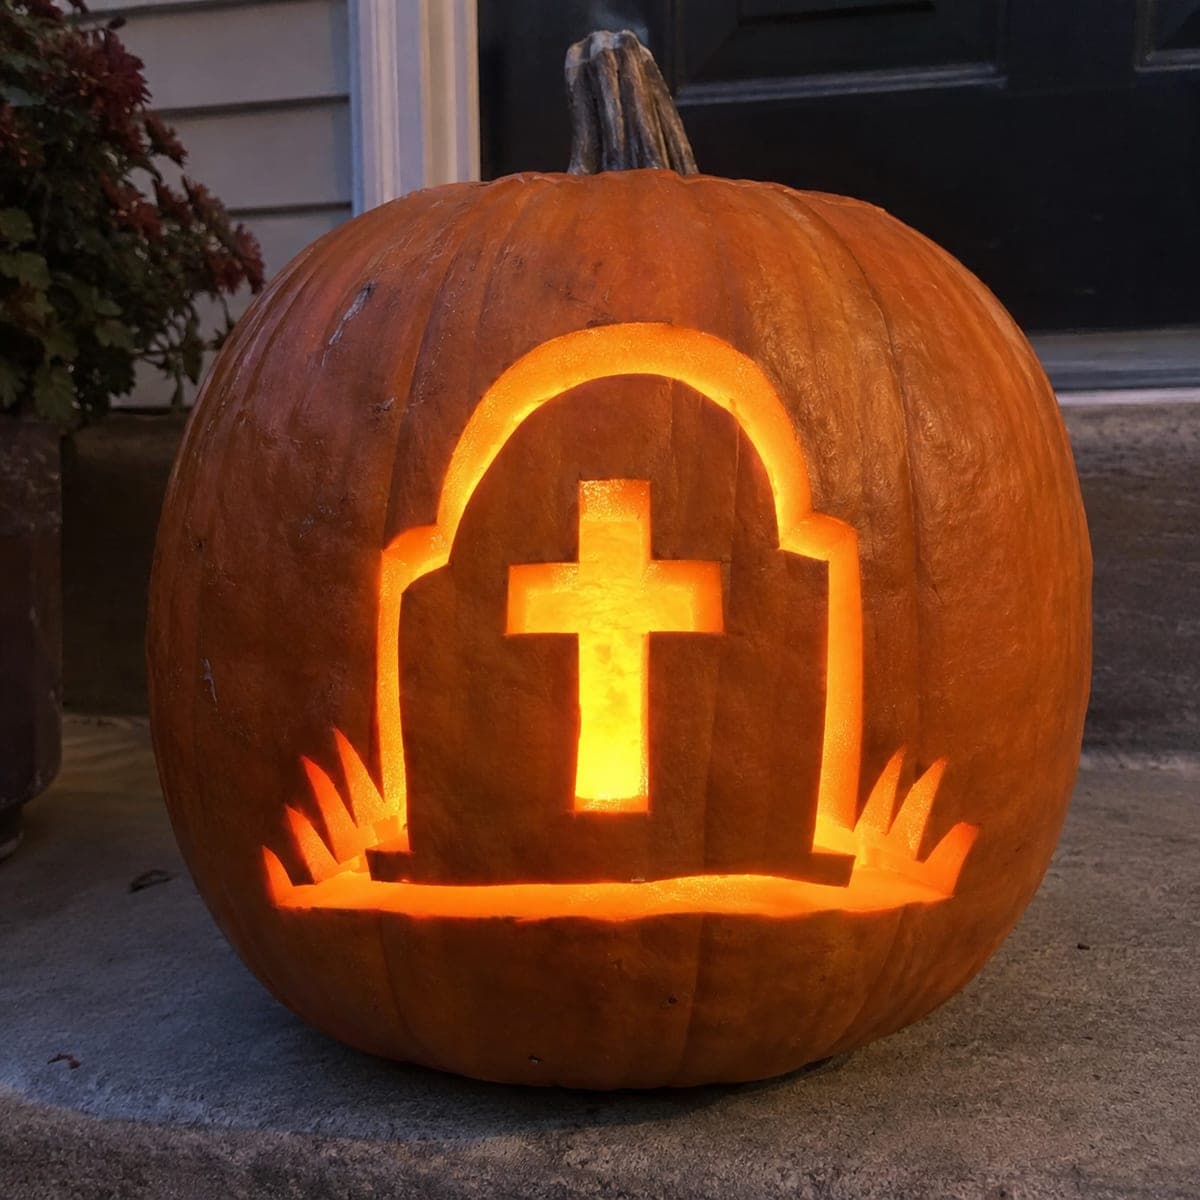
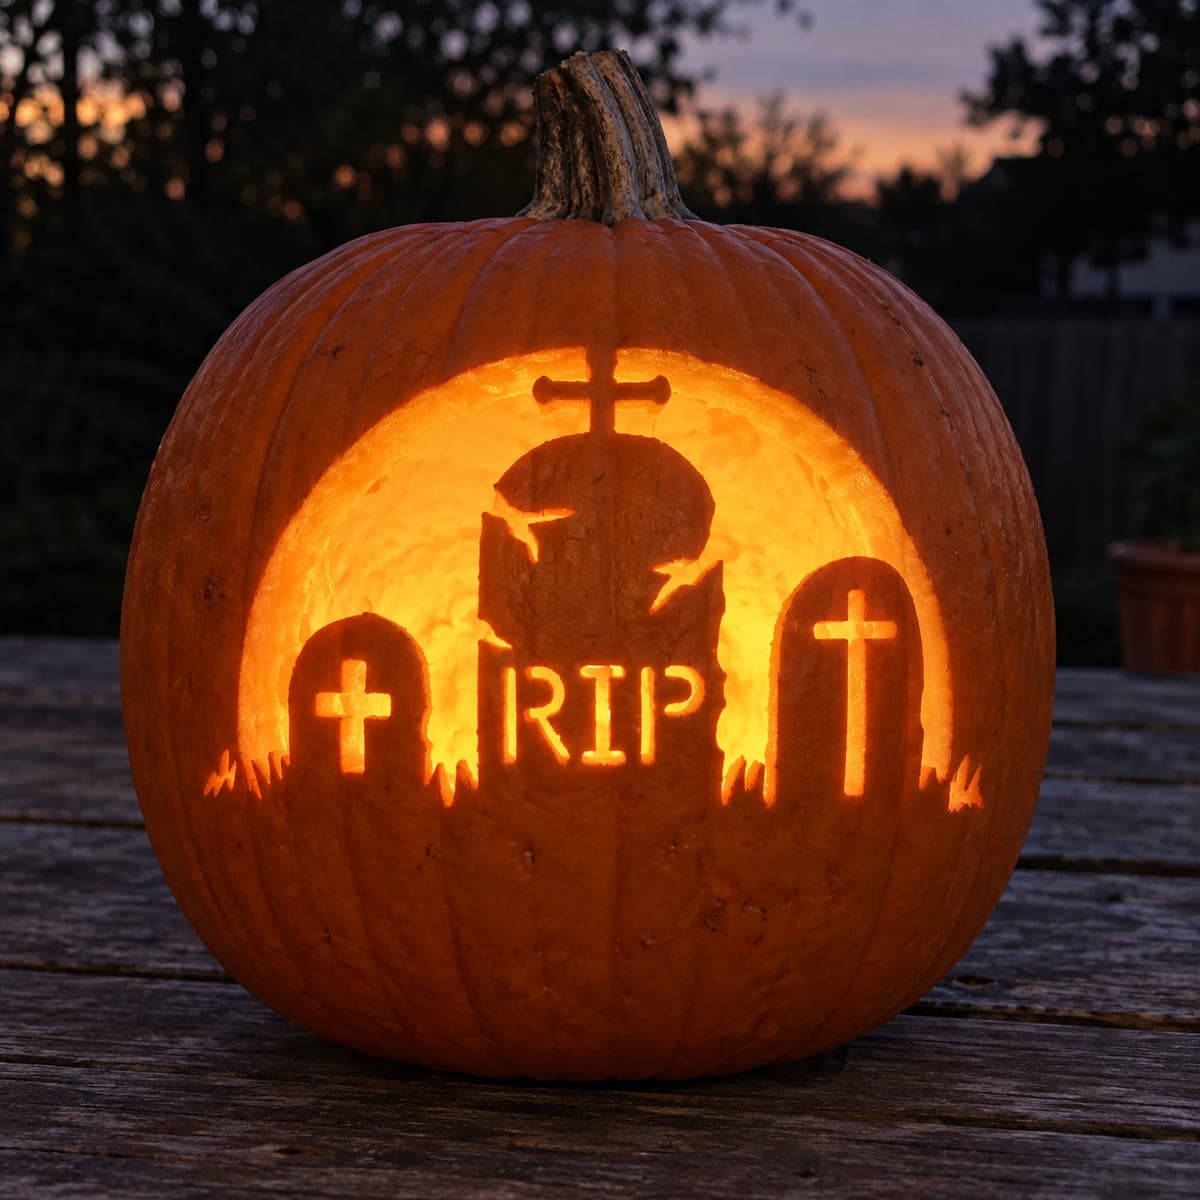
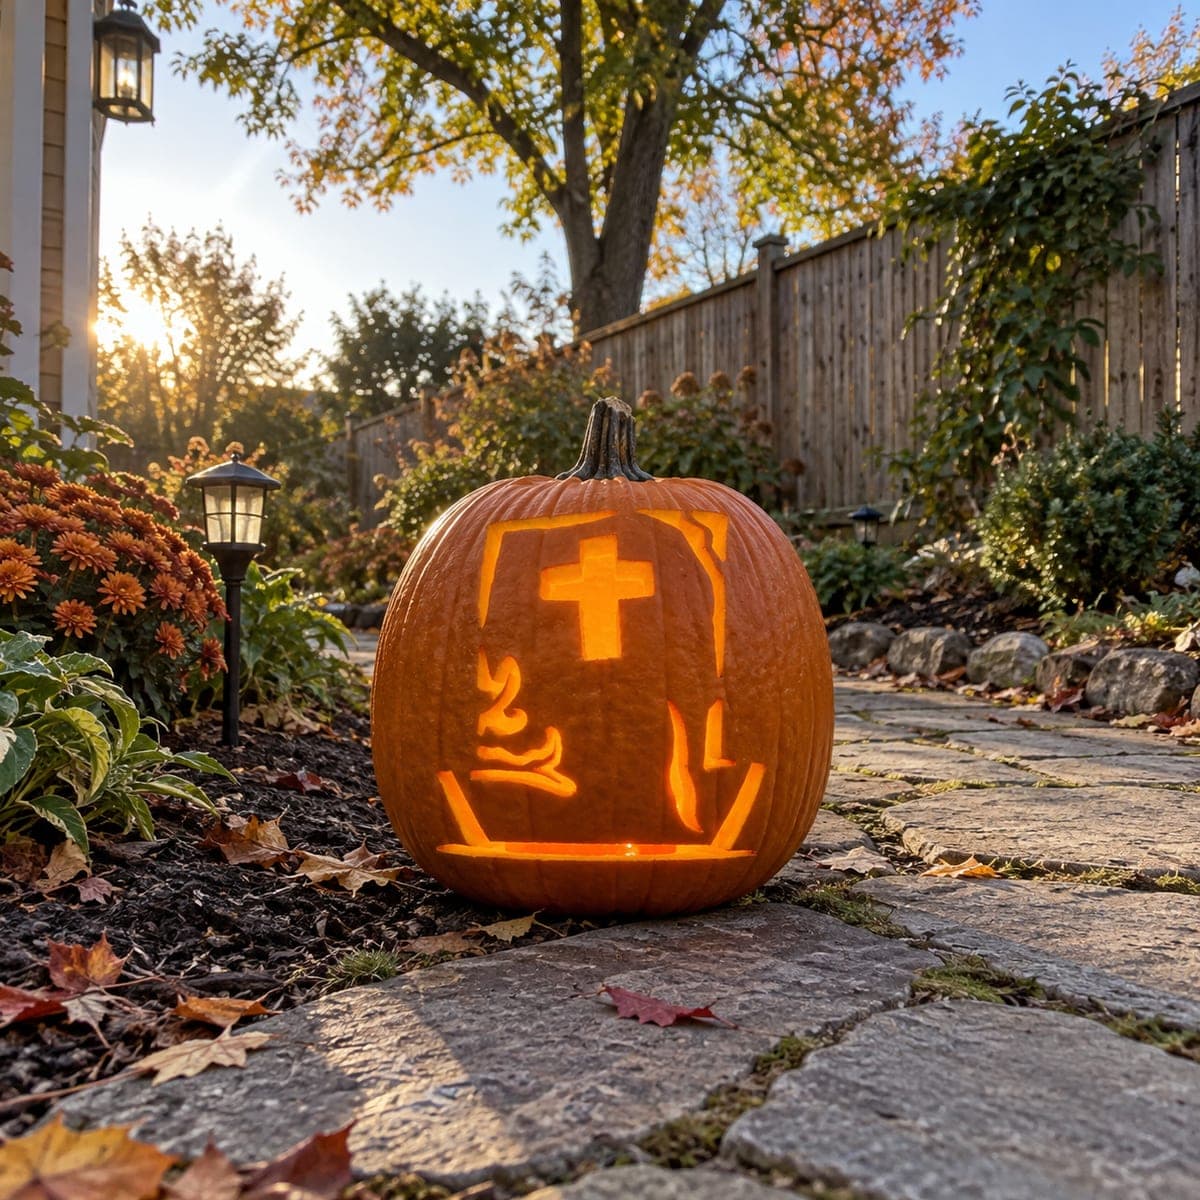
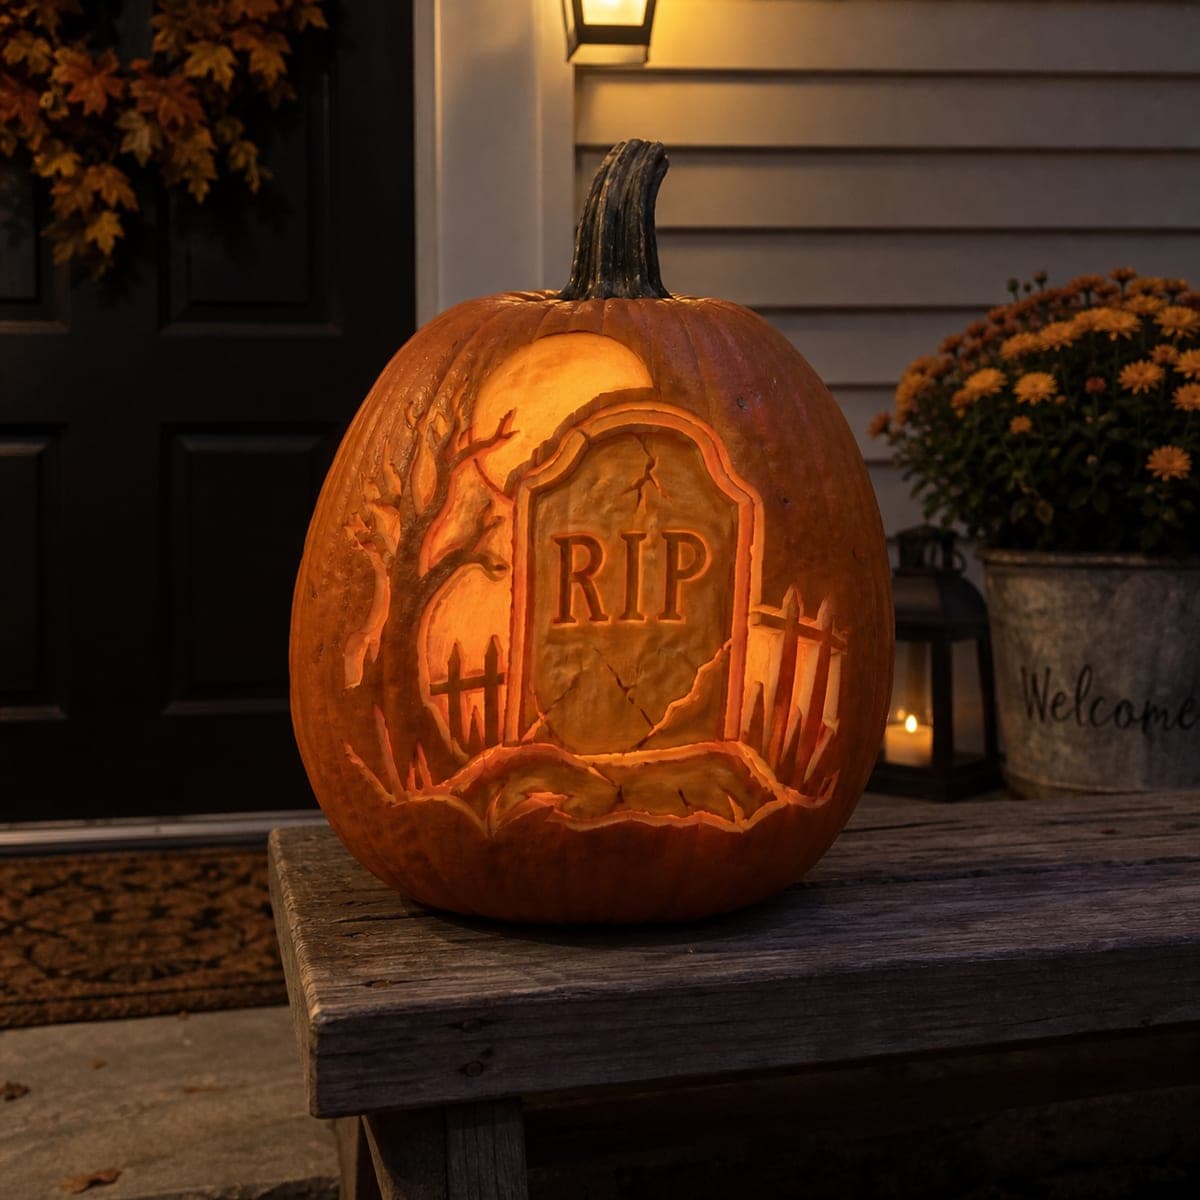
Three gray tombstones topped with black crosses rise from painted grass on this no-carve pumpkin, a quick graveyard scene anyone can copy. Sketch the headstone shapes in pencil first, block them in with gray acrylic, then add the crosses and spiky grass with a small round brush. Because nothing is cut, this pumpkin decorating idea lasts for weeks on a covered porch. Seal it with a matte spray if rain is in the forecast.

This is an AI-generated concept image: a realistic, carvable design idea rather than a photo of a finished carve. AI concepts are always labeled and sit out the leaderboard and the contest.

No ratings yet · Sign in to rate
Comments (0)

  • No comments yet — be the first.

Save without an account. Sign in to like or comment.

Our tips for carving a similar design

The core trick here is that everything is painted, so you get a spooky graveyard scene without ever cutting the pumpkin. You block in three rounded gray headstones, add bold black crosses, and finish with a ragged line of spiky grass at the base. Because nothing is hollowed out, the pumpkin stays firm and lasts for weeks.

Written by PumpkinCarvingIdeas.com, inspired by the image above. These are our suggestions, not instructions from the uploader. This approach to the AI concept has not been tested on a real pumpkin.

From pumpkin to porch

  1. Clean and dry the surface

    Wipe the pumpkin with a damp cloth to remove dirt and any wax coating, then dry it fully. Acrylic paint grips much better on a clean, dry skin. Set the pumpkin on newspaper or a covered table so drips do not stain anything. Pick the smoothest, flattest face to be your front.

  2. Sketch the three tombstones

    With a pencil, lightly draw three rounded-top headstones across the lower middle of the pumpkin. Make the center one tallest and the two side stones a little shorter for a balanced look. Keep the bottoms a bit above the base so you have room for grass later. Step back and check spacing before you commit to paint.

  3. Block in the gray stones

    Fill each headstone shape with gray acrylic using a flat or medium round brush. Follow the curve of the pumpkin with smooth strokes and let the first coat dry before adding a second for even color. Two thin coats look better than one thick one. Let everything dry fully before moving on.

  4. Add the black crosses

    Once the gray is dry, paint a bold black cross centered on each stone with a small round brush. Lay down the tall vertical bar first, then cross it with a shorter horizontal bar. Make the center stone's cross the largest to match its size. Keep the lines clean and reload the brush often for solid, even black.

  5. Paint the spiky grass

    Along the bottom of the stones, drag black paint upward in short jagged strokes to suggest tall spiky grass. Vary the height of the points so it looks natural rather than like a straight line. Let some grass overlap the base of the stones for depth. Touch up any smudges with a bit of orange or gray once dry.

  6. Seal and stage your photo

    When all the paint is completely dry, spray a light coat of matte clear sealer if rain or damp is expected, holding the can about a foot away. Set the finished pumpkin on a covered porch or shelf out of direct downpour. For a nighttime look, place a battery LED tealight beside it, never a flame. Snap your photo in soft evening light to show off the crosses.

Gather your supplies

Check things off as you get ready.

Work on a stable surface, keep your free hand out of the cutting path, and have an adult handle sharp tools.

Three levels of light

  • Leave intact

    The bare orange skin around and between the tombstones stays untouched for contrast.

  • Peel & shade

    The gray painted headstones read as the soft mid-tone of the scene.

  • Cut through

    Nothing is cut on this no-carve design, so the bold black crosses and grass provide the deepest darks instead of light.

Learn the carving basics

Before you start cutting

Do I need to carve or hollow the pumpkin at all?

No, this is a fully painted design, so you skip the messy scooping and cutting entirely. That keeps the pumpkin firm and helps it last much longer than a carved one. If you want a faint glow, you could set a battery LED tealight beside it rather than inside.

What paint holds up best on a pumpkin?

Standard acrylic craft paint works great and dries fairly quickly. Apply two thin coats for solid, even color and let each layer dry before adding the next. A matte clear sealer on top protects it from smudges and light moisture.

How do I keep the crosses looking crisp?

Wait until the gray base coat is fully dry before adding the black, or the colors will blend and muddy. Use a small round brush and paint the vertical bar first, then the horizontal one. Reload the brush often so the black stays solid and opaque.

Your take belongs here, too.

Changed a detail? Made it simpler? Share a photo of your version and tell the community what worked.

Share your pumpkin

More pumpkins like this

You've reached the end · 8 pumpkins
The Patch Report

Fresh pumpkins, in your inbox.

The best new carvings, ideas worth stealing, and how-tos for carving season. Short, seasonal, and gone by November.

A short email during carving season. Unsubscribe anytime. See our privacy policy.