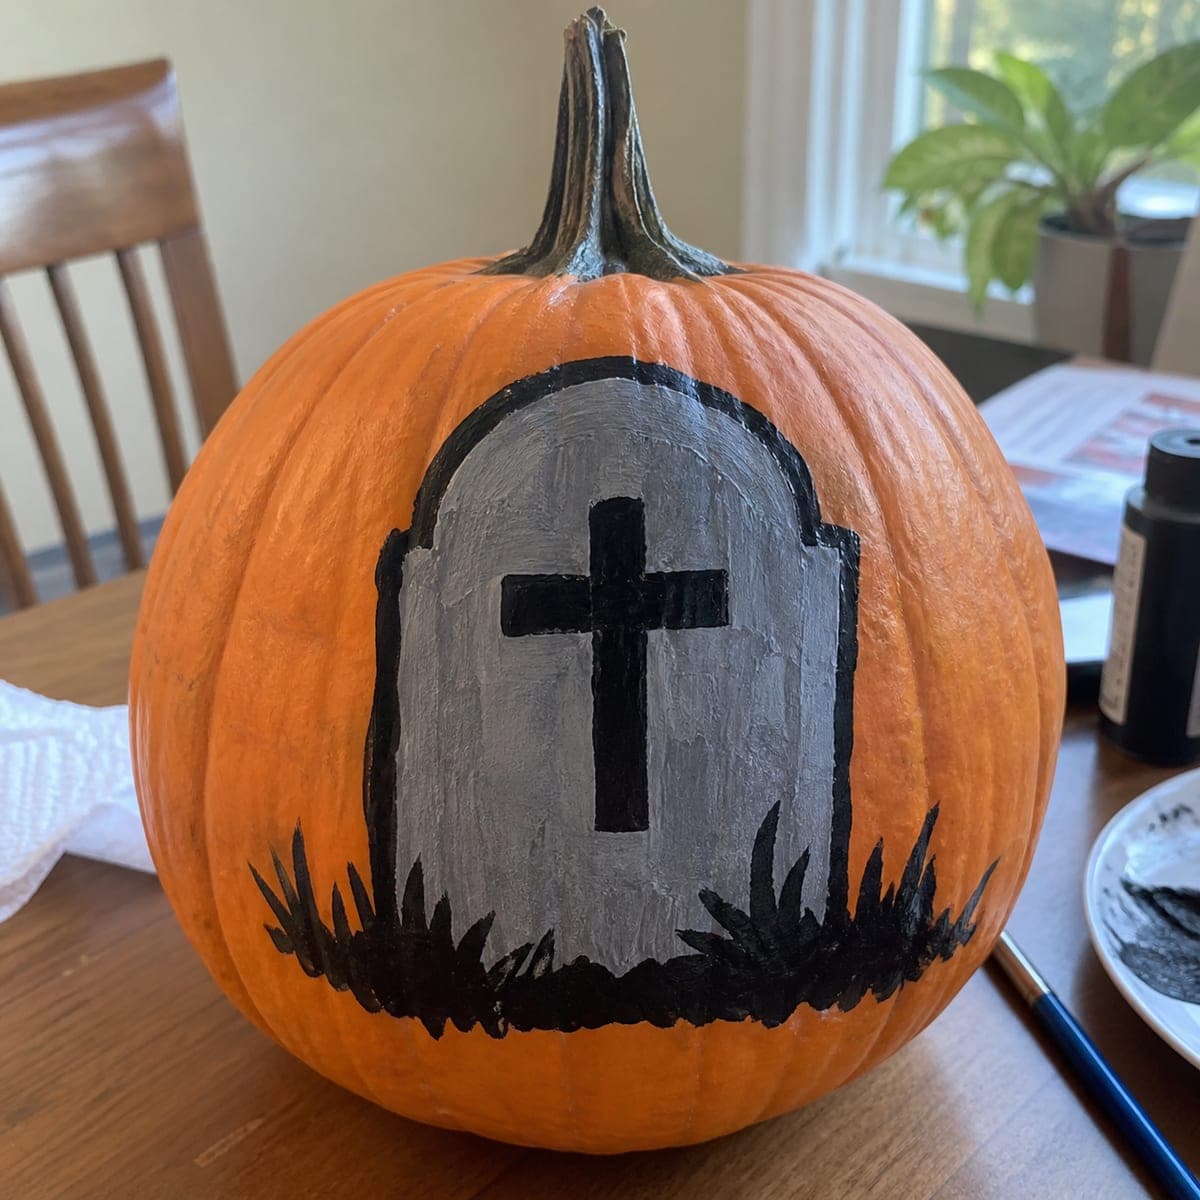
A grey headstone with a black cross and tufts of dark grass is painted on this pumpkin in a simple, spooky graveyard motif. The no-carve approach uses just three paint colors, making it one of the quickest pumpkin decorating ideas for a Halloween display. Paint the headstone shape in grey first and let it dry fully before adding the black cross outline and grass tufts with a flat edge brush to get the sharp bristle-tip grass effect.
This is an AI-generated concept image: a realistic, carvable design idea rather than a photo of a finished carve. AI concepts are always labeled and sit out the leaderboard and the contest.
The core trick here is layering three flat paint colors so a grey headstone reads clearly against the orange skin, then using a flat edge brush to flick out sharp black grass tufts. Since this is a no-carve concept, the whole design stays on the surface, which means no scooping, no light, and almost no cleanup. Block in the grey shape first, let it dry hard, then add the black cross and grass so your dark lines sit crisp on top.
Written by PumpkinCarvingIdeas.com, inspired by the image above. These are our suggestions, not instructions from the uploader. This approach to the AI concept has not been tested on a real pumpkin.
From pumpkin to porch
1
Pick your panel and wipe it down
Choose the smoothest, flattest face of a clean, dry pumpkin so your paint goes on evenly. Wipe the area with a damp cloth to remove dust and wax, then dry it fully. A slightly rounded surface is fine, but avoid deep ribs that will break up the headstone edges. Set the pumpkin on a towel so it cannot roll while you work.
2
Sketch the headstone lightly
Use a pencil or a washable marker to draw the rounded-top tombstone with its little shoulder steps on each side. Keep it centered and large enough to hold the cross with room to spare. Step back and check that the shape looks balanced before you commit to paint. Light guide lines are easy to cover later, so keep them faint.
3
Block in the grey stone
Fill the headstone shape with grey acrylic craft paint using a medium flat brush. Two thin coats look better than one thick, gloppy coat, so let the first dry before adding the second. Keep your edges as clean as you can, since the black outline later will hide small wobbles. Let this layer dry completely, ideally an hour or more, so the black does not smear into it.
4
Add the black cross and outline
Once the grey is bone dry, paint the bold cross in the upper center with black acrylic and a smaller flat or round brush. Then trace a clean black border around the whole headstone to make it pop. Pull the brush in slow, steady strokes rather than short jabs for smoother lines. Wait for this to set before touching the base.
5
Flick the grass tufts
Load a flat edge brush with black paint and, starting at the base of the stone, pull quick upward strokes so the bristle tips leave pointed grass blades. Vary the height and lean of each tuft so it looks natural instead of like a fence. Build a denser clump at the bottom and let a few stray blades reach higher. Let everything dry, then wipe away any leftover pencil lines with a barely damp cloth.
6
Seal and stage it
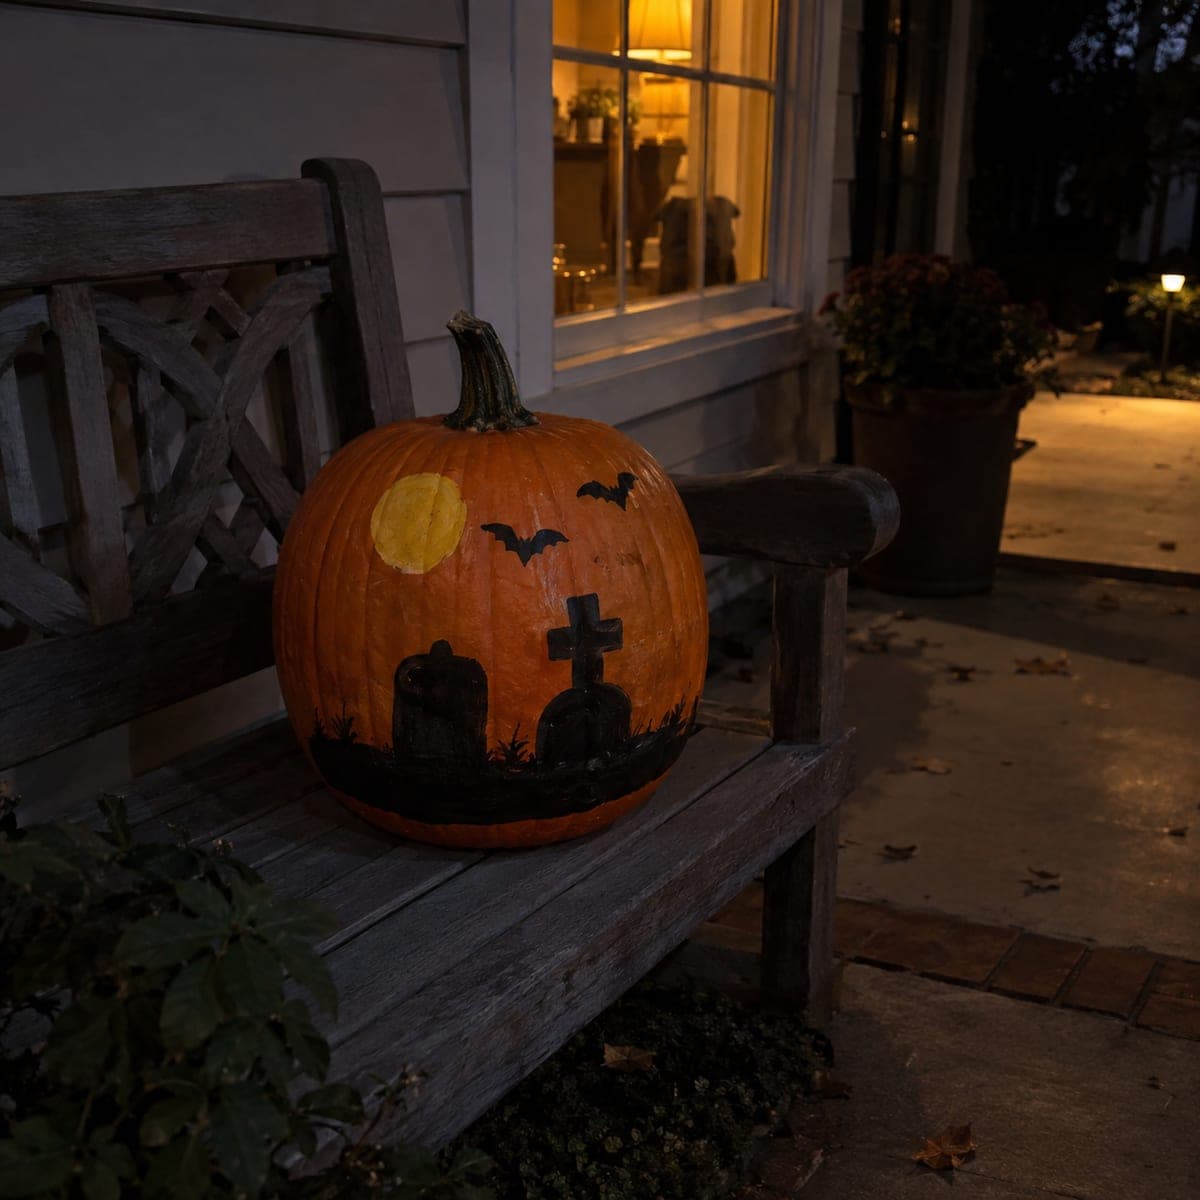
Once fully cured, brush on a thin coat of matte clear acrylic sealer to protect the paint from smudges and light rain. Set the pumpkin on a porch step or shelf and add a small LED tealight nearby for atmosphere, since there is nothing carved to glow from inside. Photograph it in soft evening light to catch the grey against the orange. Keep it out of direct hot sun so the paint does not soften.
Gather your supplies
Check things off as you get ready.
Work on a stable surface, keep your free hand out of the cutting path, and have an adult handle sharp tools.
Three levels of light
Leave intact
The orange skin around the headstone and all the way to the stem stays untouched and dark, framing the scene.
Peel & shade
If you want a faint glow, you could lightly skin-peel the grey headstone area before painting so it reads dim from within, though the classic look is fully painted.
Cut through
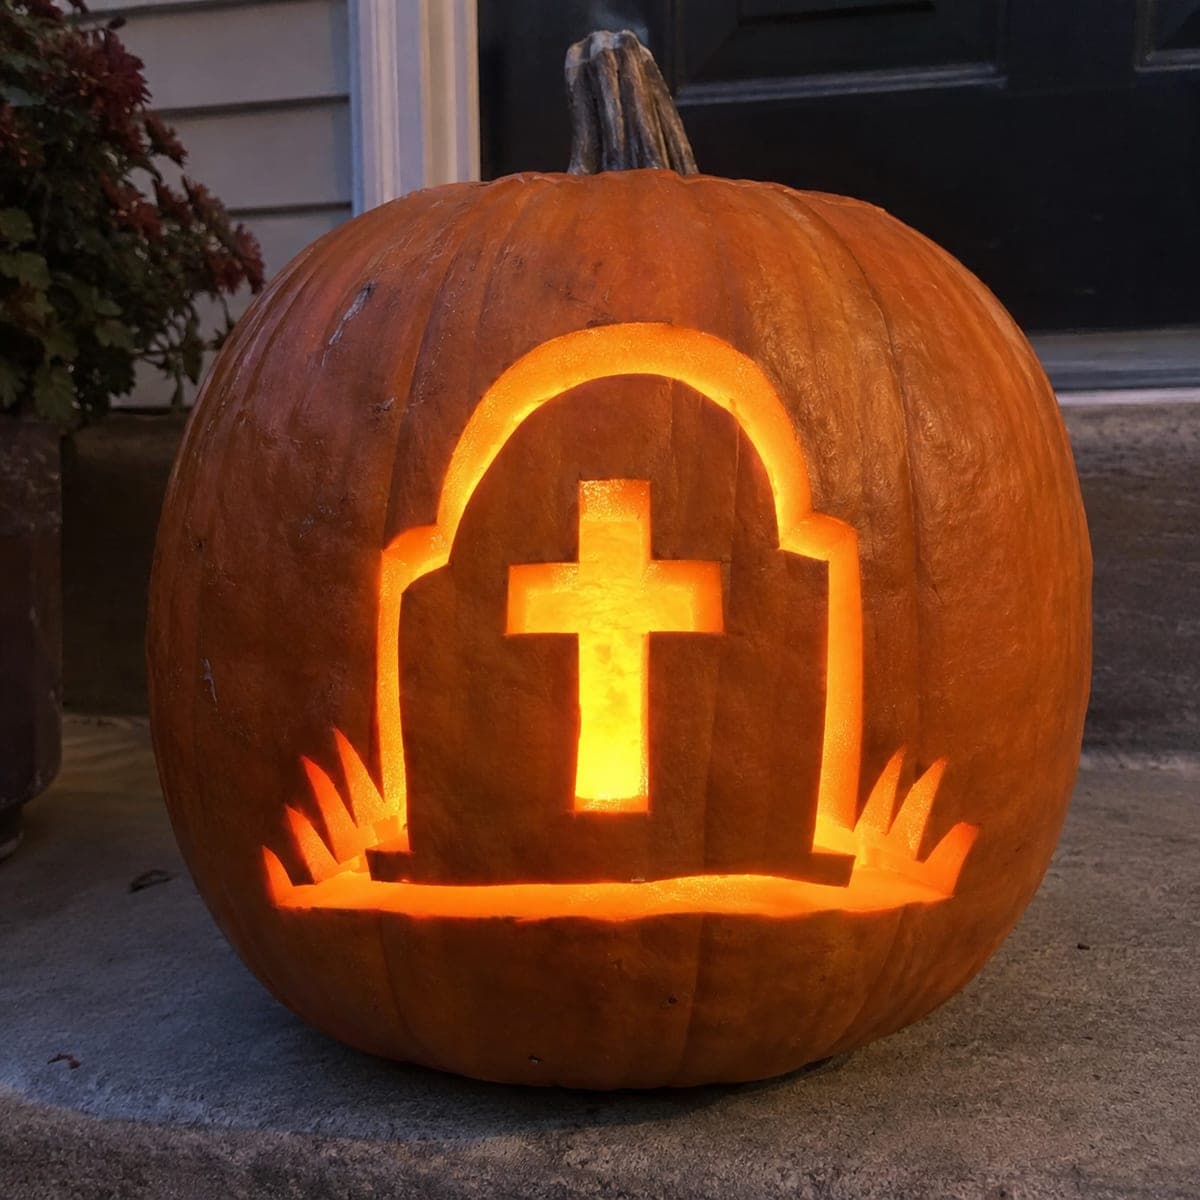
For a lit version, you could cut all the way through just the cross so it shines bright while the rest stays painted, but keep the arms wide and bridged so the shape holds.
Do I need to carve anything at all for this design?
No, this is a no-carve painted concept, so the whole thing lives on the surface. That makes it a great pick for young helpers and for pumpkins you want to keep intact longer. If you later want a glow, you can carve just the cross as an optional accent.
How do I get those sharp grass tufts?
Use a flat edge brush and pull quick upward flicks so only the bristle tips touch near the top of each stroke. Keep the paint slightly thick so the points stay crisp instead of running. Vary the height and angle of the blades so the row looks natural.
Will the paint last through Halloween?
Acrylic craft paint holds well on a clean, dry pumpkin, and a coat of matte clear sealer helps it resist smudges and light moisture. Keep the pumpkin out of direct hot sun and heavy rain, which can soften both paint and skin. A cool, shaded porch will give you the longest display life.
Your take belongs here, too.
Changed a detail? Made it simpler? Share a photo of your version and tell the community what worked.
 AI
AI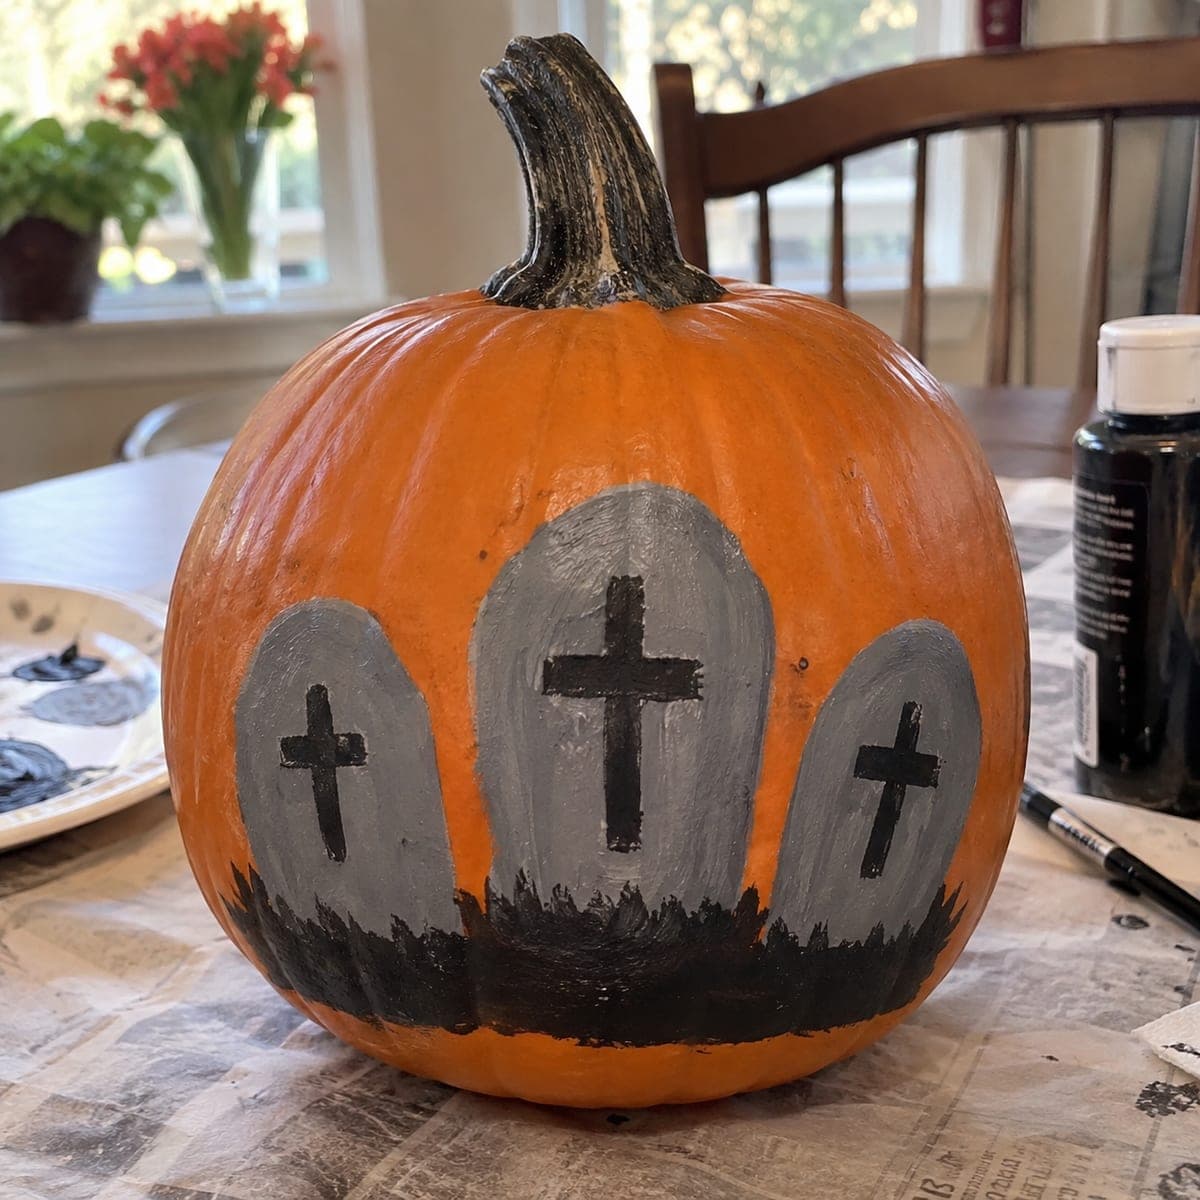


Comments (0)