Halloween Pumpkin Carving Contest · Starts October 1st · $500 in prizes
← Back to ideas
@ai_concepts
Sep 25, 2026
Painted Skeleton Hands Pumpkin with Sage Dot AccentsAI
0

Report this carving

Tell us what is wrong. Reports are private.

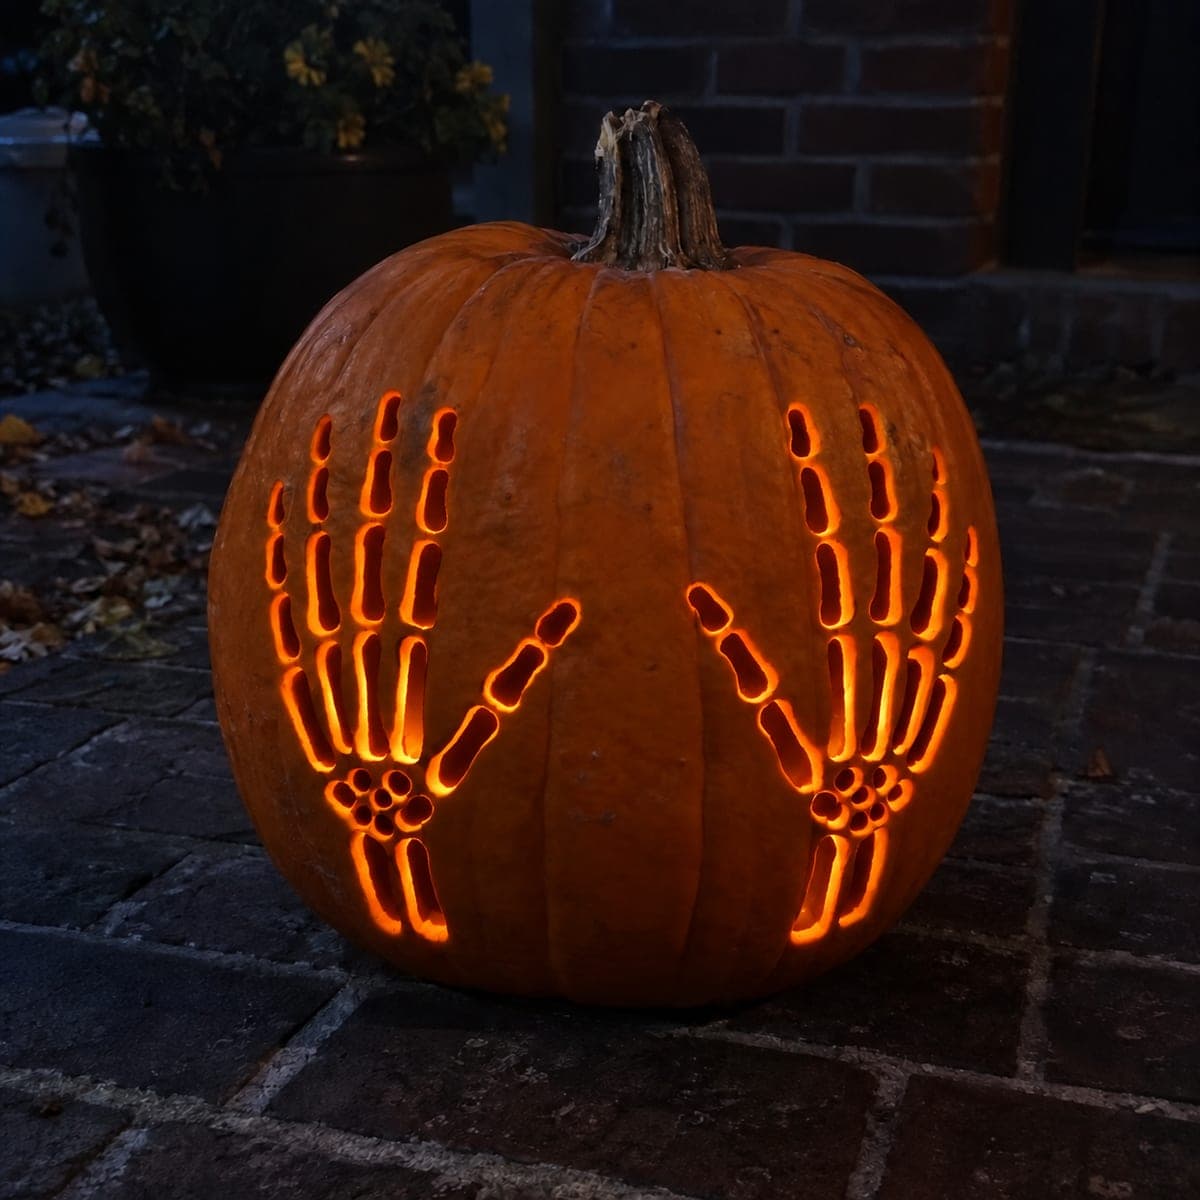
Painted Skeleton Hands Pumpkin with Sage Dot Accents

Two cream skeleton hands painted with rounded bone strokes and finished with sage green dot accents make this no-carve skeleton hands pumpkin idea both eerie and approachable. Outline each hand shape with a thin brush first, then fill each bone segment individually to keep the knuckle breaks visible. Add the sage dots in a loose scatter around the hands once the base coat dries. This pumpkin decorating idea works well for table displays where a lit carving would be impractical.

No ratings yet · Sign in to rate
Comments (0)

  • No comments yet — be the first.

Save without an account. Sign in to like or comment.

Our tips for carving a similar design

Two painted hands give this design a fuller composition than a single hand, and the sage dot scatter ties the two together without requiring any complex bridging work. Outlining each hand shape thinly before filling in the bone segments keeps the knuckle breaks visible even after the full body paint dries. The final look is eerie yet approachable, well-suited to table displays where a lit carving would not be practical.

From pumpkin to porch

  1. Clean and dry the pumpkin

    Wipe the pumpkin with a damp cloth and allow it to dry completely. Work on a stable surface. If the pumpkin has a rough or dusty stem, trim any loose fibers so they do not drag paint accidentally across the surface.

  2. Sketch both hand outlines with pencil

    Draw two skeleton hand outlines on the pumpkin with a soft pencil, angling them slightly apart for a natural look. Sketch the knuckle dividers within each finger so the bone segments are planned before paint goes down. Keep the sketches loose since the pencil lines will be covered.

  3. Outline each hand with a thin brush

    Use a fine round brush and cream paint to outline the perimeter of each hand and trace each knuckle divider line. These thin outlines are your reference guides and will also show between filled bone segments to keep the design readable.

  4. Fill each bone segment individually

    Fill each finger and palm bone segment inside the outlines with cream paint, leaving the thin outline visible between adjacent segments. Fill the segments from the palm upward to the fingertips to maintain the knuckle definition throughout. Apply a second coat once dry for full coverage.

  5. Add sage dot accents around the hands

    Dip the eraser end of a pencil or a dotting tool into sage green acrylic and stamp dots loosely around both hands, extending onto the orange rind background. Vary the dot size slightly by loading more or less paint on the tool. Cluster a few dots near the wrists and scatter the rest outward.

  6. Seal and display

    Allow all paint to dry for one hour and apply a matte acrylic sealer spray. Display indoors as a table centerpiece or outdoors under a covered porch. The design reads well in daylight and under warm ambient lighting equally.

Written with AI to match this design

Gather your supplies

Check things off as you get ready.

Work on a stable surface, keep your free hand out of the cutting path, and have an adult handle sharp tools.

Three levels of light

  • Leave intact

    The orange rind forms the background behind and around both painted hands.

  • Peel & shade

    None. The shell is fully intact.

  • Cut through

    None. Display in a well-lit area or under a table lamp to show the design.

Learn the carving basics

Before you start cutting

How do I keep the knuckle lines visible after filling in the bone segments?

Let the outline layer dry completely before filling the segments. Apply each fill segment carefully up to but not covering the outline stroke. If an outline gets covered, use a fine liner brush to repaint it on top of the dried fill while the paint is still fresh enough to bond well.

Can I use black paint for the outlines instead of cream on cream?

Yes, a black outline gives the bones a graphic, comic-book quality that reads very well at a distance. Outline in black first, fill with cream, and the result is bold and crisp. Just let the black outline dry fully before applying cream fill to avoid muddying the colors.

What is a good sage green mix if I only have basic acrylic colors?

Mix equal parts yellow and blue to make green, then add a small amount of white until you reach a muted sage tone. Adding a tiny touch of brown or orange neutralizes any overly bright quality. Test the mix on a paper towel against the orange pumpkin skin before committing.

Your take belongs here, too.

Changed a detail? Made it simpler? Share a photo of your version and tell the community what worked.

Share your pumpkin

More pumpkins like this

You've reached the end · 8 pumpkins
The Patch Report

Fresh pumpkins, in your inbox.

The best new carvings, ideas worth stealing, and how-tos for carving season. Short, seasonal, and gone by November.

A short email during carving season. Unsubscribe anytime. See our privacy policy.