Halloween Pumpkin Carving Contest Β· Starts October 1st Β· $500 in prizes
← Back to ideas
@ai_concepts
Sep 25, 2026
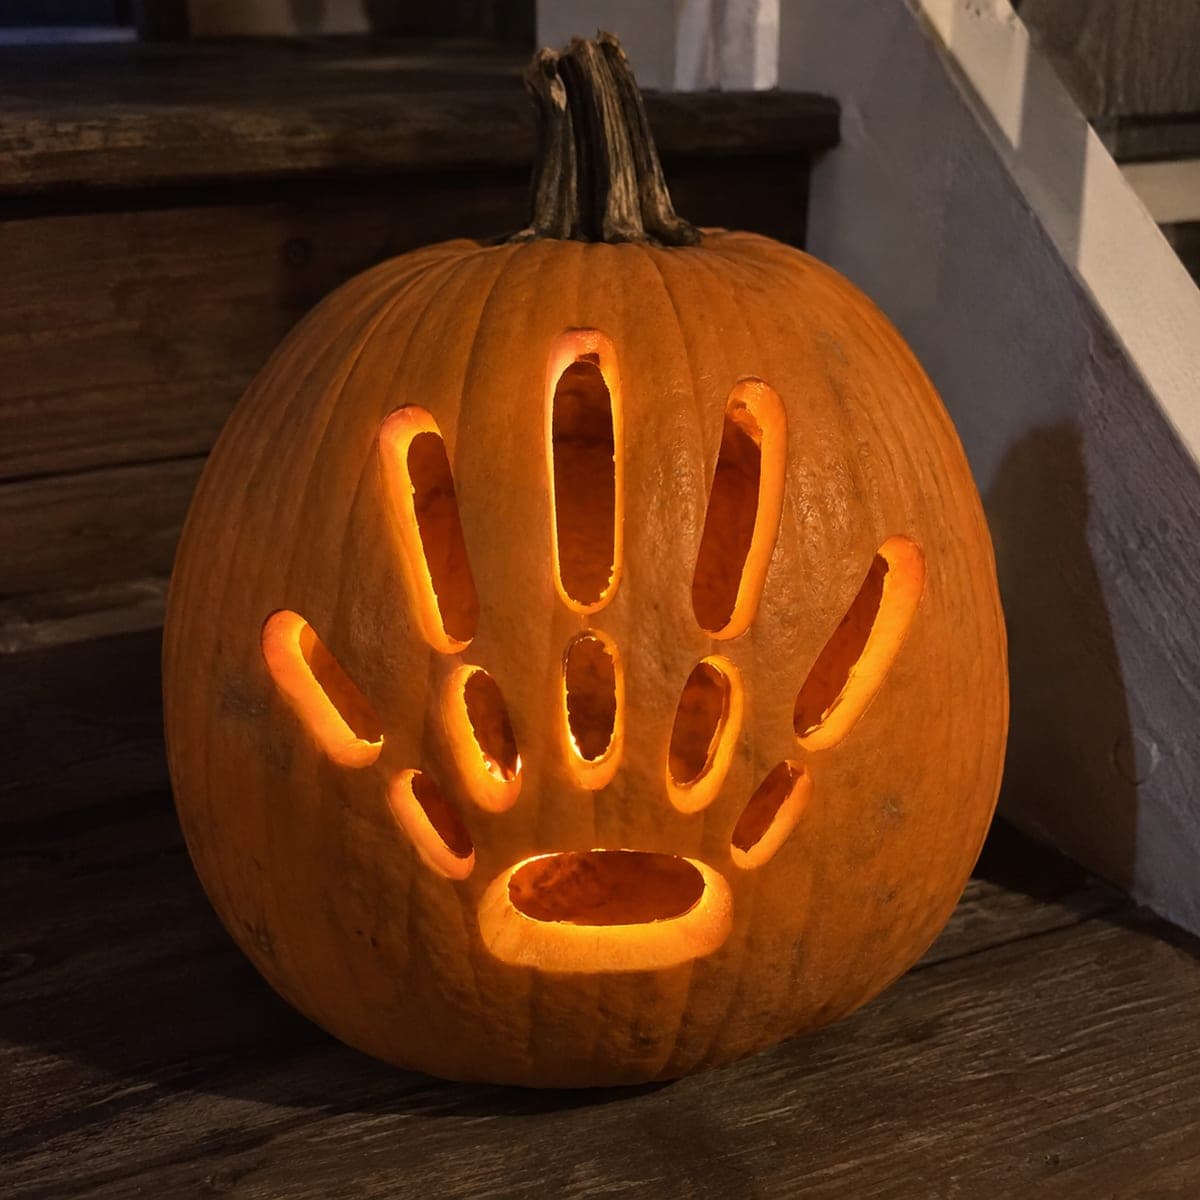
Glowing Skeleton Hand Pumpkin with Rounded Bone SlotsAI
0

Report this carving

Tell us what is wrong. Reports are private.

Glowing Skeleton Hand Pumpkin with Rounded Bone Slots

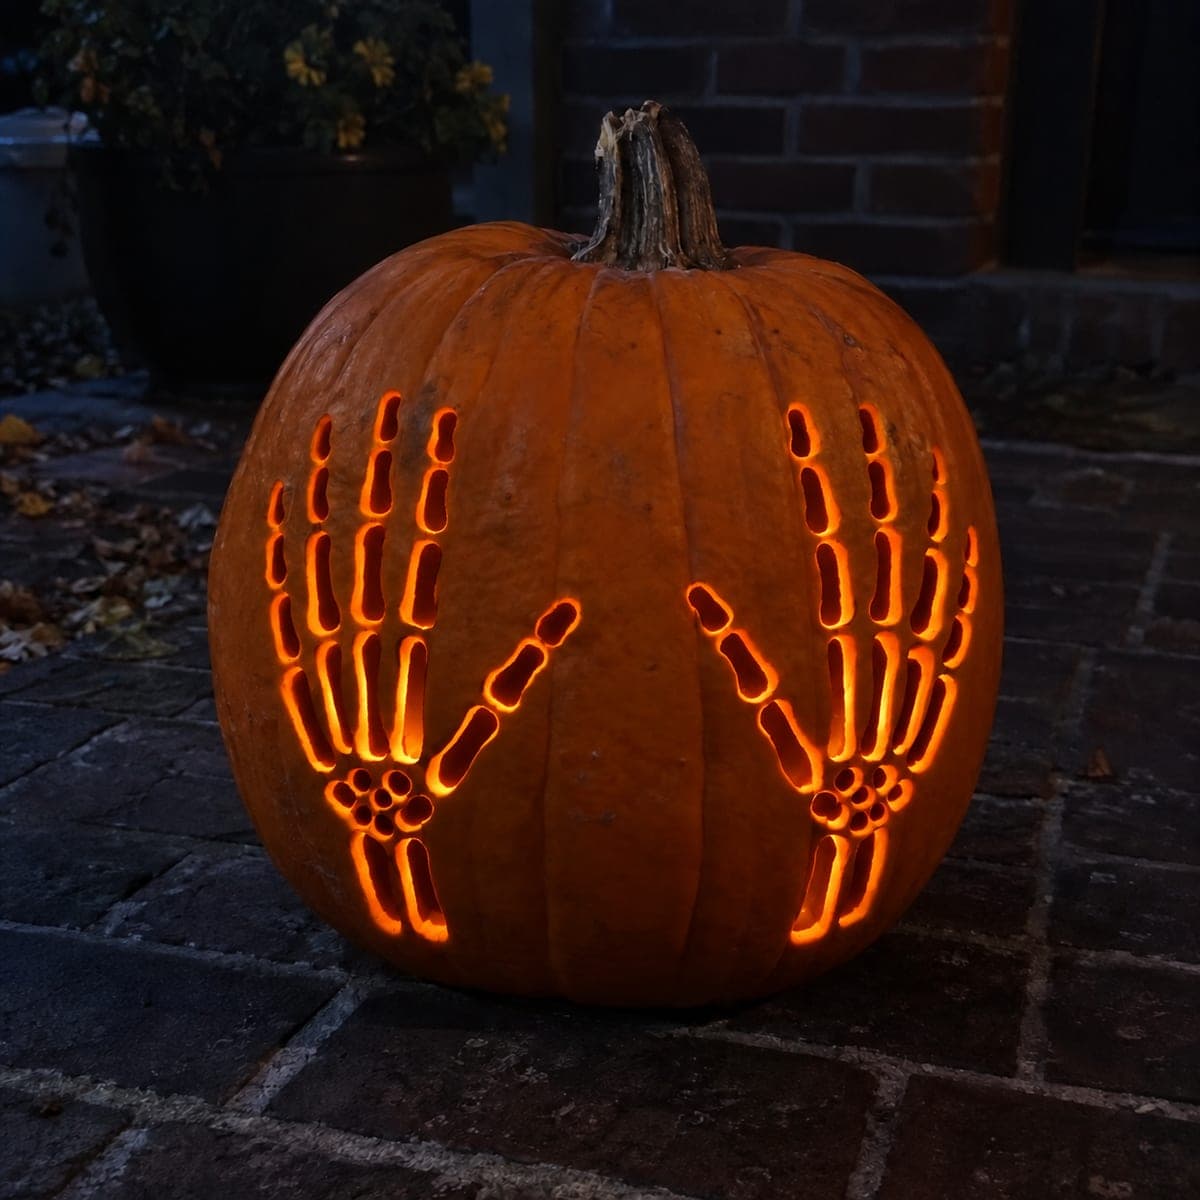
Eleven rounded bone and wrist apertures arranged in a hand shape make this skeleton hands pumpkin carving idea achievable for beginners while still looking striking on a porch step. Cut the wrist slots first to anchor the design, then work finger by finger toward the fingertips. Broad rind connections between segments prevent any slot from widening or cracking. A tea light placed behind the hand side of the pumpkin focuses the glow on the finger openings.

No ratings yet Β· Sign in to rate

Comments (0)

  • No comments yet β€” be the first.

Save without an account. Sign in to like or comment.

Our tips for carving a similar design

The eleven apertures are all simple rounded ovals, which means no complex curves or bridges to manage. Starting from the wrist slots establishes the hand's anchor point and gives a firm base to work from as you cut up finger by finger toward the tips. Placing the LED behind the hand side of the pumpkin focuses the glow on the finger openings for a clean glowing-hand effect.

From pumpkin to porch

  1. Prepare the pumpkin

    Cut a base lid and scoop the interior to half an inch. Dry the inner surface. Choose a section of the pumpkin that is relatively flat and broad enough to hold the full hand span without the edge of the hand curving around to the side.

  2. Sketch the hand layout

    Draw the hand outline lightly with a wax marker: four fingers pointing upward, a thumb angled out to the side, and two wrist slots at the base. Mark each individual bone slot within each finger, keeping the joints as narrow connecting bridges between each slot.

  3. Cut the wrist slots first

    Start with the two wrist apertures at the bottom of the design. These are the largest openings and establish the scale of the whole hand. Use a small jab saw for the straight sections and a detail knife for the rounded ends.

  4. Cut finger segments from base to tip

    Working one finger at a time, cut the lowest bone slot first, then move up to the middle and tip segments. Broad rind connections at each joint keep the design stable. A rounded oval shape for each slot is easier to cut cleanly than a precise rectangle.

  5. Cut the thumb segments

    The thumb sits at an angle, so rotate the pumpkin as needed to keep your cutting angle comfortable. Cut the two thumb segments the same way as the fingers, with a clear rind bridge at the joint.

  6. Light and display on a porch step

    Position the LED tea light behind the hand area so the glow streams forward through the finger slots. Set it on a porch step and angle the hand to face outward toward visitors. Apply petroleum jelly to all cut edges to extend the life of the carving.

Written with AI to match this design

Gather your supplies

Check things off as you get ready.

Work on a stable surface, keep your free hand out of the cutting path, and have an adult handle sharp tools.

Three levels of light

  • Leave intact

    All rind between bone slots and around the hand perimeter stays solid and dark.

  • Peel & shade

    None.

  • Cut through

    All eleven wrist and bone apertures are cut through for full glow.

Learn the carving basics

Before you start cutting

How long should each finger bone slot be relative to the finger's length?

Each bone slot should take up about two-thirds of each finger segment's length, leaving a third as rind bridge at the joint. Longer slots look more convincing as bones; shorter ones read as dots and lose the skeletal quality.

Can I add a second hand on the back of the pumpkin?

A second hand on the back is a nice touch for in-the-round displays, but plan its finger direction carefully to give it a natural pose. Avoid mirroring the front hand exactly, as that looks mechanical. Angle the thumb differently to distinguish the two.

The finger slots are close together and I am worried about cutting through a bridge. Any tips?

Mark each bridge zone with a small pencil X before cutting any slots. The visual reminder keeps you from starting a cut too close to an X mark. Work slowly on the final closing cut of each slot to approach the bridge gradually rather than cutting up to it quickly.

Your take belongs here, too.

Changed a detail? Made it simpler? Share a photo of your version and tell the community what worked.

Share your pumpkin

More pumpkins like this

You've reached the end Β· 8 pumpkins
The Patch Report

Fresh pumpkins, in your inbox.

The best new carvings, ideas worth stealing, and how-tos for carving season. Short, seasonal, and gone by November.

A short email during carving season. Unsubscribe anytime. See our privacy policy.