@lanternlane
Sep 5, 2026

Pocket-sized jack
A mini pumpkin with a happy fanged grin, glowing in an outstretched hand in the dark.
No ratings yet · Sign in to rate
A mini pumpkin with a happy fanged grin, glowing in an outstretched hand in the dark.
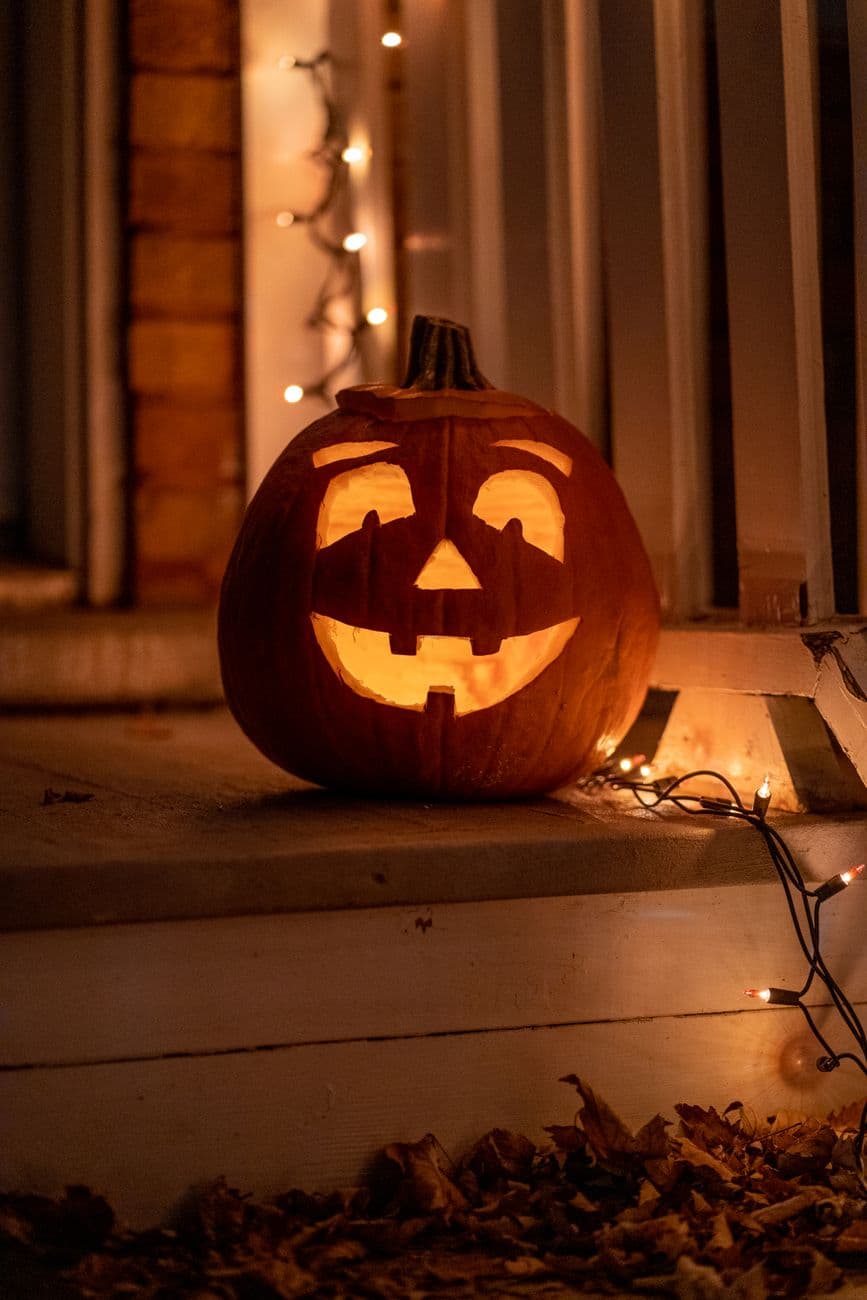
The whole charm here is scale: a palm-sized pumpkin with a simple happy face and a couple of pointed fang teeth. The core trick is keeping the features small and clean so the single glowing grin reads clearly, and leaving little bridges of skin between the teeth so they stay attached. Plan a triangle-nose, two teardrop eyes, and a wide smile with two fangs, then light it from inside for that warm handheld glow.
Written by PumpkinCarvingIdeas.com, inspired by @lanternlane's photo above. These are our suggestions, not instructions from the uploader, and this approach hasn't been tested on their exact carve.
Choose a mini pumpkin that sits comfortably in one hand with a smooth, unblemished front. Have an adult cut a small lid or a base opening with a serrated carving saw. Scoop out the seeds and scrape the inside wall behind the face down to about half an inch thick. A thinner wall makes the small features much easier to cut.
Sketch the design on the front with a washable marker so you can adjust it. Keep it simple: two teardrop eyes angled inward, a small triangle nose, and a wide smile. Mark two pointed fangs hanging into the smile and leave gaps of skin around each one so they connect to the mouth edges. Step back and check the spacing looks balanced before touching a blade.
Start with the eyes and nose using a small detail saw or a craft knife guided by an adult. Make slow, steady cuts and push the pieces out gently from the inside. Small cutouts are fragile, so take your time and avoid twisting the blade. Cut the nose and eyes fully before moving to the mouth.
Outline the smile last since it is the biggest opening. Cut the top and bottom curves of the mouth, but leave the two fang shapes attached at their bases so they hang down into the grin as solid teeth. Ease the mouth piece out carefully around the fangs. If a fang feels loose, leave a little extra skin at its root for support.
Trim any rough edges from the inside so the openings look crisp. Drop in a small battery LED tealight rather than a flame, since a mini pumpkin has little air space and thin walls. Turn off the room lights to check the glow and widen any feature that looks too dim. Peel a thin halo of skin around the eyes if you want a soft secondary glow.
For that handheld shot, hold the lit pumpkin in an outstretched palm in a dark room. Let the LED spill warm light onto your fingers for a cozy effect. Keep other lights off and steady your hand or rest your elbow on something. Snap a few frames to catch the grin at its brightest.
Check things off as you get ready.
Work on a stable surface, keep your free hand out of the cutting path, and have an adult handle sharp tools.
The outer skin of the pumpkin body stays untouched and dark.
A thin halo of skin scraped around the eyes for a soft dim glow.
The eyes, nose, and wide fanged grin cut fully through for the brightest light.
Leave each fang attached at its base to the bottom edge of the mouth instead of cutting it as a free-floating piece. Cut the mouth opening around the teeth so they stay bridged to solid pumpkin. Go slow when easing out the mouth piece so you do not snap a tooth.
Use a small battery LED tealight. A mini pumpkin has thin walls and very little air space, so a real flame can scorch the shell and is unsafe to hold. An LED also gives you a steady glow that photographs well in the dark.
Keep everything small and give each feature a little breathing room from the next. On a palm-sized pumpkin the smile should span roughly the middle third of the face with the eyes above it. If it feels crowded, shrink the nose first and keep the grin as the main focal point.
Changed a detail? Made it simpler? Share a photo of your version and tell the community what worked.
The best new carvings, ideas worth stealing, and how-tos for carving season. Short, seasonal, and gone by November.






Comments (0)