Halloween Pumpkin Carving Contest Β· Starts October 1st Β· $500 in prizes
← Back to ideas
@ai_concepts
Jul 21, 2026
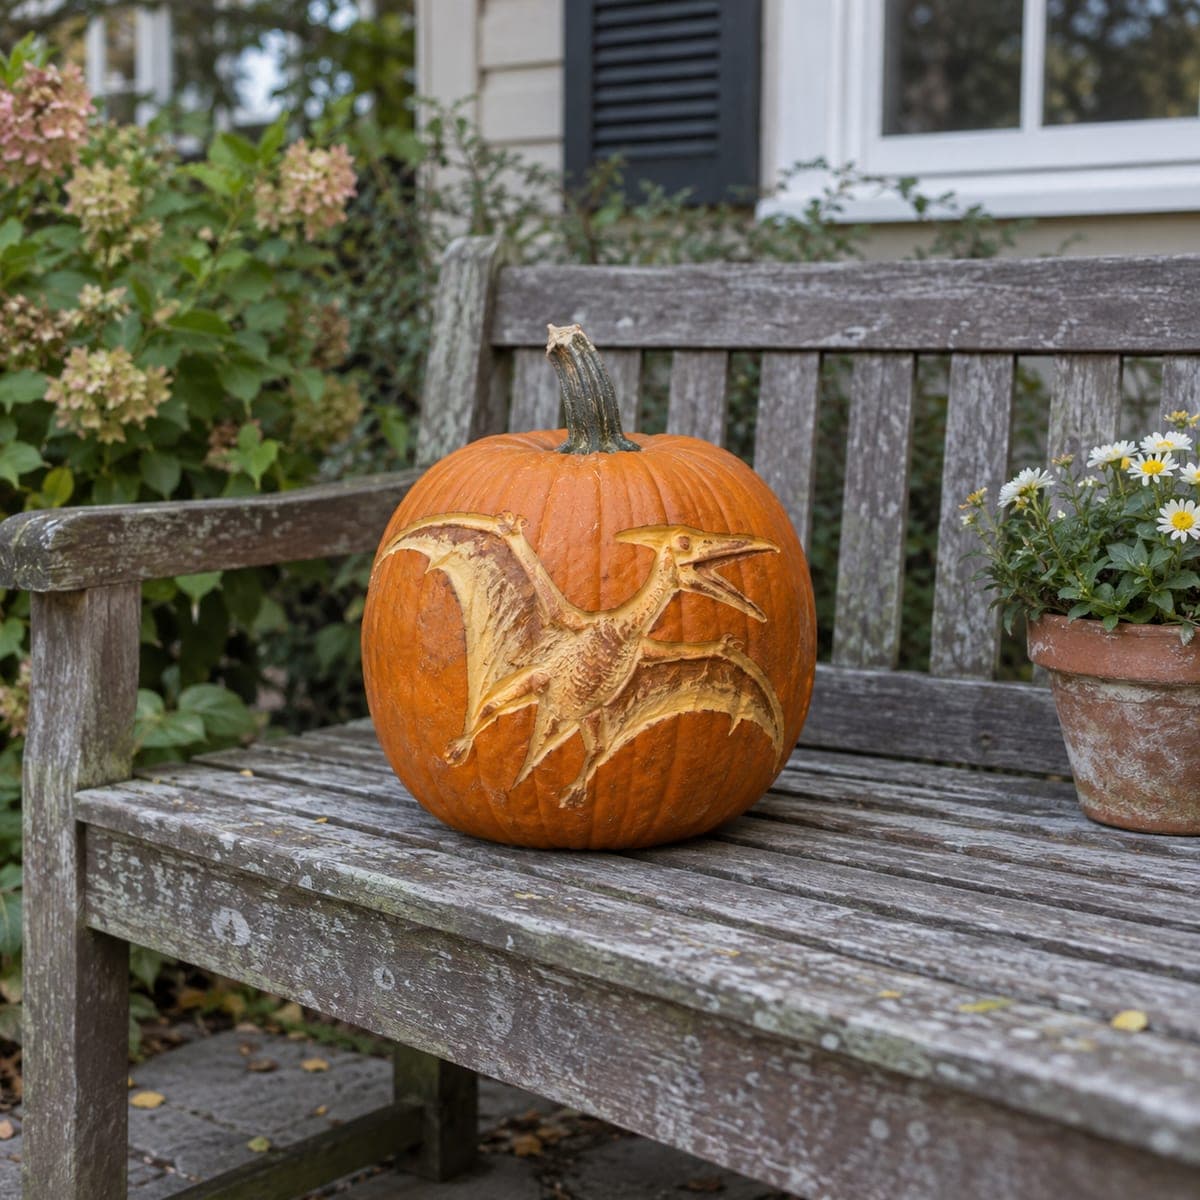
Pterodactyl in Flight Carved PumpkinAI
0

Pterodactyl in Flight Carved Pumpkin

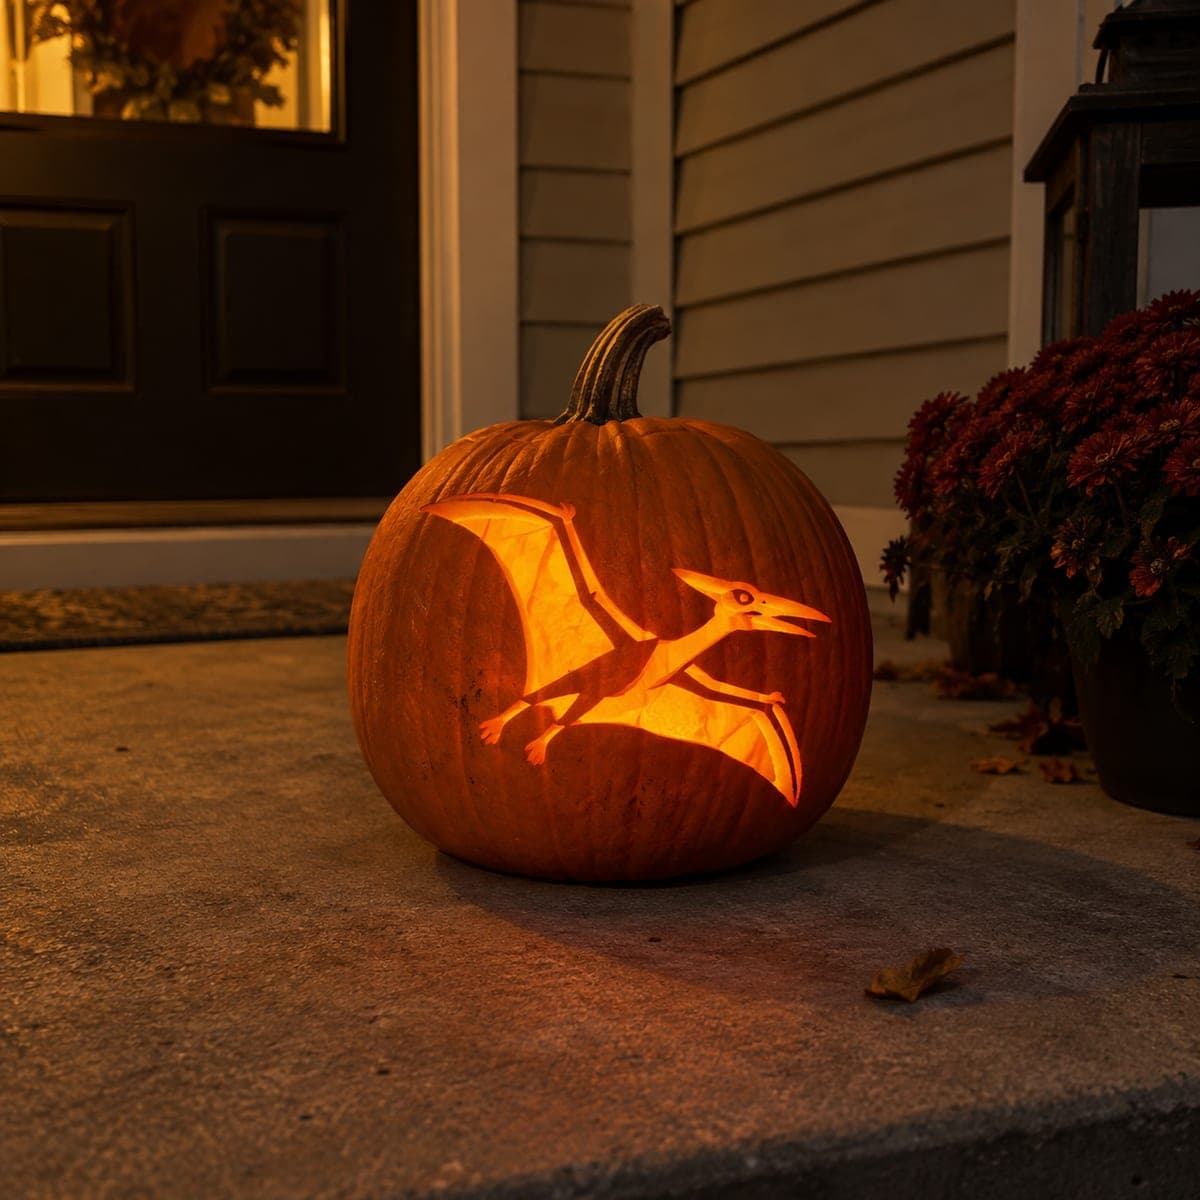
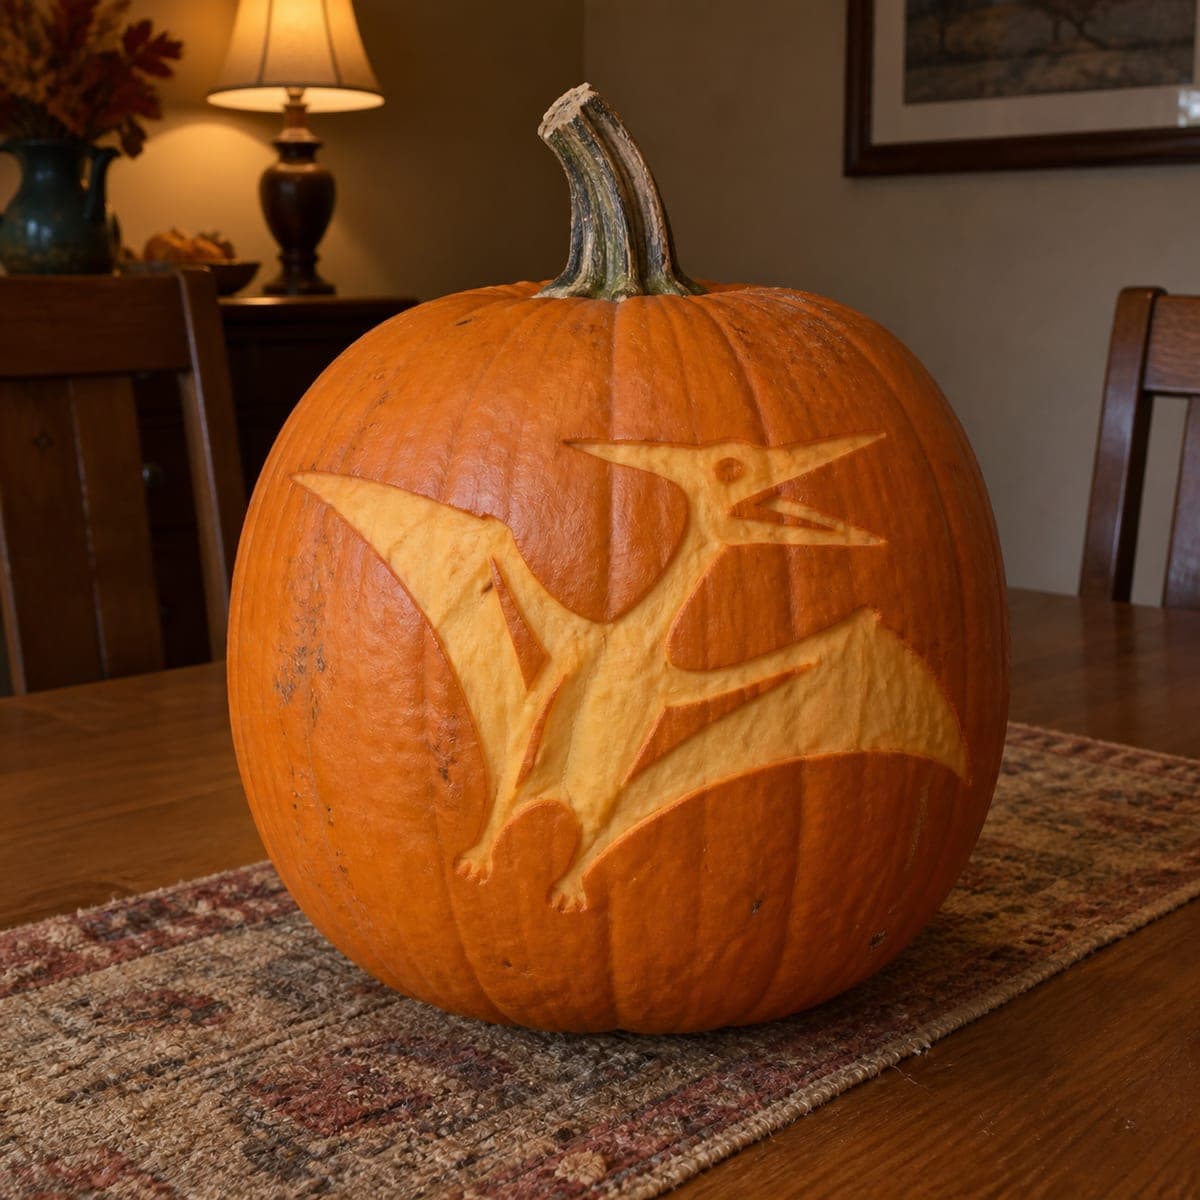
Wings spread wide, a screeching pterodactyl soars across this pumpkin in peeled relief, with bone lines and wing membranes scored into the pale layer. Dinosaur fans get a design that shows well in daylight, since the contrast comes from removed skin rather than interior light. Transfer a printed template with a pounce wheel, strip the broad wing shapes first, then add the skeletal detail lines with a fine V-tool.

This is an AI-generated concept image: a realistic, carvable design idea rather than a photo of a finished carve. AI concepts are always labeled and sit out the leaderboard and the contest.

No ratings yet Β· Sign in to rate

Comments (0)

  • No comments yet β€” be the first.

Save without an account. Sign in to like or comment.

Our tips for carving a similar design

The core trick here is relief carving, where you remove only the outer skin so the pale flesh underneath reads as a bright, matte drawing that shows in daylight. You strip the broad wing membranes and body into that pale layer first, then score fine bone lines and membrane creases with a V-tool for depth and shading. There are almost no full cutouts, so the design stays strong whether or not a light is inside.

Written by PumpkinCarvingIdeas.com, inspired by the image above. These are our suggestions, not instructions from the uploader. This approach to the AI concept has not been tested on a real pumpkin.

From pumpkin to porch

  1. Pick a smooth-faced pumpkin and plan the layout

    Choose a pumpkin with one broad, flat, unblemished side so the wings have room to spread. Wipe it clean and dry it before you start. Since this concept relies on removed skin rather than light, orient the best-looking face toward where viewers will stand. Leave the stem intact for a natural woodsy look.

  2. Transfer the template with a pounce wheel

    Print the pterodactyl at a size that fits your flat face with a little margin. Tape it firmly in place and run a pounce wheel along every line, or poke closely spaced holes with a pushpin. Peel the paper away and connect the dots with a washable marker so you can see the wings, body, and beak clearly. Mark which zones are broad membrane and which are fine detail lines.

  3. Strip the broad wing and body shapes

    Using a loop or ribbon tool, shave off just the orange skin inside the wing membranes, the body, and the head, exposing the pale layer underneath. Keep the depth shallow and even, about an eighth of an inch, so it glows evenly in daylight. Work in small overlapping passes and stop before you reach the wet inner wall. This flat pale field is the heart of the design, so take your time keeping edges crisp.

  4. Score the bone and membrane lines

    Switch to a fine V-tool and carve the skeletal wing struts, the finger bones, and the creases in the membrane. Press a touch deeper along these lines so they catch shadow and read as darker detail against the pale field. Add short strokes to suggest the leathery wing texture and the ridge along the crested head. Keep every line connected to the surrounding flesh so nothing pops loose.

  5. Deepen the open beak for contrast

    Give the screeching mouth a little extra depth by scooping the pale area slightly lower and darkening the gap line between the jaws. You can peel the eye ring for a bright accent and leave a small skin dot for the pupil. Avoid cutting fully through here, since the drama comes from carved shadow, not backlight. Step back often to check that the head reads clearly from a few feet away.

  6. Seal, light lightly, and photograph

    Rub the cut edges and peeled areas with a thin coat of petroleum jelly or vegetable oil to slow browning. If you want a soft evening glow, set a battery LED inside and cut one small vent near the back, out of view, rather than opening the design. Photograph it in daylight to show off the relief contrast, ideally on a porch or bench with soft side light. Refresh the oil if the pale flesh starts to dry over a day or two.

Gather your supplies

Check things off as you get ready.

Work on a stable surface, keep your free hand out of the cutting path, and have an adult handle sharp tools.

Three levels of light

  • Leave intact

    The untouched orange skin around the dinosaur stays dark and forms the background sky.

  • Peel & shade

    The wing membranes, body, head, and beak are peeled to the pale layer for a soft daytime glow.

  • Cut through

    Almost nothing is cut through; at most a hidden back vent and a tiny eye accent let light escape.

Learn the carving basics

Before you start cutting

How do I keep the pale wings from turning brown before Halloween?

Peeled relief dries and darkens faster than deep cuts because so much surface is exposed. Coat the pale areas with a thin layer of petroleum jelly or vegetable oil right after carving, and reapply daily. Storing the pumpkin somewhere cool overnight also slows browning.

Do I need a light inside at all?

Not really. This design gets its contrast from the pale carved flesh against the dark skin, so it shows best in daylight. If you want a gentle evening effect, add a battery LED and a small hidden vent near the back rather than opening up the wings.

How do I keep the thin bone lines from tearing out?

Work them last, after the broad areas are peeled, and use a sharp fine V-tool so you slice cleanly instead of dragging. Keep each line shallow and connected to the flesh around it, since these are scored grooves, not cutouts. Make several light passes rather than one deep gouge.

Your take belongs here, too.

Changed a detail? Made it simpler? Share a photo of your version and tell the community what worked.

Share your pumpkin

More pumpkins like this

You've reached the end Β· 8 pumpkins
The Patch Report

Fresh pumpkins, in your inbox.

The best new carvings, ideas worth stealing, and how-tos for carving season. Short, seasonal, and gone by November.

A short email during carving season. Unsubscribe anytime. See our privacy policy.