Halloween Pumpkin Carving Contest · Starts October 1st · $500 in prizes
← Back to ideas
@ai_concepts
Aug 11, 2026
Simple T-Rex Etched Pumpkin for Dinosaur FansAI
0

Simple T-Rex Etched Pumpkin for Dinosaur Fans

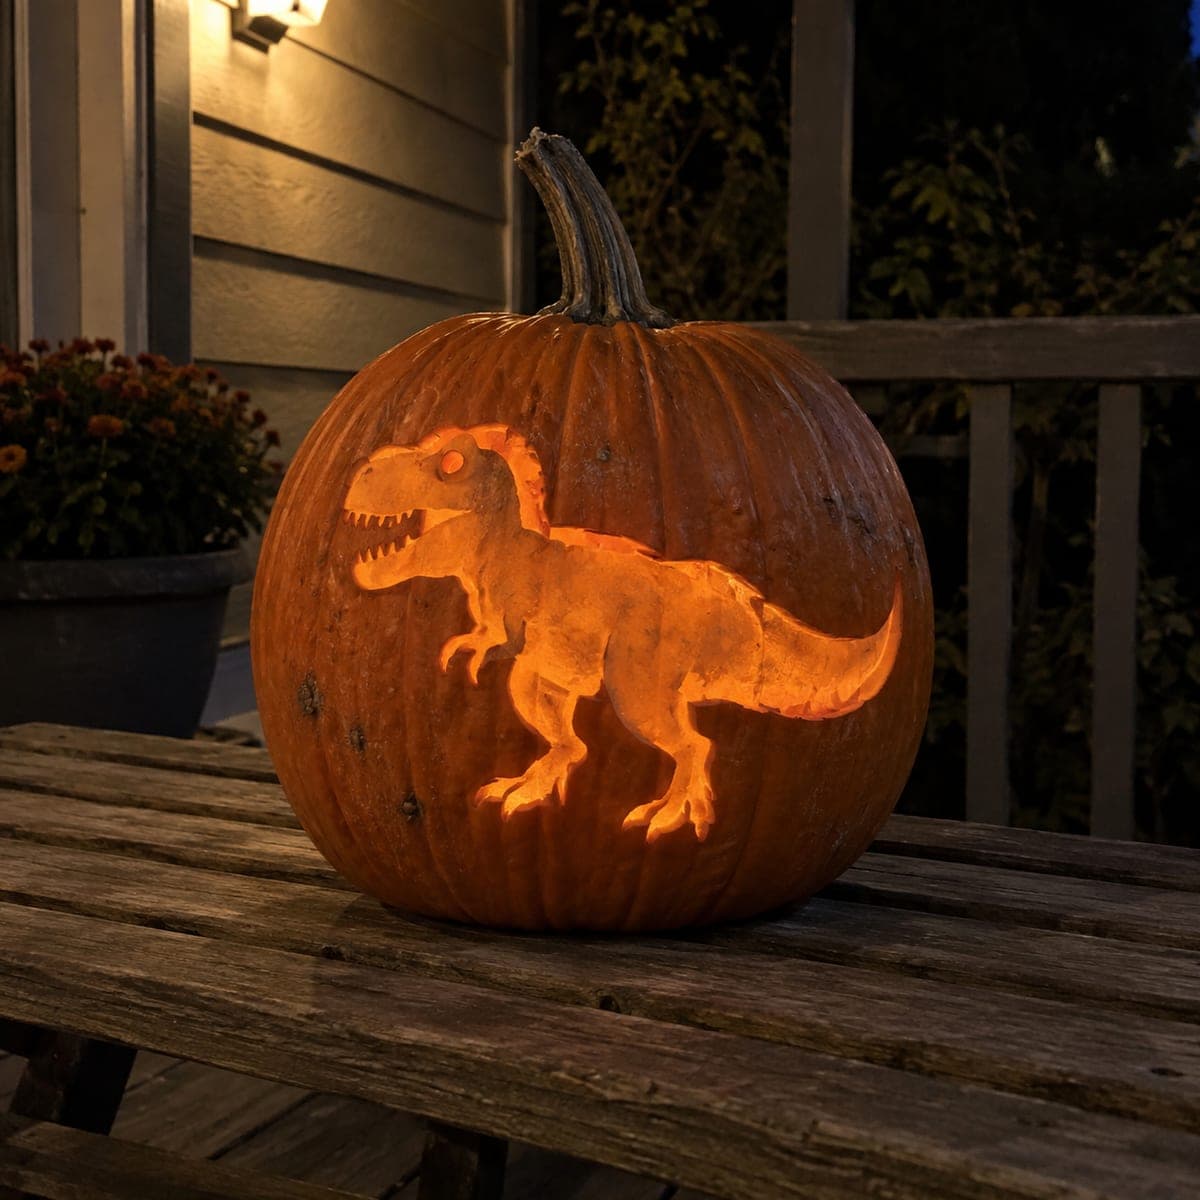
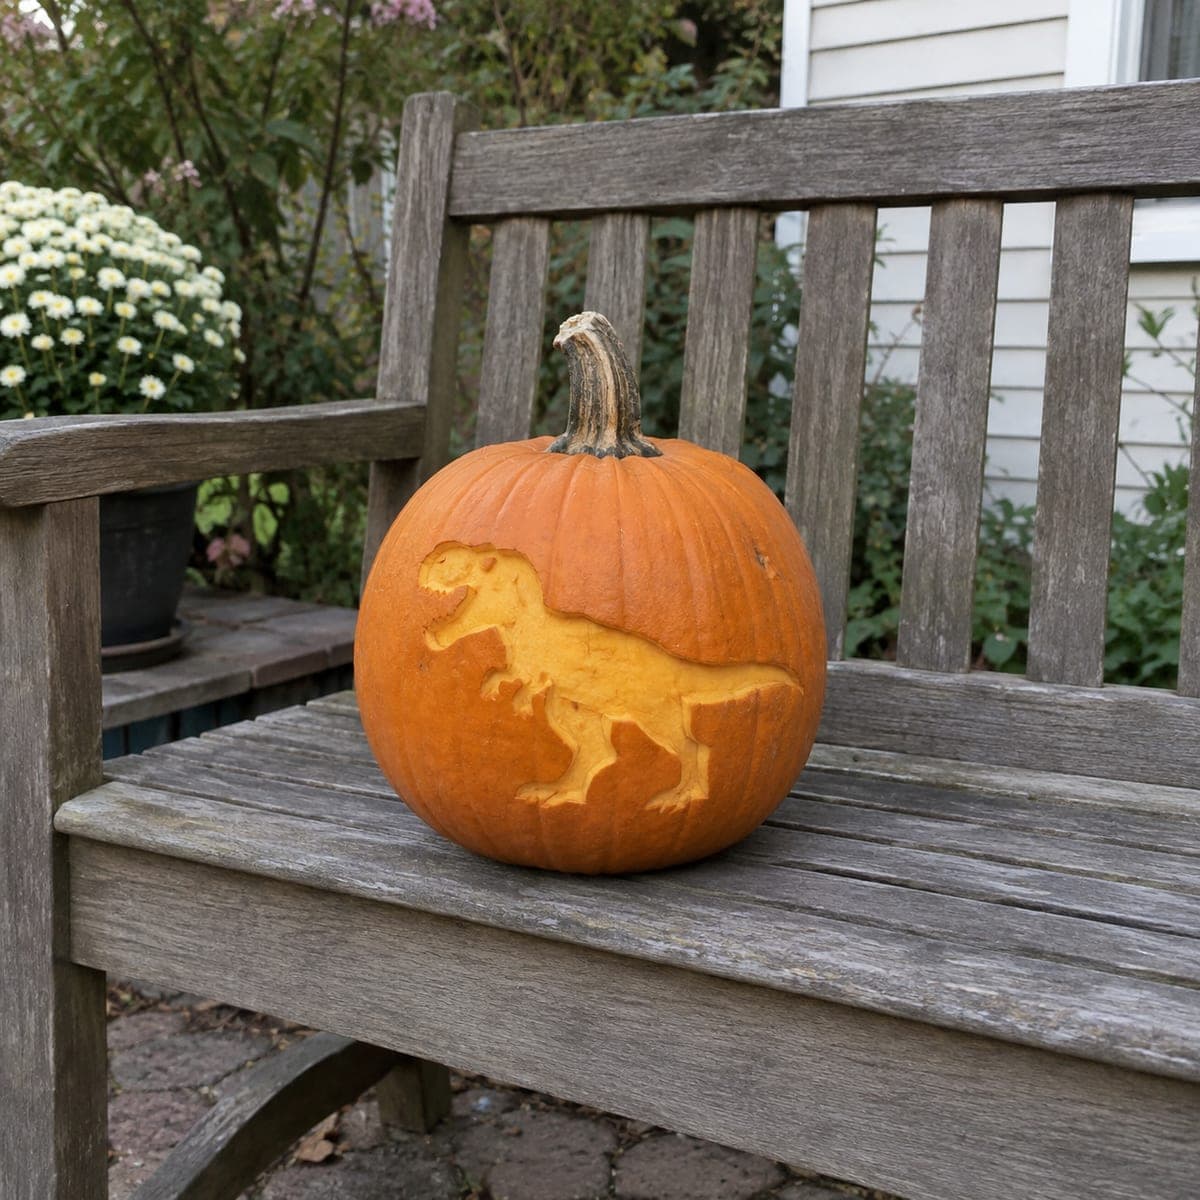
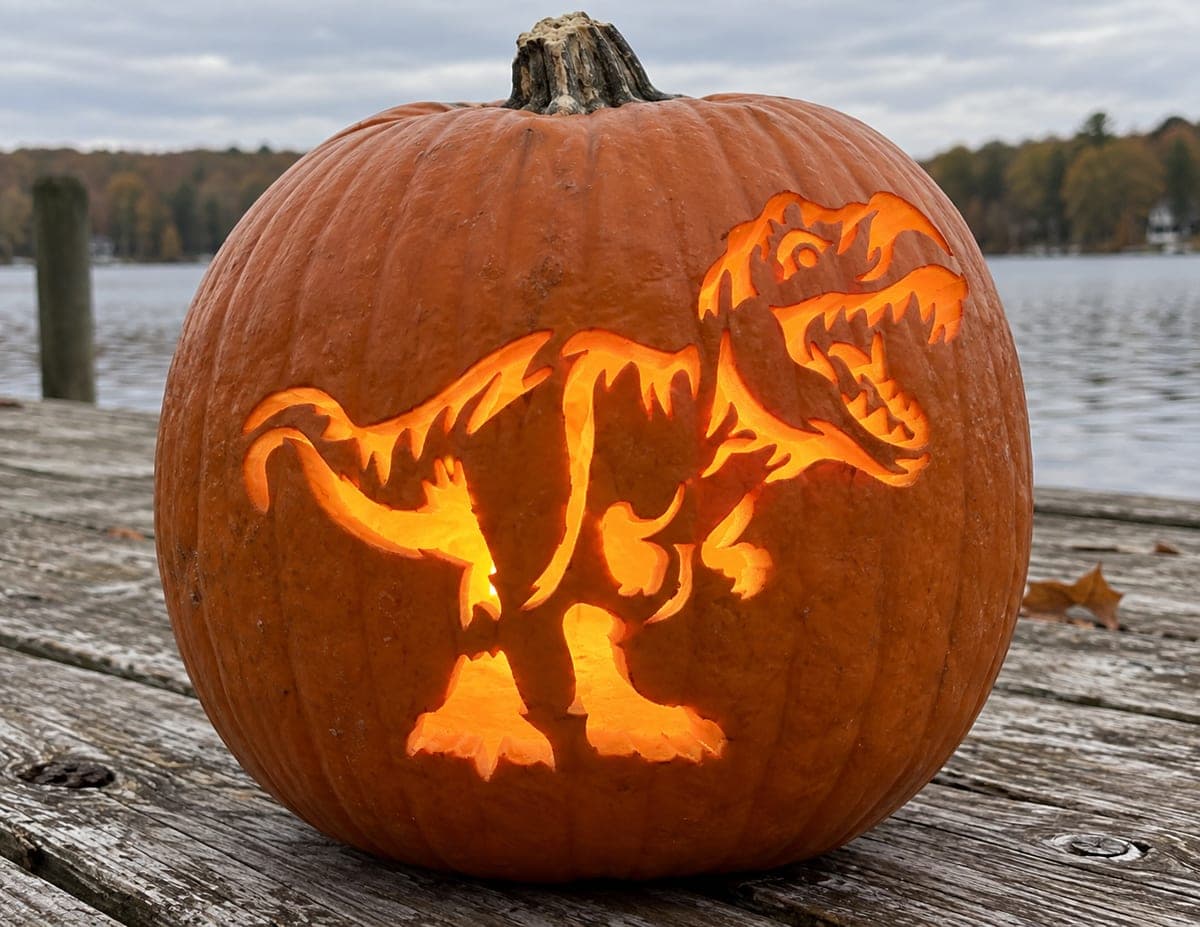
Stripped to a single peeled silhouette, this T-rex pumpkin proves a dinosaur design can be finished in under an hour with just a paring knife and a spoon. The pale shape needs no light and no hollowing, so even a classroom can manage it. Tape on a printed T-rex outline, score around it, and lift the skin in strips, scraping the flesh smooth and even.

This is an AI-generated concept image: a realistic, carvable design idea rather than a photo of a finished carve. AI concepts are always labeled and sit out the leaderboard and the contest.

No ratings yet · Sign in to rate
Comments (0)

  • No comments yet — be the first.

Save without an account. Sign in to like or comment.

Our tips for carving a similar design

The whole design rests on one trick: peeling away only the outer skin so a pale T-rex silhouette glows dim against the darker pumpkin around it. There is no hollowing and no cutting all the way through, which keeps the shape sturdy and the work quick. You score the outline, lift the skin in strips, then scrape the exposed flesh flat and even.

Written by PumpkinCarvingIdeas.com, inspired by the image above. These are our suggestions, not instructions from the uploader. This approach to the AI concept has not been tested on a real pumpkin.

From pumpkin to porch

  1. Pick and prep the pumpkin

    Choose a pumpkin with a wide, fairly flat face so the dinosaur has room to stretch out. Wipe the surface clean and dry it well so your stencil tape will stick. There is no need to cut a lid or scoop the inside for this surface-only design. Set it on a towel to keep it from rolling while you work.

  2. Attach the T-rex stencil

    Print a bold T-rex outline sized to fill the middle of the pumpkin face. Trim close to the shape, then tape it down flat, making small cuts in the paper edges so it hugs the curve. Press firmly so nothing shifts. A simple, chunky silhouette works far better than a fine, detailed one here.

  3. Score the outline

    With a small paring knife or a poker, trace the entire dinosaur outline just deep enough to break the skin, about an eighth of an inch. Take your time around the jaw, legs, and tail tip where the line curves. An adult should handle the knife while kids follow along with a dull poking tool. Once the outline is complete, peel the paper away.

  4. Peel the skin inside the shape

    Starting from the scored edge, slip the knife tip under the skin and lift it in strips toward the center of the T-rex. Work in small sections rather than trying to pull one big piece. Stay inside your scored line so the silhouette keeps clean edges. This is the step that reveals the pale dinosaur, so go slowly and enjoy it.

  5. Scrape the flesh smooth

    Use the edge of a spoon or a loop tool to scrape the exposed flesh until it is flat and even in color. A consistent depth makes the glow uniform if you light it, and it looks tidy even unlit. Feather the very edges so the transition from skin to flesh is crisp. Wipe away pulp as you go.

  6. Display and photograph

    This design reads great in daylight, no light required, so set it on a bench or step where the pale shape catches the eye. If you want a soft evening glow, cut a small access hole in the back and drop in an LED tea light, never a flame. Photograph it in indirect light so the etched dinosaur stands out against the orange. Give the cut edges a quick wipe before the photo.

Gather your supplies

Check things off as you get ready.

Work on a stable surface, keep your free hand out of the cutting path, and have an adult handle sharp tools.

Three levels of light

  • Leave intact

    The pumpkin skin surrounding the dinosaur stays untouched and dark orange.

  • Peel & shade

    The entire T-rex body is skin-peeled and scraped smooth for a soft pale glow.

  • Cut through

    No full cutouts here, though a small hidden hole in the back can hold an LED if you want extra glow.

Learn the carving basics

Before you start cutting

Do I need to hollow out the pumpkin for this design?

No, this is a surface-only carve, so the inside can stay intact. Skipping the scoop saves a lot of mess and time. If you later decide to add an LED glow, cut just a small access hole in the back.

How deep should I peel to get an even color?

Peel through the outer skin and then scrape down about a quarter inch into the flesh. Aim for one consistent depth across the whole shape so the pale tone looks uniform. Uneven scraping creates blotchy patches that show up in daylight.

Can this really work for a classroom or young kids?

Yes, that is one of its best features. An adult scores the outline first, then children can safely lift the skin and scrape with spoons. The design stays sturdy because nothing is cut all the way through.

Your take belongs here, too.

Changed a detail? Made it simpler? Share a photo of your version and tell the community what worked.

Share your pumpkin

More pumpkins like this

You've reached the end · 8 pumpkins
The Patch Report

Fresh pumpkins, in your inbox.

The best new carvings, ideas worth stealing, and how-tos for carving season. Short, seasonal, and gone by November.

A short email during carving season. Unsubscribe anytime. See our privacy policy.