Halloween Pumpkin Carving Contest · Starts October 1st · $500 in prizes
← Back to ideas
@ai_concepts
Jul 21, 2026

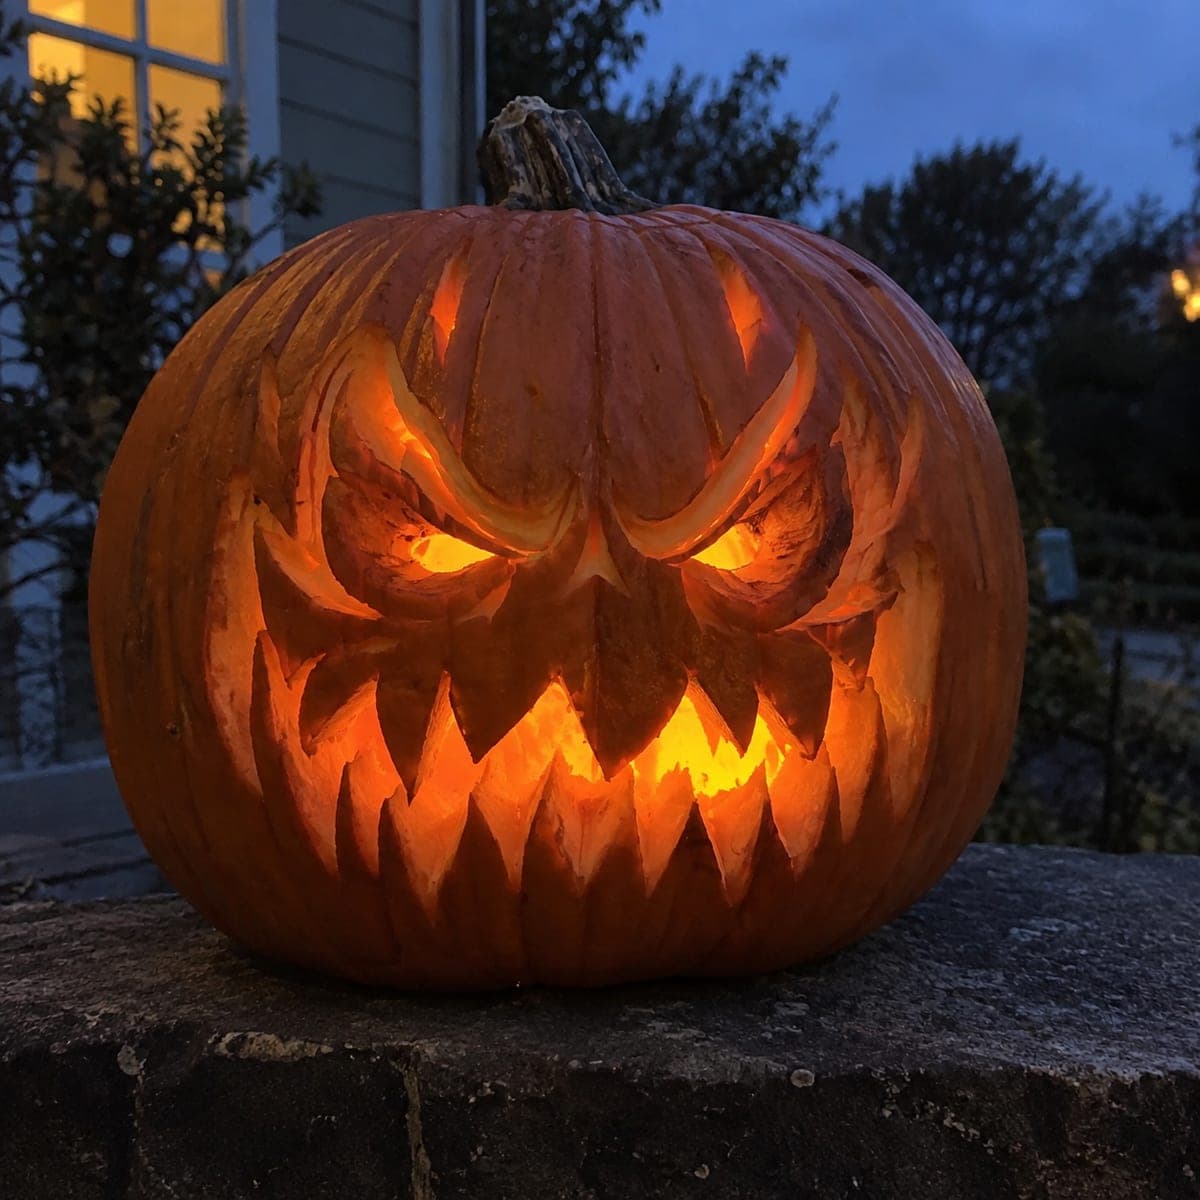
Sinister Grinning Jack-O-Lantern With Jagged TeethAI
0

Sinister Grinning Jack-O-Lantern With Jagged Teeth

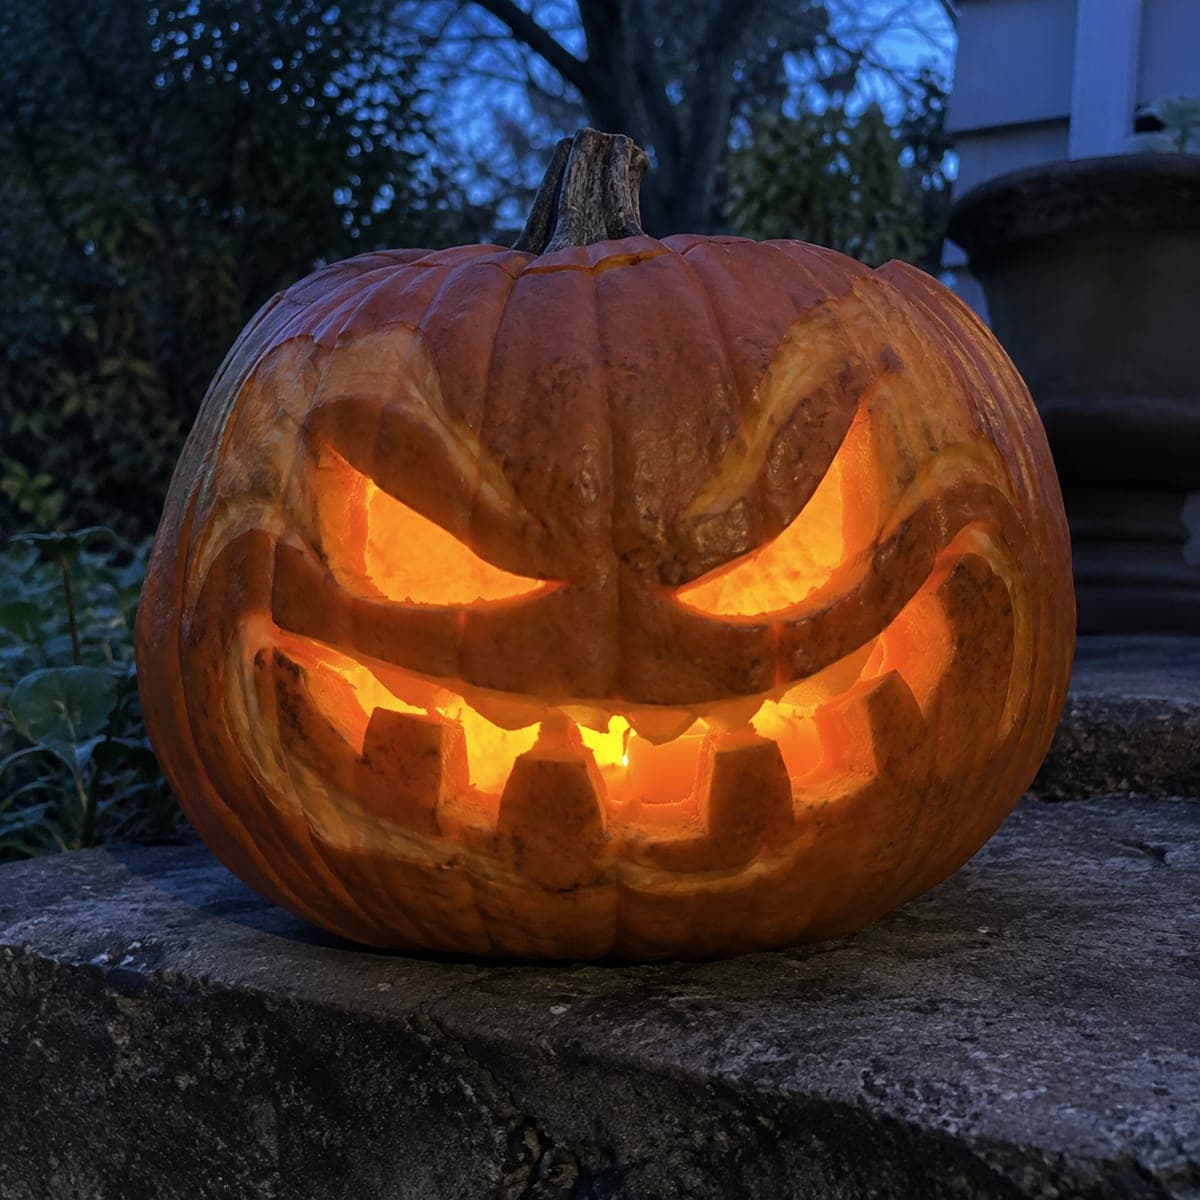
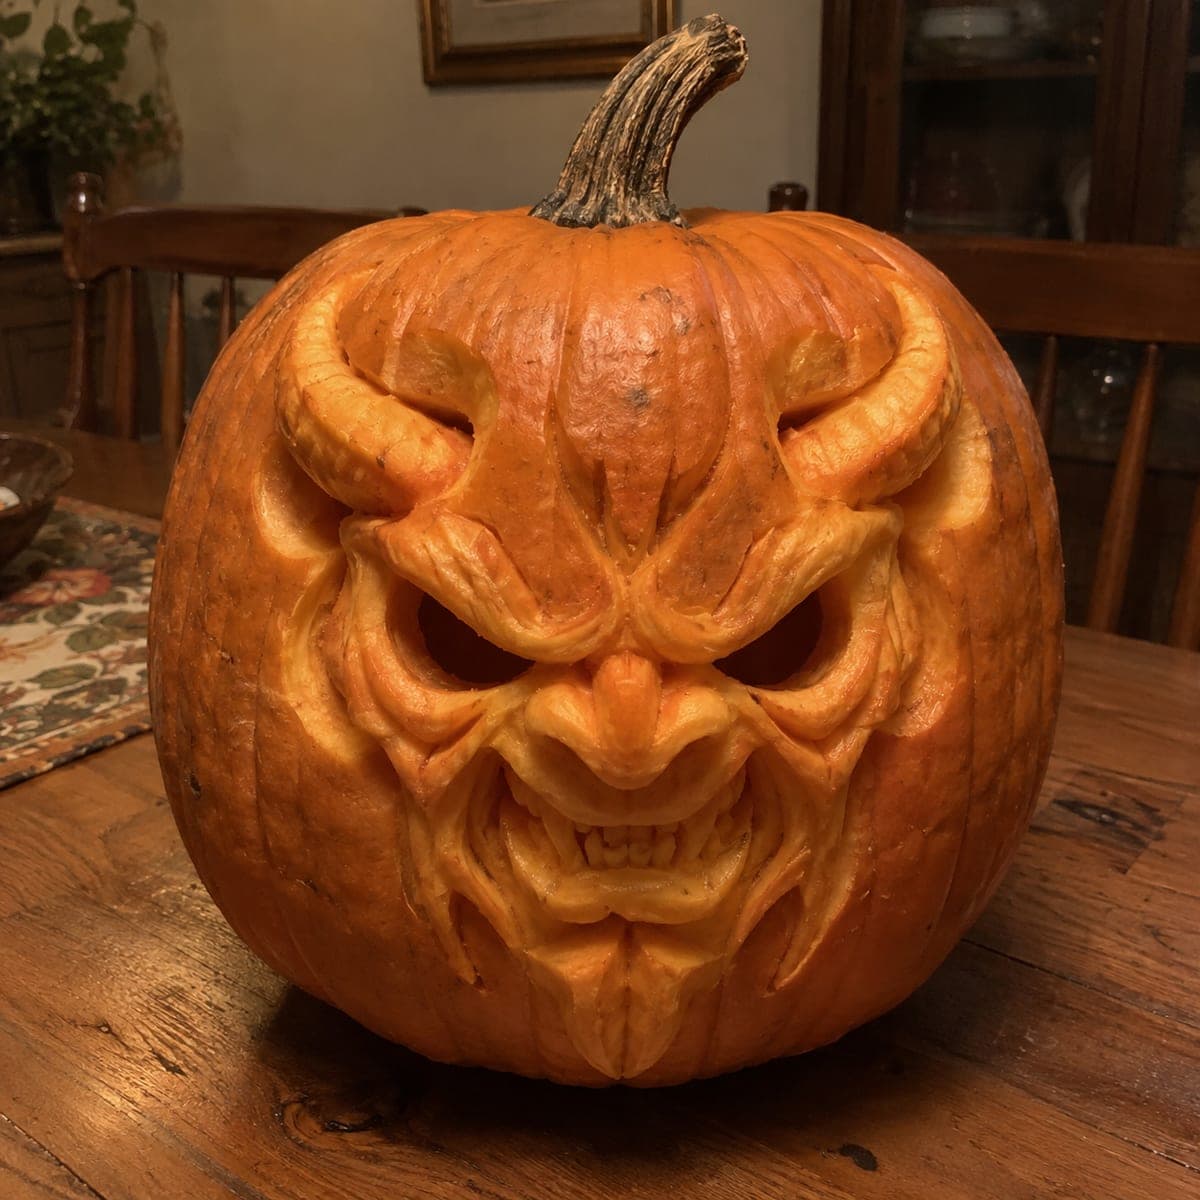
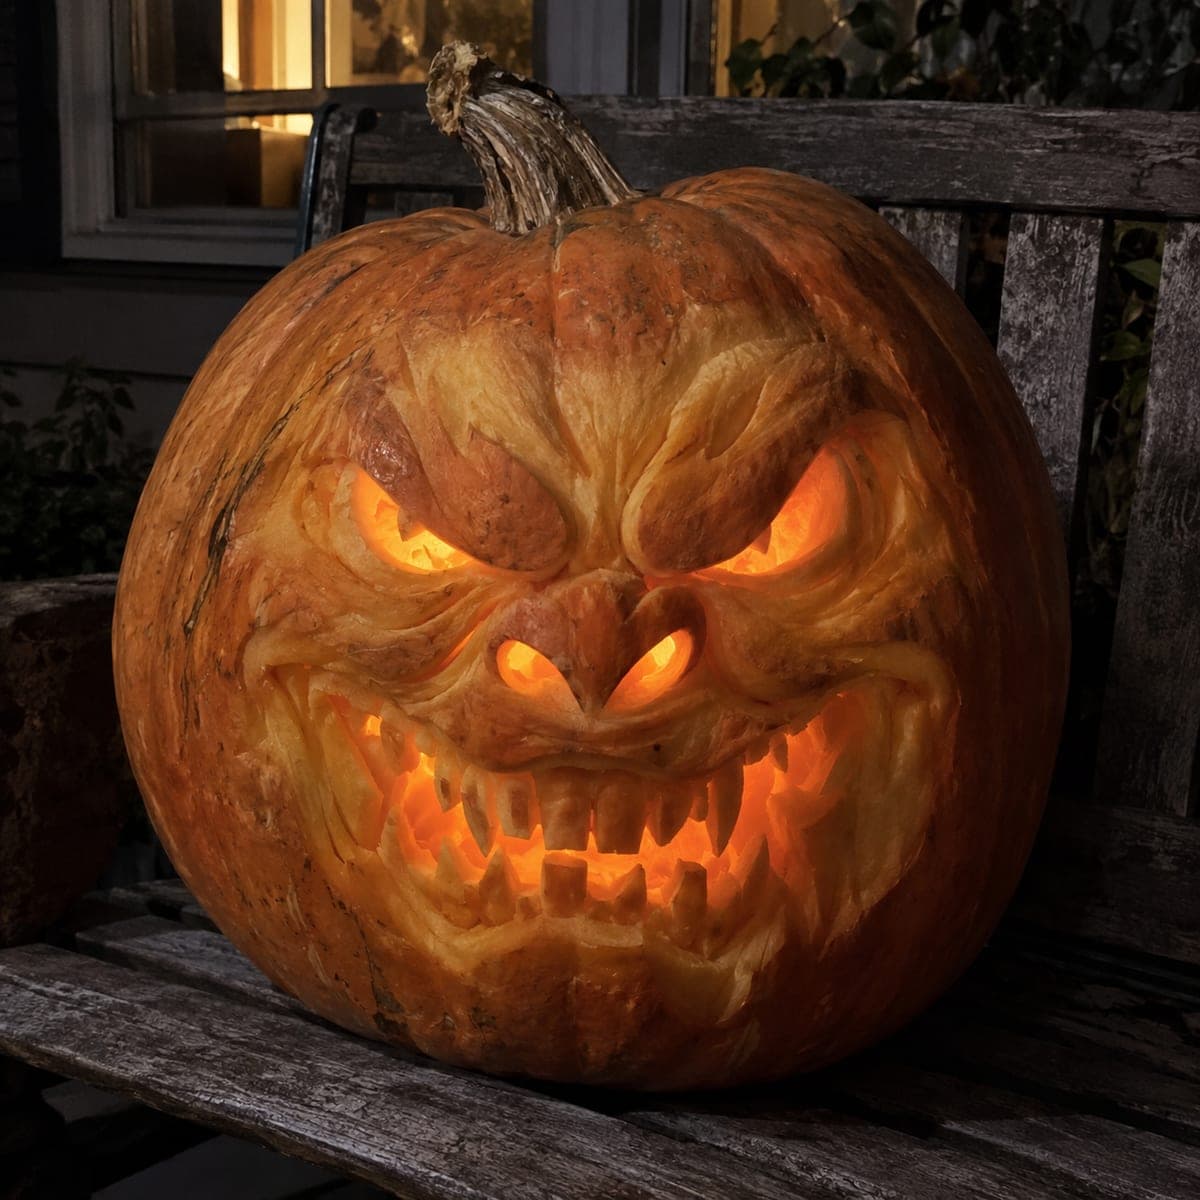
Furrowed brows, blazing eyes, and two rows of interlocking jagged teeth give this scary jack-o-lantern real menace. The face is fully dimensional: sculpt the brow ridges and cheeks in relief first, then pierce the eyes and the gaps between each tooth so firelight pours through. Leave the teeth thick so they read as fangs rather than thin zigzags. Set it on a wall or pillar at eye level for maximum effect on trick-or-treaters.

This is an AI-generated concept image: a realistic, carvable design idea rather than a photo of a finished carve. AI concepts are always labeled and sit out the leaderboard and the contest.

No ratings yet · Sign in to rate
Comments (0)

  • No comments yet — be the first.

Save without an account. Sign in to like or comment.

Our tips for carving a similar design

The trick here is depth. Instead of cutting flat holes, you sculpt the brow ridges, cheeks, and nose in relief by shaving away skin at different levels, then pierce only the eyes and the gaps between the teeth so light escapes in sharp shapes. Keep the teeth chunky and interlocking so they read as fangs, and save the true cutouts for last so the face stays strong while you work.

Written by PumpkinCarvingIdeas.com, inspired by the image above. These are our suggestions, not instructions from the uploader. This approach to the AI concept has not been tested on a real pumpkin.

From pumpkin to porch

  1. Pick a big pumpkin and open the back

    Choose a large, rounded pumpkin with a smooth front face and thick walls, since relief carving needs material to work with. Cut a hatch in the back rather than the top so the front stays unbroken and the stem stays intact. Scoop the insides fully and thin the front wall from the back to about an inch so light passes through more evenly. A clean, even wall makes the peeled glow areas read better.

  2. Transfer the face and map your levels

    Tape your stencil to the front and poke the main outlines: brows, eye sockets, nose, cheek folds, and both rows of teeth. Before cutting anything, mark which zones stay dark skin, which get shaved to glow, and which get pierced. Planning this now keeps the sculpted look from turning into a flat cutout face. Step back and check the angry brow angle since that is what sells the menace.

  3. Sculpt the brows, cheeks, and nose in relief

    Using a loop or ribbon tool, shave away the skin around the raised brow ridges and cheekbones so those shapes stand proud of the surface. Work in shallow passes and leave the highest ridges as dark skin for contrast. Round the edges of each fold so the light gradients look like real muscle and wrinkle. Take your time; this layered shaving is the slowest part but gives the face its dimension.

  4. Peel the glow zones

    Skin-peel the hollows beside the nose, under the brows, and along the cheek folds so they glow a soft orange without fully opening. Vary how deep you peel to create a range from dim to bright. Keep the peeled areas smooth so the light looks warm rather than blotchy. These mid-tone areas are what make the face look sculpted instead of stamped.

  5. Cut the eyes and tooth gaps last

    Now pierce all the way through for the brightest light: the narrow angry eyes and the triangular gaps between each tooth. Cut the teeth so the points stay wide and blunt, leaving thick columns of skin between the gaps so no fang snaps off. Cut the eyes as slim slits to keep that glaring look. Do these full cutouts last so the wall stays firm while you carve the detail.

  6. Light it and stage it at eye level

    Drop in a bright LED or two, never a candle, and aim them so the eyes and teeth blaze. Set the pumpkin on a wall or pillar at roughly face height so the glare hits trick-or-treaters straight on. Mist the cut edges with water and refrigerate between nights to slow shrinking. Snap your photo after dark when the glow contrast is strongest.

Gather your supplies

Check things off as you get ready.

Work on a stable surface, keep your free hand out of the cutting path, and have an adult handle sharp tools.

Three levels of light

  • Leave intact

    The raised brow ridges, cheekbones, and the bridge of the nose stay as untouched dark skin for shadow and structure.

  • Peel & shade

    The hollows around the nose, under the brows, and the cheek folds get skin-peeled for a dim orange glow that shapes the face.

  • Cut through

    The narrow eyes and the triangular gaps between each tooth are cut all the way through for the brightest firelight.

Learn the carving basics

Before you start cutting

How do I keep the teeth from snapping off?

Cut the gaps between teeth rather than the teeth themselves, and leave each tooth wide and thick like a blunt fang. Thin zigzag points break easily and dry out fast, so err on the chunky side. If a tooth feels wobbly, leave a little extra skin at its base for support.

This is a concept image, so can a real pumpkin actually look this dimensional?

Yes, the sculpted depth comes from relief carving, which means shaving skin to different levels instead of just cutting holes. A large pumpkin with a wall thinned to about an inch gives you room to sculpt the brows and cheeks. Just keep your raised ridges backed by solid flesh so they do not collapse.

Why open the back instead of the top?

An unbroken front lets the sculpted face flow all the way up to the brows without a lid seam cutting across it. A back hatch also makes it easy to swap LED batteries. The stem stays put too, which adds to the sinister silhouette.

Your take belongs here, too.

Changed a detail? Made it simpler? Share a photo of your version and tell the community what worked.

Share your pumpkin

More pumpkins like this

You've reached the end · 8 pumpkins
The Patch Report

Fresh pumpkins, in your inbox.

The best new carvings, ideas worth stealing, and how-tos for carving season. Short, seasonal, and gone by November.

A short email during carving season. Unsubscribe anytime. See our privacy policy.