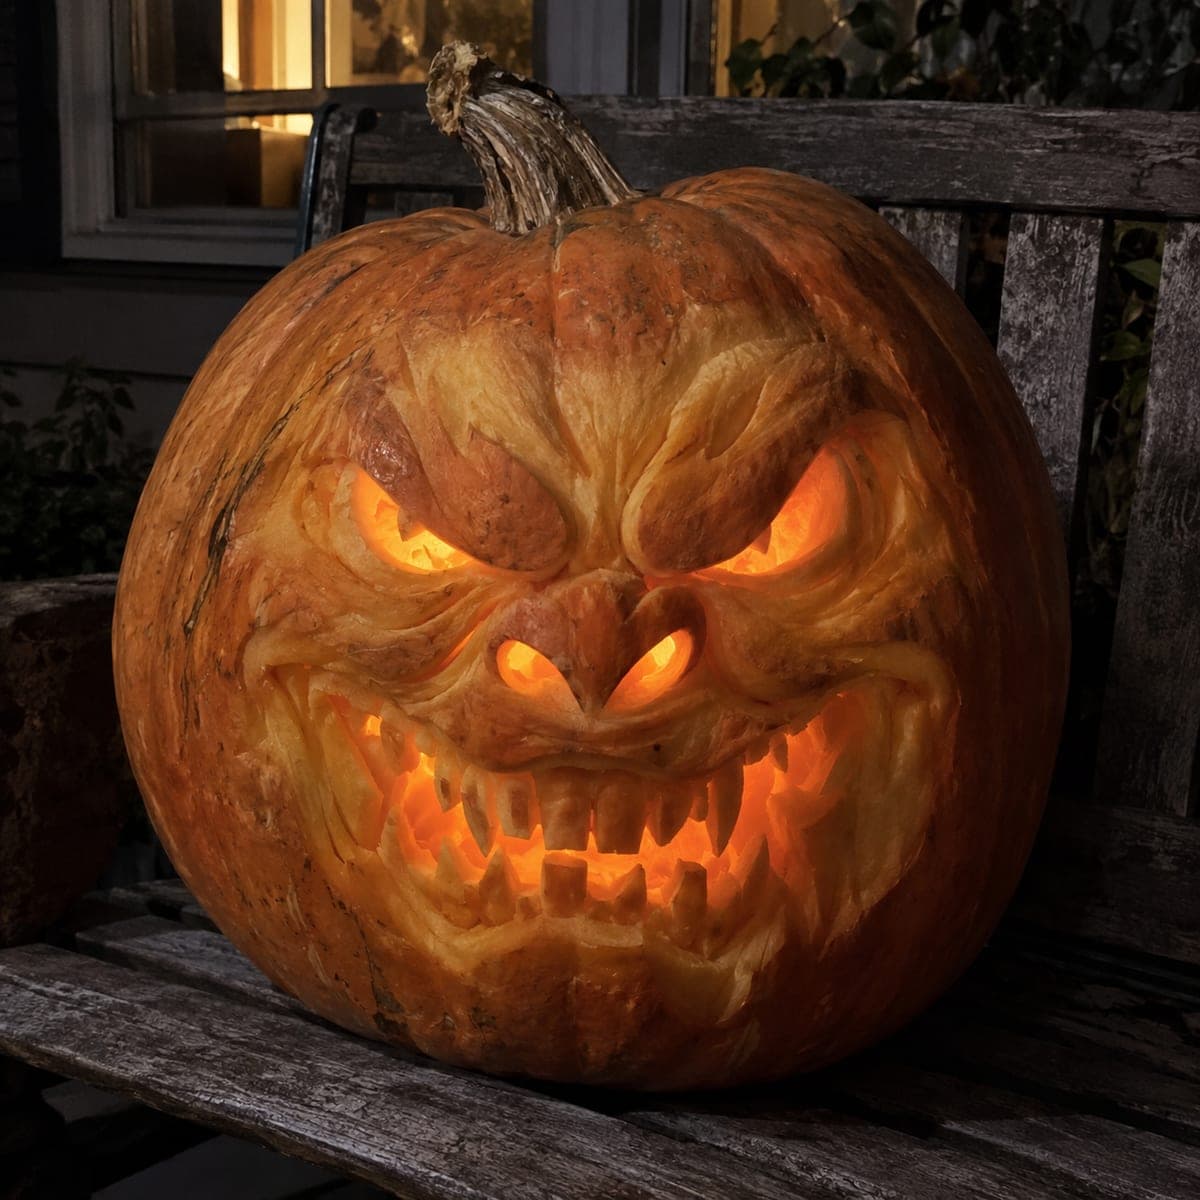
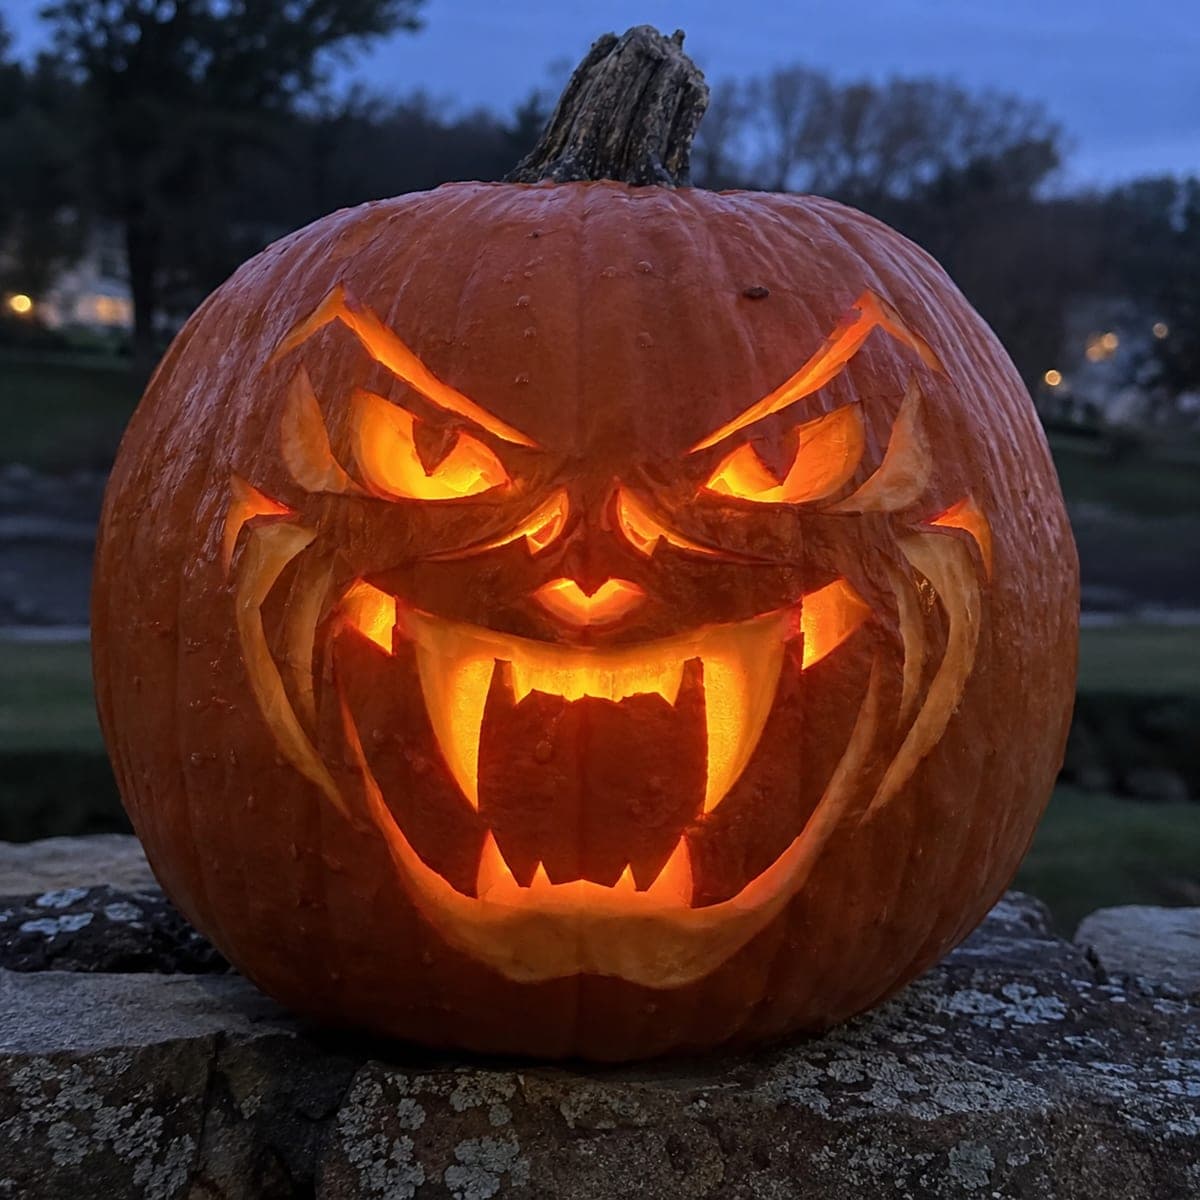
A furious demon face erupts from this pumpkin with a knotted brow, hooked nose, and a mouth full of jagged carved teeth glowing from within. The features are sculpted in deep relief while the eyes and mouth pierce through for firelight. Shape the brow and nose masses first since they cast the key shadows, undercut the upper lip so the teeth read clearly, and light it with a flickering flame bulb.
This is an AI-generated concept image: a realistic, carvable design idea rather than a photo of a finished carve. AI concepts are always labeled and sit out the leaderboard and the contest.
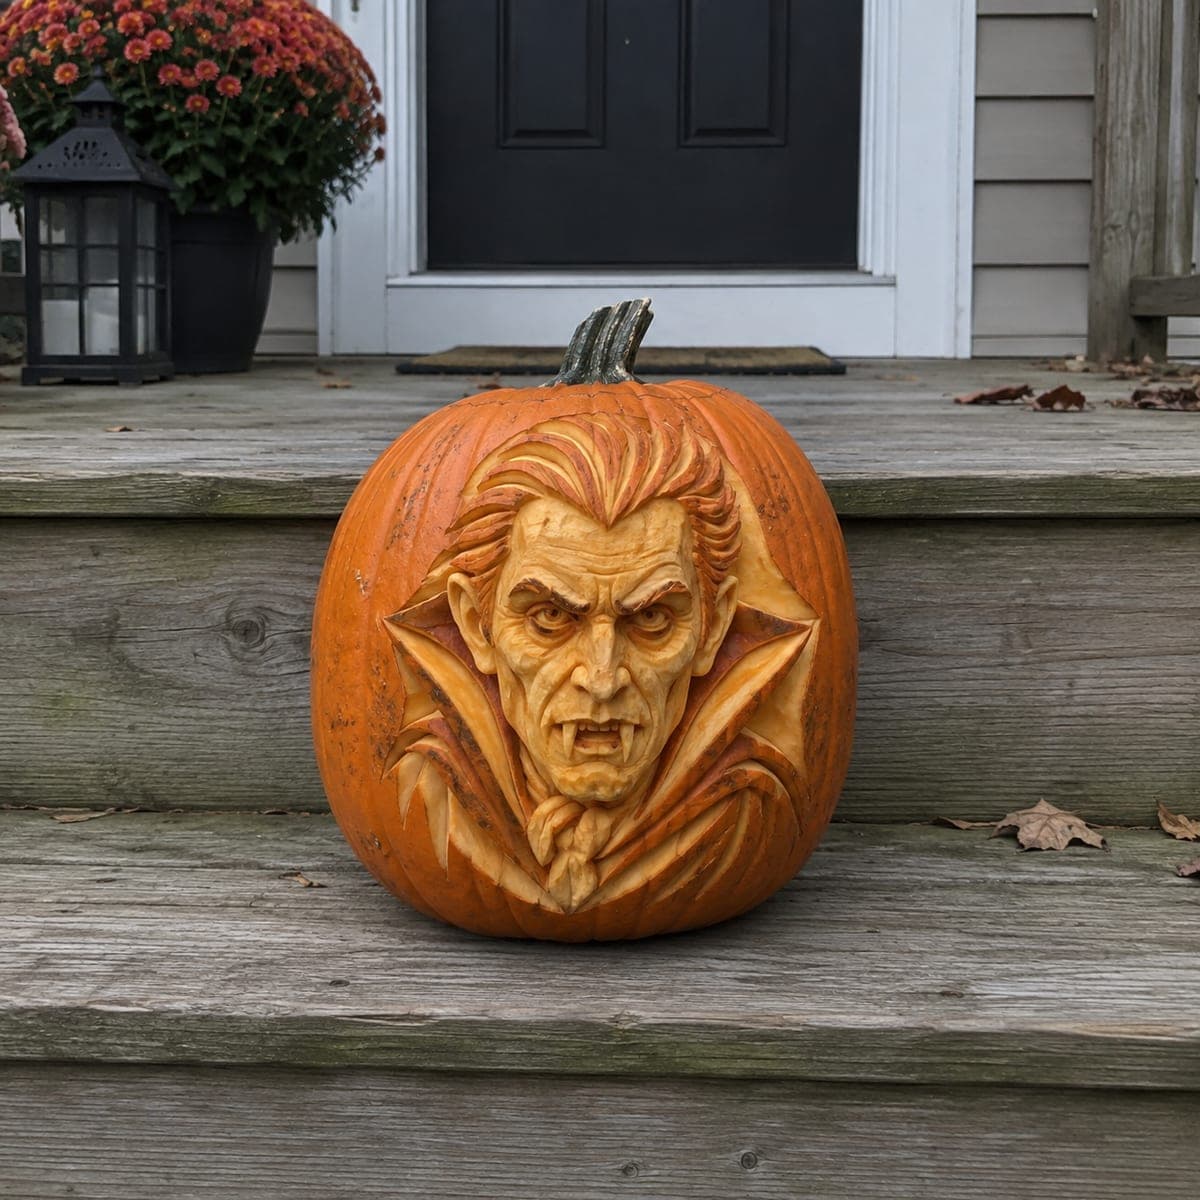
The core trick here is deep relief sculpting, where you shave away layers of skin and flesh to build a raised brow, hooked nose, and bulging cheeks that catch shadow, then pierce only the eyes and mouth for glowing firelight. Since this is a concept image, treat it as a target to work toward on a real pumpkin: block the big muscle masses first, refine them, and save the piercing cuts for last. The teeth read clearly only if you undercut the upper lip so light rakes across each tooth.
Written by PumpkinCarvingIdeas.com, inspired by the image above. These are our suggestions, not instructions from the uploader. This approach to the AI concept has not been tested on a real pumpkin.
From pumpkin to porch
1
Pick a big pumpkin and open it from the back
Choose a large, wide pumpkin with a thick, blemish-free wall since 3D carving eats into that flesh. Cut an access hole in the back rather than the top so the front face stays uninterrupted. Scrape the inside wall of the carving area down to about an inch thick with a loop tool. An adult should handle all the cutting throughout this project.
2
Transfer the design and map your depths
Tape your demon stencil over the face and poke through the outlines with a pin, or draw the brow, nose, cheeks, eyes, and mouth directly with a washable marker. Note which areas are highest, the brow ridge and nose bridge, and which sink deepest. Having this depth map in mind keeps you from cutting too far too early. Work slowly, since removed flesh cannot go back on.
3
Sculpt the brow and nose masses first
These are the features that cast the key shadows, so build them before anything else. Use a ribbon or loop tool to shave the skin and flesh around the raised brow and hooked nose, leaving those forms standing proud. Round the edges so light rolls over them instead of hitting a hard line. Step back often and check the shadows under a work light to judge the shapes.
4
Carve the cheeks, snarl lines, and shading
Peel back the skin across the cheeks and around the mouth to create the mid glow that suggests stretched, angry flesh. Vary how deep you scrape so some areas stay dim and others brighten. Carve the deep creases beside the nose and above the brow to sell the furious expression. Keep transitions smooth so the whole face looks sculpted rather than scratched.
5
Undercut the lip and shape the teeth
Outline the mouth and carve each jagged tooth as a shaded relief block, then angle your blade to undercut the upper lip so the teeth catch light and read clearly. Leave small bridges of flesh between adjacent teeth so the row stays strong and does not crumble. Keep the fangs a little thicker than looks ideal, since thin points break easily on a real pumpkin. Test-fit the light as you go.
6
Pierce the eyes and mouth, then light it
Save the full cutouts for last so the pumpkin keeps its strength while you sculpt. Cut all the way through the pupils and the open gaps of the mouth for the brightest glow. Clean up the cut edges from behind so the light spills evenly. Drop in a flickering LED flame bulb, never an open candle, and photograph it after dark against a porch or bench.
Gather your supplies
Check things off as you get ready.
Work on a stable surface, keep your free hand out of the cutting path, and have an adult handle sharp tools.
Three levels of light
Leave intact
The raised brow ridge, hooked nose bridge, and outer forehead stay as untouched dark skin to cast the deepest shadows.
Peel & shade
The cheeks, snarl creases, and the front faces of the teeth get skin-peeled for a dim orange glow.
Cut through
The eyes and the open gaps of the mouth are cut fully through for the brightest firelight.
Leave small bridges of flesh connecting each tooth to its neighbor and to the jaw rather than carving them as free-standing points. Keep the fangs slightly thicker than the concept image suggests, since real pumpkin flesh is soft and cracks under its own weight. Undercutting the lip gives the shadow you want without needing paper-thin teeth.
Why sculpt the brow and nose before piercing the eyes?
The raised brow and nose cast the shadows that give the face its furious look, so getting those masses right is the foundation of the whole design. Piercing the eyes and mouth also weakens the pumpkin wall, so doing that last keeps the surface strong while you do the heavy relief work. Cut big openings last as a rule.
What light makes this design look best?
Use a flickering LED flame bulb, which mimics candle movement and makes the glowing eyes and mouth feel alive without any fire risk. Place it toward the back of the cavity so light rakes forward across the teeth. Never use a real candle inside a thin-walled sculpted pumpkin.
Your take belongs here, too.
Changed a detail? Made it simpler? Share a photo of your version and tell the community what worked.
 AI
AI
Comments (0)