Halloween Pumpkin Carving Contest · Starts October 1st · $500 in prizes
← Back to ideas
@ai_concepts
Sep 11, 2026
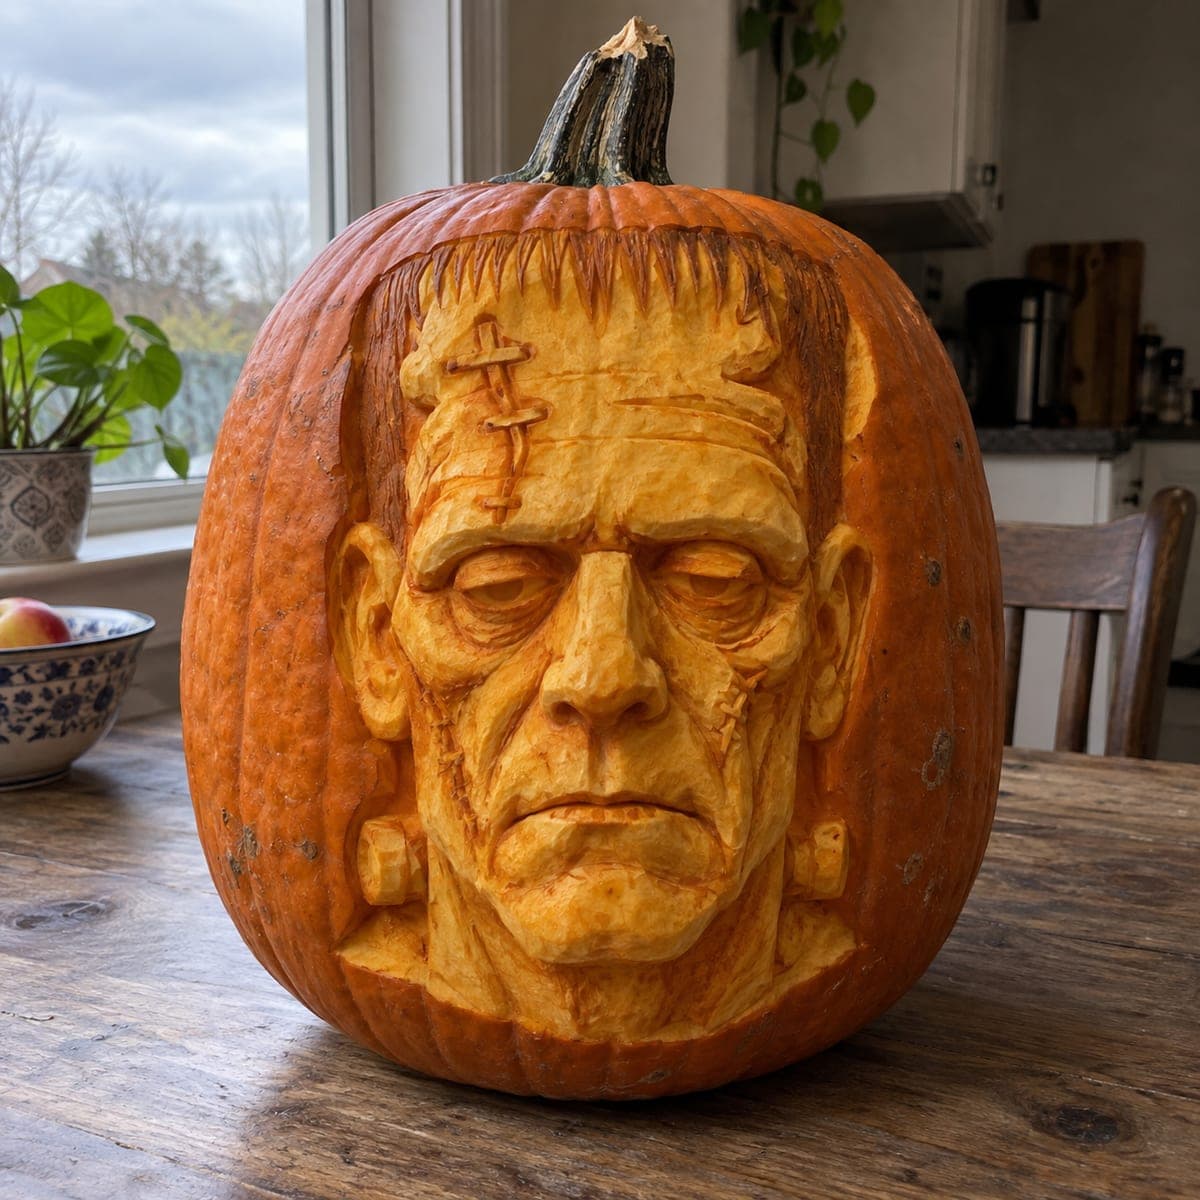
Frankenstein Monster Bust Carved From a PumpkinAI
0

Frankenstein Monster Bust Carved From a Pumpkin

Frankenstein's monster stares out with heavy brows, stitched forehead scars, neck bolts, and a squared flat-top haircut, all sculpted in full relief from a single pumpkin. The three-dimensional planes catch room light dramatically, so no interior candle is needed. Rough out the face with a large loop tool before refining, cut the hairline grooves with a V-tool for that combed texture, and save the delicate stitches for last.

This is an AI-generated concept image: a realistic, carvable design idea rather than a photo of a finished carve. AI concepts are always labeled and sit out the leaderboard and the contest.

No ratings yet · Sign in to rate
Comments (0)

  • No comments yet — be the first.

Save without an account. Sign in to like or comment.

Our tips for carving a similar design

The core trick here is relief sculpting, shaving away the pumpkin skin and flesh to build raised planes rather than cutting light holes all the way through. You work like a sculptor, roughing out the big shapes first and refining the brows, cheeks, and squared jaw so the natural room light rakes across the surface. Since this is an AI concept and no real pumpkin exists, treat it as a plan for how you could carve a similar bust, keeping the neck bolts and stitches thick enough to hold.

Written by PumpkinCarvingIdeas.com, inspired by the image above. These are our suggestions, not instructions from the uploader. This approach to the AI concept has not been tested on a real pumpkin.

From pumpkin to porch

  1. Pick a tall pumpkin and transfer the face

    Choose a large, tall pumpkin with a smooth, blemish-free front wall so you have room to sculpt the whole head. Wipe it clean and dry it. Sketch the outline of the head, the flat-top hairline, brows, nose, and jaw with a washable marker or a poking tool. Keep the drawing loose since you will be sculpting shapes, not tracing lines to cut through.

  2. Cut a low back access hole

    An adult should cut a hand-sized opening in the back or bottom, never the top, so the sculpted front stays undisturbed. Scoop out the seeds and scrape the back inner wall smooth. Leave the front wall at full thickness because relief carving eats into that flesh. A clean, dry cavity also slows rot once you start.

  3. Rough out the face with a loop tool

    Switch to a large ribbon or loop tool and remove the skin across the whole face area to expose the pale flesh. Block in the big masses first: the heavy brow ridge, the deep eye sockets, the broad nose, and the squared jaw. Work slowly and keep both hands behind the cutting edge. Step back often to check that the planes read as a face from a few feet away.

  4. Refine the planes and shade the flesh

    Move to a smaller loop and detailing tools to carve the cheek hollows, the bags under the eyes, and the frown lines. Vary how deep you scrape to create light and shadow, since deeper cuts glow dimmer and shallow scraping stays brighter. Round the nose and lips gently so no edge is paper thin. This shading stage is where the monster's tired, brooding stare comes to life.

  5. Cut the hairline grooves and shape the bolts

    Use a V-tool to carve the combed, vertical grooves of the flat-top hair and the jagged hairline. Keep the grooves shallow and evenly spaced for that textured comb look. For the neck bolts, leave two thick cylinders of flesh standing proud on each side and carve around them, never undercutting them so thin they snap. Bridges of uncut pumpkin keep the bolts firmly attached to the neck.

  6. Add the stitches last and light it

    Save the delicate forehead and cheek stitches for the very end, since they are the most fragile marks. Score short, shallow lines with a fine detail knife or a lino V-tool, adding the little cross-ties. Set a battery LED nearby or use ambient room light rather than an interior candle, because this design reads by surface shadow, not through-holes. Mist the carving, refrigerate it overnight when possible, and photograph it in soft side light.

Gather your supplies

Check things off as you get ready.

Work on a stable surface, keep your free hand out of the cutting path, and have an adult handle sharp tools.

Three levels of light

  • Leave intact

    The untouched orange skin around the head and along the edges frames the bust and keeps the background dark.

  • Peel & shade

    The whole face, hair, and neck are skin-peeled to the pale flesh, glowing a soft dim orange that shows the sculpted planes.

  • Cut through

    Only the deepest recesses, like the eye socket shadows and the gap behind the bolts, are carved thin or through for a touch of extra depth.

Learn the carving basics

Before you start cutting

Do I need a light inside this pumpkin?

No. This is a relief sculpture that reads by the shadows across its raised planes, so ambient room light or a nearby LED works best. If you want a glow, set a battery LED off to one side rather than inside. An interior candle would not show through the thick sculpted flesh and is a fire risk anyway.

How do I keep the neck bolts from breaking off?

Leave each bolt as a thick cylinder of flesh and carve the shadow around it instead of undercutting the base. Keep a solid bridge of uncut pumpkin where the bolt meets the neck. If a bolt feels wobbly, you have gone too deep, so stop and leave more support.

This looks really hard. Where should a first-timer start?

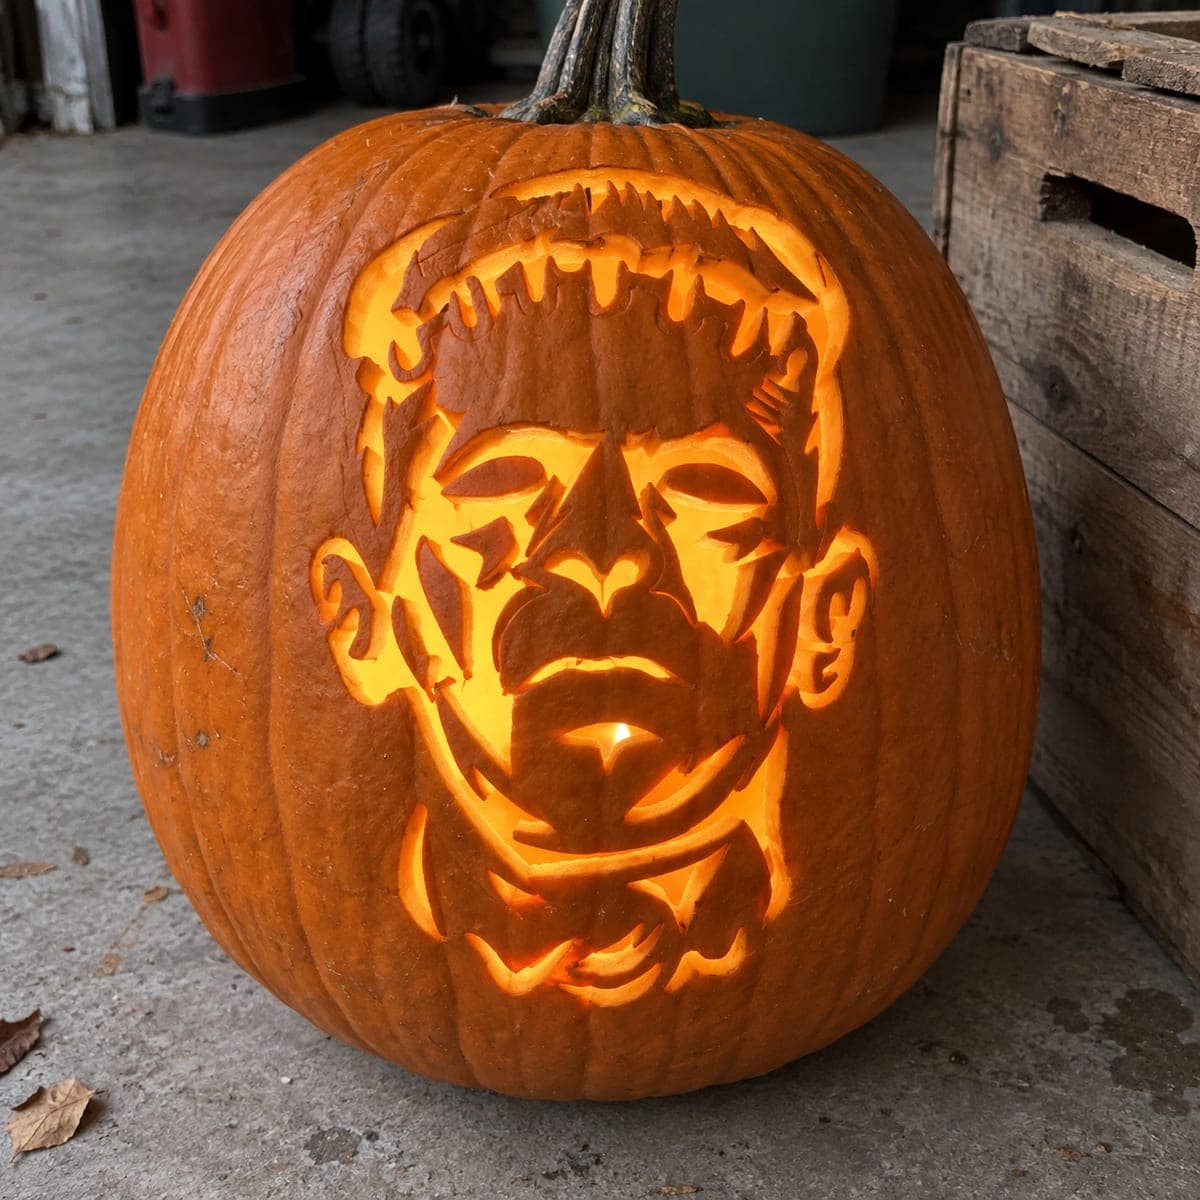
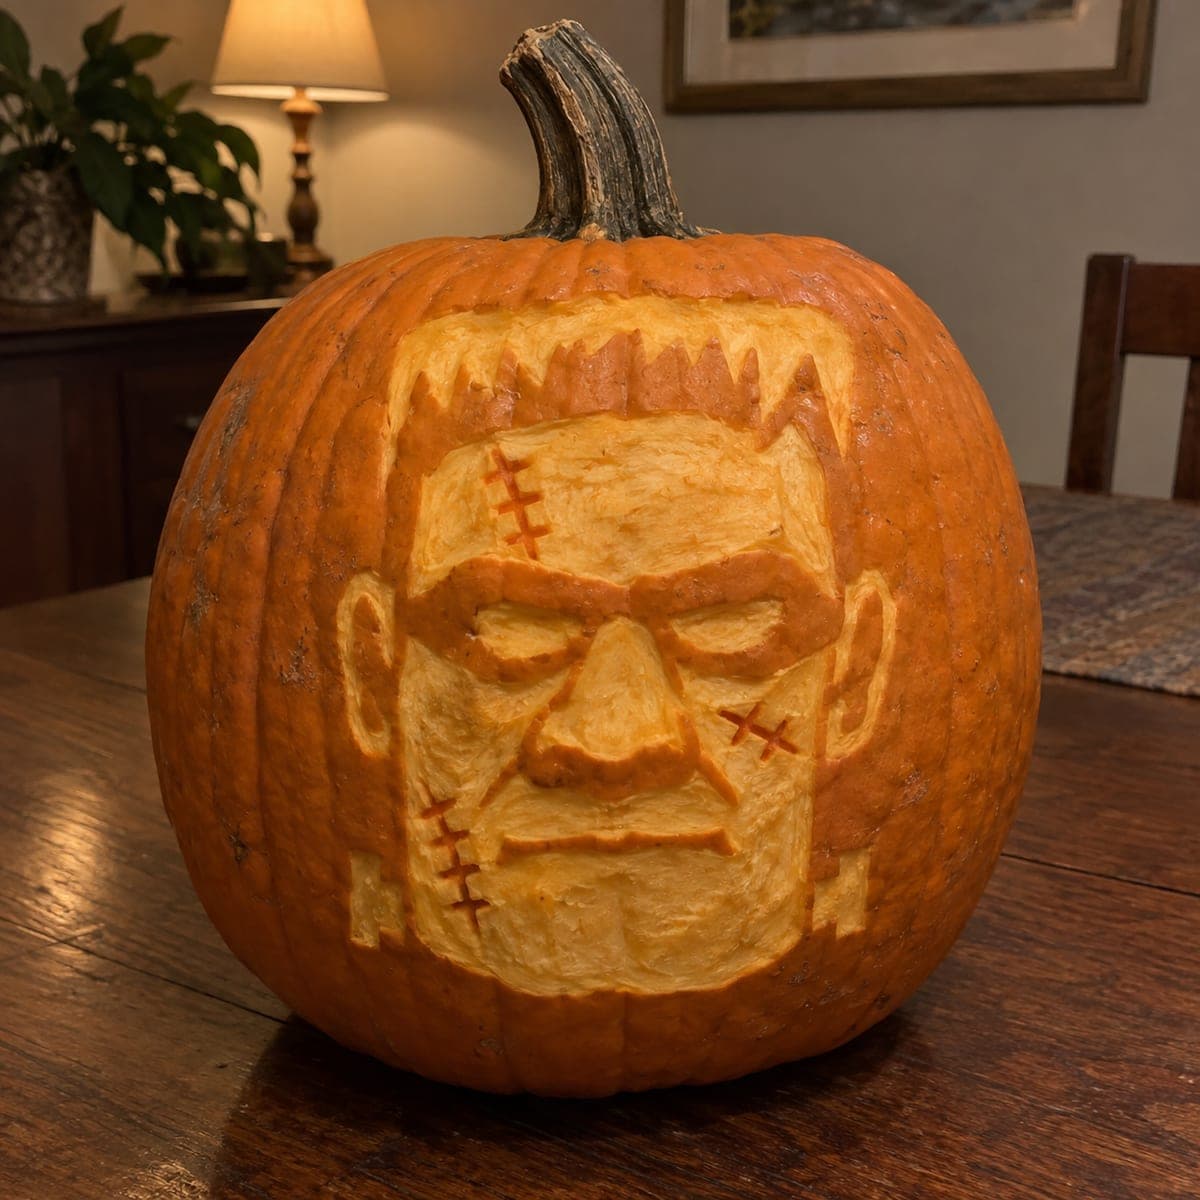
Relief sculpting a full face is an advanced project that takes patience and a few loop tools. If it feels like too much, start with a flatter stenciled Frankenstein face that uses simple cutouts. You can build up to full relief once you are comfortable scraping planes into the flesh.

Your take belongs here, too.

Changed a detail? Made it simpler? Share a photo of your version and tell the community what worked.

Share your pumpkin

More pumpkins like this

You've reached the end · 8 pumpkins
The Patch Report

Fresh pumpkins, in your inbox.

The best new carvings, ideas worth stealing, and how-tos for carving season. Short, seasonal, and gone by November.

A short email during carving season. Unsubscribe anytime. See our privacy policy.