@gourdon_ramsay
Sep 5, 2026
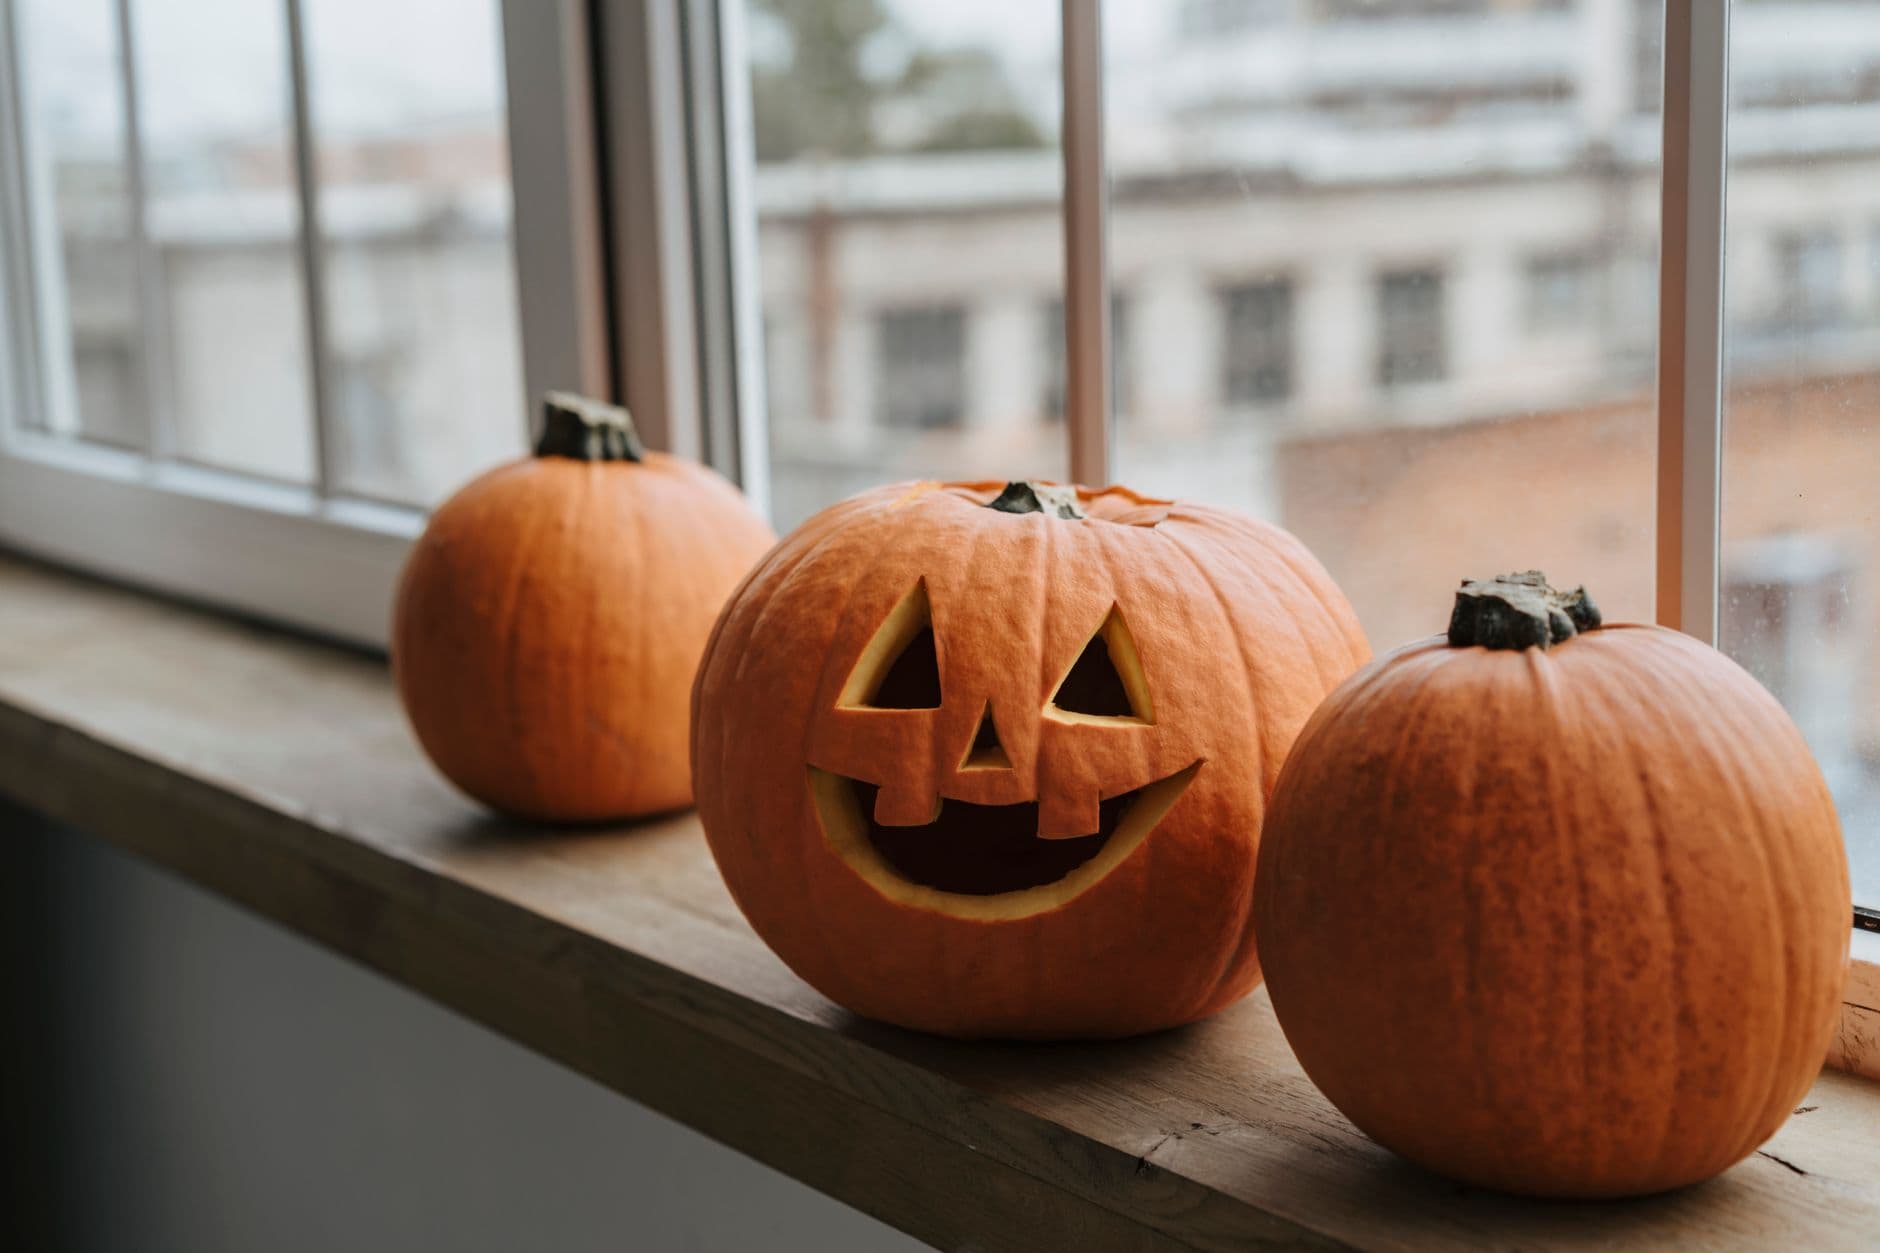
Smiley on the sill
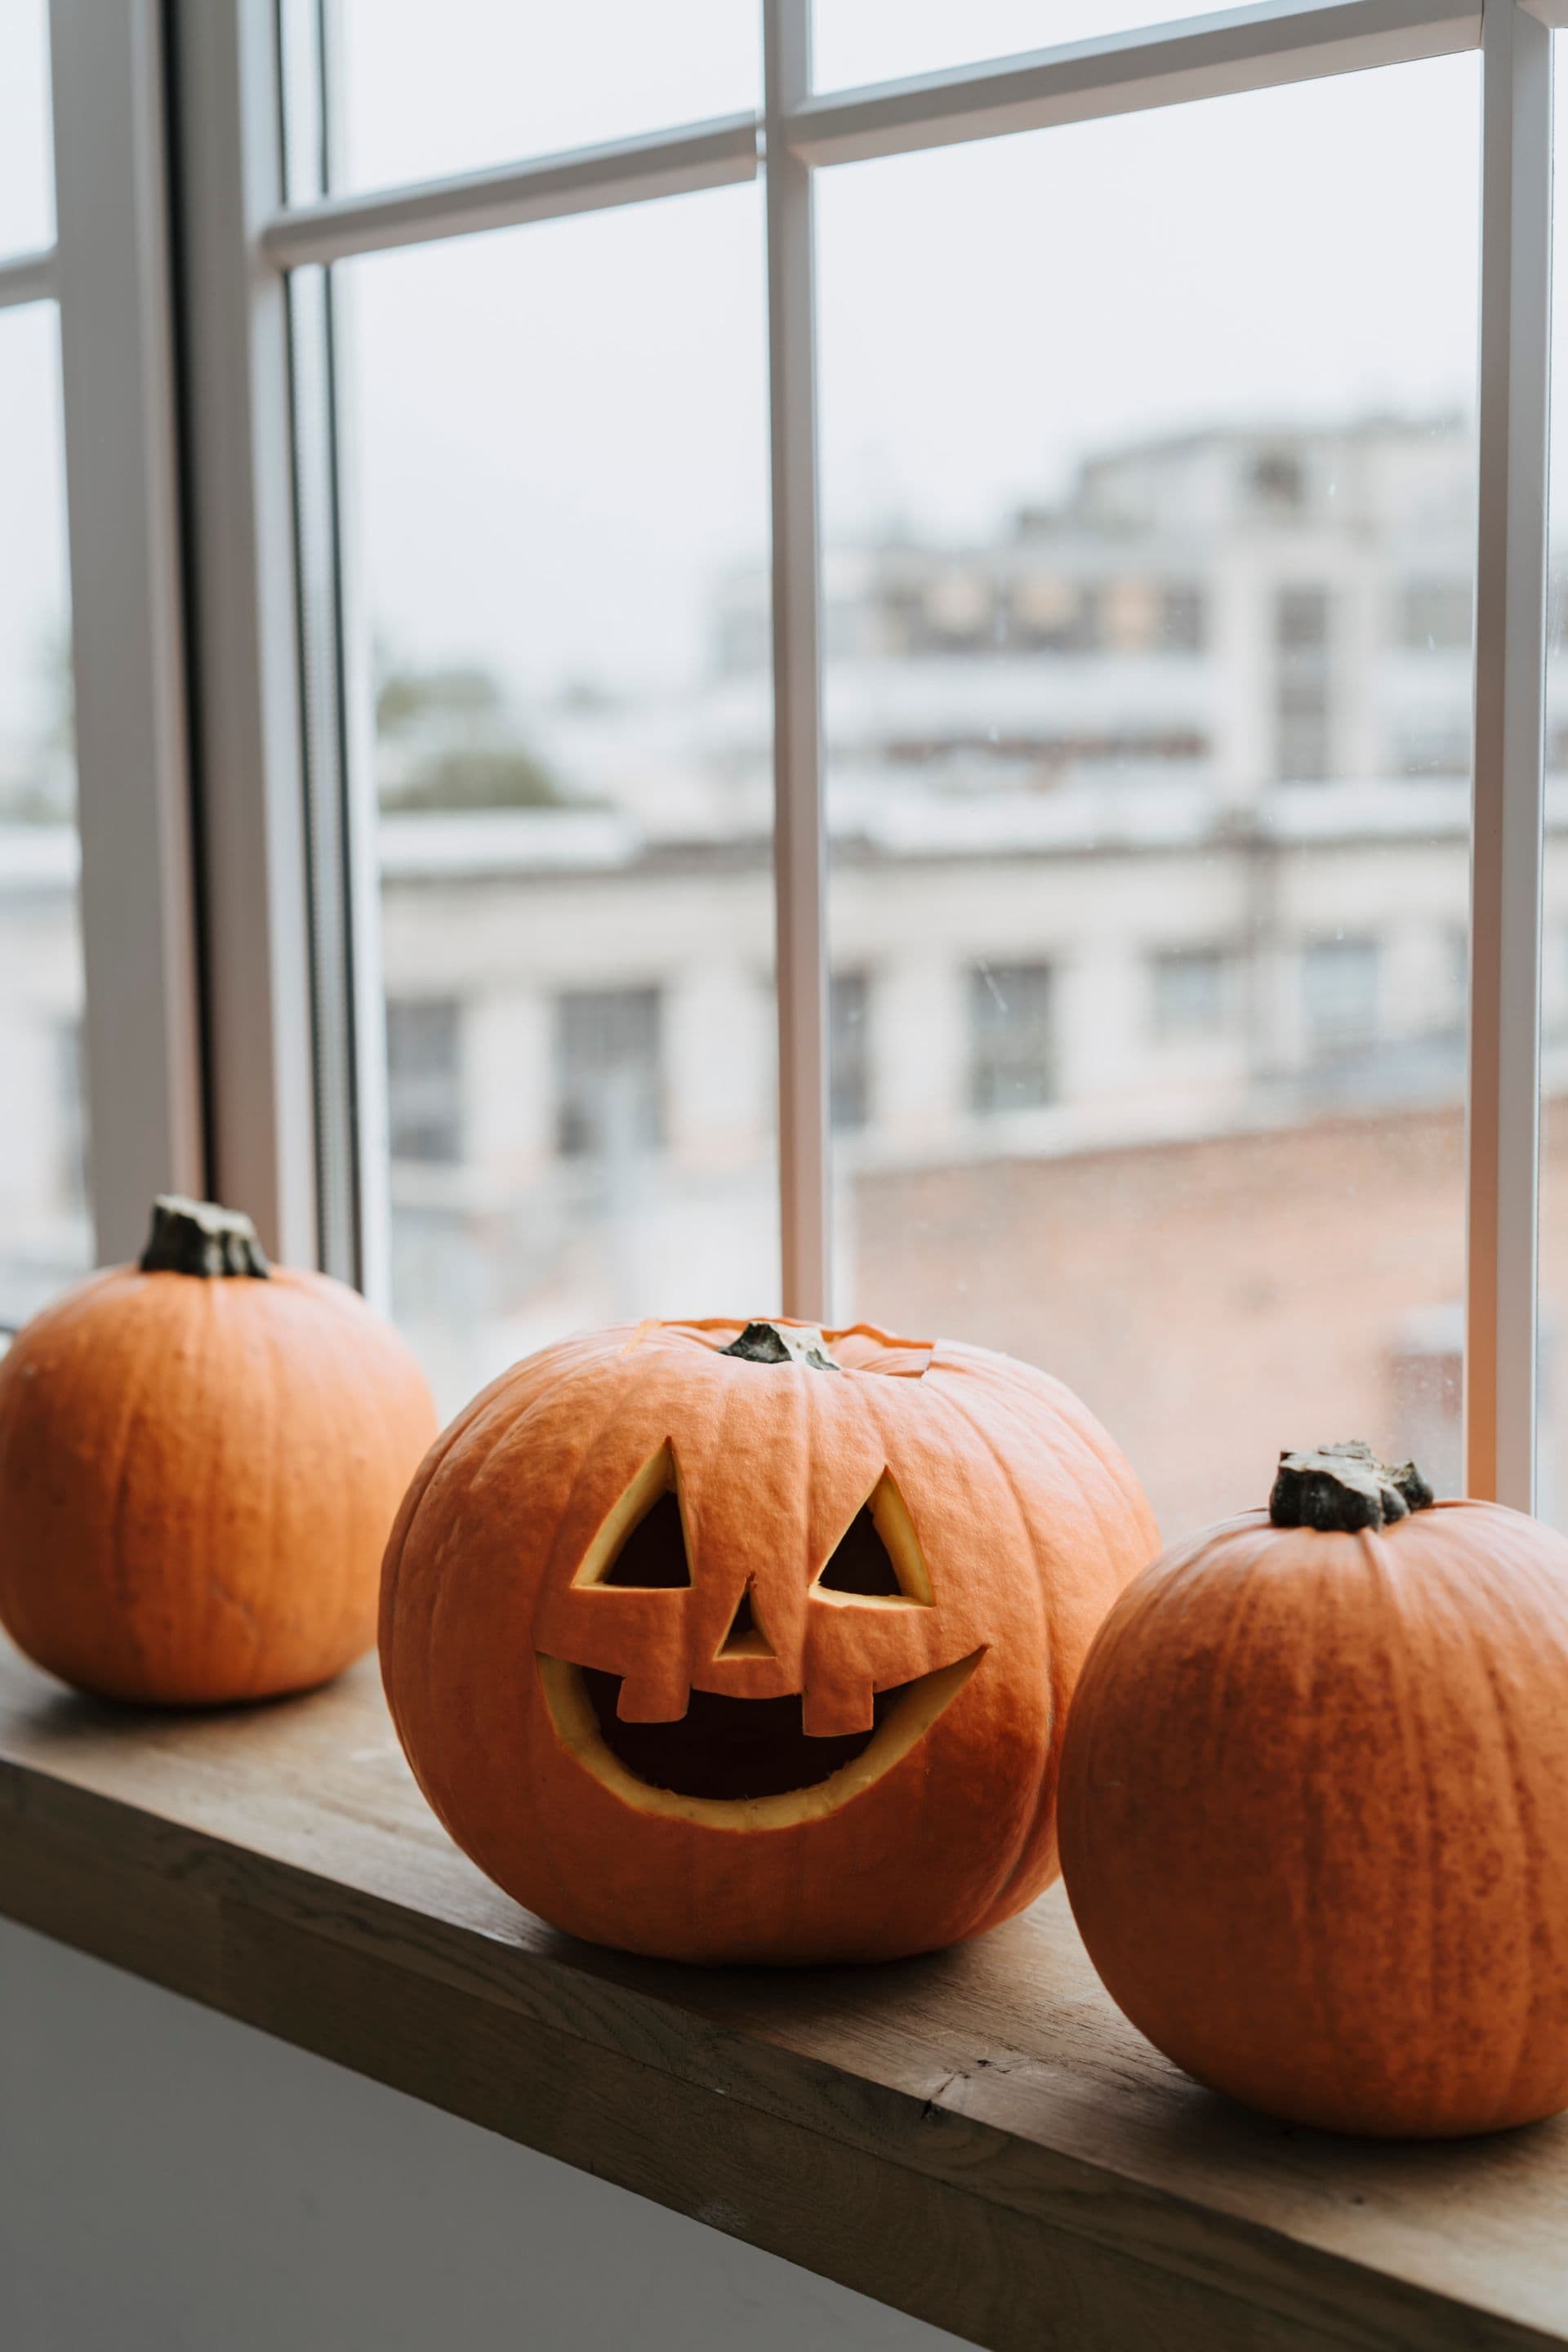
A gap-toothed smiler holding court between two uncarved neighbors on the windowsill, city rooftops behind.
No ratings yet · Sign in to rate
A gap-toothed smiler holding court between two uncarved neighbors on the windowsill, city rooftops behind.
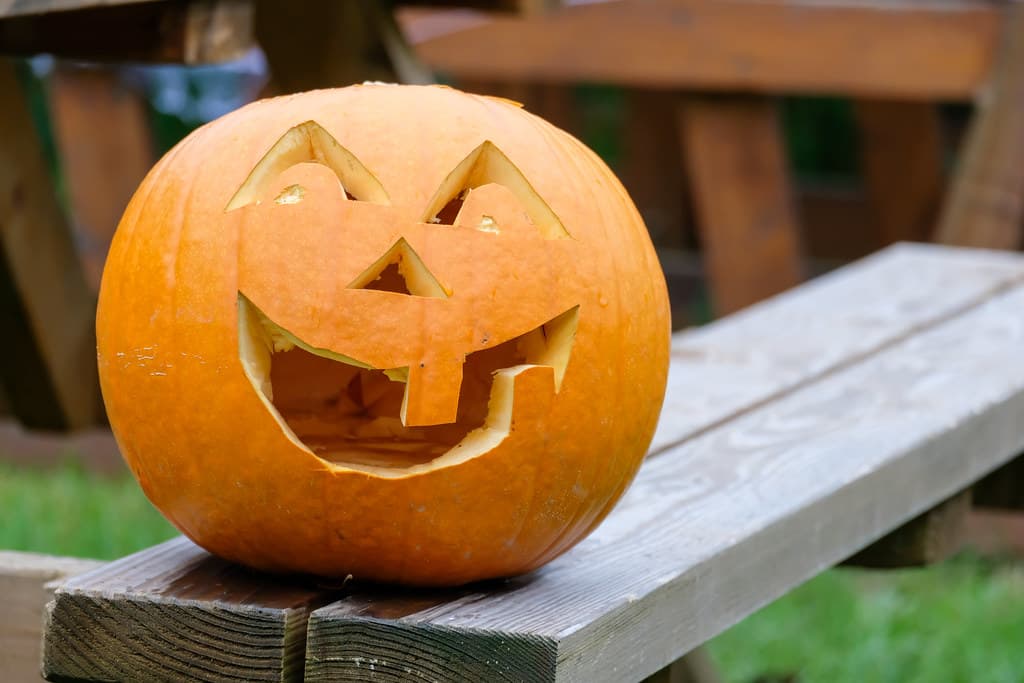
The whole charm of this design is the classic jack-o-lantern smile with a couple of teeth left standing in the mouth opening. You keep it simple with straight-sided triangle eyes, a small triangle nose, and one wide grin where a few uncut bridges become the teeth. Everything is a full cutout, so the trick is planning the mouth so the teeth stay strong.
Written by PumpkinCarvingIdeas.com, inspired by @gourdon_ramsay's photo above. These are our suggestions, not instructions from the uploader, and this approach hasn't been tested on their exact carve.
Choose a pumpkin with a fairly flat front face like the one shown. Have an adult cut a lid around the stem at an angle so it rests back in place without falling in. Scoop out the seeds and pulp with a sturdy spoon. Thin the front wall to about one inch so your blade moves easily.
Draw two triangle eyes tilted inward at the top, a small triangle nose below and between them, and a wide curved mouth. Keep the eyes and nose the same style so the face reads as friendly. Sketch two tooth gaps into the top edge of the mouth before you cut anything. A washable marker or a poked dot outline both work well.
Start with the smallest shapes while the pumpkin is still strong. Use a small serrated saw and gentle back and forth strokes, letting the tool do the work. Push each cut piece out from the inside with your finger. Cutting these before the big mouth keeps the front wall stable.
Outline the full grin, then carve out the mouth in sections so the two teeth stay attached at top and bottom. Those teeth are bridges of skin, so keep them at least a half inch wide so they do not snap. Round the corners of the smile slightly for that cute look. Cut the large opening last, once everything else is done.
Trim any ragged inside edges so the light passes through cleanly. If you want a brighter glow, gently scrape the inside wall behind the mouth a little thinner. Drop in a battery LED tea light or a small puck light, never a candle. Set the lid back on.
Place the finished smiler on a windowsill like the photo, flanked by a couple of plain pumpkins for contrast. Shoot in low evening light so the face glows against the darker window. Wipe the front clean and pat cut edges dry to slow browning. A dab of petroleum jelly on the cut edges helps it last a few extra days.
Check things off as you get ready.
Work on a stable surface, keep your free hand out of the cutting path, and have an adult handle sharp tools.
The whole orange face and body stay untouched and dark.
The two standing teeth can be lightly scraped from behind for a soft glow.
The triangle eyes, nose, and wide grinning mouth are full cutouts and the brightest parts.
Leave each tooth at least a half inch wide and keep it attached at both the top and bottom of the mouth. Carve the mouth in small sections around the teeth rather than one big cut. Work slowly with a small saw so you do not put sideways pressure on them.
Always cut the smallest shapes first, so start with the eyes and nose. The large mouth opening weakens the front wall, so saving it for last keeps the pumpkin firm while you work. This order also gives the teeth their best chance of staying intact.
The uncarved neighbors are part of the look, giving the glowing face something simple to play off. You do not need to carve all three, which keeps the project quick and easy. Pick two pumpkins with nice stems and set them close for a tidy windowsill row.
Changed a detail? Made it simpler? Share a photo of your version and tell the community what worked.
The best new carvings, ideas worth stealing, and how-tos for carving season. Short, seasonal, and gone by November.



Comments (0)