Halloween Pumpkin Carving Contest · Starts October 1st · $500 in prizes
← Back to ideas
@ai_concepts
Jul 21, 2026
Terrifying Evil Clown Pumpkin Carving MasterpieceAI
0

Terrifying Evil Clown Pumpkin Carving Masterpiece

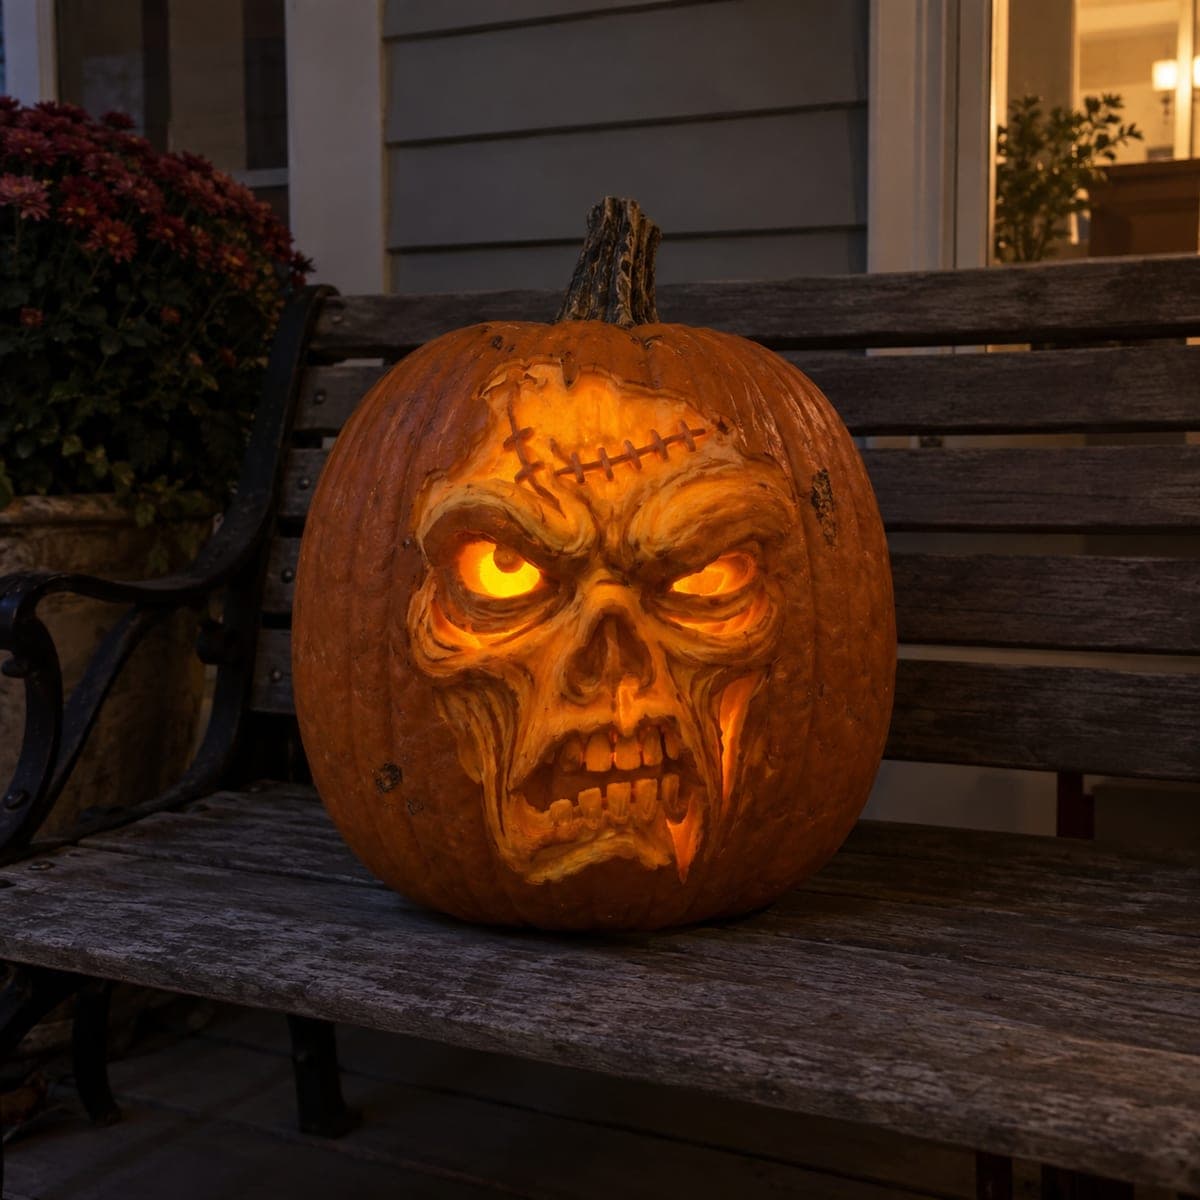
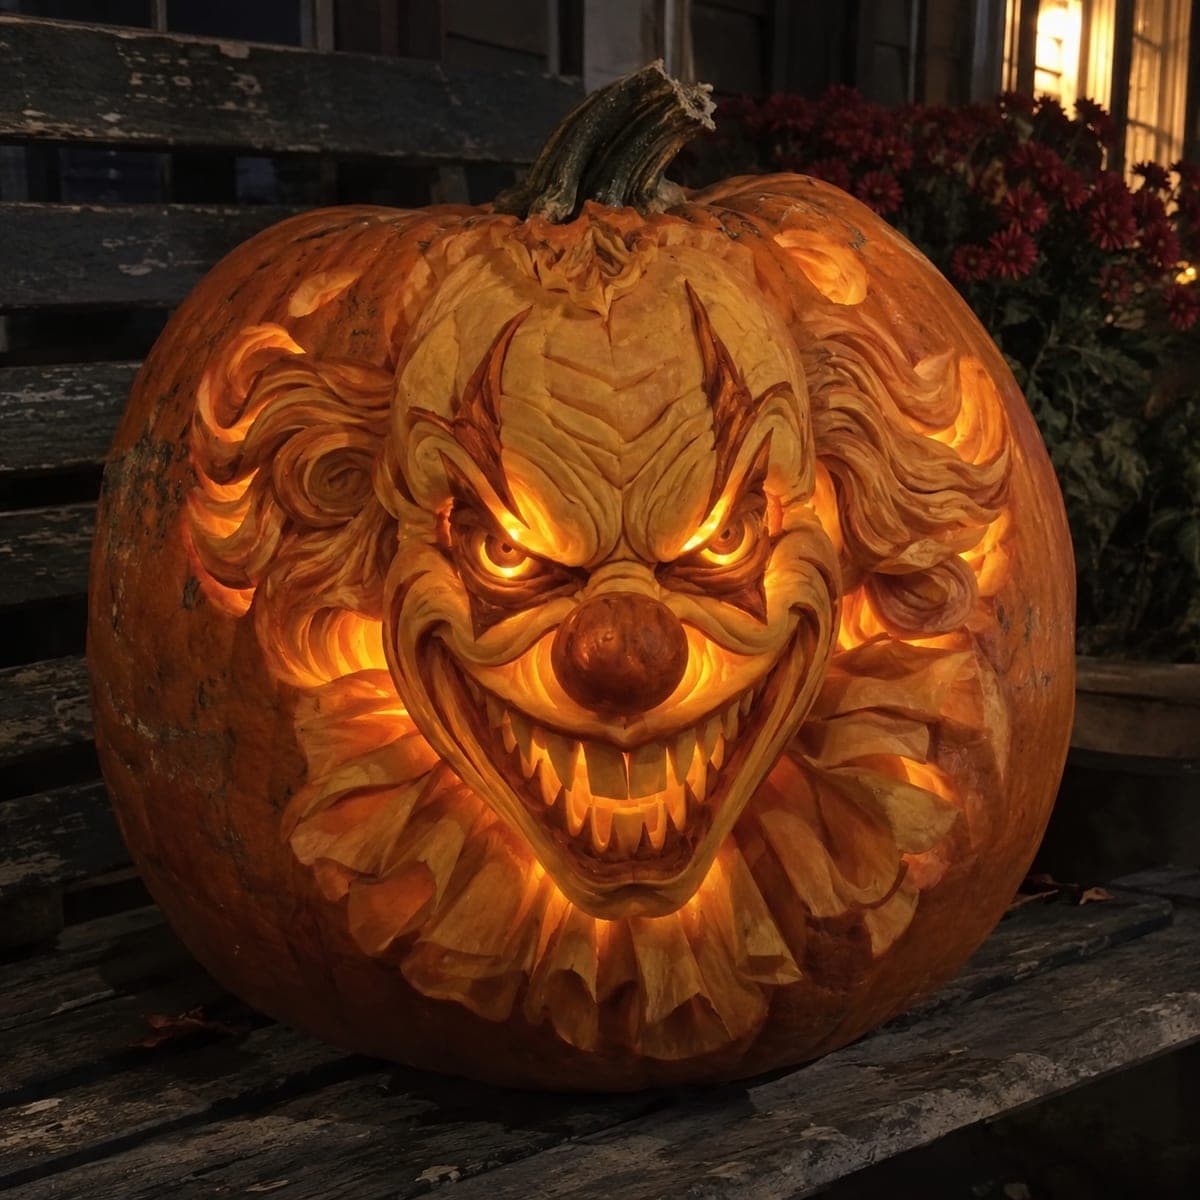
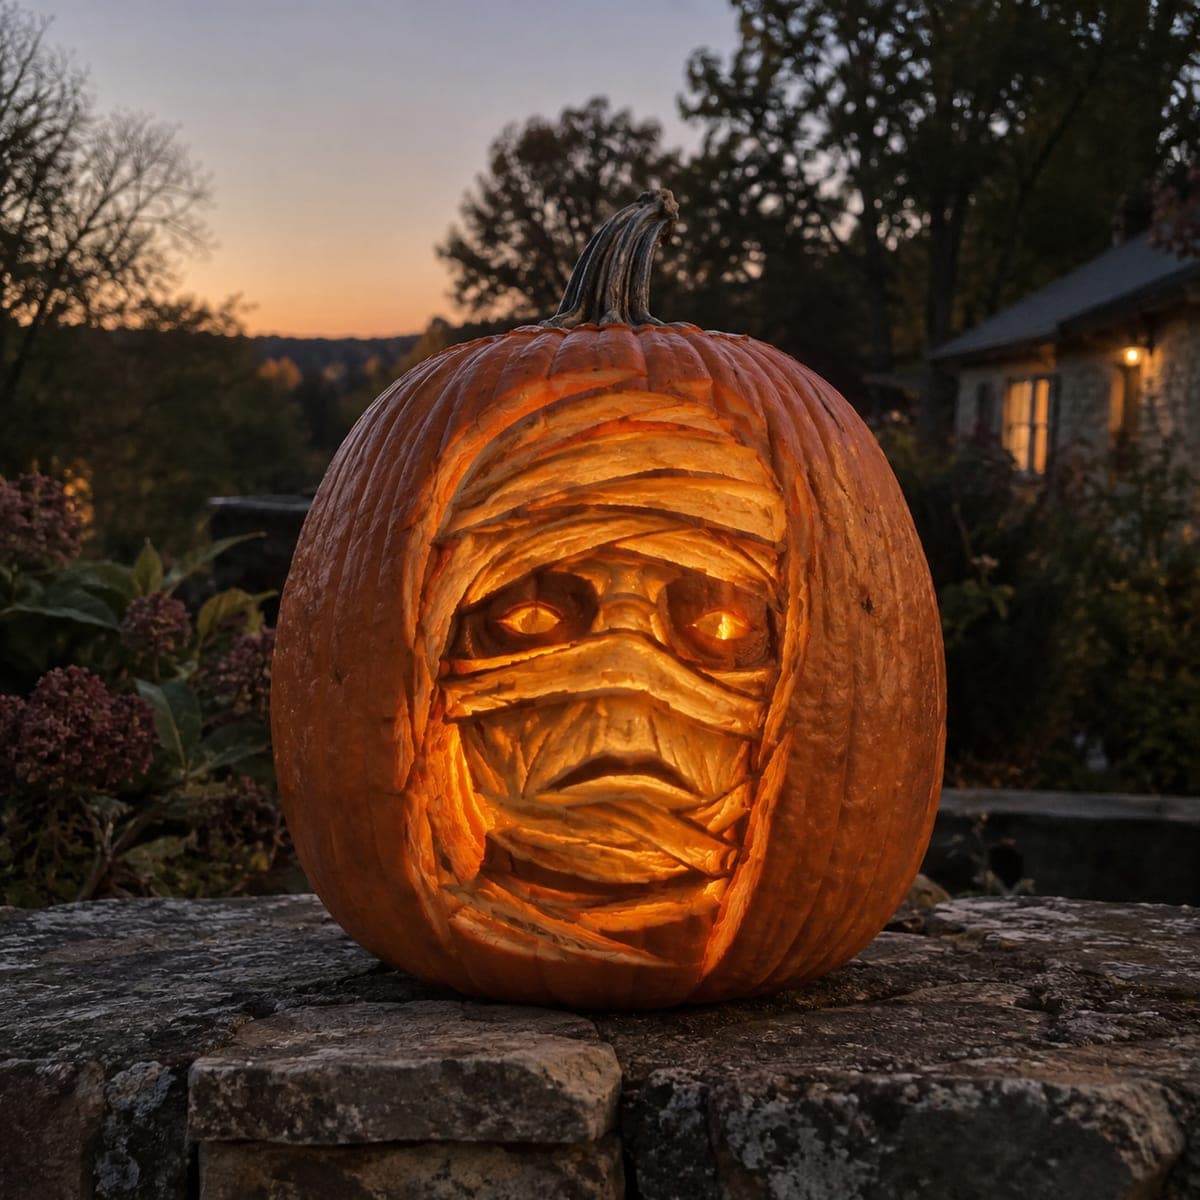
Glowing eyes, a fanged grin, and a carved ruffle collar make this evil clown one seriously scary pumpkin for a haunted porch display. The entire face is sculpted in layered relief, with the deepest cuts behind the teeth and eyes so interior light burns through exactly where you want menace. Plan on several hours with loop tools and a detail knife, and photograph it the same night, since deep relief carvings soften within a day or two.

This is an AI-generated concept image: a realistic, carvable design idea rather than a photo of a finished carve. AI concepts are always labeled and sit out the leaderboard and the contest.

No ratings yet · Sign in to rate
Comments (0)

  • No comments yet — be the first.

Save without an account. Sign in to like or comment.

Our tips for carving a similar design

The core trick here is relief carving, where you shave the skin to different depths so the light glows brightest through the eyes and mouth while the wavy hair and ruffle collar stay dim and textured. Since this is an AI concept and no real pumpkin exists, treat it as a plan you could follow on a large, thick-walled pumpkin. Map the whole clown face first, then work from shallow shading down to the deepest cutouts so the fragile teeth and details stay supported until the very end.

Written by PumpkinCarvingIdeas.com, inspired by the image above. These are our suggestions, not instructions from the uploader. This approach to the AI concept has not been tested on a real pumpkin.

From pumpkin to porch

  1. Pick a big pumpkin and open the back

    Choose a tall, wide pumpkin with a thick, smooth wall so you have room to carve relief without punching through. Cut a round access hole in the back rather than the top, which keeps the front face uninterrupted for the full portrait. Scoop the inside clean and thin the front wall to about one inch with a loop tool. A consistent wall thickness is what lets light glow evenly through the shaded areas later.

  2. Transfer the clown layout

    Tape your printed stencil over the front and poke through the main outlines with a pin or dotting tool, marking the eyes, nose, grin, hair swirls, and collar. Connect the dots lightly with a washable marker so you can see the full face before any cutting. Double check that the eyes and teeth sit near the center where the wall is flat and even. Take your time here, since a clean map makes the relief work far easier.

  3. Shade the hair, brow, and collar

    Using a fine loop tool, peel just the outer skin off the wavy hair, the furrowed brow, and the ruffled collar to create a dim orange glow and lots of texture. Vary your depth slightly to suggest strands and folds, going a little deeper in the shadows between locks. Keep these areas as skin peels only, never cutting through, so they read as soft background menace. Work slowly and brush away shavings often to judge your depth.

  4. Sculpt the face in relief

    Deepen the cheeks, the bridge of the nose, and the areas around the eyes so the face pushes forward in layers. Leave the round nose and the raised muscle ridges thicker so they stay darker and dimensional. Carve progressively thinner as you approach the eyes and mouth, feathering the depth so light builds gradually. This layered relief is what gives the clown its sculpted, three dimensional snarl.

  5. Cut the eyes and grin last

    Save the full cutouts for the end, when the surrounding pumpkin is still strong. Cut all the way through the pupils and the open mouth so they blaze with light, and leave narrow bridges of uncut skin between each fang so the teeth stay attached and structurally sound. Keep the fang tips slightly blunt rather than needle thin so they do not snap. Have an adult handle the detail knife for these delicate through cuts.

  6. Light it and photograph the same night

    Set a bright LED puck or string inside, never a candle, and aim the light so it burns strongest through the eyes and mouth. Nudge the light around until the glow balances between the bright cutouts and the dim shaded hair. Because deep relief dries and softens within a day or two, shoot your photos the same evening you finish. Mist the cut surfaces or bag it in the fridge overnight if you need it to last a little longer.

Gather your supplies

Check things off as you get ready.

Work on a stable surface, keep your free hand out of the cutting path, and have an adult handle sharp tools.

Three levels of light

  • Leave intact

    The round nose, raised brow ridges, and thickest cheek areas stay as untouched skin for dark, solid form.

  • Peel & shade

    The wavy hair, furrowed forehead, and ruffled collar get skin-peeled for a dim orange, textured glow.

  • Cut through

    The pupils and the open fanged mouth are cut fully through for the brightest, most menacing light.

Learn the carving basics

Before you start cutting

How do I keep the fangs from breaking off?

Leave short bridges of uncut skin between the teeth instead of cutting each one free, and keep the tips slightly blunt rather than razor thin. This anchors the fragile points to the surrounding wall so they hold their shape. Cut the mouth opening last, after all the shading is done, so the area stays strong while you work.

What makes the eyes glow so intensely?

The glow comes from carving thin around the eyes and then cutting the pupils all the way through. The peeled, thinned skin lets a soft light bleed out while the open cutouts blaze bright. Aim your LED so it sits behind and slightly below the eyes to push light straight through them.

Do I really need to carve the back open?

Opening the back instead of the top keeps the front face uninterrupted for the full portrait and gives you clean access to thin the wall. It also hides the light cord out of the camera view. Just make the hole large enough to reach in with a loop tool and swap the LED.

Your take belongs here, too.

Changed a detail? Made it simpler? Share a photo of your version and tell the community what worked.

Share your pumpkin

More pumpkins like this

You've reached the end · 8 pumpkins
The Patch Report

Fresh pumpkins, in your inbox.

The best new carvings, ideas worth stealing, and how-tos for carving season. Short, seasonal, and gone by November.

A short email during carving season. Unsubscribe anytime. See our privacy policy.