Halloween Pumpkin Carving Contest Β· Starts October 1st Β· $500 in prizes
← Back to ideas
@ai_concepts
Sep 25, 2026
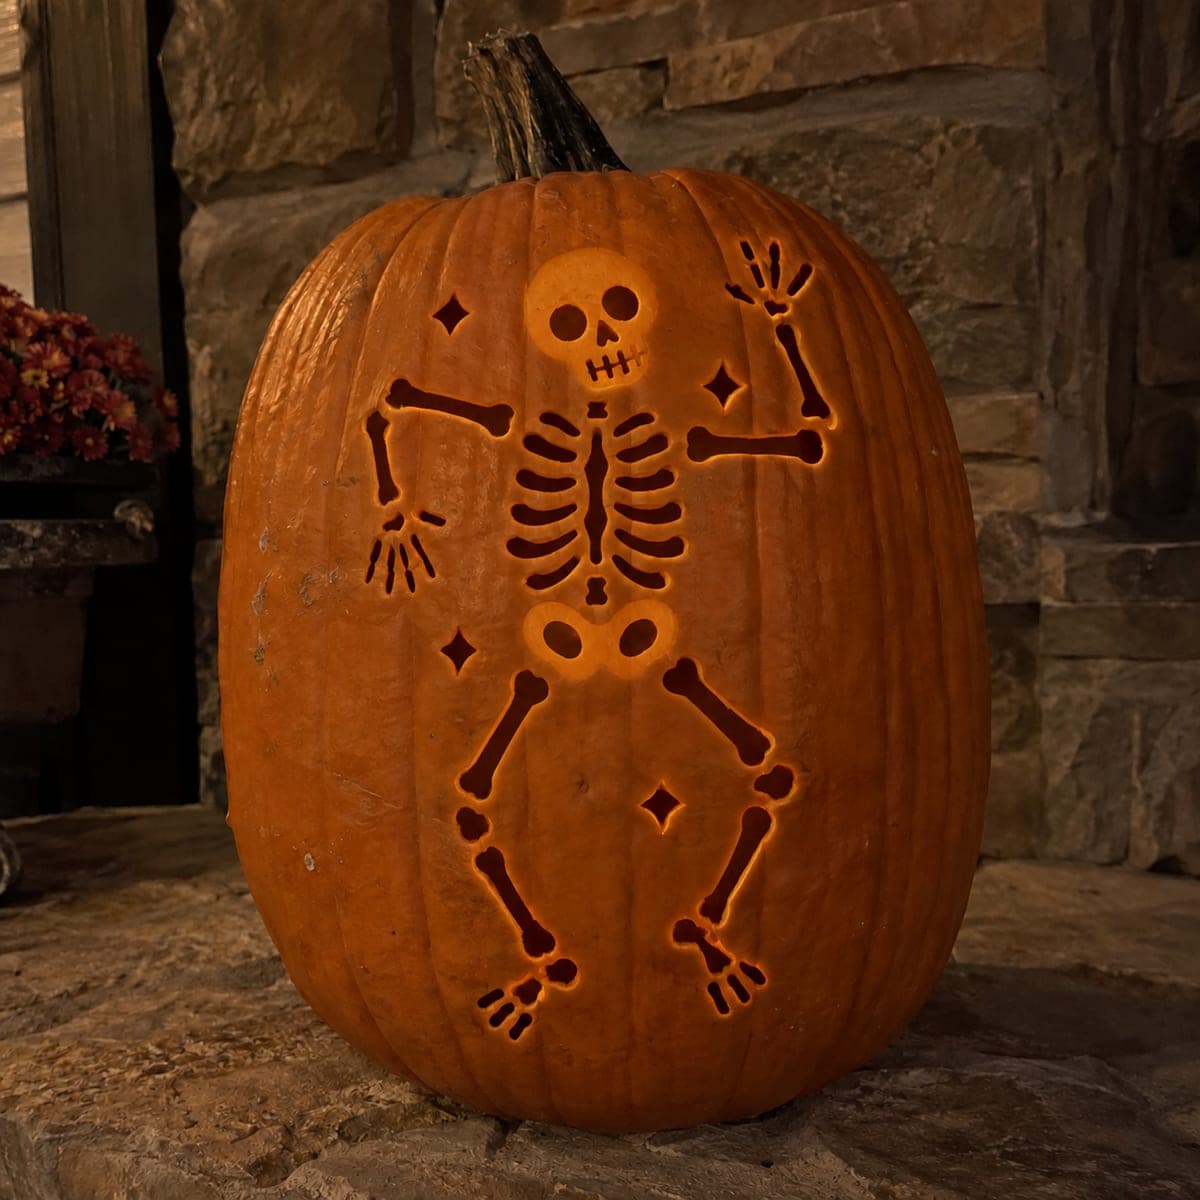
Dancing Skeleton Pumpkin with Finger and Toe OpeningsAI
0

Report this carving

Tell us what is wrong. Reports are private.

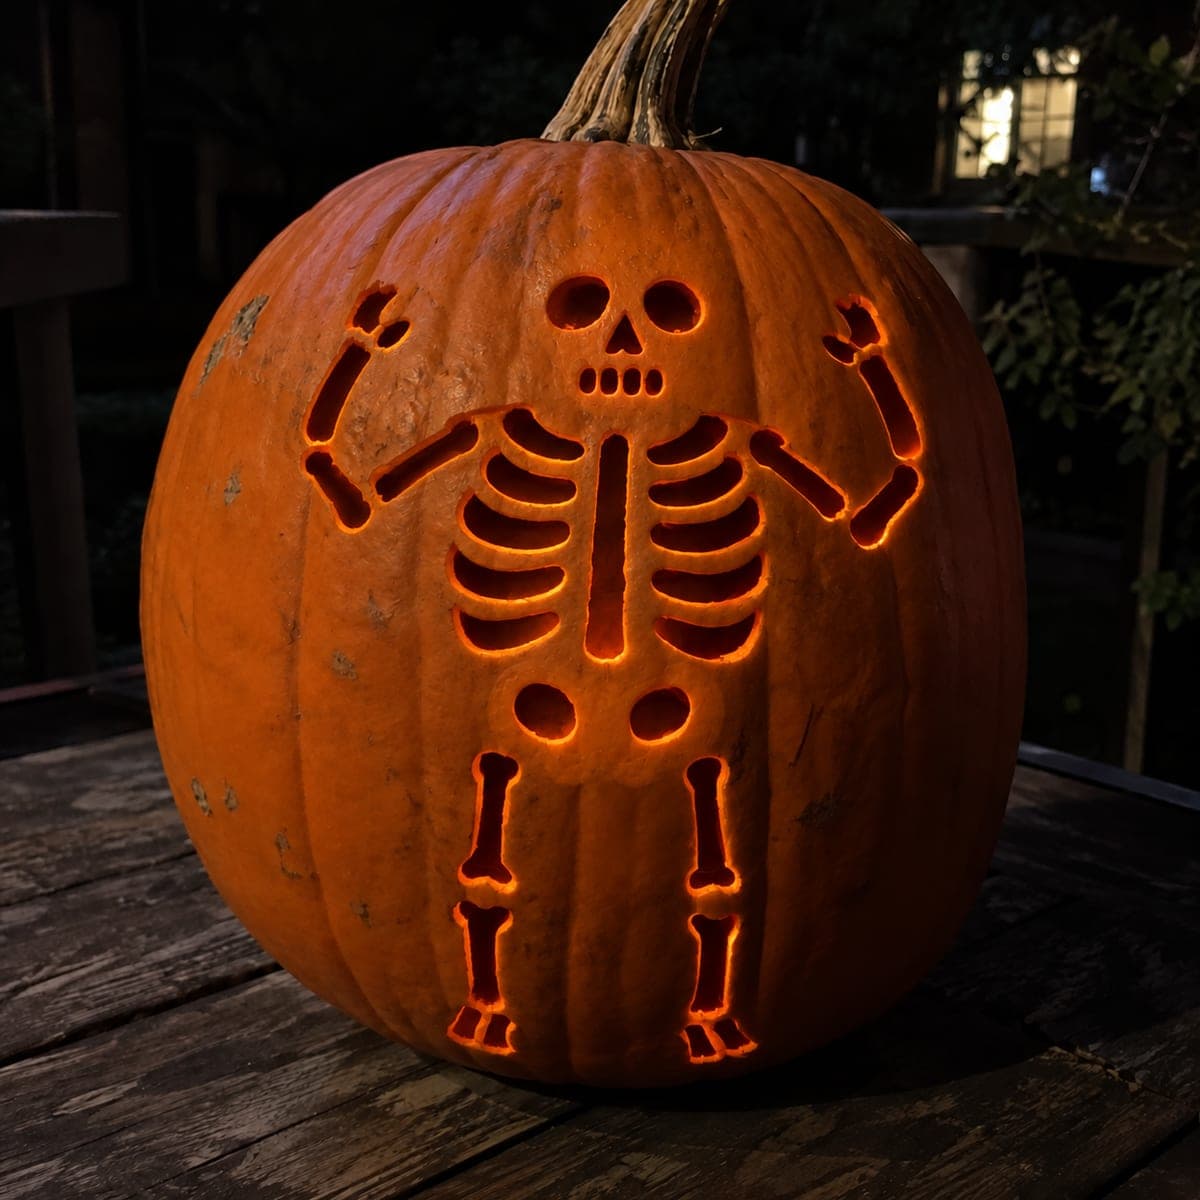
Dancing Skeleton Pumpkin with Finger and Toe Openings

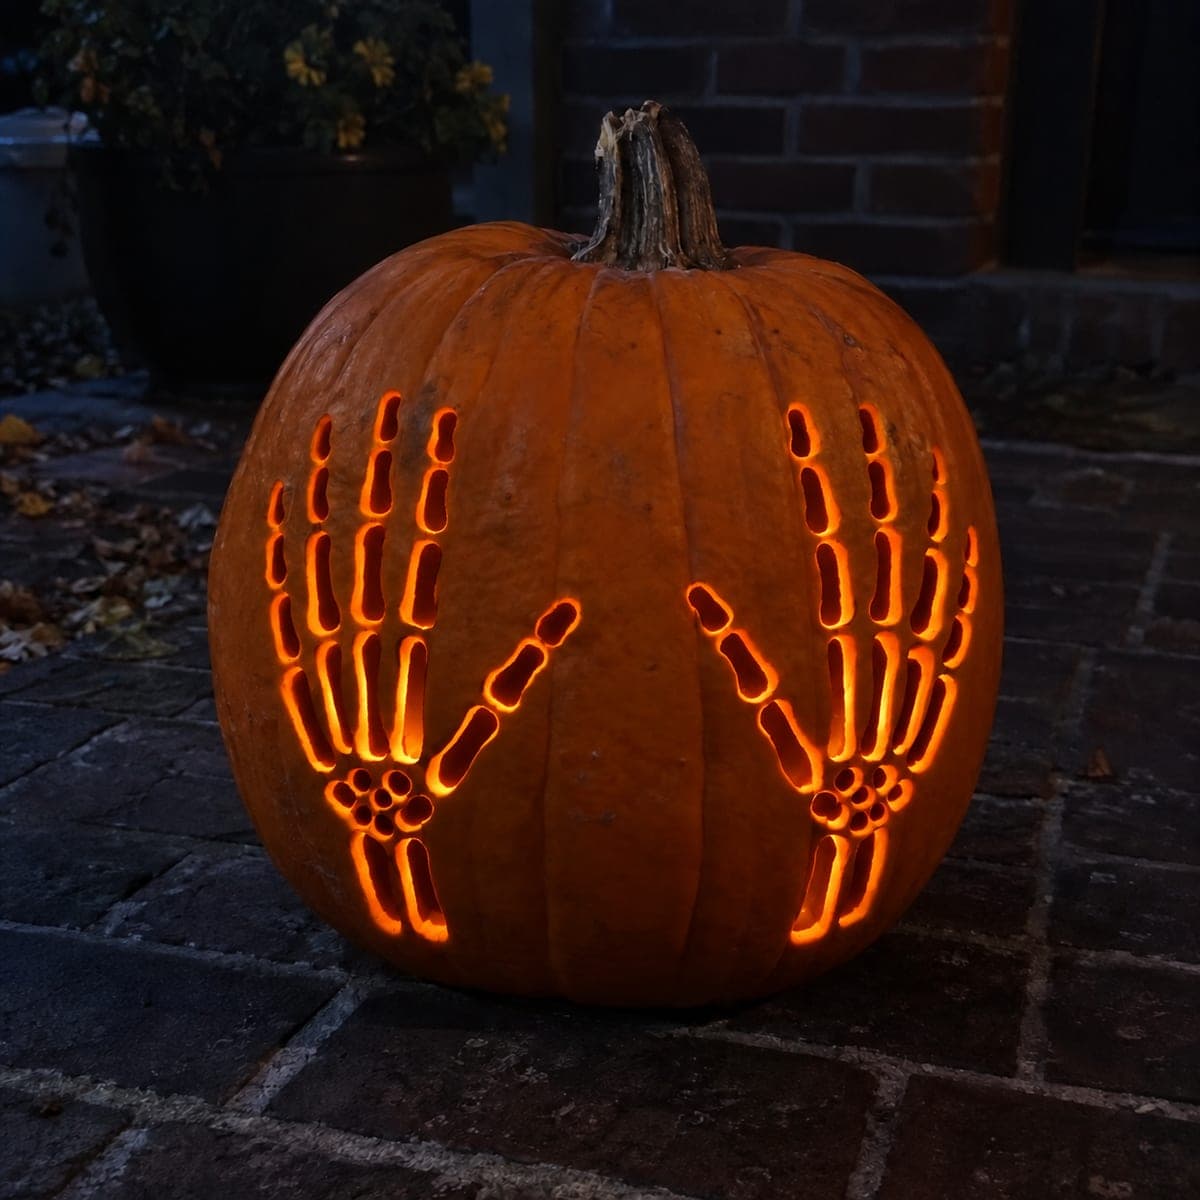
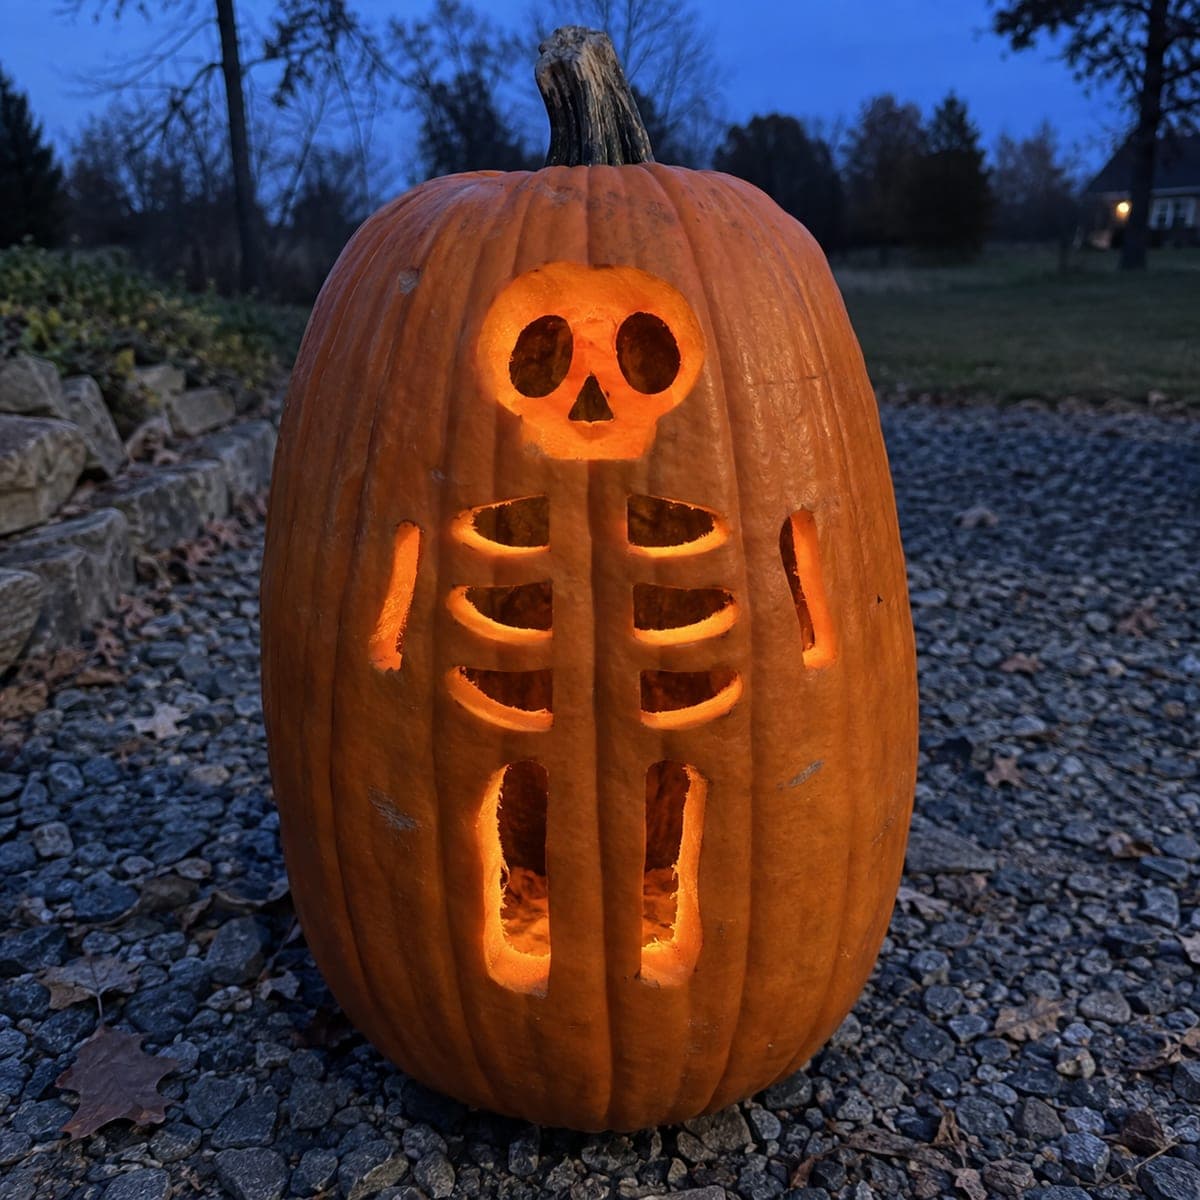
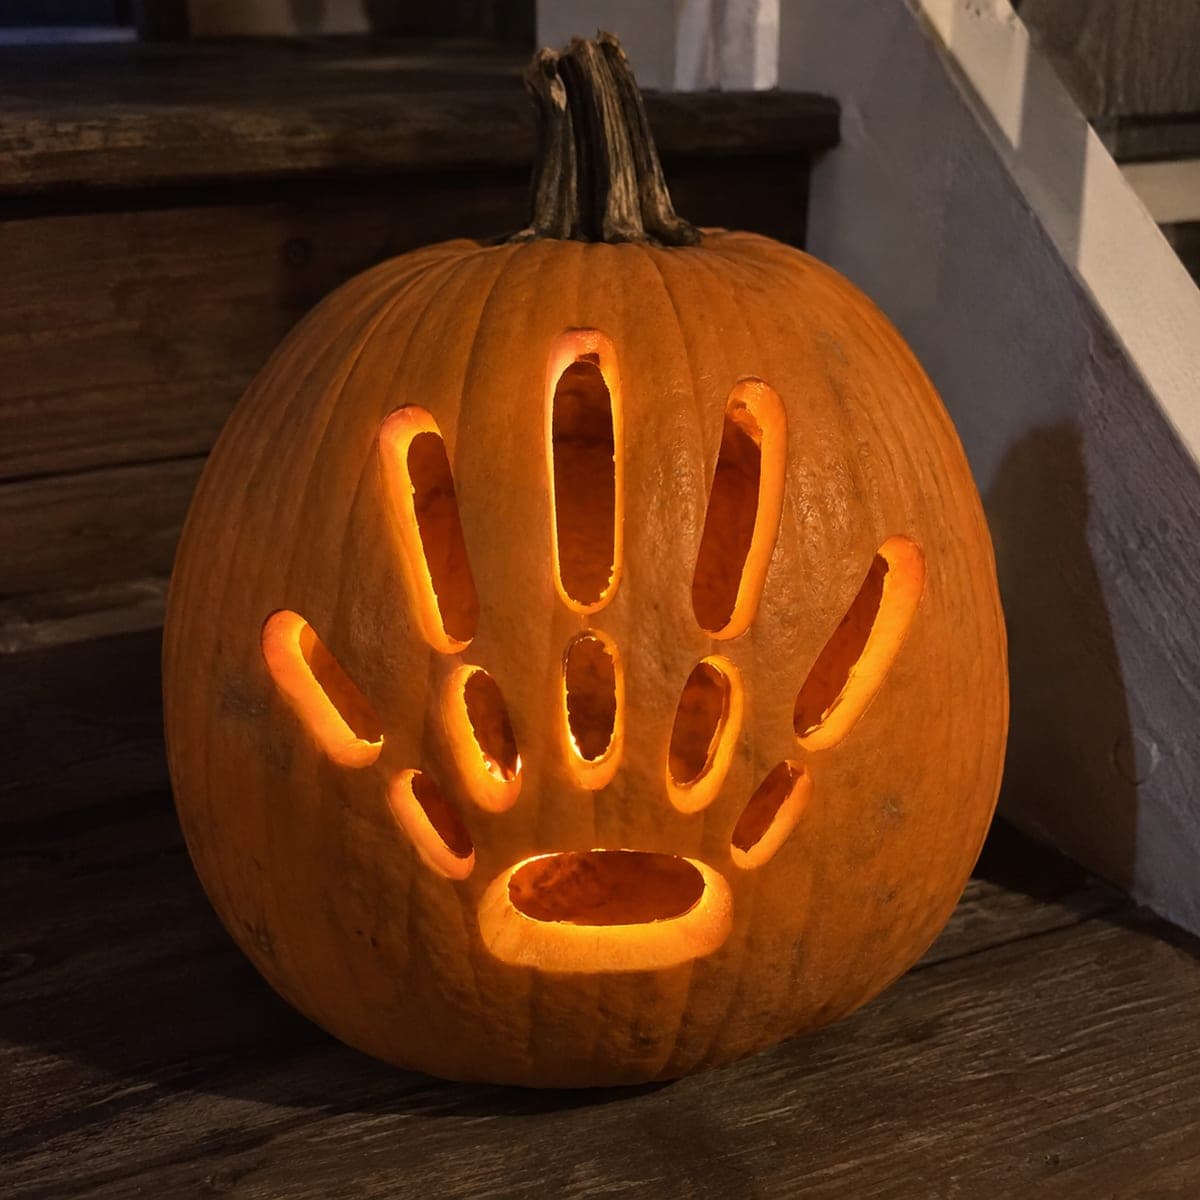
This expert skeleton pumpkin carving captures a full dancing figure with individual finger and toe bone apertures, a shallow-backed skull, and an independent pelvis section, all joined by a network of solid rind. Sketch the full figure on the pumpkin with a wax pencil before making any cuts, paying close attention to where each small finger opening sits relative to its neighbors. Use a precision detailing blade for the tiny finger slots and save them for last. Displayed on a hearth, the warm back-glow traces every bone segment beautifully.

No ratings yet Β· Sign in to rate

Comments (0)

  • No comments yet β€” be the first.

Save without an account. Sign in to like or comment.

Our tips for carving a similar design

Every limb segment in this design is a standalone through-hole, and the full figure is held together entirely by rind bridges at joints and along the spine. A wax-pencil sketch of the complete figure before any cutting is made is the most important step, because once cuts begin, mistakes in spacing are nearly impossible to correct. Tiny finger and toe slots are saved for last when the main figure is stable and the carver has warmed up to the scale of the detail work.

From pumpkin to porch

  1. Sketch the full figure before any cutting

    Use a wax pencil to draw every bone segment, joint bridge, and finger and toe opening on the pumpkin surface. Step back and review the sketch from a few feet away to confirm the dancing pose reads clearly. Make adjustments now while nothing is yet committed.

  2. Gut and check wall thickness throughout

    Cut a base lid and scrape the interior to a consistent half-inch. Use a skewer to probe the wall thickness at every planned finger and toe slot location, since these tiny cuts require a uniform thin wall to go through cleanly. If any spot is thicker than three-quarters of an inch, scrape more carefully.

  3. Carve the skull and pelvis anchor zones

    Cut the shallow-backed skull surface eye and nose holes and the independent pelvis hole first. These two zones serve as structural anchors for everything else. Keep the surrounding rind areas large and uncut until the full limb structure is in place.

  4. Cut main limb bone apertures

    Work outward from the spine, cutting upper arm, upper leg, lower arm, and lower leg segments as individual ovals. Joint bridges between segments should be at least half an inch. Confirm each segment is secure before cutting the adjacent one.

  5. Add finger and toe slots last

    Switch to a precision detailing blade for the small finger and toe openings. Mark the center of each tiny slot with a pin or wax dot before cutting. Cut each slot with two diagonal passes meeting at the center rather than one continuous loop, which reduces the risk of blade wander.

  6. Light on a hearth and photograph

    Set the pumpkin on a hearth and place a warm LED candle inside. The back-glow traces every bone segment beautifully, including the finger and toe slots which glow like tiny embers. Photograph straight on with all room lights off for the cleanest result.

Written with AI to match this design

Gather your supplies

Check things off as you get ready.

Work on a stable surface, keep your free hand out of the cutting path, and have an adult handle sharp tools.

Three levels of light

  • Leave intact

    Shallow-backed skull and pelvis surfaces, plus all joint bridge rind, stay as structural dark zones.

  • Peel & shade

    Skull and pelvis surfaces can be shaved to half thickness for a softer secondary glow in those zones.

  • Cut through

    All individual bone apertures including finger and toe slots are cut fully through for bright glow.

Learn the carving basics

Before you start cutting

How small is too small for a finger or toe slot to survive the carving process?

Slots narrower than a quarter-inch tend to crumble as the knife passes through, especially if the rind has any fiber running across the slot. Keep the minimum slot width at three-eighths of an inch and work with a razor-sharp blade. Replace the blade if it drags rather than slices.

What if a joint bridge breaks while I am still carving?

Apply a small drop of clear-drying craft glue to the break and press the pieces together for a minute. Then stop cutting in that zone and let the repair cure for an hour before resuming. A repaired bridge is weaker than an intact one, so handle the pumpkin gently for the rest of the session.

Is there a way to confirm the dancing pose reads correctly before I finalize the sketch?

Take a photo of the sketch on the pumpkin and convert it to black-and-white on your phone. The high contrast preview shows how the lit design will actually read, making it easy to spot any bone segment that blends into adjacent rind at display distance.

Your take belongs here, too.

Changed a detail? Made it simpler? Share a photo of your version and tell the community what worked.

Share your pumpkin

More pumpkins like this

You've reached the end Β· 8 pumpkins
The Patch Report

Fresh pumpkins, in your inbox.

The best new carvings, ideas worth stealing, and how-tos for carving season. Short, seasonal, and gone by November.

A short email during carving season. Unsubscribe anytime. See our privacy policy.