Halloween Pumpkin Carving Contest · Starts October 1st · $500 in prizes
← Back to ideas
@ai_concepts
Aug 2, 2026
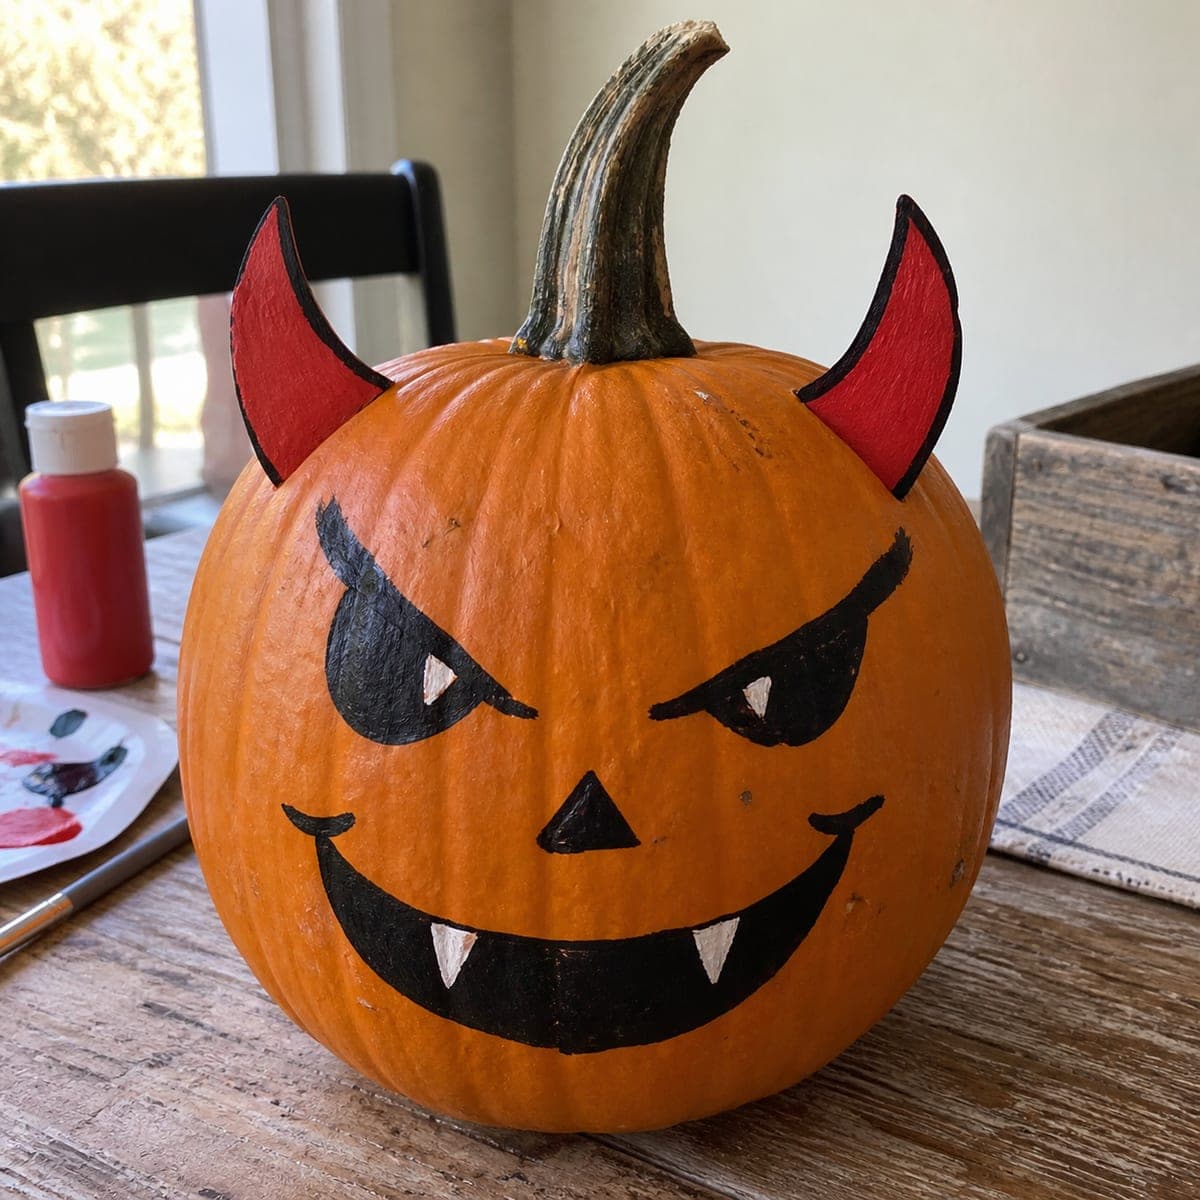
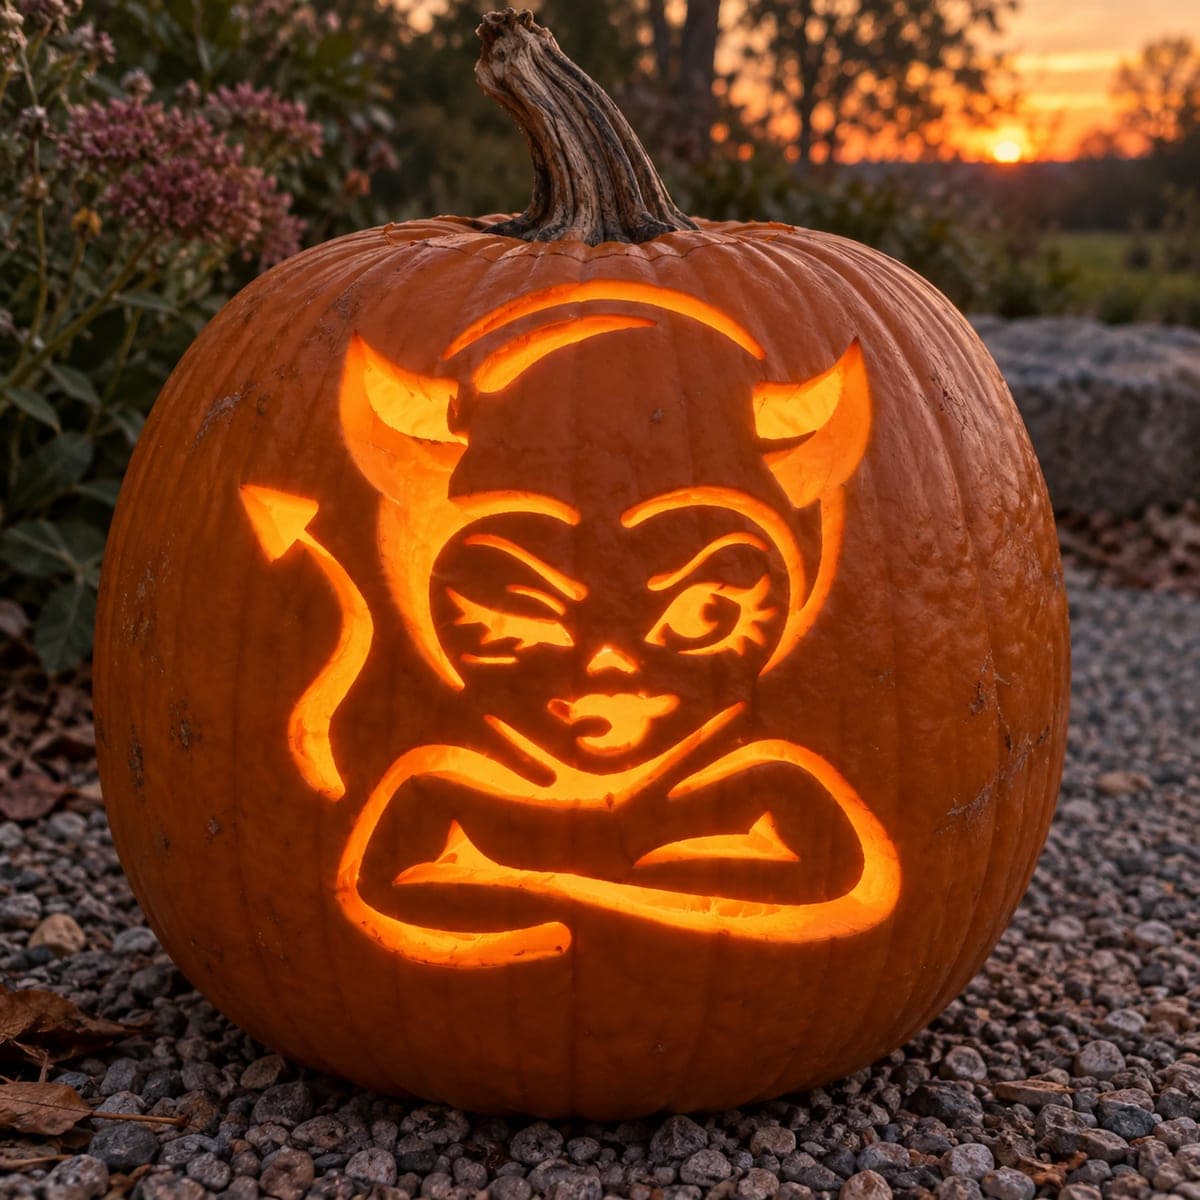
Devil Face Painted Pumpkin With Red HornsAI
0

Devil Face Painted Pumpkin With Red Horns

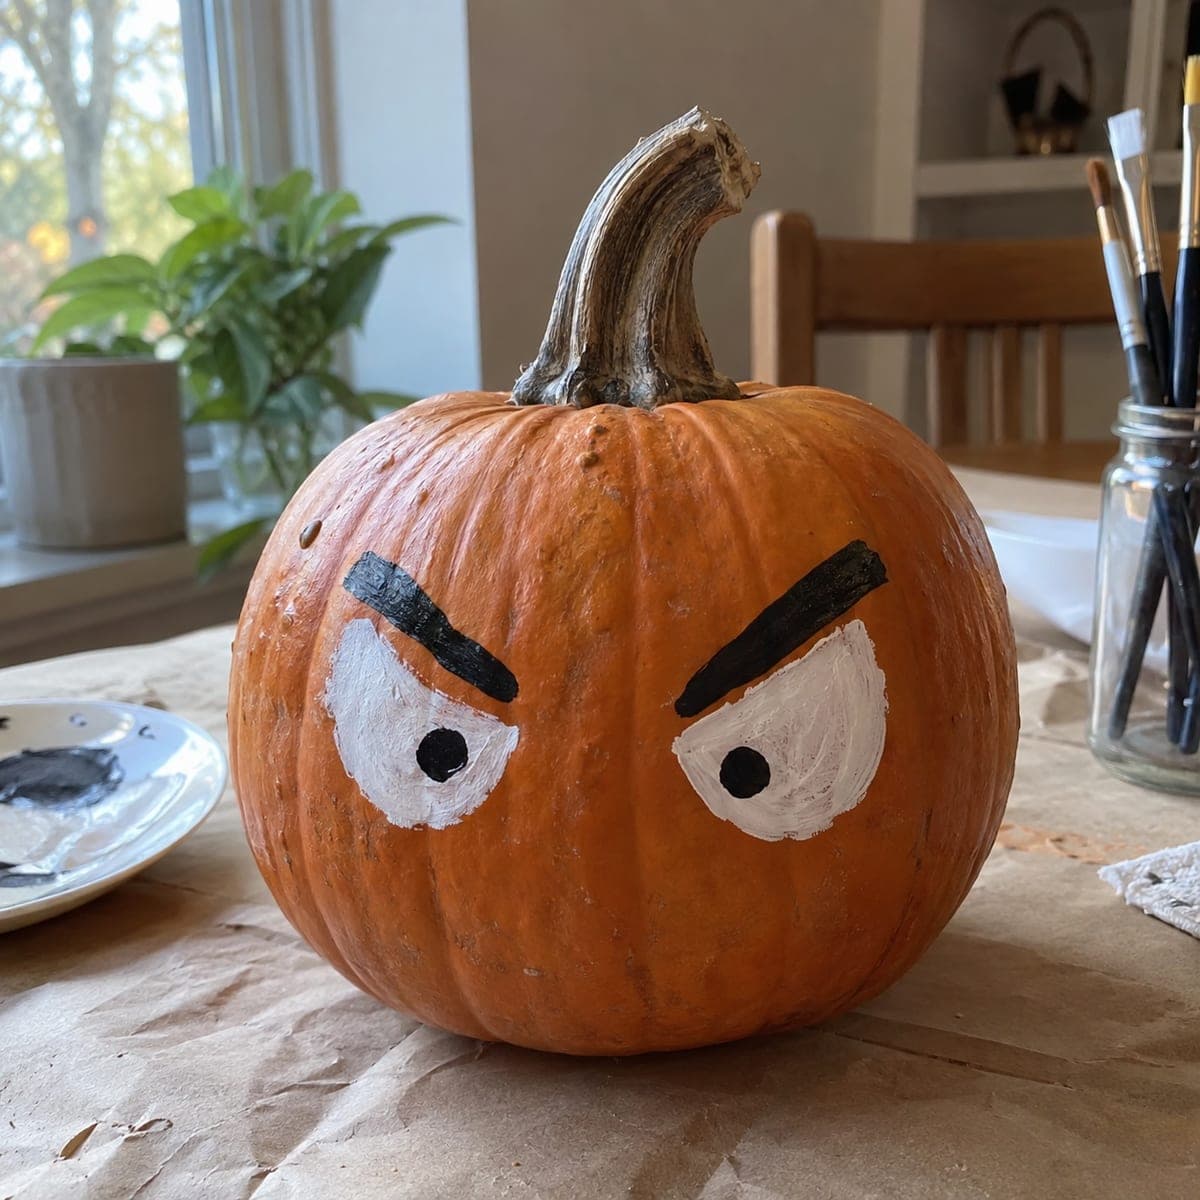
Sly slanted eyes, a toothy grin, and a pair of glued-on red horns turn this no-carve pumpkin into a mischievous little devil. The face is simple black and white acrylic, while the horns are cut from painted cardboard or craft foam and attached with toothpicks or hot glue. Sketch the grin in pencil first so the fangs land evenly. It is a fun, slightly wicked option for kids who have outgrown the smiley pumpkin stage.

This is an AI-generated concept image: a realistic, carvable design idea rather than a photo of a finished carve. AI concepts are always labeled and sit out the leaderboard and the contest.

No ratings yet · Sign in to rate
Comments (0)

  • No comments yet — be the first.

Save without an account. Sign in to like or comment.

Our tips for carving a similar design

The core trick here is doing all the work on the surface with black and white acrylic, then adding dimension with a pair of red horns cut from painted cardboard or craft foam. Because nothing is hollowed out, the plan is simple: sketch the slanted eyes and toothy grin in pencil, paint them cleanly, and build the horns as a separate craft that gets attached last. Keep the fangs small and evenly spaced so the smile reads as playful rather than messy.

Written by PumpkinCarvingIdeas.com, inspired by the image above. These are our suggestions, not instructions from the uploader. This approach to the AI concept has not been tested on a real pumpkin.

From pumpkin to porch

  1. Prep and sketch

    Wipe the pumpkin with a dry cloth so paint sticks well, and pick the flattest, best-facing side for the face. With a pencil, lightly draw the two slanted almond eyes, the small triangle nose, and the wide curved grin. Add three little triangle fangs along the mouth line so they land evenly. Step back and check the pencil lines before you commit to paint.

  2. Paint the black shapes

    Using a medium round brush and black acrylic, fill in the eyes, nose, and the outline of the grin first. Work slowly along the pencil edges, then fill the centers so the black stays solid and even. Leave small gaps where the white fangs and eye glints will go rather than painting over them later. Let this coat dry fully, then add a second coat if the orange shows through.

  3. Add the white accents

    Switch to a small detail brush and clean white acrylic for the fang triangles and the tiny slit highlights in each eye. Keep the fangs crisp and pointed, and resist making them too large. These bright spots are what give the face its sly, mischievous life. Let everything dry before handling the pumpkin again.

  4. Make the horns

    Cut two curved horn shapes from stiff cardboard or craft foam, making them mirror images so they lean inward. Paint both sides red and outline the edges in black for a bold finish, then let them dry completely. An adult can push a toothpick partway into the base of each horn to act as an anchor. This step is done off the pumpkin so you are not fighting wet paint.

  5. Attach the horns

    Decide placement near the top of the pumpkin, roughly above the outer corners of the eyes, and mark lightly. Press the toothpick anchors into the pumpkin shoulders, and add a small dab of hot glue at the base for a firm hold if needed. Have an adult handle the hot glue and check that the horns sit at matching angles. Wipe away any stray glue strings.

  6. Style and photograph

    Set the finished devil on a wood surface or porch step in soft daylight so the red horns pop against the orange. Because this is a no-carve pumpkin, it will last longer than a cut one, but keep it out of direct sun and heat. Snap your photo straight on to show off the even grin. Share it with the community when you are done.

Gather your supplies

Check things off as you get ready.

Work on a stable surface, keep your free hand out of the cutting path, and have an adult handle sharp tools.

Three levels of light

  • Leave intact

    Almost the whole pumpkin stays as bare orange skin, since this is a painted no-carve design with no glow.

  • Peel & shade

    If you want a soft accent, you could lightly scrape a shallow halo of skin behind the horns for a faint highlight, but the classic look skips this.

  • Cut through

    There are no cutouts on this version. If you later want light, an adult could hollow the pumpkin and cut small openings behind the eyes for a subtle glow, adding an LED puck inside, never a candle.

Learn the carving basics

Before you start cutting

How do I keep the fangs even on the grin?

Sketch the whole mouth in pencil first, then mark three evenly spaced fang points before you paint. Paint the black grin around those marks so the white triangles have a clean home. Working from a pencil guide is much more forgiving than freehanding in paint.

What is the best way to attach the horns so they do not fall off?

Push a toothpick partway into the base of each horn to act as an anchor, then press that into the pumpkin shoulder. Add a small dab of hot glue at the contact point for extra grip. An adult should handle the hot glue, and let it set before moving the pumpkin.

Will the paint hold up outdoors?

Acrylic craft paint dries water resistant and lasts well on a clean, dry pumpkin. Keep the pumpkin out of direct sun and rain to avoid fading and soft spots. A no-carve painted pumpkin like this usually outlasts a carved one by many days.

Your take belongs here, too.

Changed a detail? Made it simpler? Share a photo of your version and tell the community what worked.

Share your pumpkin

More pumpkins like this

You've reached the end · 8 pumpkins
The Patch Report

Fresh pumpkins, in your inbox.

The best new carvings, ideas worth stealing, and how-tos for carving season. Short, seasonal, and gone by November.

A short email during carving season. Unsubscribe anytime. See our privacy policy.