@toothpick_tessa
Sep 5, 2026

Harvest glow
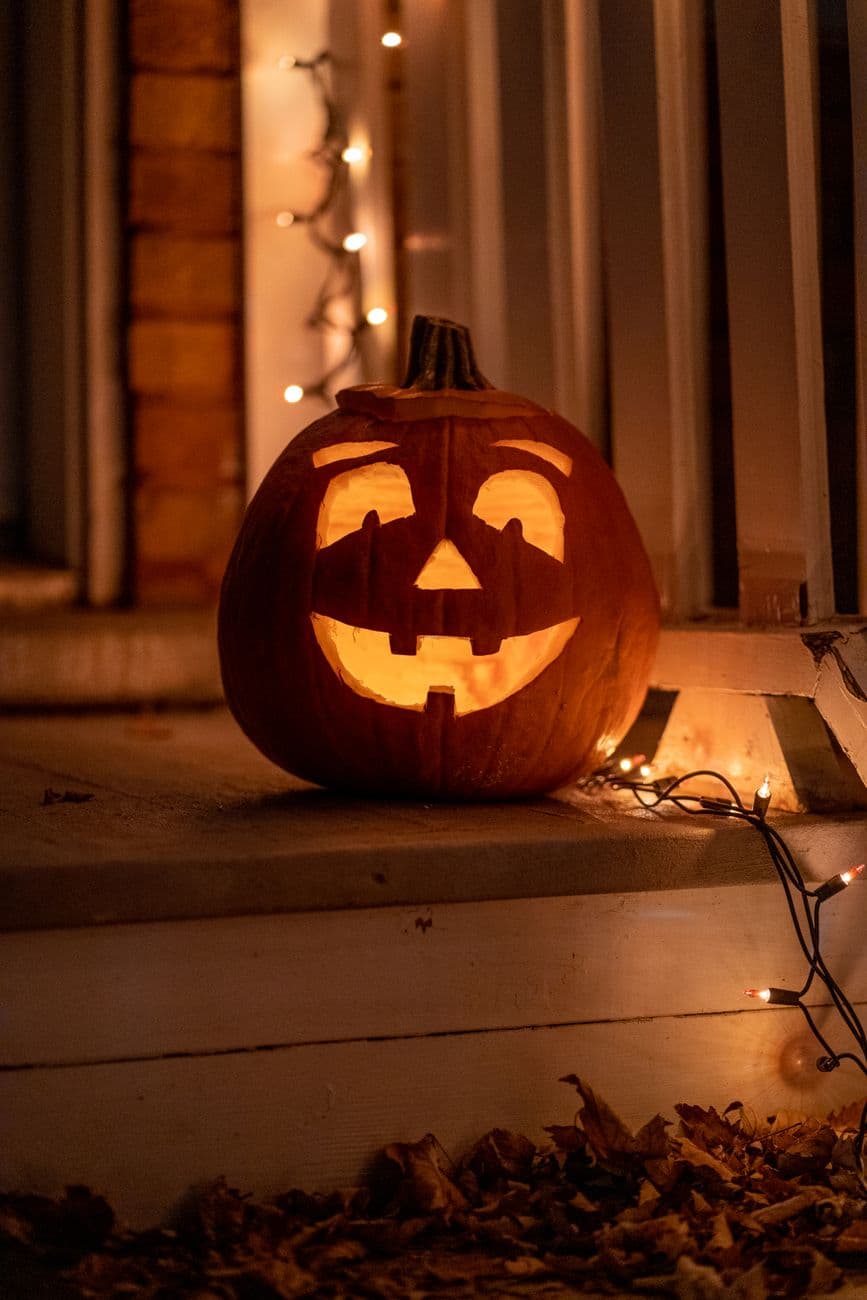
A green-mottled heirloom pumpkin with slanted eyes and a sawtooth grin, lit warm on a rustic table among the leaves.
No ratings yet · Sign in to rate
A green-mottled heirloom pumpkin with slanted eyes and a sawtooth grin, lit warm on a rustic table among the leaves.
The core trick here is a traditional cutout face where triangle eyes, a triangle nose, and a toothy grin let light pour straight through. Keep the design bold and the teeth chunky so nothing snaps, and let the pumpkin's natural green mottling stay as texture. This is a friendly medium project that rewards clean, confident cuts.
Written by PumpkinCarvingIdeas.com, inspired by @toothpick_tessa's photo above. These are our suggestions, not instructions from the uploader, and this approach hasn't been tested on their exact carve.
Choose a rounded heirloom with firm skin and a stable base so it sits flat without wobbling. Wipe it down and set it at a comfortable table height. Decide which side faces out, keeping the greenest mottled patches as character. Have an adult handle all the cutting tools throughout.
Cut a lid at an angle around the stem so it rests without falling in, then scoop out the seeds and pulp. Thin the front wall where the face goes to about one inch so cuts go smoothly. A thinner wall also lets more light through the finished openings. Save some pulp aside if you want to compost it later.
Sketch two slanted triangle eyes, a smaller triangle nose set between and below them, and a wide grin with sawtooth teeth. Keep the teeth blocky and evenly spaced so each one stays strong. Step back and check the placement before you cut, since ink lines are easy to wipe and redraw. Aim the eyes so they angle inward for that classic mischievous look.
Start with the eyes and nose using a small serrated saw, sawing gently and letting the blade do the work. Push each cut piece out from the inside with your thumb. Cut the smaller shapes before the big grin so the pumpkin stays rigid as long as possible. Take your time on the corners so the triangles stay crisp.
Save the wide mouth for last since it is the biggest opening and weakens the wall. Cut around each tooth carefully, leaving them thick where they meet the rim so they do not break. Clear the waste in a few sections rather than one long piece. Clean up any ragged edges with the tip of your saw.
Drop in an LED tealight or a small battery puck rather than a flame, which is safer and steadier. Set the pumpkin on a rustic surface and scatter a few dry leaves around the base for that harvest mood. Shoot in a dark room so the glow reads warm and bright. Turn the pumpkin slightly to find the angle where the face lights best.
Check things off as you get ready.
Work on a stable surface, keep your free hand out of the cutting path, and have an adult handle sharp tools.
The natural orange-and-green mottled skin across the body stays untouched and dark.
Optional: shave a thin outline around the eyes or mouth to add a faint glowing halo.
The two slanted triangle eyes, the triangle nose, and the sawtooth grin cut fully through for the brightest light.
Keep each tooth blocky rather than needle thin, and leave plenty of thickness where the teeth join the surrounding rim. Cut slowly and avoid twisting the saw inside a tooth. If one does crack, a toothpick pushed through from behind can hold it in place.
Not at all. The green mottling is surface color and adds rustic character to the finished look. Just carve as normal, and treat the patches as texture that stays dark while the cutouts glow.
The mouth is the largest opening and removes the most material, which weakens the front wall. Cutting the small eyes and nose first keeps the pumpkin firm and easier to handle. Saving the grin for the end reduces the chance of the face flexing or cracking.
Changed a detail? Made it simpler? Share a photo of your version and tell the community what worked.
The best new carvings, ideas worth stealing, and how-tos for carving season. Short, seasonal, and gone by November.







Comments (0)