@patchwork_penny
Sep 5, 2026
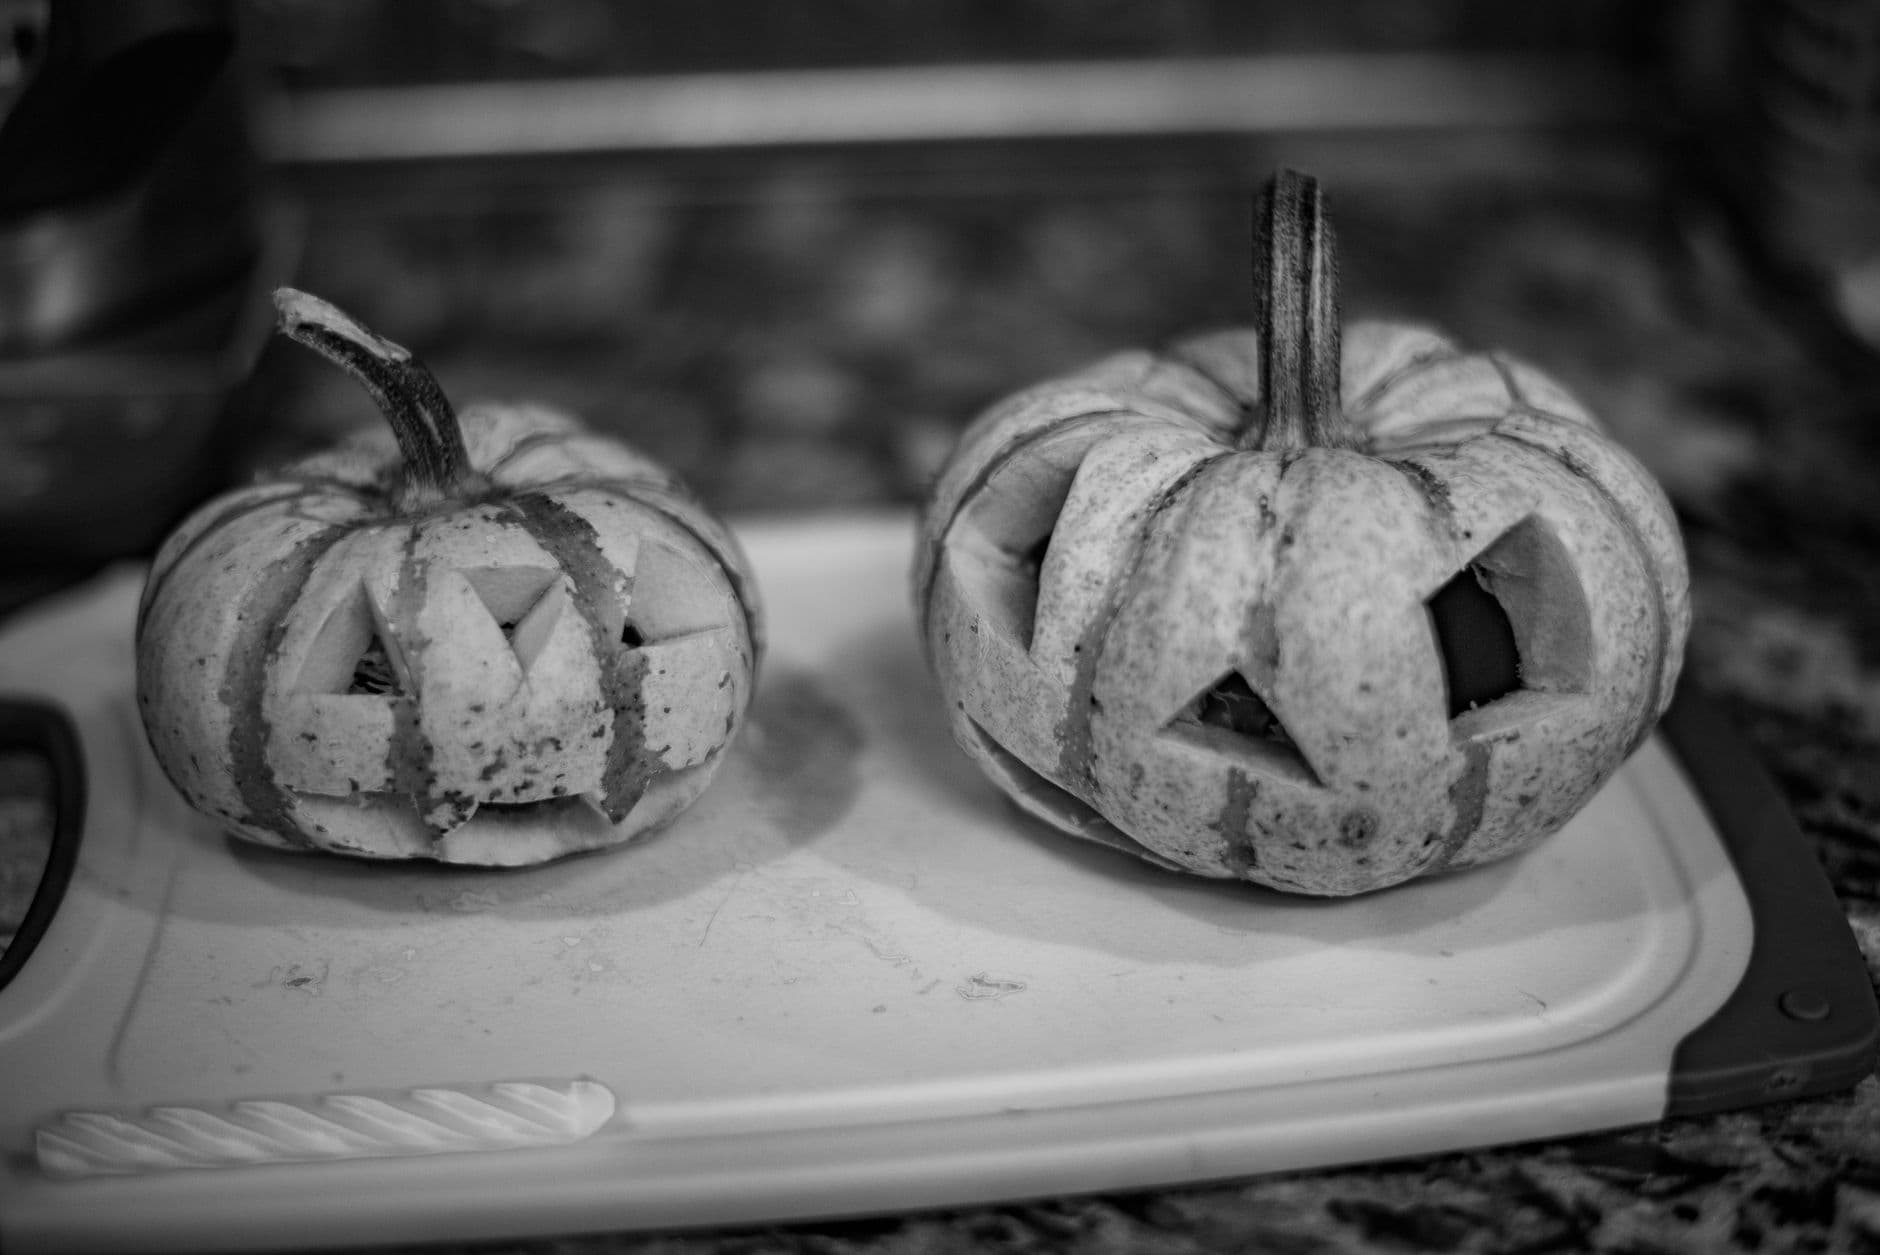
Kitchen counter duet
Two freshly carved minis drying on the cutting board, shot in moody black and white before their first candle.
No ratings yet · Sign in to rate
Two freshly carved minis drying on the cutting board, shot in moody black and white before their first candle.
These are simple traditional faces on small pumpkins: triangle eyes and nose, a toothy grin. The trick with minis is scale, keeping the cuts small and the wall between features intact, since a little pumpkin has less room for error. Carve two at once for an easy matched set.
Written by PumpkinCarvingIdeas.com, inspired by @patchwork_penny's photo above. These are our suggestions, not instructions from the uploader, and this approach hasn't been tested on their exact carve.
Choose small pumpkins that sit steady on their base and have a smooth panel for the face. Minis have thinner walls, so handle them gently. A matched pair looks great side by side on a counter or step.
Cut a little lid around each stem at an angle and scoop out the seeds. Scrape the front wall thinner so the small cuts go easily. Minis clean out fast, so this step is quick.
Mark triangle eyes and a triangle nose, then a grin with a couple of square teeth. Keep the shapes modest so there is solid pumpkin between them. On a small face, less is more.
Saw the eyes and nose first, then open the mouth last so the face stays rigid while you work. Use a small saw or a sturdy craft knife and take gentle strokes. Push the pieces out from inside.
Drop a battery LED into each and check them in a dim kitchen. A flicker LED gives a candle-like glow without the heat, which suits minis that dry quickly. Group the pair for a warm little display.
Check things off as you get ready.
Work on a stable surface, keep your free hand out of the cutting path, and have an adult handle sharp tools.
The pumpkin face stays intact around each feature.
Optional: bevel the inside edge of each cut for a softer glow.
Triangle eyes, nose, and the toothy grin are cut clean through.
They have thinner walls and less room, so keep your shapes small and leave solid pumpkin between features. A craft knife often gives more control than a big saw on a little face.
Small pumpkins dry out faster than big ones. Carve them close to when you want to display them, and a swipe of petroleum jelly on the cut edges slows the shriveling.
Use a battery LED. A real flame in a small, quick-drying pumpkin is a fire risk and can scorch the thin lid.
Changed a detail? Made it simpler? Share a photo of your version and tell the community what worked.
The best new carvings, ideas worth stealing, and how-tos for carving season. Short, seasonal, and gone by November.

Comments (0)