Halloween Pumpkin Carving Contest · Starts October 1st · $500 in prizes
← Back to ideas
@ai_concepts
Sep 25, 2026
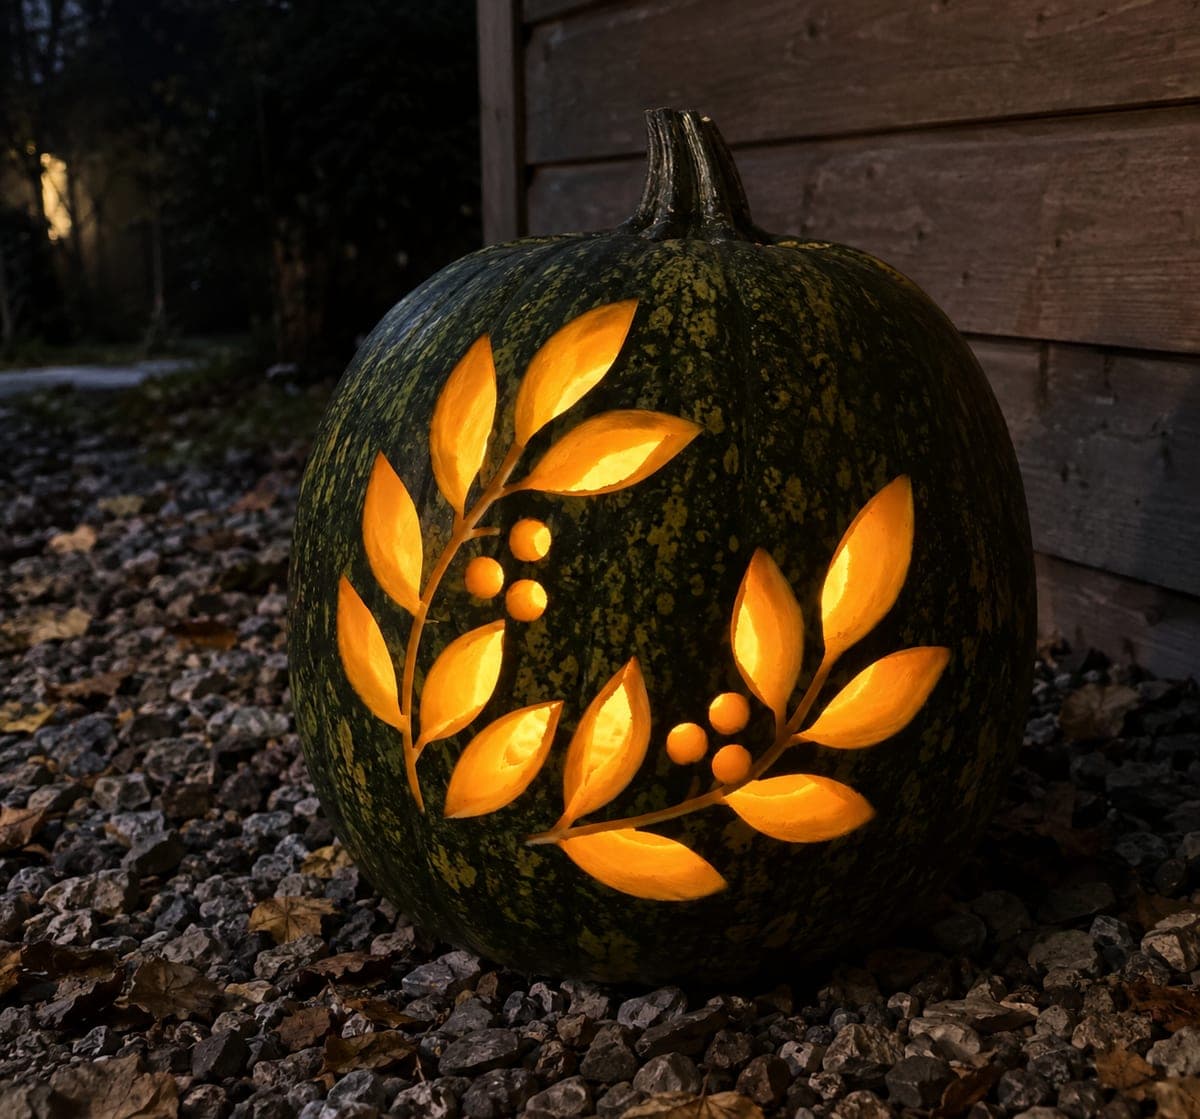
Leaf Branch Pattern Carved on Dark Green PumpkinAI
0

Report this carving

Tell us what is wrong. Reports are private.

Leaf Branch Pattern Carved on Dark Green Pumpkin

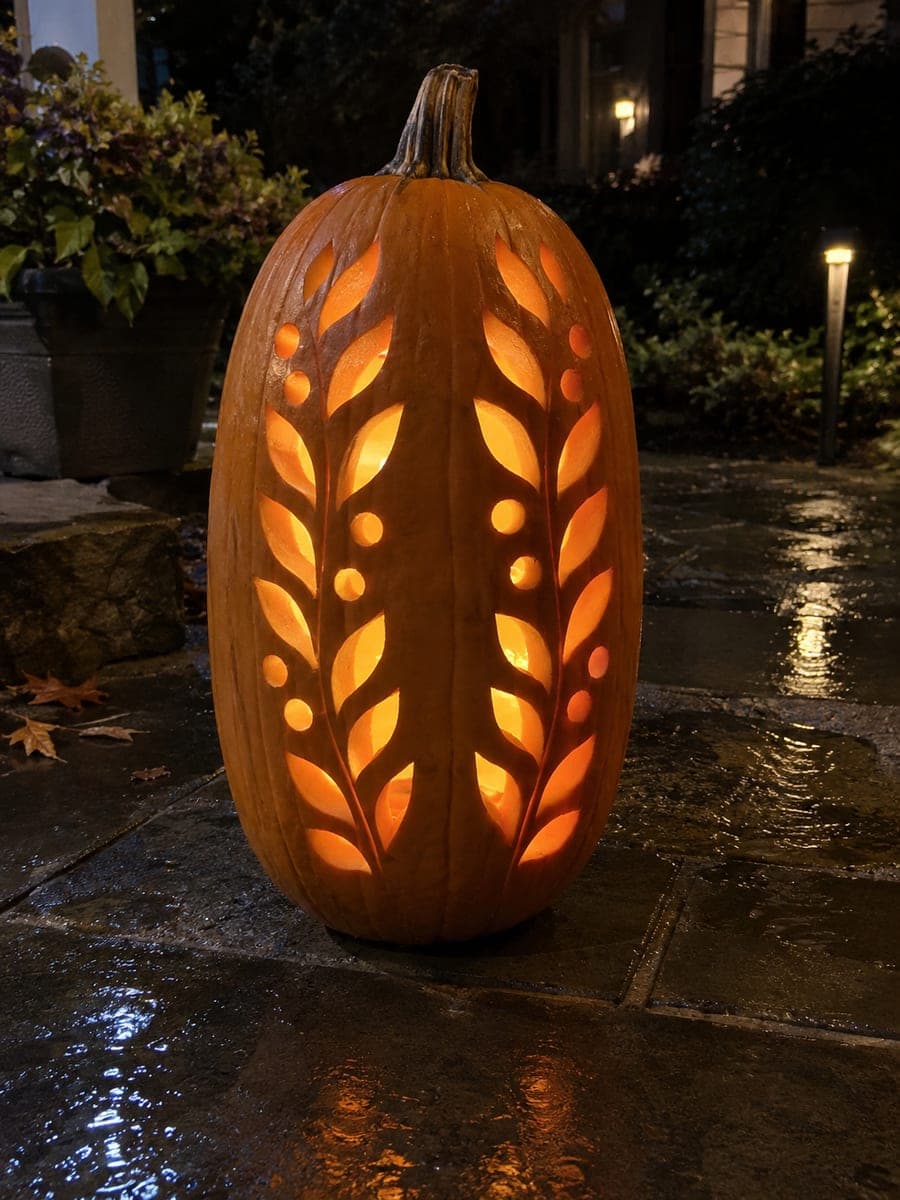
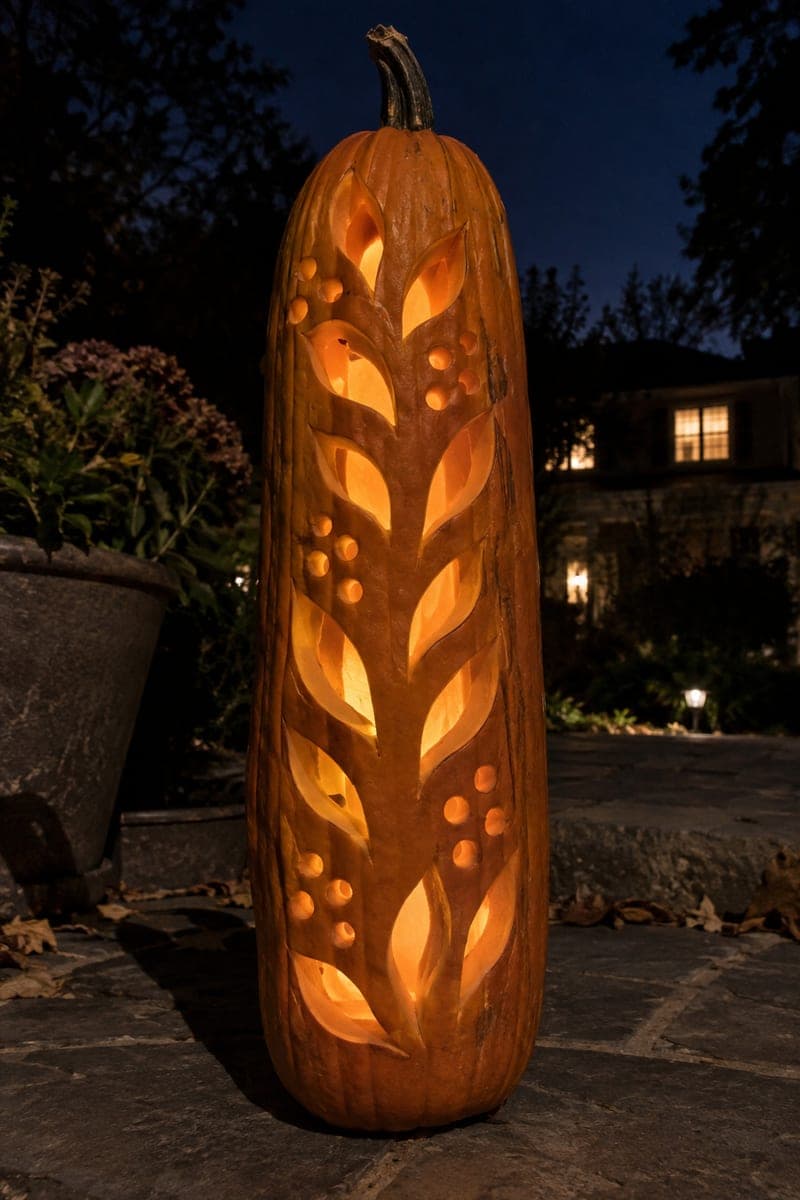
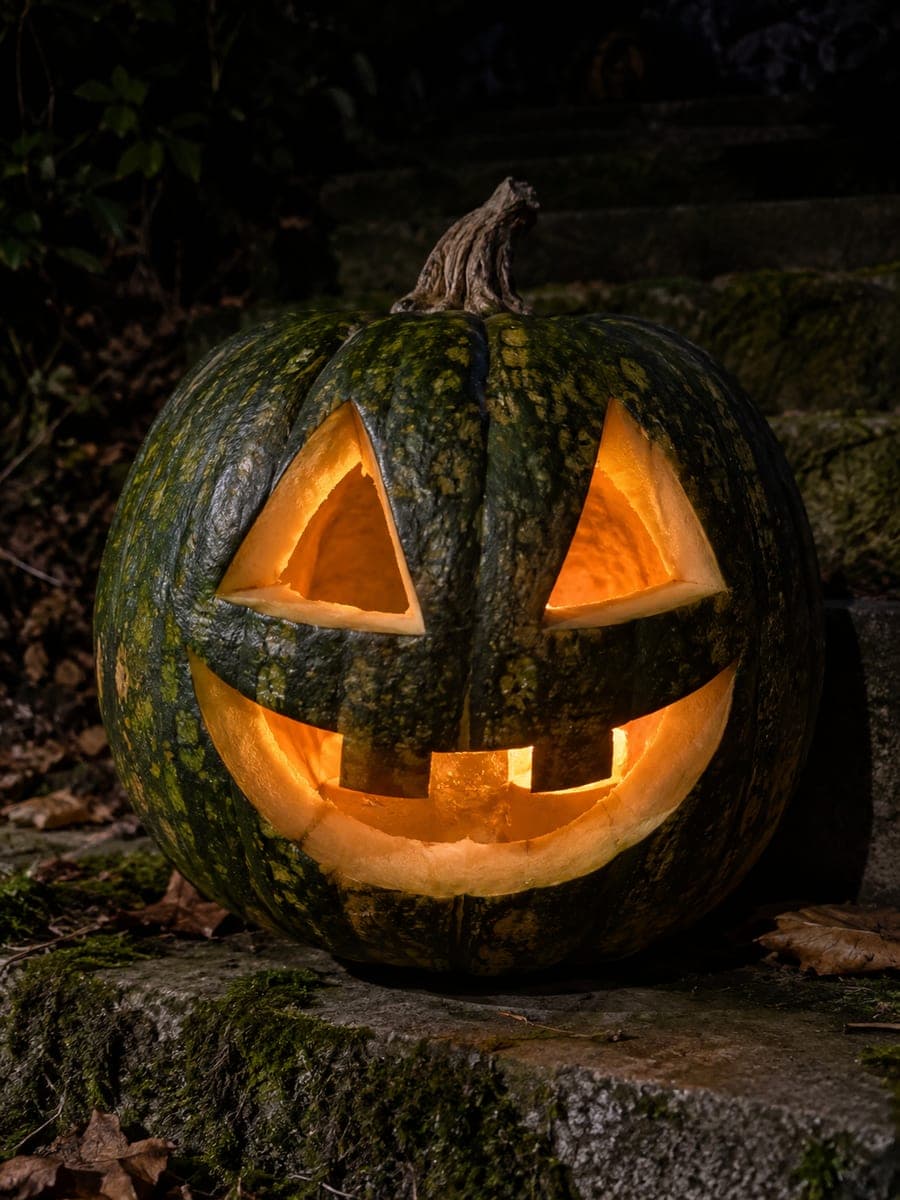
Eighteen separate elongated almond-shaped leaf apertures form two curved branches, plus six round berry holes, are cut into a dark-green mottled pumpkin in this hard green pumpkin carving idea, with broad solid stem regions of original green rind kept fully intact. The mottled dark-green rind makes the leaves look like real cut foliage when backlit, because the raw cut edges are a pale cream color against the dark exterior. Use a narrow detail blade to follow the almond curves without breaking the thin rind between adjacent leaves.

No ratings yet · Sign in to rate

Comments (0)

  • No comments yet — be the first.

Save without an account. Sign in to like or comment.

Our tips for carving a similar design

The mottled dark-green rind is the ideal background for this leaf pattern because the pale cream raw cut edges stand in for the veined highlights of real foliage. The technique is to cut both branches as groups of isolated almond holes, never connecting adjacent holes, and to keep the broad solid stem regions of green rind fully intact as the structural spine of the composition.

From pumpkin to porch

  1. Plan the branch layout

    Sketch two curved branch lines on the pumpkin face, one sweeping from lower-left to upper-right and a second branching off from the midpoint. Along each branch line, mark nine elongated almond positions for the leaf holes and three round positions for berry holes. Confirm at least half an inch of rind lies between every adjacent hole before cutting.

  2. Hollow and firm up the rind

    Scoop to a three-quarter-inch wall. For a leaf pattern with eighteen small holes, even wall thickness is critical. Thin spots can cause the narrow blade to punch through unexpectedly between adjacent leaf holes. Check wall thickness by pushing a skewer through the lid opening at multiple points.

  3. Cut the first branch leaves

    Start with the outermost leaves at the tip of the first branch and work inward toward the stem. This way the stem region is supported by uncut rind throughout most of the process. For each almond hole, pierce the center and saw in a smooth elongated oval, narrowing to a point at each end with two gentle curves.

  4. Cut the second branch leaves

    Move to the second branch and repeat the same tip-to-stem sequence. After every three or four holes, press the rind between them to confirm the bridges are solid. Use a narrow detail blade on the tight inner ends of the almonds where the curve is sharpest.

  5. Drill the berry holes

    Use a step drill or borer for the six round berry holes, placing them at the branch intersections and near the stem ends where berries would naturally cluster. Drill slowly to keep the circles clean and round. Push any rind plugs inward cleanly.

  6. Light and appreciate the foliage effect

    Place a warm LED inside and view in low light. The pale cream-edged almond holes against the dark mottled green read unmistakably as backlit leaves. Position the pumpkin slightly off-level so one branch appears to grow upward naturally.

Written with AI to match this design

Gather your supplies

Check things off as you get ready.

Work on a stable surface, keep your free hand out of the cutting path, and have an adult handle sharp tools.

Three levels of light

  • Leave intact

    The broad solid green stem regions, the rind between every adjacent leaf hole, and all areas outside the branches stay dark.

  • Peel & shade

    None; all the foliage effect comes from fully cut openings.

  • Cut through

    All eighteen almond-shaped leaf apertures and all six round berry holes are cut completely through.

Learn the carving basics

Before you start cutting

How narrow can the rind bridges between adjacent leaf holes safely be?

Leave at least three-eighths of an inch between adjacent almond edges. Narrower bridges look fragile because they are: a dense green rind at that thickness can crack when the pumpkin is picked up or when temperature changes cause the rind to flex slightly. Mark your minimum bridge width on the template before transferring.

The narrow ends of the almond shapes keep coming out pointed but ragged. How do I fix this?

The issue is usually the blade pivoting rather than gliding at the narrow point. Approach the point with very short strokes, stopping to reposition the blade angle slightly after each one. A narrow detail blade (as opposed to a standard pumpkin saw) stays stiffer in tight curves and produces cleaner almond tips.

Can I add a stem and veins inside each leaf hole for realism?

Veins would require peeling a thin layer of rind inside the leaf hole rather than cutting through, which adds a shading step to this cutout design. That is entirely possible but significantly extends the project time. If you want to try it, test the peel technique on one leaf at the far tip of a branch before committing to all eighteen.

Your take belongs here, too.

Changed a detail? Made it simpler? Share a photo of your version and tell the community what worked.

Share your pumpkin

More pumpkins like this

You've reached the end · 8 pumpkins
The Patch Report

Fresh pumpkins, in your inbox.

The best new carvings, ideas worth stealing, and how-tos for carving season. Short, seasonal, and gone by November.

A short email during carving season. Unsubscribe anytime. See our privacy policy.