@harvestmoonhank
Sep 5, 2026

Picnic table workshop
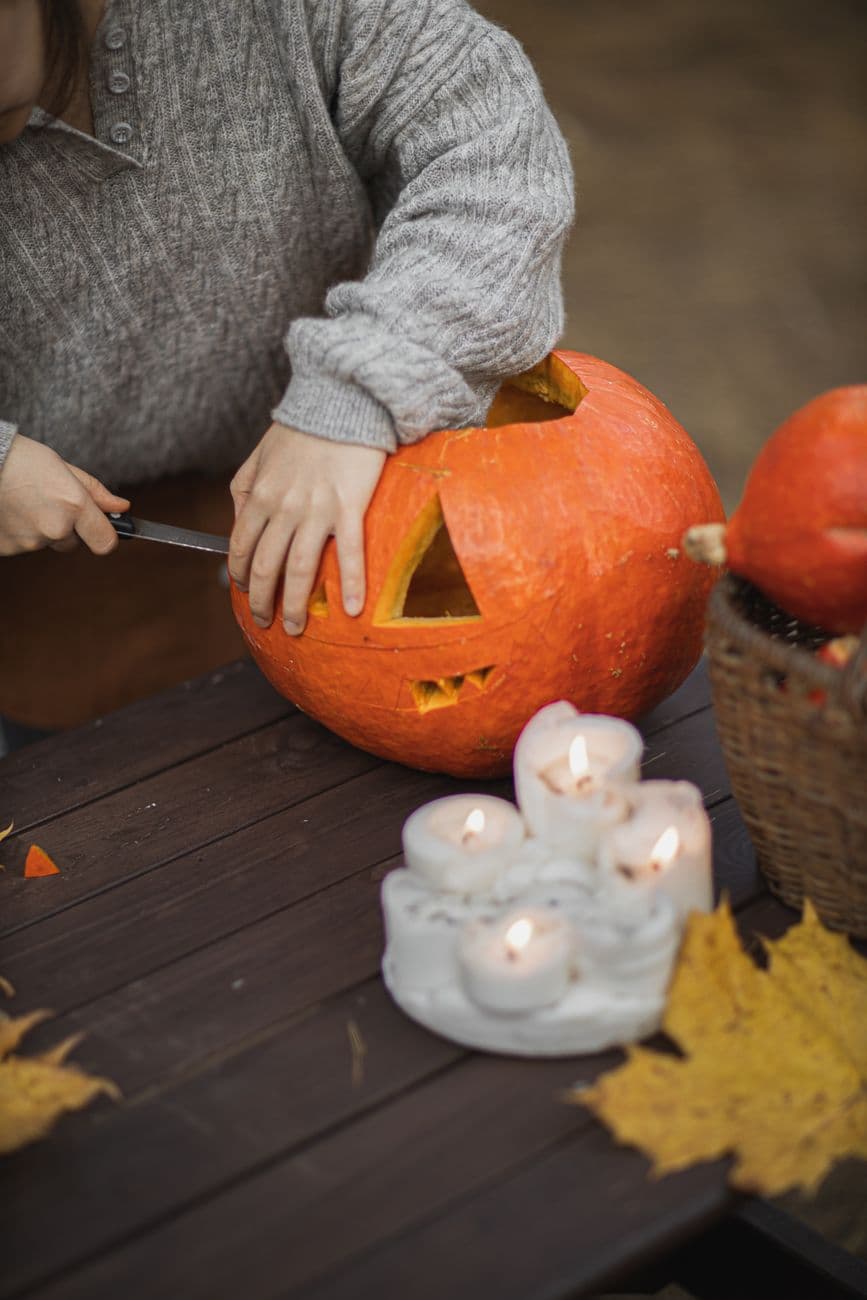
Mid-carve at the picnic table: knife in hand, candles lit, and the classic face already smiling up from the wood.
No ratings yet · Sign in to rate
Mid-carve at the picnic table: knife in hand, candles lit, and the classic face already smiling up from the wood.
This is the timeless jack-o-lantern: triangle eyes and nose over a wide toothy grin. The trick is nothing fancy, just steady cuts and leaving enough pumpkin between the teeth so the smile holds together. It is the perfect first carve to do outdoors at a table.
Written by PumpkinCarvingIdeas.com, inspired by @harvestmoonhank's photo above. These are our suggestions, not instructions from the uploader, and this approach hasn't been tested on their exact carve.
Pick a pumpkin with a broad, slightly flat front and a stable base. A classic face reads best on a nice round shape. Set up on a sturdy table with good light.
Cut a lid around the stem at an angle so it rests back in place, then scoop out all the seeds and pulp. Scrape the front wall down so it is easier to cut. A clean, thinner wall makes crisp lines.
Mark two triangle eyes, a triangle nose, and a wide grin with a few square teeth. Keep the teeth chunky with gaps between them. Redraw with a washable marker until the smile looks right.
Cut the eyes and nose first with a fine pumpkin saw, keeping the blade upright. Save the big grin for last so the face stays firm while you carve. Leave solid rind between each tooth so none snap off.
Drop in a battery LED and check the face in the dark. If any feature looks dim, bevel its inside edge so more light escapes. A flicker LED gives that classic candlelit look safely.
Check things off as you get ready.
Work on a stable surface, keep your free hand out of the cutting path, and have an adult handle sharp tools.
The orange face stays whole around the eyes, nose, and grin.
Optional: shave the inside edges thin so the light feathers out.
Triangle eyes, nose, and the toothy mouth are cut all the way through.
Leave a good strip of pumpkin between each tooth and do not carve them too tall or thin. Cutting the mouth last, after the eyes and nose, keeps the wall strong while you work.
You can draw it freehand with a washable marker, or tape on a printed classic-face stencil and poke the outline with a pin. Wipe and redraw as many times as you like before cutting.
Yes, a picnic table is ideal. Just keep the surface stable, cut away from your body, and have an adult handle the saw for younger carvers.
Changed a detail? Made it simpler? Share a photo of your version and tell the community what worked.
The best new carvings, ideas worth stealing, and how-tos for carving season. Short, seasonal, and gone by November.





Comments (0)