Halloween Pumpkin Carving Contest · Starts October 1st · $500 in prizes
← Back to ideas
@ai_concepts
Jul 26, 2026
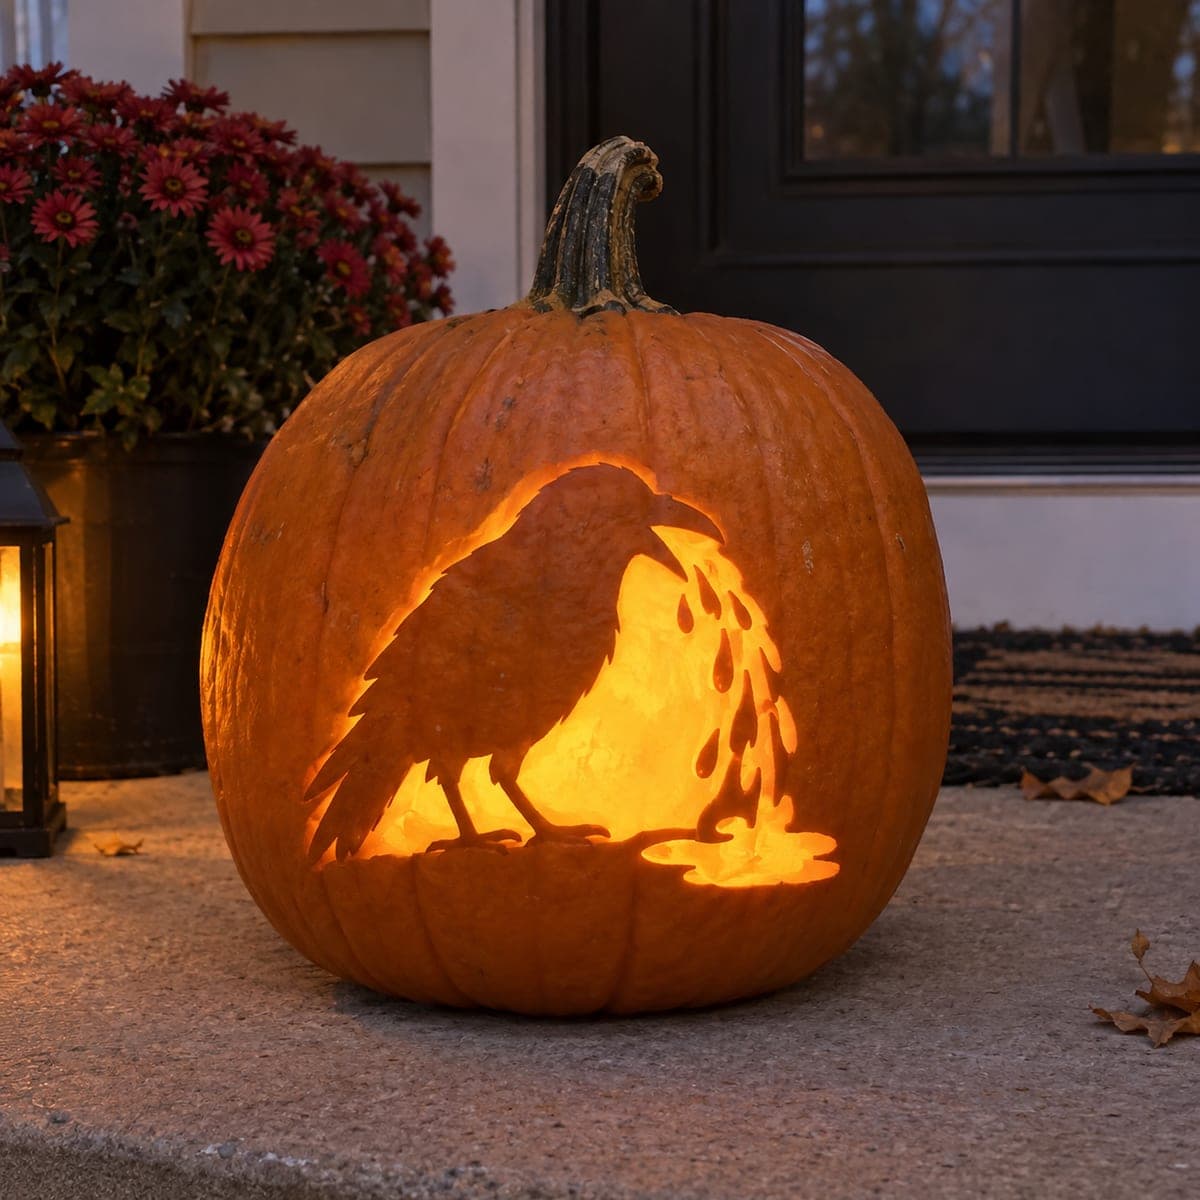
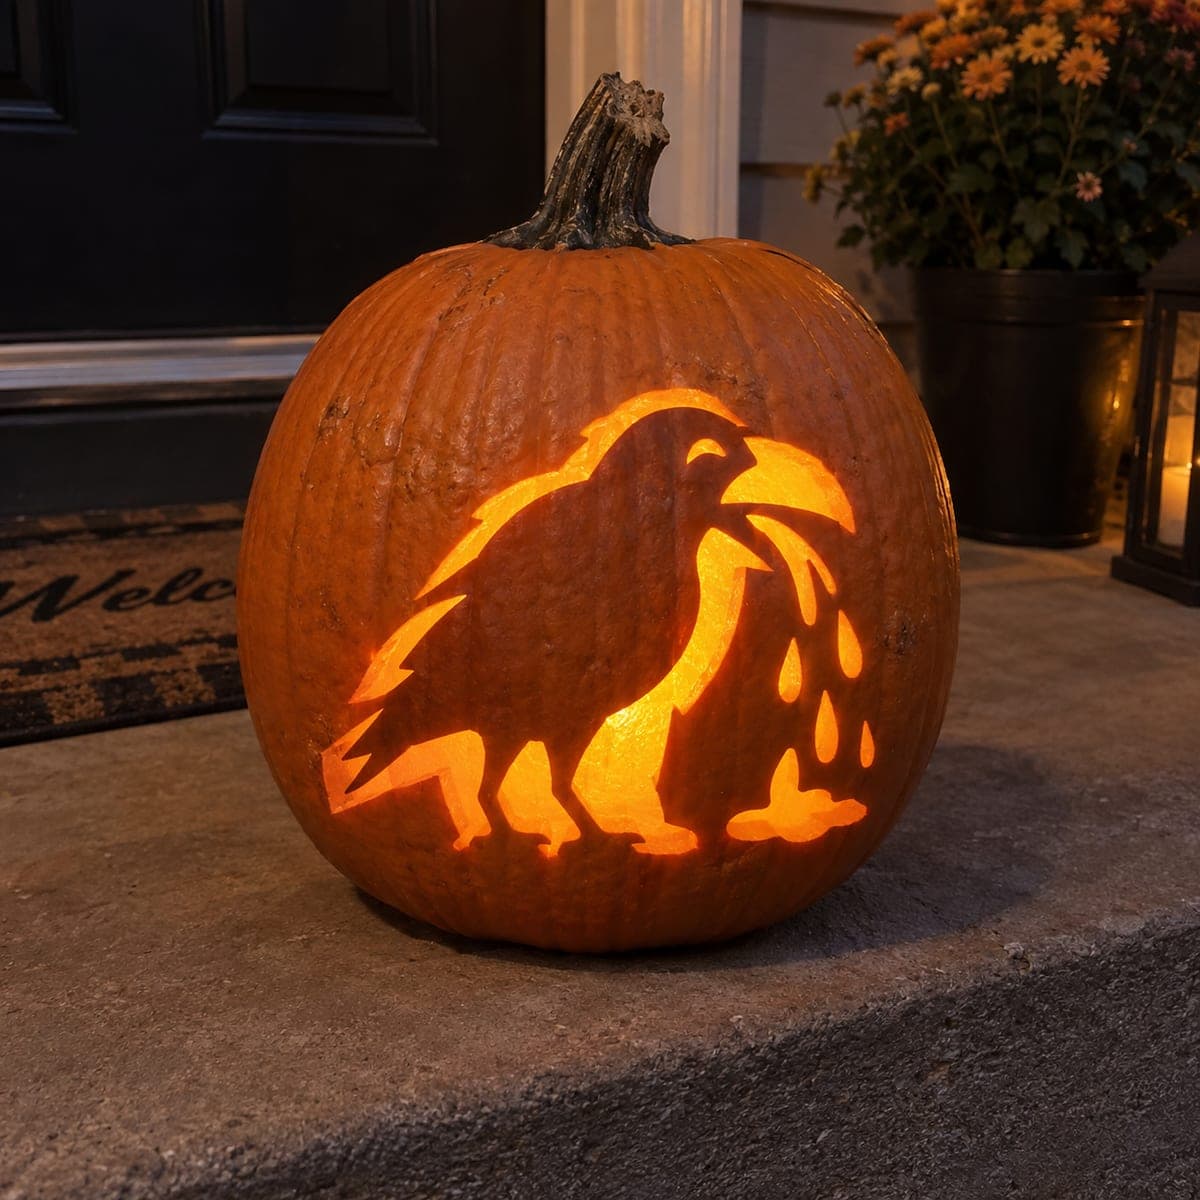
Raven Dripping Cutout Pumpkin on a Front PorchAI
0

Raven Dripping Cutout Pumpkin on a Front Porch

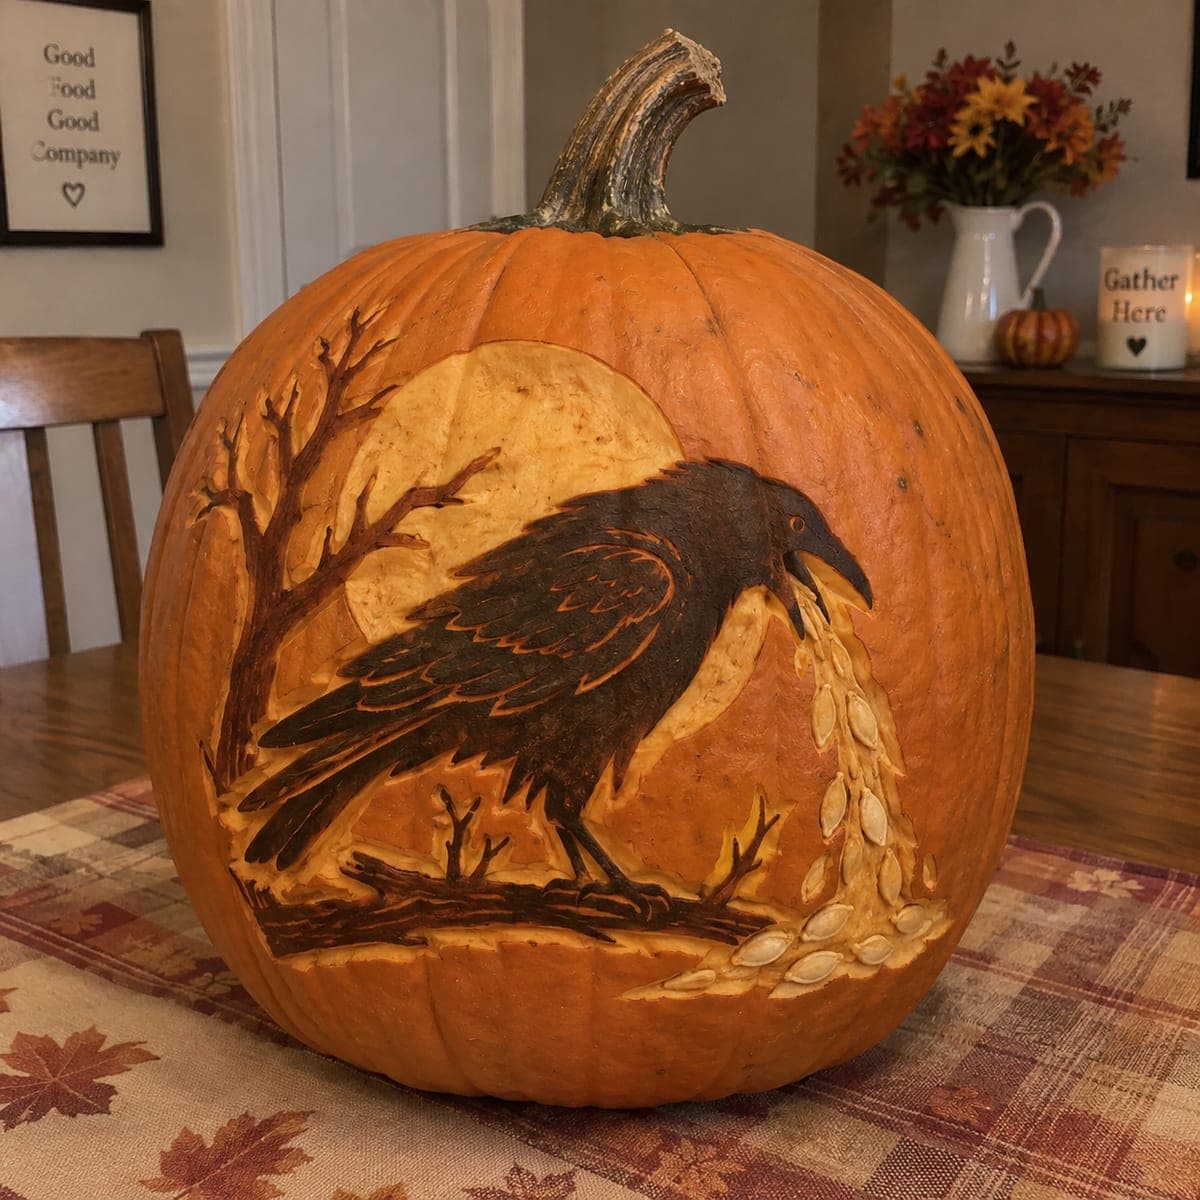
A silhouetted raven stands in profile beneath a circular opening with three dripping droplets below it, all cut through the pumpkin wall so the inner candle glow frames the dark bird in amber light. The drip shapes add a moody, gothic accent that elevates what would otherwise be a simple silhouette design. Cut the large circular background first to remove the bulk of material, then carefully cut the raven shape from inside the circle, leaving the bird as an uncut dark shape against the glowing background. This atmospheric pumpkin carving idea suits gothic, literary, and dark-aesthetic Halloween displays.

This is an AI-generated concept image: a realistic, carvable design idea rather than a photo of a finished carve. AI concepts are always labeled and sit out the leaderboard and the contest.
No ratings yet · Sign in to rate

Comments (0)

  • No comments yet — be the first.

Save without an account. Sign in to like or comment.

Our tips for carving a similar design

The core trick here is a reverse silhouette: instead of carving the bird, you cut away everything around it and leave the raven as untouched skin so it reads dark against a glowing window. A large circular opening removes most of the material and creates the light source, while three teardrop cutouts drip down the side for a gothic accent. The plan is to outline the bird first, then clear the background and drips around it so the shape stays crisp.

Written by PumpkinCarvingIdeas.com, inspired by the image above. These are our suggestions, not instructions from the uploader. This approach to the AI concept has not been tested on a real pumpkin.

From pumpkin to porch

  1. Pick a pumpkin and open a back lid

    Choose a pumpkin with a smooth, roomy front panel and a fairly flat face so the circular opening reads cleanly. Cut a lid in the back rather than the top so the front stays uninterrupted, angling the cut inward so the lid rests without falling in. Scoop the insides and thin the front wall to about one inch with a scraper or metal spoon. A thinner wall makes the fine drip shapes and the bird outline much easier to cut.

  2. Transfer the design

    Print a raven profile stencil sized to your pumpkin and tape it flat, snipping the edges so it hugs the curve. Position the bird slightly low and left of center, with the large circle arcing above and behind it, and the three droplets trailing down the lower right. Poke the outlines with a pin or a transfer wheel, spacing dots close together on the tight areas like the beak, legs, and drip tips. Peel the paper and connect the dots with a marker so you can see the full map before any blade touches the shell.

  3. Cut the raven outline first

    Before removing any material, carefully cut along the raven's outline with a fine detail saw, following the beak, back, tail, and both legs. This defines the shape while the surrounding pumpkin is still solid and supported, which keeps the thin legs from cracking. Take slow, straight passes and let the saw do the work rather than forcing it. Do not remove anything yet, you are only scoring the boundary between bird and background.

  4. Clear the circular background

    Now cut out the large circle around the bird, working from inside the outline you just made so the raven is left standing as solid, untouched skin. Remove the background in a few smaller sections rather than one huge piece to avoid stressing the wall. Cut the biggest openings last if any section feels fragile near the legs or beak. Keep the legs attached to the pumpkin base so the bird has structural support from below.

  5. Cut the three drip shapes

    Saw out the three teardrop droplets trailing down from the circle, largest near the top and tapering smaller as they fall. Round the tops and pull each to a soft point so they read as drips, not just holes. Leave a comfortable band of skin between each drop so the wall stays strong. Clean up any ragged inner edges with a paring knife held at a slight outward angle to help light spill through.

  6. Light it and photograph

    Set a battery LED puck or string inside, never a candle, since the tall opening and thin drips do best with cool, even light. Aim the brightest LED toward the back wall so the glow floods the circle and rims the raven in amber. Set the pumpkin on a porch step at dusk and shoot slightly off to one side so the silhouette stays sharp against the light. Add a coat of petroleum jelly on the cut edges to slow drying if you want it to last a few extra days.

Gather your supplies

Check things off as you get ready.

Work on a stable surface, keep your free hand out of the cutting path, and have an adult handle sharp tools.

Three levels of light

  • Leave intact

    The raven's body, beak, and legs stay as untouched skin so the bird reads solid and dark.

  • Peel & shade

    Optionally shave a thin halo of skin just around the circle's edge for a soft amber transition into the cutout.

  • Cut through

    The large background circle and the three droplets are cut fully through for the brightest glow.

Learn the carving basics

Before you start cutting

Since this is a concept image, can a real pumpkin hold the bird's thin legs?

Yes, as long as you keep the legs anchored to the solid pumpkin below the circle rather than floating them in open space. Cut the raven outline before clearing the background so the legs stay supported while you work. Thin the wall to about one inch so the narrow shapes cut cleanly without cracking.

Why cut the bird outline before removing the background?

Scoring the raven's edge while the surrounding shell is still solid gives you a crisp, controlled boundary. If you clear the big circle first, the wall flexes and the delicate beak and legs are much harder to define. Outline first, then remove the background in sections around it.

How do I keep the drips from looking like random holes?

Space them in a gentle falling line from the circle, largest at top and smaller as they descend, and pull each to a soft point. Leave a solid band of skin between each drop so they read as separate droplets and the wall stays strong. A little size variation makes them feel like they are actually dripping.

Your take belongs here, too.

Changed a detail? Made it simpler? Share a photo of your version and tell the community what worked.

Share your pumpkin

More pumpkins like this

You've reached the end · 8 pumpkins
The Patch Report

Fresh pumpkins, in your inbox.

The best new carvings, ideas worth stealing, and how-tos for carving season. Short, seasonal, and gone by November.

A short email during carving season. Unsubscribe anytime. See our privacy policy.