Halloween Pumpkin Carving Contest · Starts October 1st · $500 in prizes
← Back to ideas
@ai_concepts
Aug 19, 2026
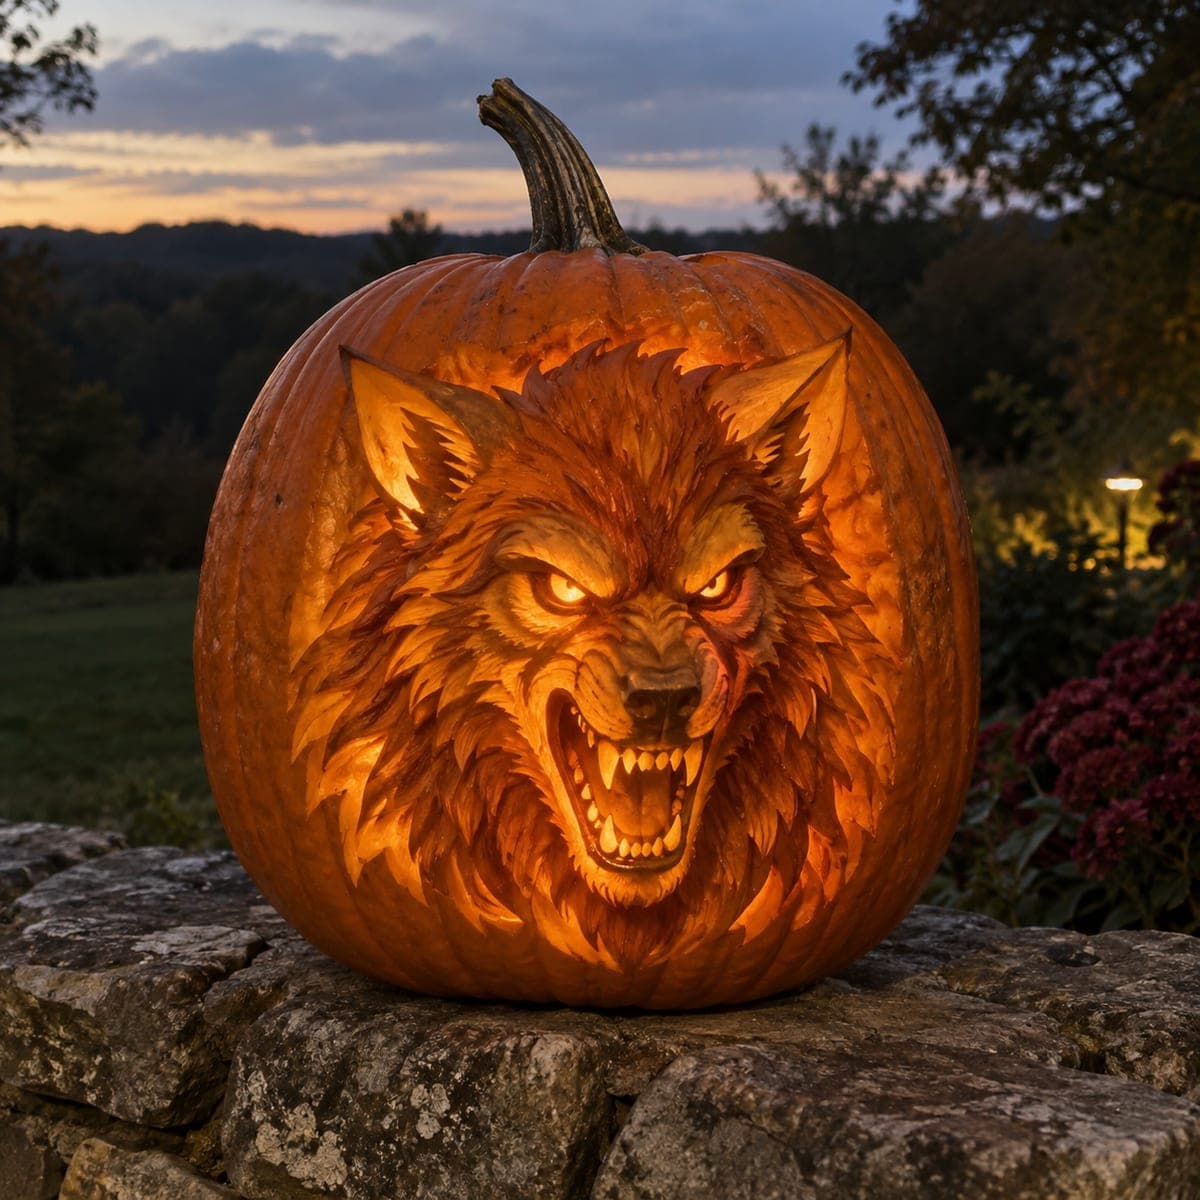
Snarling Werewolf Pumpkin Carving With Fiery GlowAI
0

Snarling Werewolf Pumpkin Carving With Fiery Glow

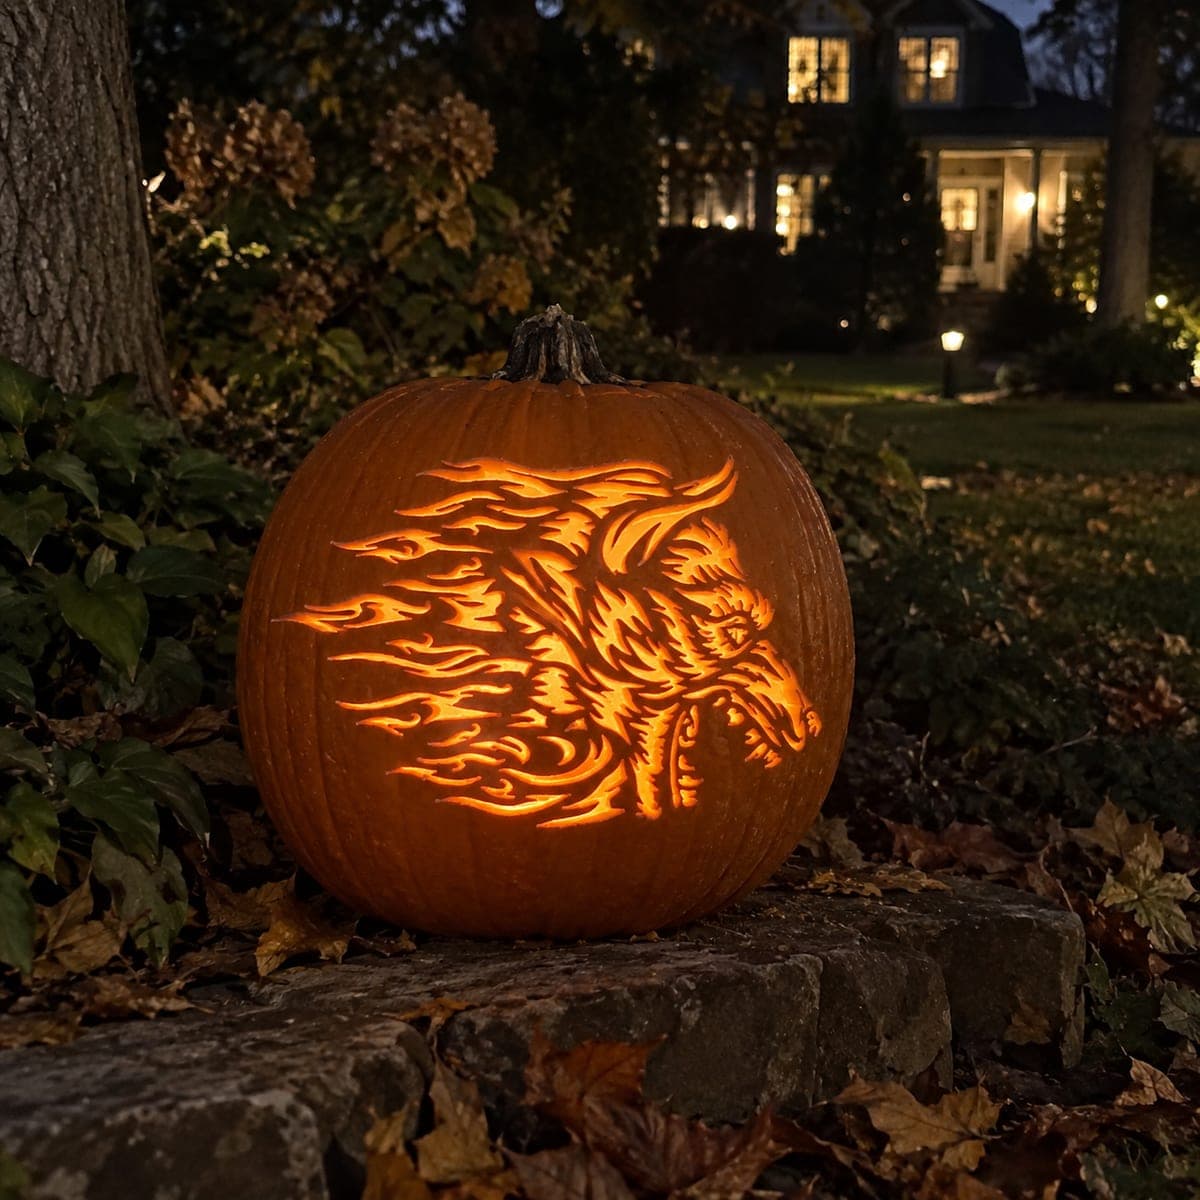
Bared fangs, furrowed brows, and wild layered fur make this snarling werewolf one ferocious scary pumpkin carving idea. The entire head is etched in relief, with the muzzle and eyes shaved thinnest so they burn brightest at dusk. Rough in the big shapes with a loop tool, then flick short overlapping strokes for fur, always following the direction it grows; an orange bulb inside amplifies the menacing effect.

This is an AI-generated concept image: a realistic, carvable design idea rather than a photo of a finished carve. AI concepts are always labeled and sit out the leaderboard and the contest.

No ratings yet · Sign in to rate
Comments (0)

  • No comments yet — be the first.

Save without an account. Sign in to like or comment.

Our tips for carving a similar design

This design is built almost entirely with relief carving, meaning you skin and shave the surface at different depths instead of cutting all the way through. The trick is a light gradient: leave the outer skin dark, peel the fur and cheeks for a dim glow, and shave the muzzle and eyes thinnest so they burn brightest. Since this is an AI concept rather than a real pumpkin, treat it as a target look you could build with patience and a steady hand.

Written by PumpkinCarvingIdeas.com, inspired by the image above. These are our suggestions, not instructions from the uploader. This approach to the AI concept has not been tested on a real pumpkin.

From pumpkin to porch

  1. Prep the pumpkin and cut a back door

    Pick a large pumpkin with one broad, fairly flat face for the werewolf. Cut an access hole in the back rather than the top so the front stays intact for deep shading. Scrape the inside wall behind the face down to about one inch thick using a loop tool, since thinner walls glow more evenly. Dry the inner wall with a paper towel before you start.

  2. Transfer the werewolf pattern

    Tape your stencil flat against the front, snipping the edges so it hugs the curve. Poke closely spaced dots along every major line: the ears, brow, eyes, nose, open muzzle, and the outer edge of the fur mane. Lift the paper and connect the dots lightly with a marker so you can read the shapes. Keep the fangs and eye lines marked clearly, since those are your brightest zones.

  3. Rough in the big shapes

    Start with a loop tool and remove skin in broad areas first, working from the center of the face outward. Establish the deepest recesses like the open mouth interior and the eye sockets, then step the fur back in gentle layers. Do not thin anything to full brightness yet; you are only setting the general depth map. Sweep out the shavings often so you can see your progress.

  4. Shade the fur in the growth direction

    Switch to a small detail tool and flick short overlapping strokes to carve the fur, always following the direction it grows outward from the face. Layer the strokes so each tuft slightly overlaps the one beneath it, which reads as depth once lit. Vary your pressure so ridges stay thicker and dark while the valleys go thinner and warmer. Take your time here, since this is what sells the wild, menacing look.

  5. Shave the muzzle, eyes, and fangs thinnest

    Carefully skin the muzzle, brow highlights, and the eyes down to a thin translucent layer so they glow the strongest. Leave the fangs as raised, slightly thicker bridges so they stay bright but structurally attached, and never cut the teeth free into open gaps. Check your depth by holding a light behind the wall as you go. Stop shaving a spot the moment it lights up the way you want.

  6. Light it and take the photo

    Set a battery LED puck or an orange bulb inside, never a candle, since the thin walls can scorch. Aim the light so it pools behind the muzzle and eyes for that fiery core. Shoot at dusk with the background darker than the pumpkin so the glow reads strongest. Mist the cut surfaces with water and refrigerate overnight between showings to slow drying.

Gather your supplies

Check things off as you get ready.

Work on a stable surface, keep your free hand out of the cutting path, and have an adult handle sharp tools.

Three levels of light

  • Leave intact

    The outer background skin and the deepest ridges of the fur stay dark for contrast.

  • Peel & shade

    The cheeks, mane layers, and ears get skin-peeled for a soft mid-orange glow.

  • Cut through

    The muzzle, inner mouth, and eyes are shaved thinnest so they burn brightest.

Learn the carving basics

Before you start cutting

Do I cut all the way through anywhere on this design?

Mostly no, since the face relies on relief shading rather than open holes. You can cut cleanly through the very deepest parts of the open mouth to add punch, but do that last and keep it small. Everything else stays as thinned skin so the fur and fangs remain attached and structurally sound.

How do I keep the fangs from breaking off?

Carve them as raised, slightly thick ridges rather than freeing them into empty gaps. Leaving a bit of shell behind and around each tooth acts as a bridge that holds them in place. Thin the surrounding mouth area for glow, but keep the fang tips supported.

What light gives that fiery look?

Use a warm orange LED puck or an amber bulb placed low and toward the muzzle. Angling it so the brightest pool sits behind the eyes and open mouth mimics the effect in the image. Skip candles entirely, because thin shaved walls can dry out and scorch.

Your take belongs here, too.

Changed a detail? Made it simpler? Share a photo of your version and tell the community what worked.

Share your pumpkin

More pumpkins like this

You've reached the end · 8 pumpkins
The Patch Report

Fresh pumpkins, in your inbox.

The best new carvings, ideas worth stealing, and how-tos for carving season. Short, seasonal, and gone by November.

A short email during carving season. Unsubscribe anytime. See our privacy policy.