Halloween Pumpkin Carving Contest · Starts October 1st · $500 in prizes
← Back to ideas
@ai_concepts
Sep 25, 2026
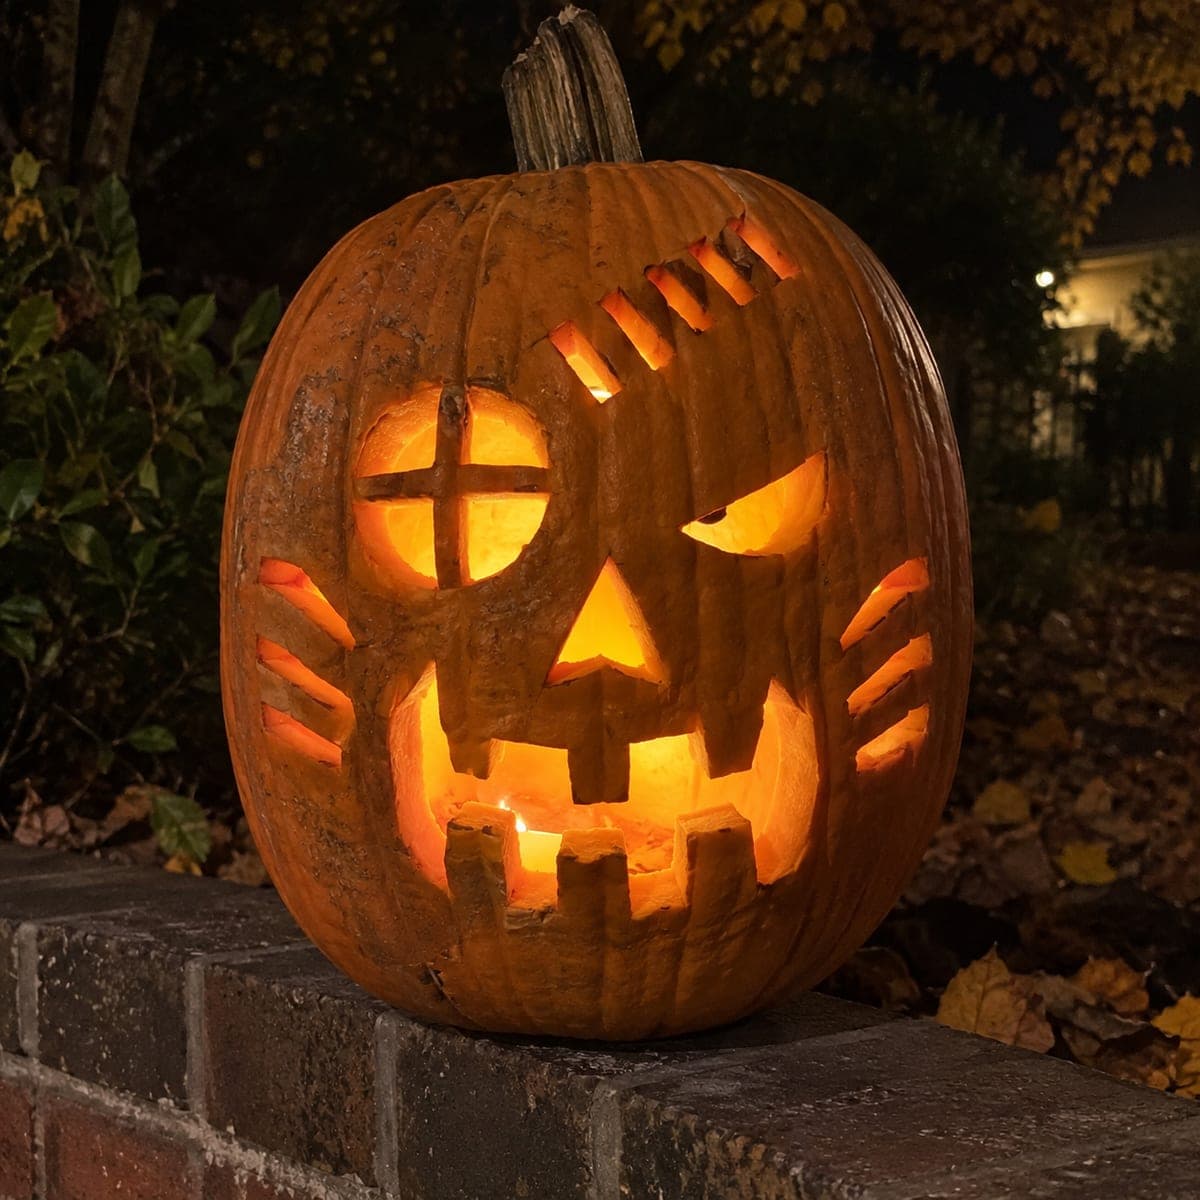
Zombie Carving Pumpkin with Cross-Bar Eye and Scar SlitsAI
0

Report this carving

Tell us what is wrong. Reports are private.

Zombie Carving Pumpkin with Cross-Bar Eye and Scar Slits

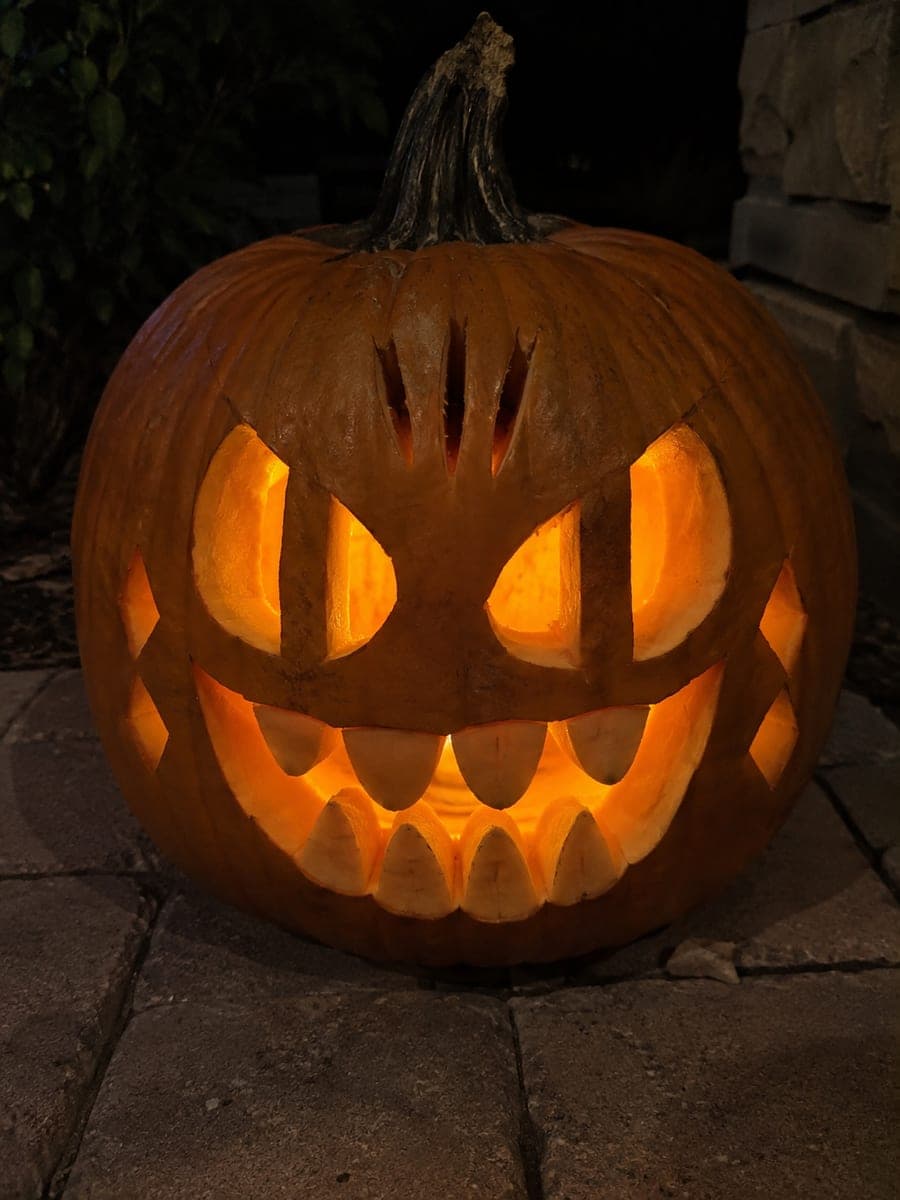
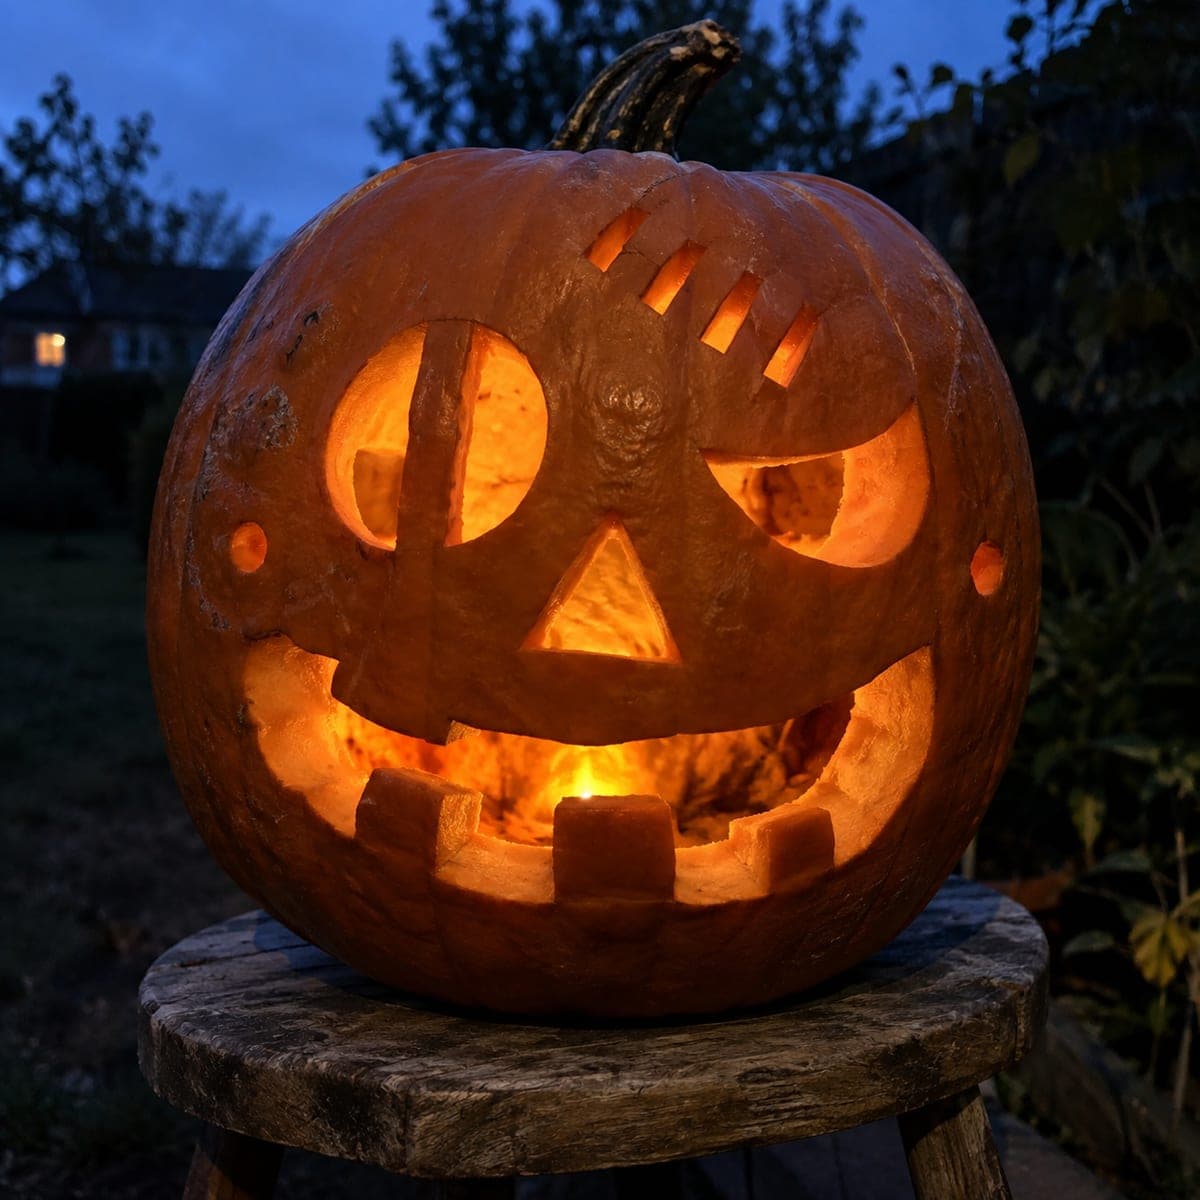
A four-way crossbar eye opening, rooted uneven teeth, and separated scar slits make this zombie pumpkin carving idea a satisfying technical challenge that pays off in dramatic detail. Route the crossbar eye by cutting the socket in quadrants, always keeping the bar anchored to the outer shell on all four sides. Carve the separated scar slits with a single push-pull motion per slot using a narrow detail blade for clean edges. The crossbar eye casts a distinctive shadow grid on interior surfaces when lit.

No ratings yet · Sign in to rate
Comments (0)

  • No comments yet — be the first.

Save without an account. Sign in to like or comment.

Our tips for carving a similar design

The crossbar eye is the centerpiece: cutting the socket in quadrants around a central intersection point keeps all four anchor connections intact throughout the process. Pair it with scar slits that each get their own isolated cut and rooted teeth for a zombie face that glows with unusual structural complexity. Tackle each feature independently and in order from most to least structurally critical.

From pumpkin to porch

  1. Hollow and map the design

    Cut a back-angled lid and scoop the interior walls to about three-quarters of an inch in cutting zones. Draw the crossbar eye in full, marking the horizontal and vertical bar centerlines and the four socket quadrants around them. Then mark scar slit positions and tooth root boundaries before touching the carving saw.

  2. Carve the crossbar eye in quadrants

    Starting with the upper-left quadrant, cut around the bar junction and remove that piece. Move clockwise through each quadrant, confirming the cross junction connects to the outer shell on all four sides before the final piece is removed. An adult should perform this step with a narrow, rigid blade for the tightest control.

  3. Carve the scar slits

    Each slit is an isolated narrow rectangle or slot. Use a single push-pull motion per slot with a narrow detail blade, entering at one end and exiting cleanly at the other. Keep the blade perpendicular to the rind surface to avoid tapered edges.

  4. Carve the rooted teeth

    Cut the lower jaw opening last, stopping before each tooth base. Root width should be at least a quarter-inch per tooth; narrower and the tips droop or break off within days. Work from the mouth center outward toward each corner so the jaw opening stays balanced.

  5. Clean edges and reinforce bridges

    Trim any ragged cuts with a detail blade, especially around the crossbar junction where four cuts converge. Wipe away marker residue. Dab petroleum jelly on all exposed cut surfaces and on the crossbar itself to slow moisture loss.

  6. Light and observe the shadow grid

    Place a warm LED directly behind the crossbar eye so the internal wall catches the grid shadow. Photograph with the LED on and the room lights off to capture the full effect. Reapply petroleum jelly every two to three days to keep the crossbar intact.

Written with AI to match this design

Gather your supplies

Check things off as you get ready.

Work on a stable surface, keep your free hand out of the cutting path, and have an adult handle sharp tools.

Three levels of light

  • Leave intact

    The forehead, cheeks, and chin rind stay solid, providing the dark zombie face frame.

  • Peel & shade

    None; all detail is achieved with full cut-throughs.

  • Cut through

    The four socket quadrants of the crossbar eye, each individual scar slit, and the toothed jaw opening are all cut through completely for full-brightness glow.

Learn the carving basics

Before you start cutting

What happens if one of the crossbar arms breaks during carving?

Stop immediately and assess whether the break is at the junction or near an outer edge. If it is near the outer edge, a toothpick pressed through both pieces from the back can pin it. A break at the center junction is much harder to recover, so work in small increments and test each quadrant's stability before proceeding.

How do I transfer the crossbar pattern accurately onto a round surface?

Print the crossbar outline at the correct size, tape it to the pumpkin, and trace through with a stylus or dull pencil to leave a faint indent on the rind. Remove the paper and reinforce the indent lines with a washable marker before carving. This keeps the bars centered even on a curved surface.

Should the scar slits be the same length?

Varying the lengths slightly, for example two short and one longer slot, gives the forehead a more realistic, uneven scar appearance. Keep them all narrow and horizontal so they read cohesively as wounds rather than random cuts.

Your take belongs here, too.

Changed a detail? Made it simpler? Share a photo of your version and tell the community what worked.

Share your pumpkin

More pumpkins like this

You've reached the end · 8 pumpkins
The Patch Report

Fresh pumpkins, in your inbox.

The best new carvings, ideas worth stealing, and how-tos for carving season. Short, seasonal, and gone by November.

A short email during carving season. Unsubscribe anytime. See our privacy policy.