Similar to This
View all stencils →About this stencil
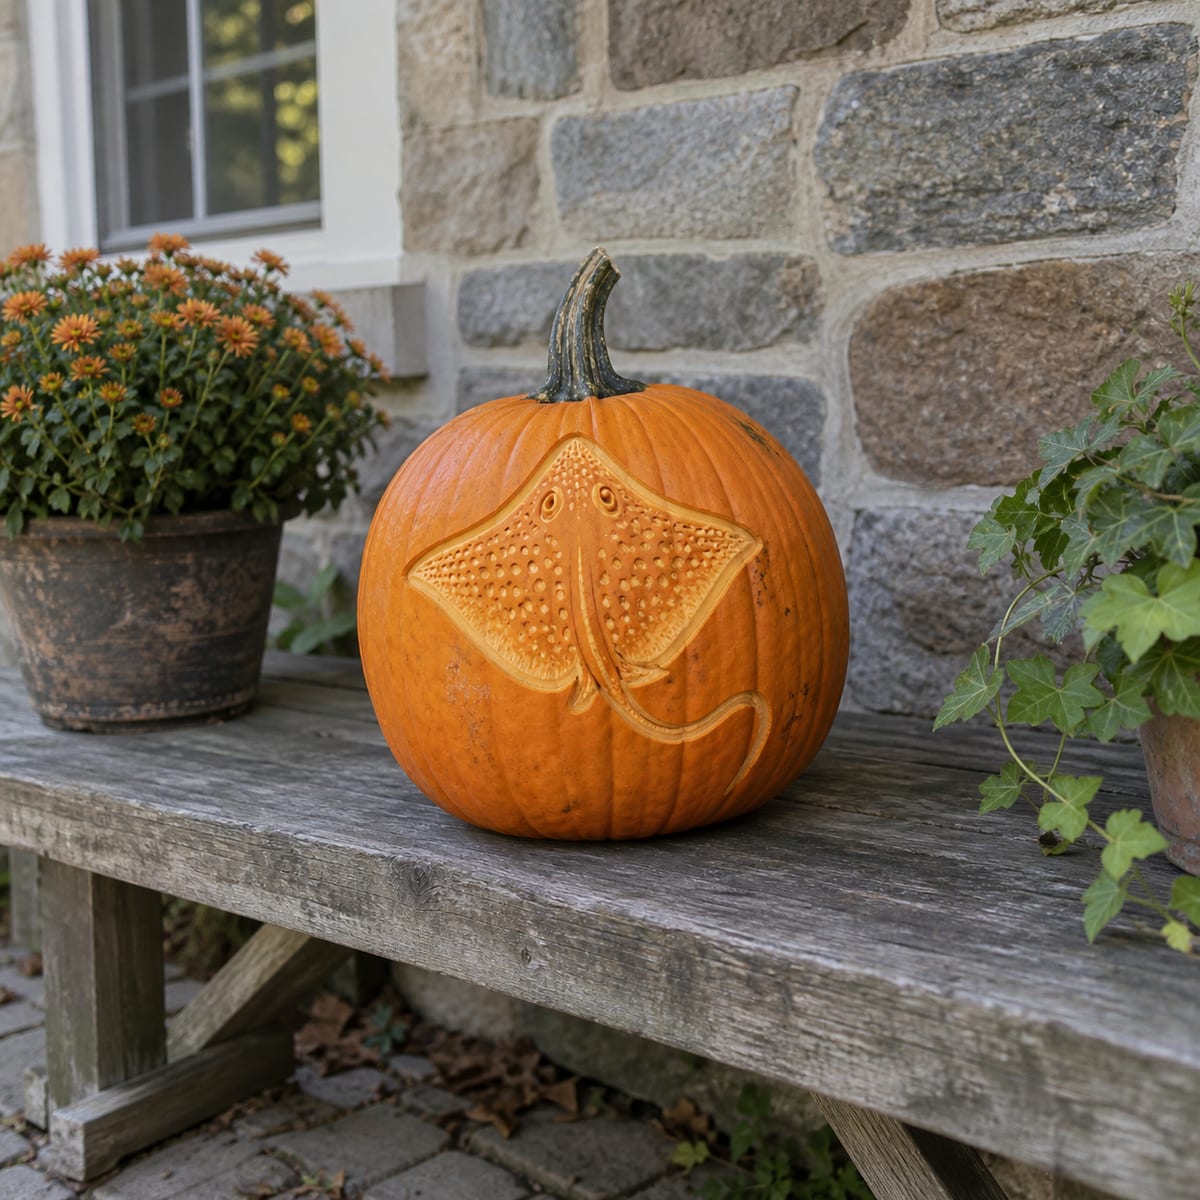
A diamond-bodied stingray glides diagonally across the pumpkin, its spotted back, curled wingtips, eye ridges, and long trailing tail all shaved into the skin with no pierced openings. The spots are left raised while the surrounding body is etched down to glow. Outline the ray first, then shave patiently around each spot; those raised dots are what sell the texture. This design is rated Advanced and takes most carvers around 150 minutes from trace to glow. Multi-layer cuts with skin-peel shading. Plan your cuts first.
Pumpkin size guide
- 🎃 Small (5–7") — print at 80%
- 🎃 Medium (7–10") — print at 100% (recommended)
- 🎃 Large (11–13") — print at 130%
- 🎃 Giant (14"+) — print at 150% on tabloid paper
Frequently asked questions
Can I resize this stencil?▾
Yes. The PDF is vector so it scales cleanly. Print at 100% for a 7–10 inch pumpkin, 130% for 11–13 inch, or 150% for a giant. Use your printer's "Fit to page" or "Custom scale" setting.
What kind of paper works best?▾
Standard 20 lb letter or A4 printer paper is fine. Heavier paper is harder to bend around the pumpkin curve. If your printer supports it, set the quality to 'best' so the lines are crisp.
How long will the carved pumpkin last?▾
Usually 5–10 days. Coat all cut surfaces with petroleum jelly and store the pumpkin somewhere cool overnight. Avoid direct sun. Battery LED pumpkin lights produce no heat and double the lifespan.
Can I sell pumpkins carved with this stencil?▾
Yes, the carved pumpkin you make is yours. The license covers personal and small-scale commercial carving (selling carved pumpkins, photographing them, posting on social). You may not resell the PDF file itself.
What if my printer doesn't print the whole stencil?▾
Set 'Page scaling' to 'Fit' in the print dialog and uncheck 'Auto-rotate'. If it still cuts off, the design includes 0.25" of safe-area margin so a small crop won't ruin it.
How to carve this stencil
- 1Print it
Download the PDF and print at 100% scale on letter or A4 paper.
- 2Prep the pumpkin
Cut the lid at an angle, scoop the guts, thin the wall to ~1 inch.
- 3Tape it on
Snip darts in the paper so it lies flat against the curve.
- 4Transfer the design
Poke along every line — about one dot every 1/8 inch.
- 5Carve it
Connect the dots with short straight cuts. Center first, work outward.
- 6Light it up
Drop in a battery LED pumpkin light and you're done.
Tools you'll need
For a advanced carve like this you'll want a linoleum cutter set, x-acto knife, peel tool, and pin transfer wheel. Here's the kit we reach for — start with whatever you already own.

Elmchee Pumpkin Carving Kit
13-piece kit with carrying case
Saws for the larger cutouts, plus a scoop for hollowing. Covers both jobs in one kit.
View on Amazon ↗
HOME MOST LED Pumpkin Lights
4-pack, battery operated, with remote + timer
Orange glow made for jack-o'-lanterns. The remote and timer light the pumpkin every evening without reaching inside.
View on Amazon ↗
Speedball 4131 Lino Cutter Set
Handle + 5 interchangeable cutters
Interchangeable cutters for peeling and shading the face. Useful for the finer details.
View on Amazon ↗
Community Pumpkin Carving Ideas
Carving ideas that use stencils like this one.



Related stencils
Carvers who liked this one also downloaded these.
 Advanced
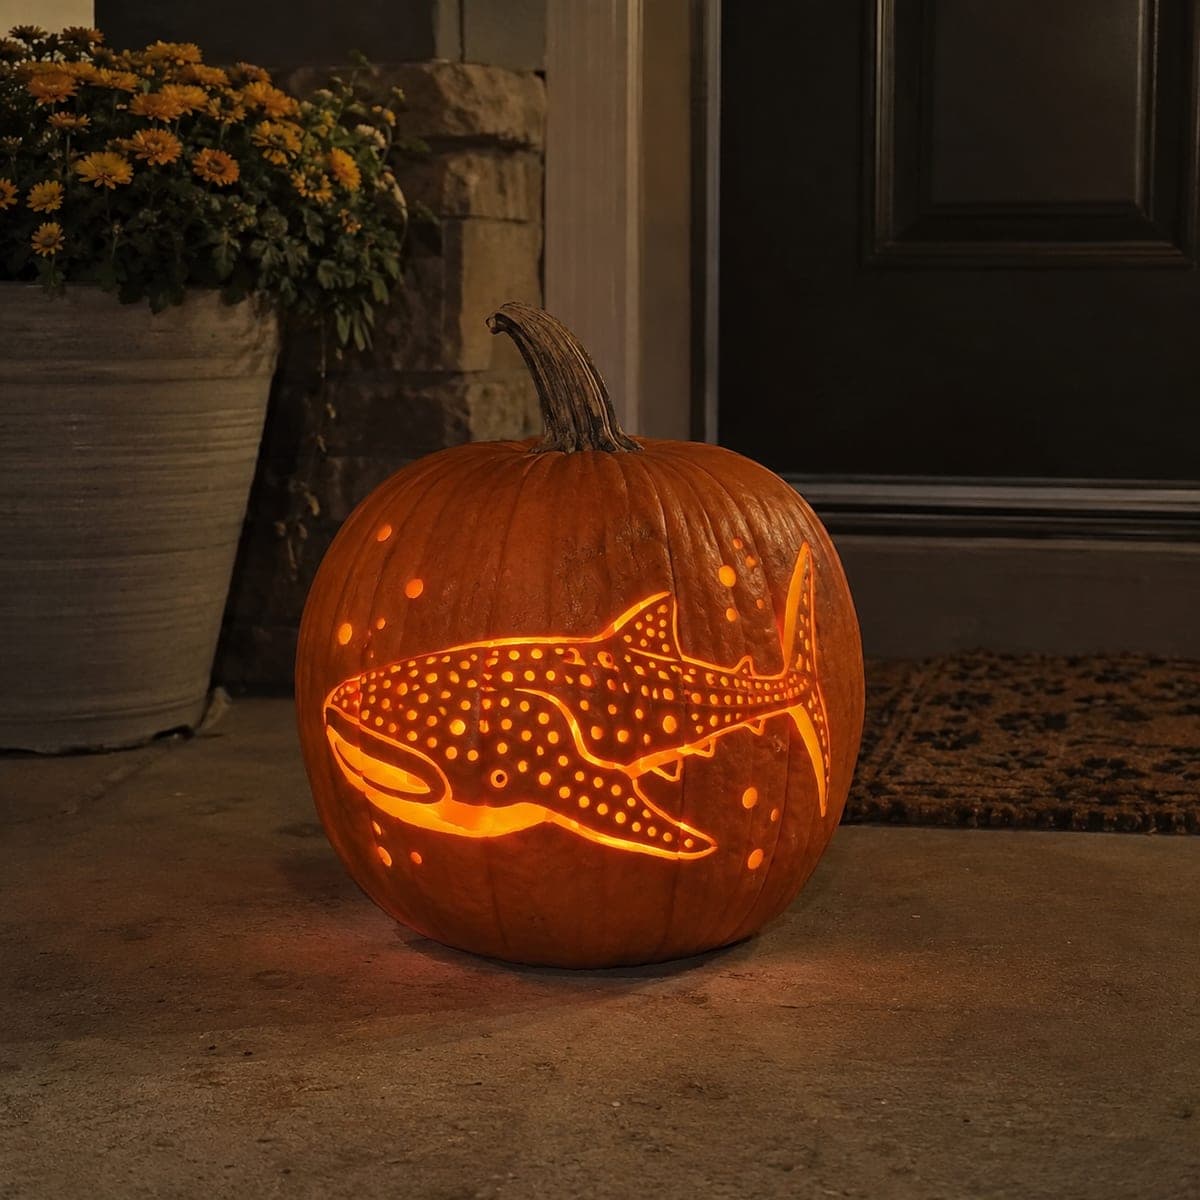
Spotted Whale Shark
A whale shark glides across the pumpkin, its wide flat head, tall tail fin, and body covered in the species' signature grid of pale spots, with a few bubbles drifting nearby. The shark's outline and spots are shaved to glow while the surrounding skin stays dark, so no section is pierced through. Do the long body outline first, then the spots; a small round scoop or melon-baller keeps all those dots consistent.
 Advanced
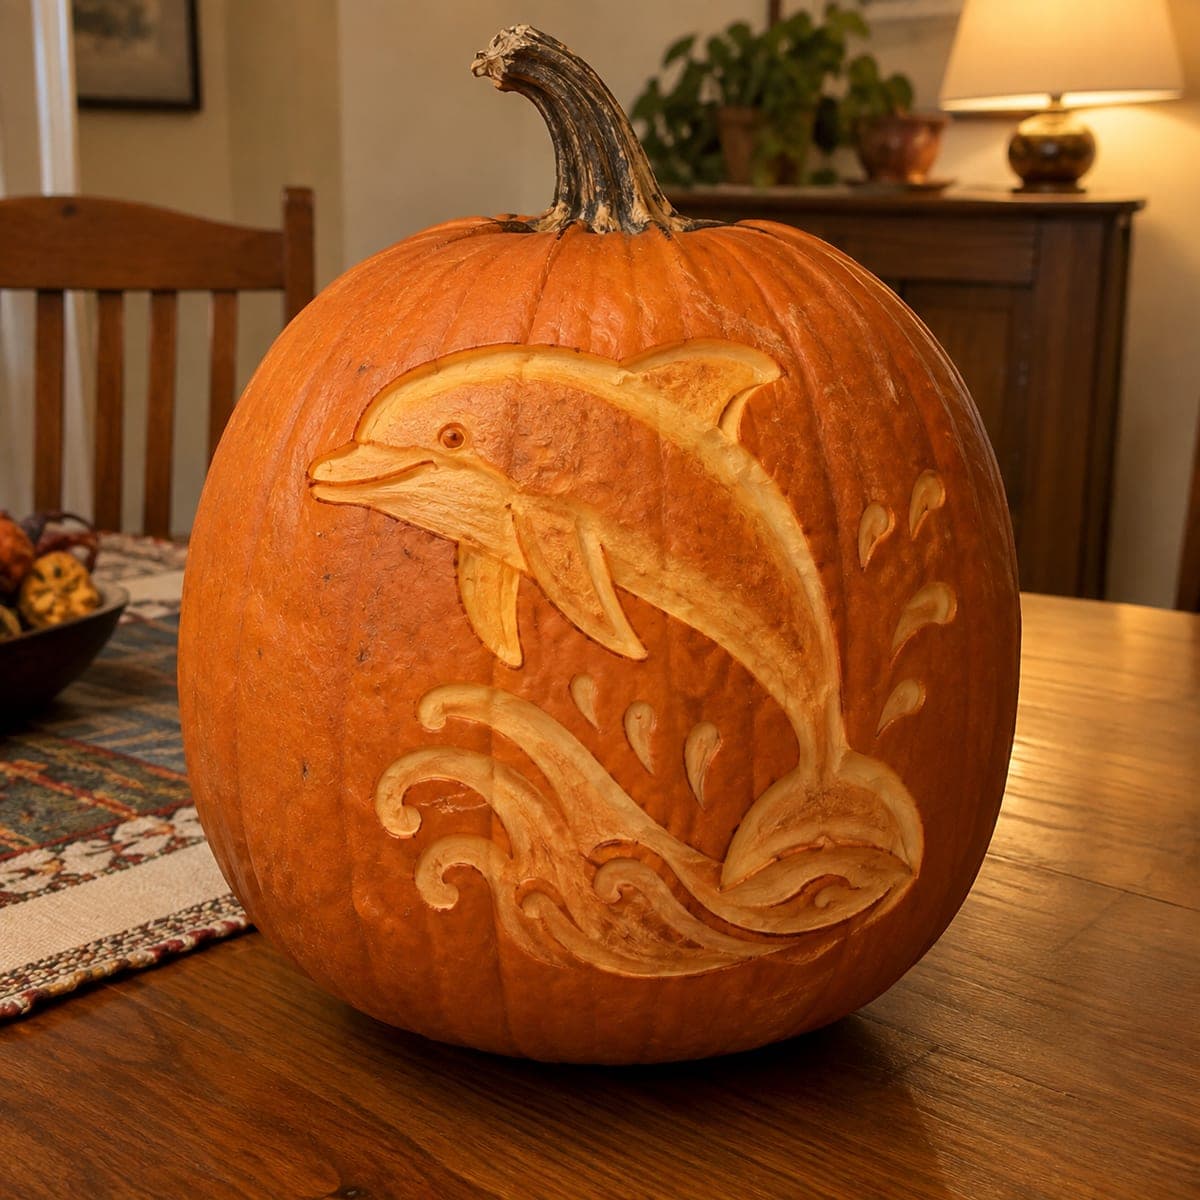
Dolphin above Curling Waves
A dolphin arcs above curling surf, its body, fins, and the rolling wave scrolls all shaved into the pumpkin skin with no pierced holes. Deeper shaving on the belly and wave crests makes those areas glow brightest, while shallow passes keep the outlines crisp. Vary your depth deliberately: the contrast between bright and dim is what gives this relief scene its sense of motion.
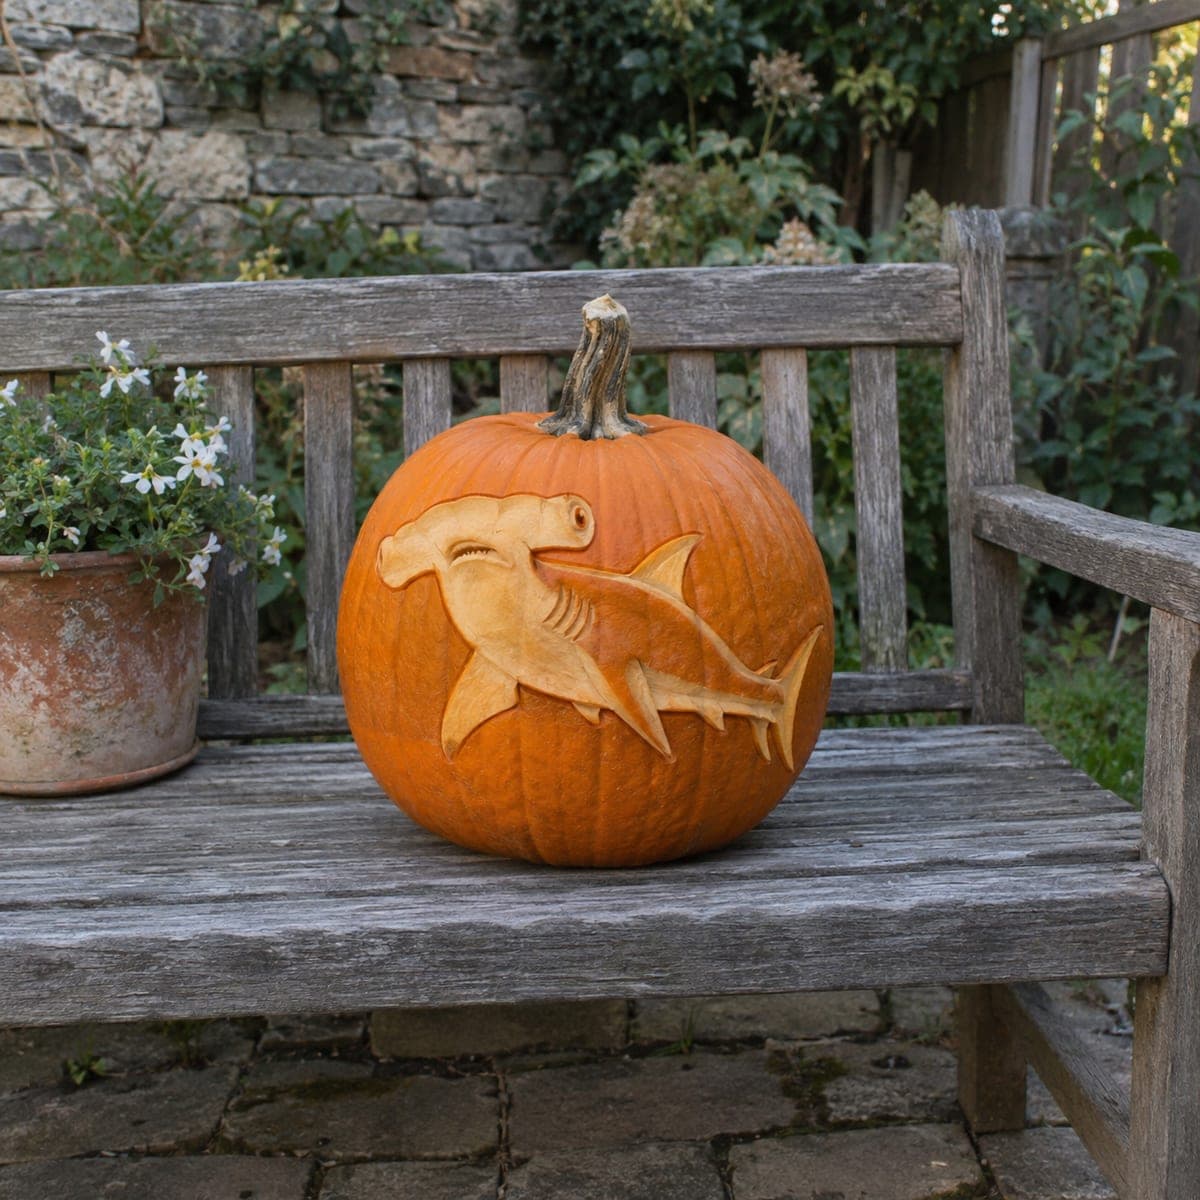 Advanced
Hammerhead with Raw Back
A sculptural hammerhead shark carved in raised relief, with the background cleared away so the body, fins, and curved tail stand proud of the wall in layered depths. Fin edges, the mouth line, and gill grooves are incised for realistic detail while nothing pierces through. Rough out the background to one even depth before shaping the shark itself, and keep at least half the wall thickness so the raised body stays sturdy.
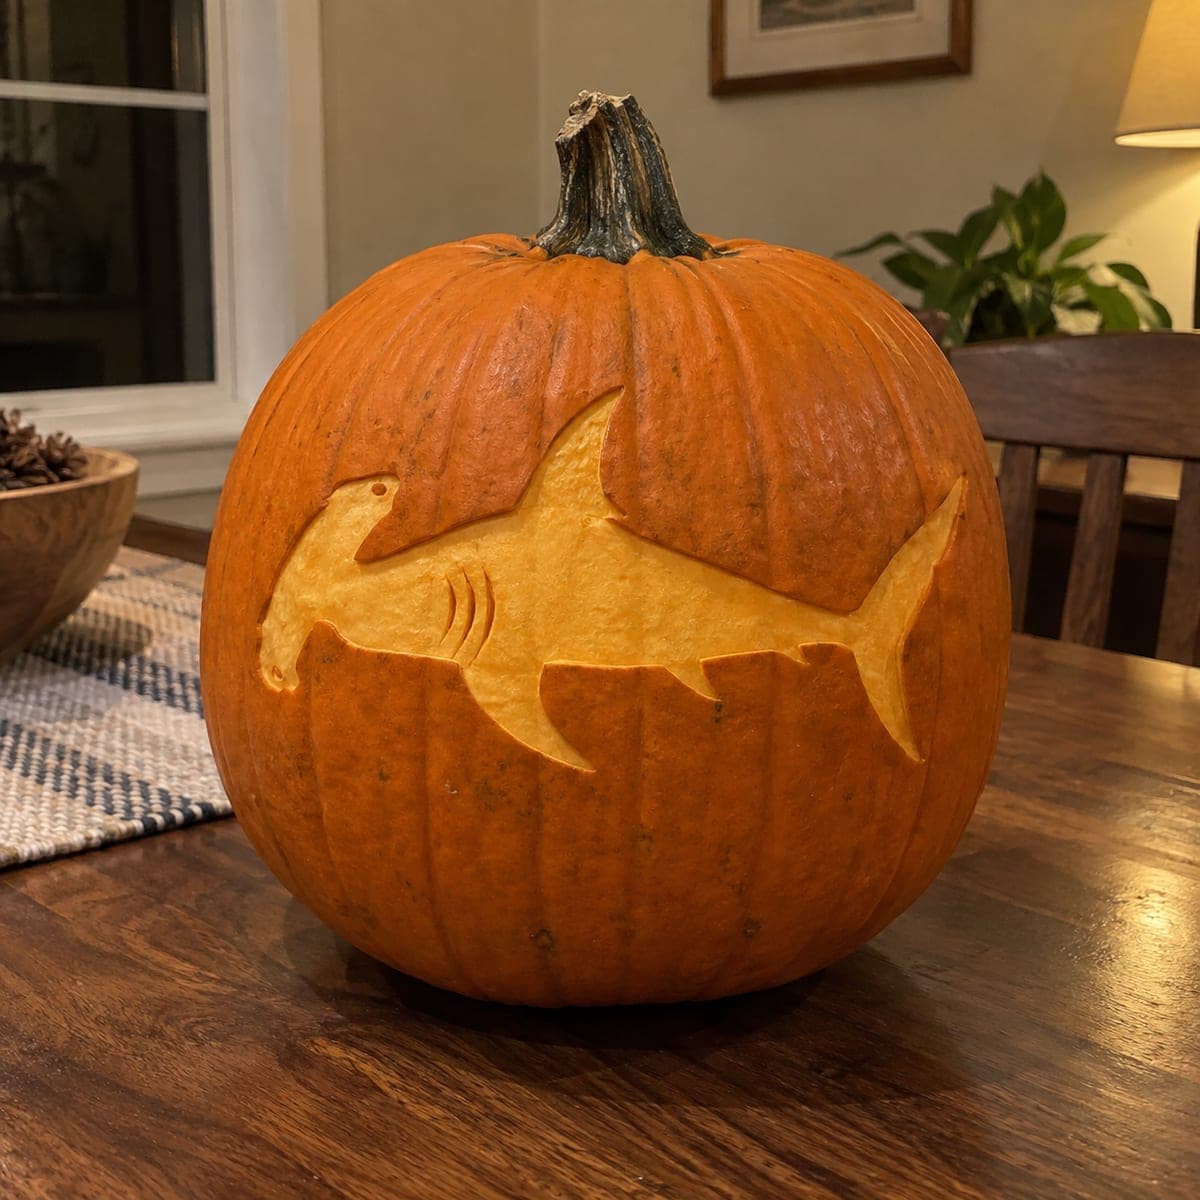 Intermediate
Left-Facing Hammerhead Shark
A left-facing hammerhead shark in full profile, wide head, tall dorsal fin, and swept tail, finished with three short gill slashes behind the head. The whole body is a shaded shape: you peel the skin inside the outline down to pale flesh and leave the pumpkin wall intact. Shave with the grain in long horizontal strokes to keep the body smooth, then deepen the gill lines and eye dot last for contrast.
 Beginner-friendly
S-Curve Snake
A thick snake winds through a bold S curve, its tapered head at the top and tail flicking out at the base, all carved as a single flowing opening. The whole serpent shape is cut through, so one continuous ribbon of light snakes across the pumpkin after dark. Because it is a single aperture with no fragile bridges, this easy design just needs slow steady knife work around the curves.
 Intermediate
Gear Cross and Three Dots
A chunky steampunk gear glowing around a solid crossbar, with three round rivet dots floating beside it like escaping sparks. The spaces between the gear teeth and the four windows inside the cog are cut through, while the cross-shaped bar stays attached to the pumpkin wall and holds everything together. Carve the small dots first, then the gear windows, and keep the crossbar at least a finger wide so the design stays rigid.