Similar to This
View all stencils →About this stencil
This pumpkin stencil depicts the Bride of Frankenstein: a woman's face in three-quarter profile with her dramatically tall, wild hair rendered as a jagged silhouette swept around the head. The face remains solid orange pumpkin skin, with the surrounding hair and shadow cut away to reveal the profile through negative space. Because the wispy tendrils of hair are narrow and fragile, use a thin detail blade and cut those curling strands before tackling the large surrounding void so the stencil sheet still holds them in place. This design is rated Advanced and takes most carvers around 150 minutes from trace to glow. Multi-layer cuts with skin-peel shading. Plan your cuts first.
Pumpkin size guide
- 🎃 Small (5–7") — print at 80%
- 🎃 Medium (7–10") — print at 100% (recommended)
- 🎃 Large (11–13") — print at 130%
- 🎃 Giant (14"+) — print at 150% on tabloid paper
Frequently asked questions
Can I resize this stencil?▾
Yes. The PDF is vector so it scales cleanly. Print at 100% for a 7–10 inch pumpkin, 130% for 11–13 inch, or 150% for a giant. Use your printer's "Fit to page" or "Custom scale" setting.
What kind of paper works best?▾
Standard 20 lb letter or A4 printer paper is fine. Heavier paper is harder to bend around the pumpkin curve. If your printer supports it, set the quality to 'best' so the lines are crisp.
How long will the carved pumpkin last?▾
Usually 5–10 days. Coat all cut surfaces with petroleum jelly and store the pumpkin somewhere cool overnight. Avoid direct sun. Battery LED pumpkin lights produce no heat and double the lifespan.
Can I sell pumpkins carved with this stencil?▾
Yes, the carved pumpkin you make is yours. The license covers personal and small-scale commercial carving (selling carved pumpkins, photographing them, posting on social). You may not resell the PDF file itself.
What if my printer doesn't print the whole stencil?▾
Set 'Page scaling' to 'Fit' in the print dialog and uncheck 'Auto-rotate'. If it still cuts off, the design includes 0.25" of safe-area margin so a small crop won't ruin it.
How to carve this stencil
- Attach the stencil securely and transfer all outlines with a pin tool, paying close attention to the fine hair tendrils.
- Start with the smallest, most delicate curling hair strands at the edges of the mass before the surrounding pumpkin wall weakens.
- Cut away the large dark hair shadow region next, working in sections from the outside of the mass inward.
- Leave the face area entirely solid throughout the entire process since it is the positive image.
- Remove the neck shadow patch last.
- Backlight with a single warm candle: the solid face glows orange while the cut-away hair creates a dark, dramatic silhouette halo.
Tools you'll need
For a advanced carve like this you'll want a linoleum cutter set, x-acto knife, peel tool, and pin transfer wheel. Here's the kit we reach for — start with whatever you already own.

Elmchee Pumpkin Carving Kit
13-piece kit with carrying case
Saws for the larger cutouts, plus a scoop for hollowing. Covers both jobs in one kit.
View on Amazon ↗
HOME MOST LED Pumpkin Lights
4-pack, battery operated, with remote + timer
Orange glow made for jack-o'-lanterns. The remote and timer light the pumpkin every evening without reaching inside.
View on Amazon ↗
Speedball 4131 Lino Cutter Set
Handle + 5 interchangeable cutters
Interchangeable cutters for peeling and shading the face. Useful for the finer details.
View on Amazon ↗
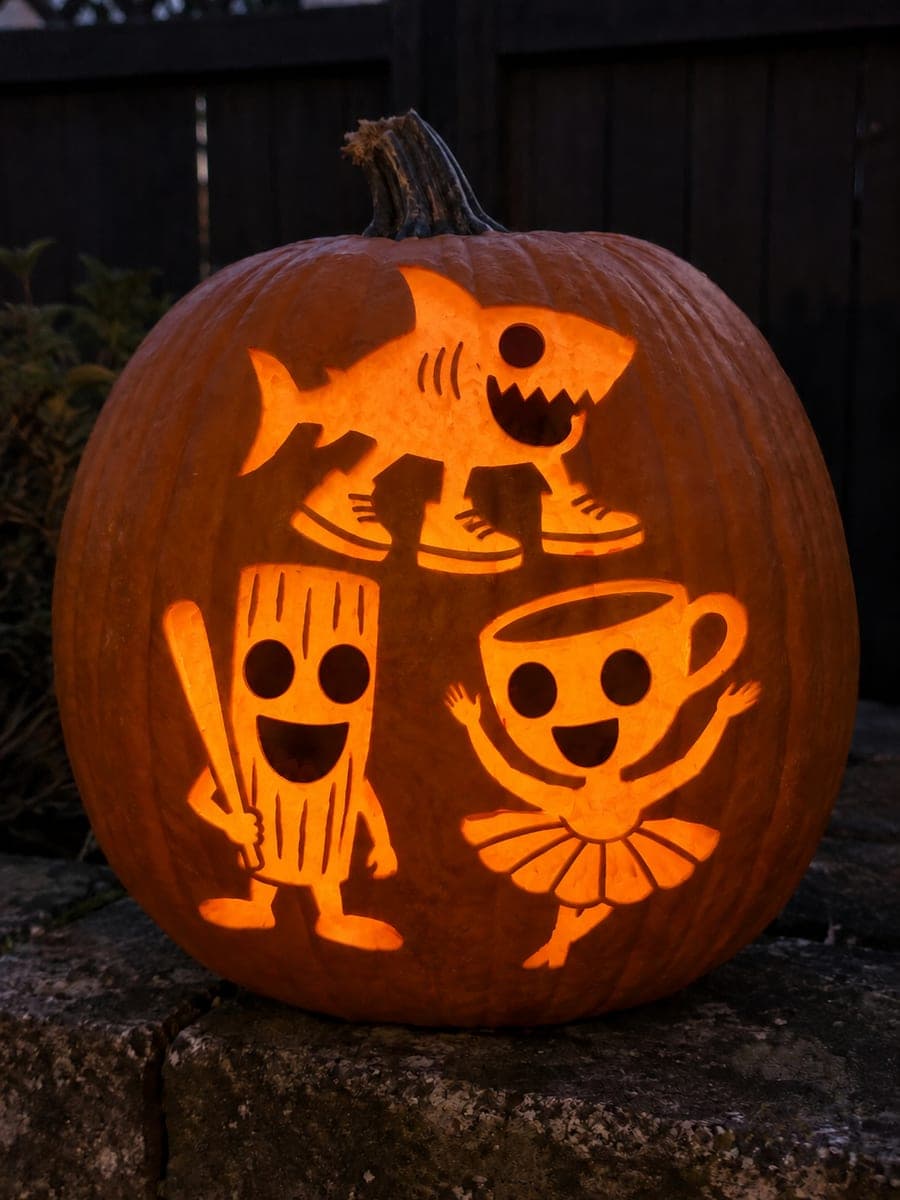
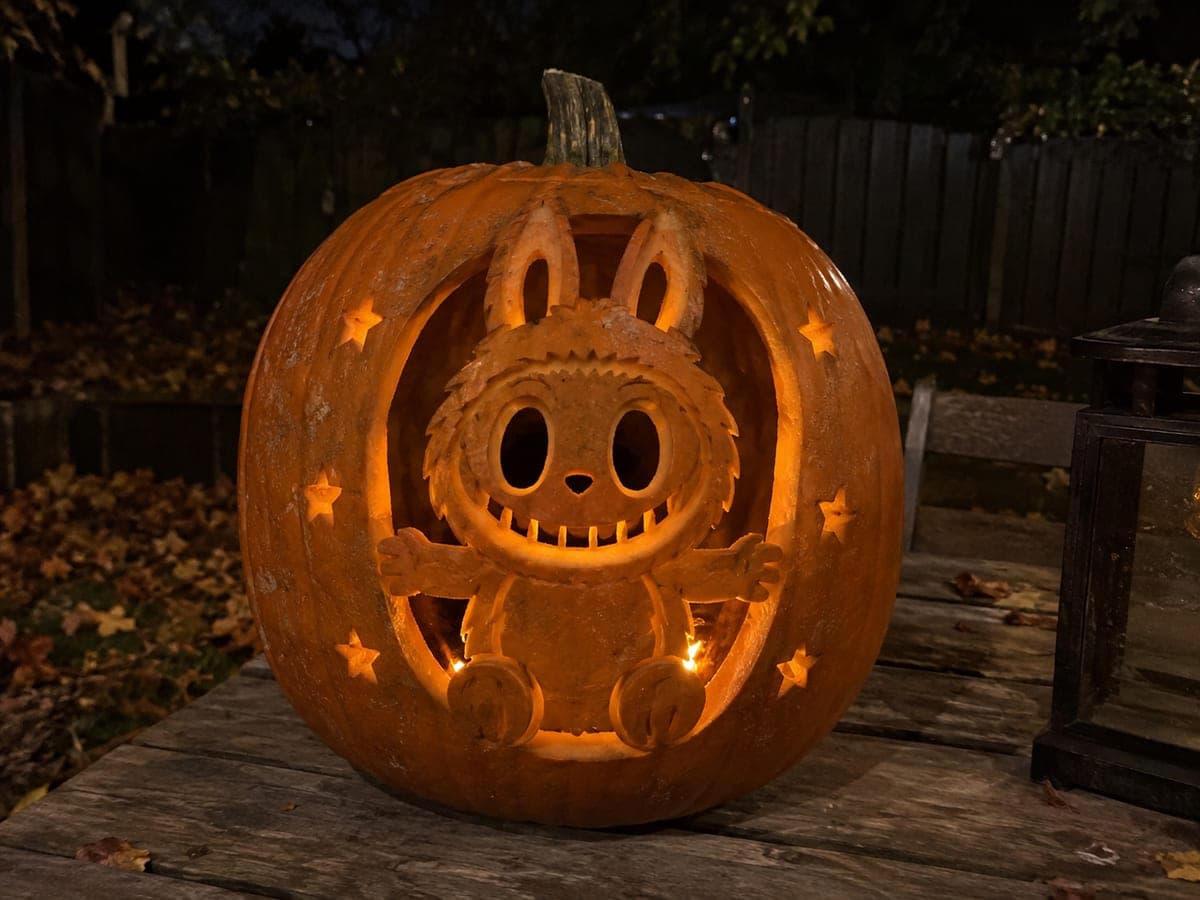
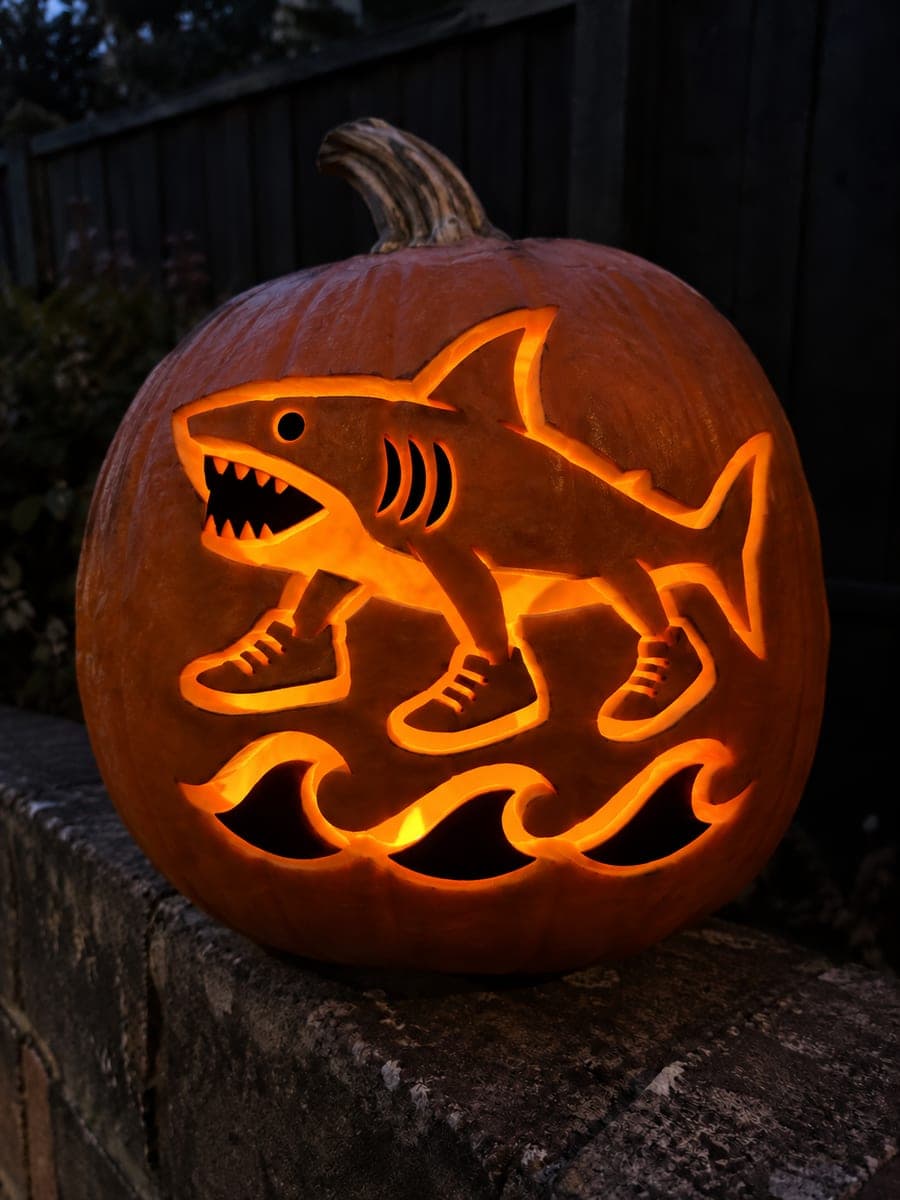
Community Pumpkin Carving Ideas
Carving ideas that use stencils like this one.


Related stencils
Carvers who liked this one also downloaded these.
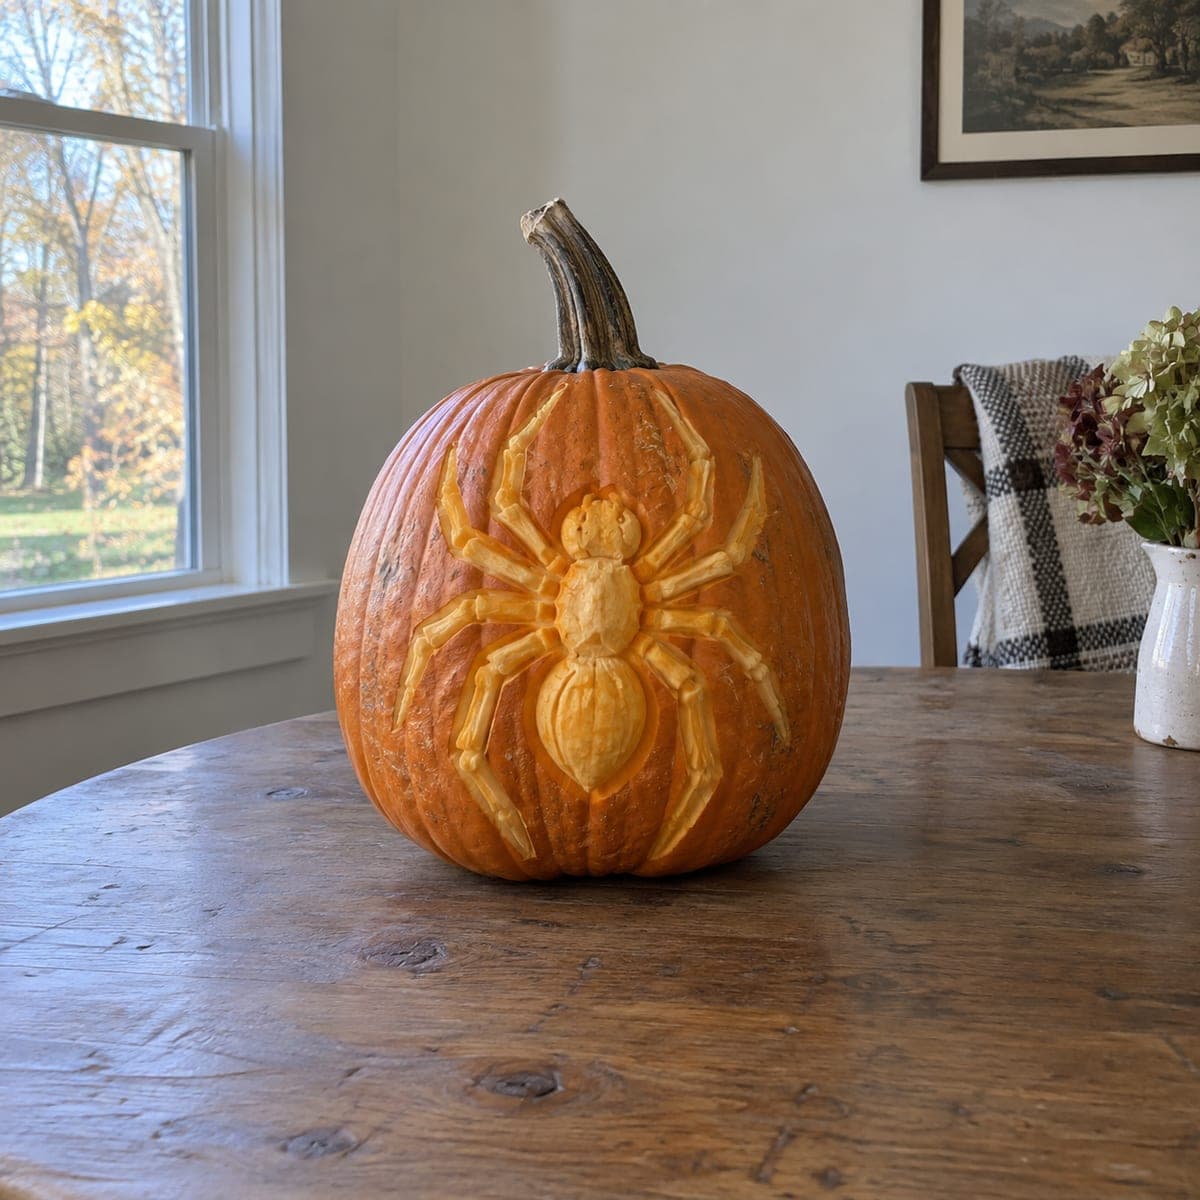 Advanced
The Looming Tarantula Pumpkin Stencil
A boldly sculpted spider with a plump pointed abdomen, rounded head, and eight thick segmented legs that arch outward like a tarantula ready to strike. It carves as continuous-wall relief: you shave away skin at varying depths so the body and legs stand out dimensionally, with no openings pierced. This hard project rewards layered carving, so rough in the whole shape shallow first, then deepen around the legs to lift them off the background.
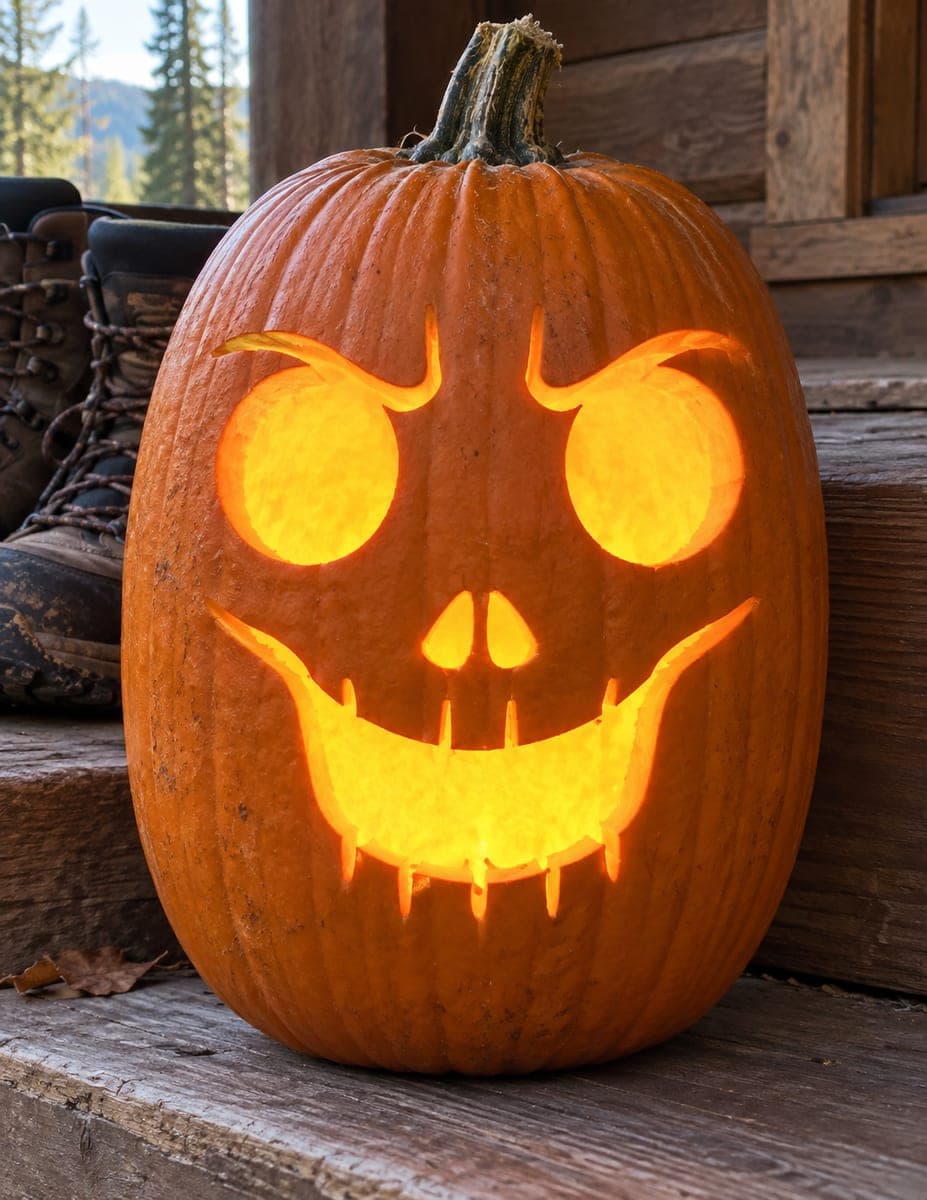 Advanced
The Dripping Grin Pumpkin Stencil
A gleefully sinister face with huge round eyes topped by curling, hooked brows, a small skull-style nose, and an enormous crescent grin edged with thin dripping tooth spikes. Every element is cut through, and the narrow drip slits along the mouth are what earn the hard rating. Carve the big eye and mouth openings first, then cut the fragile tooth drips last with a fine saw so they do not snap.
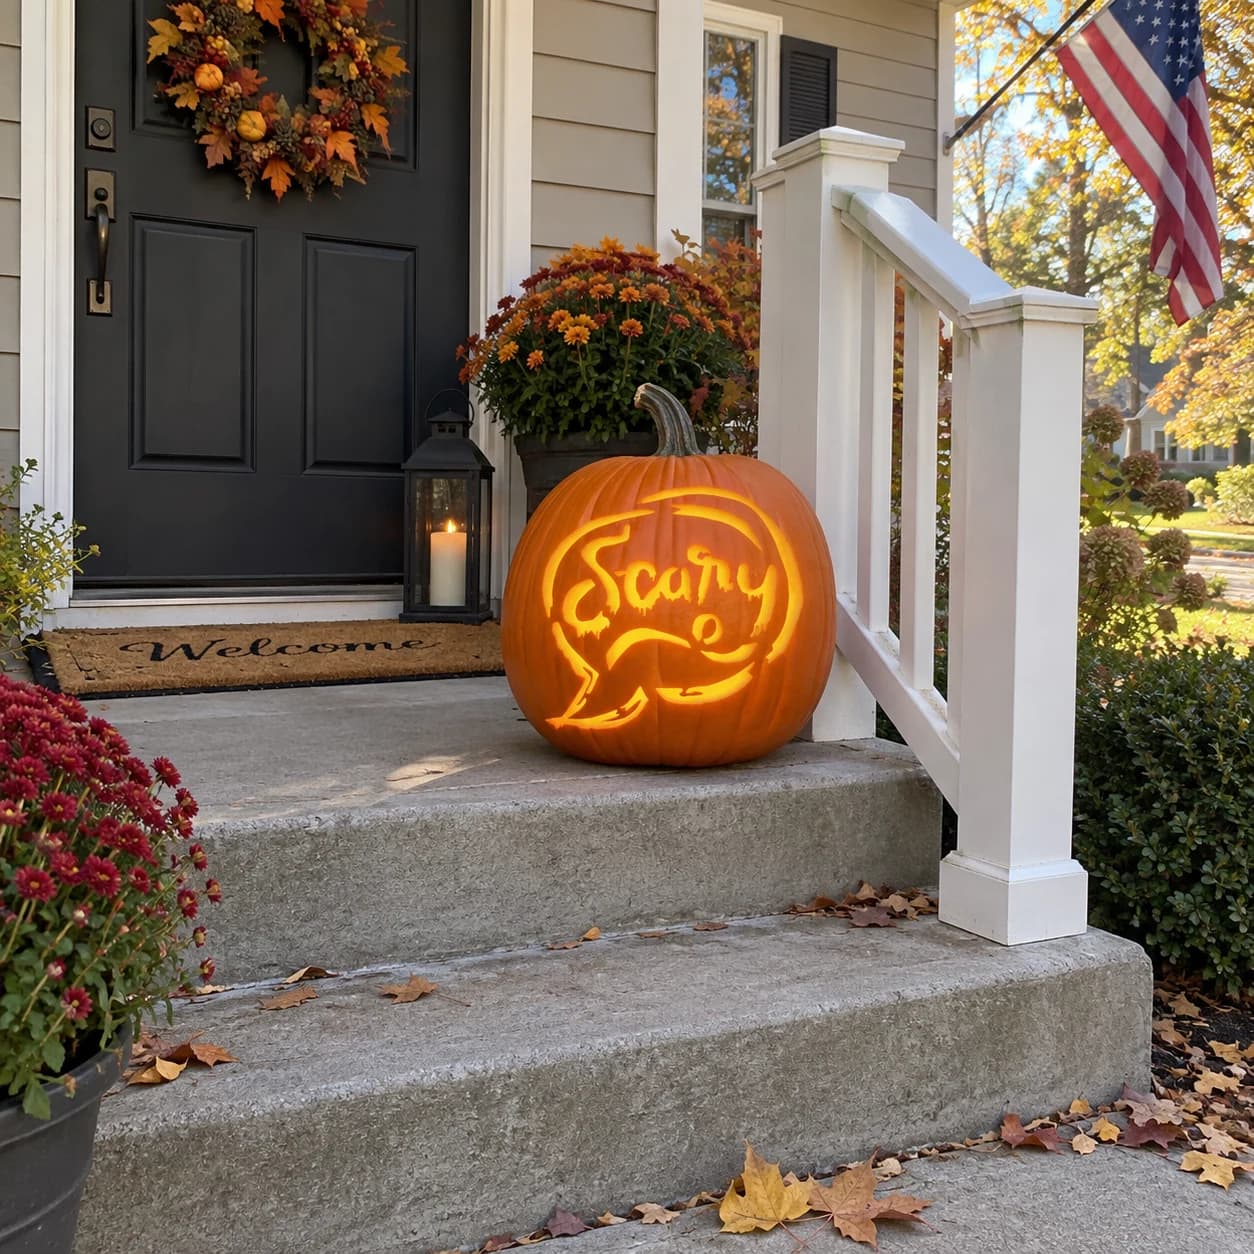 Advanced
Scary Text Pumpkin Stencil
The word "Scary" is rendered in a dripping, horror-movie hand lettering style and set inside a speech bubble outline made of jagged, claw-like strokes in this hard pumpkin stencil. The letter forms themselves are cut through while the speech bubble border stays solid, so candlelight glows through the word while the ragged bubble outline frames it in orange. The thin descenders on the letters, particularly the tail of the "y" and the base of the "S," are the most fragile bridges; cut those last after the letter interiors are already free.
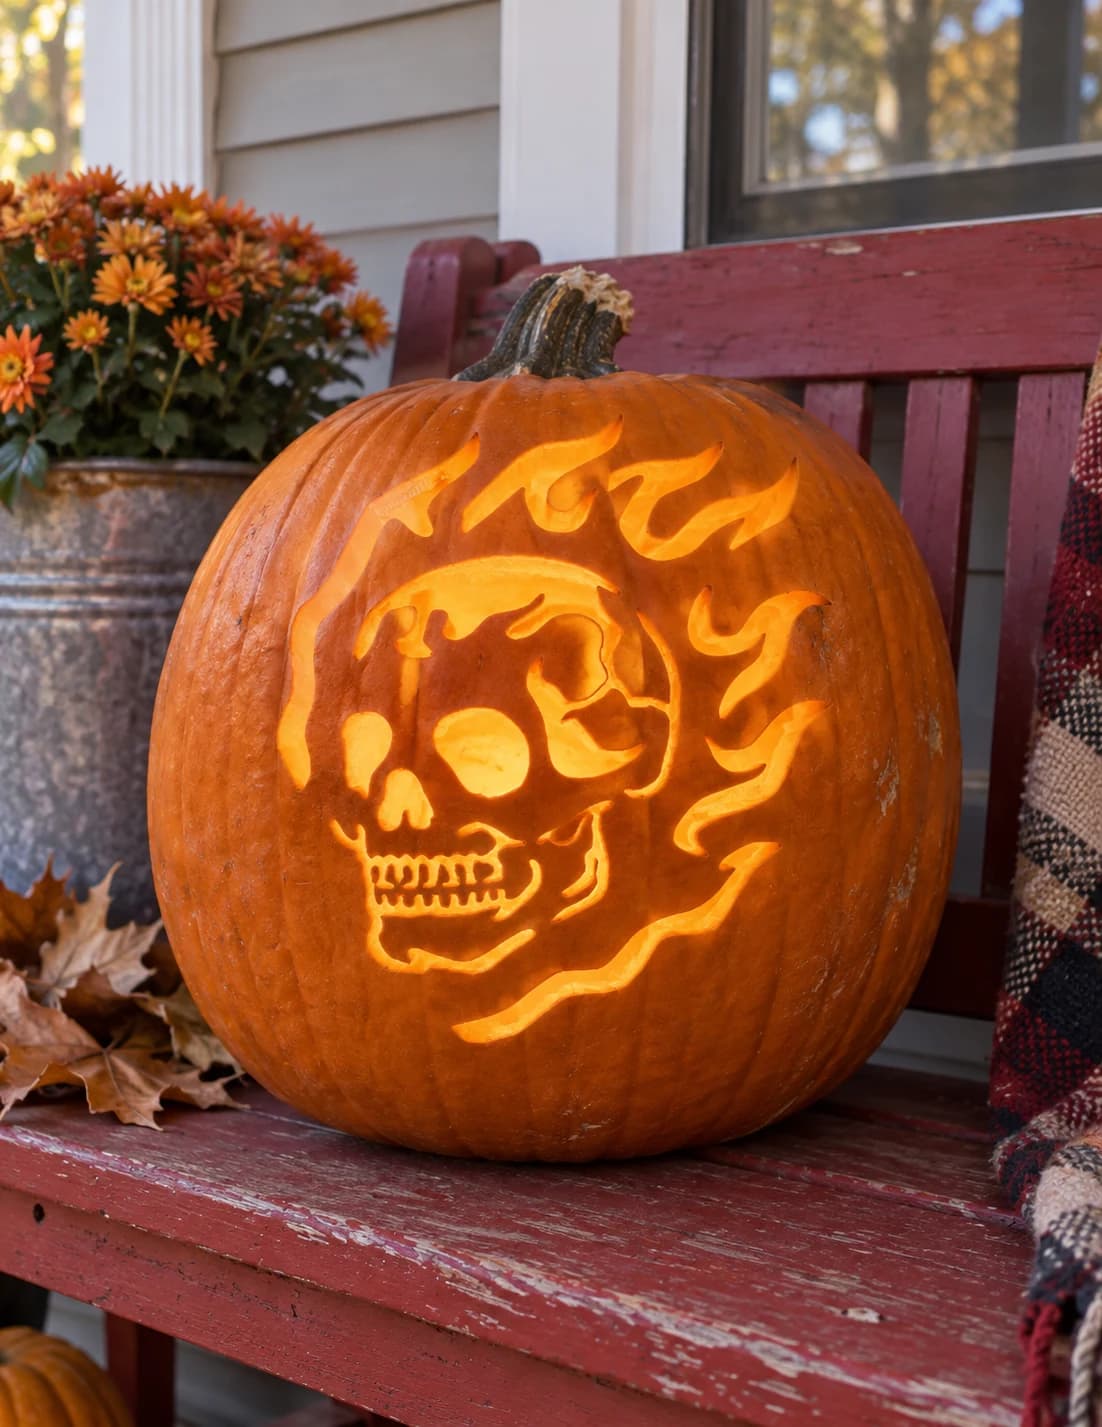 Advanced
Flaming Skull Profile Pumpkin Stencil
A skull in three-quarter profile sits at the center of this hard pumpkin stencil, ringed by a crown of wild flame tongues that curl and taper at their tips. The skull's round cranium, hollow eye socket, nasal cavity, and separated teeth are all open cut-outs, while the solid skin between them forms the facial structure; the flames surrounding it are a mix of pierced channels and solid skin bridges. Carve the skull's eye socket and nose first, then work the teeth individually before tackling the outer flame tongues, which have thin tapered ends that tear if the blade stalls.
 Expert / Pro
Happy Halloween Drip Text Pumpkin Stencil
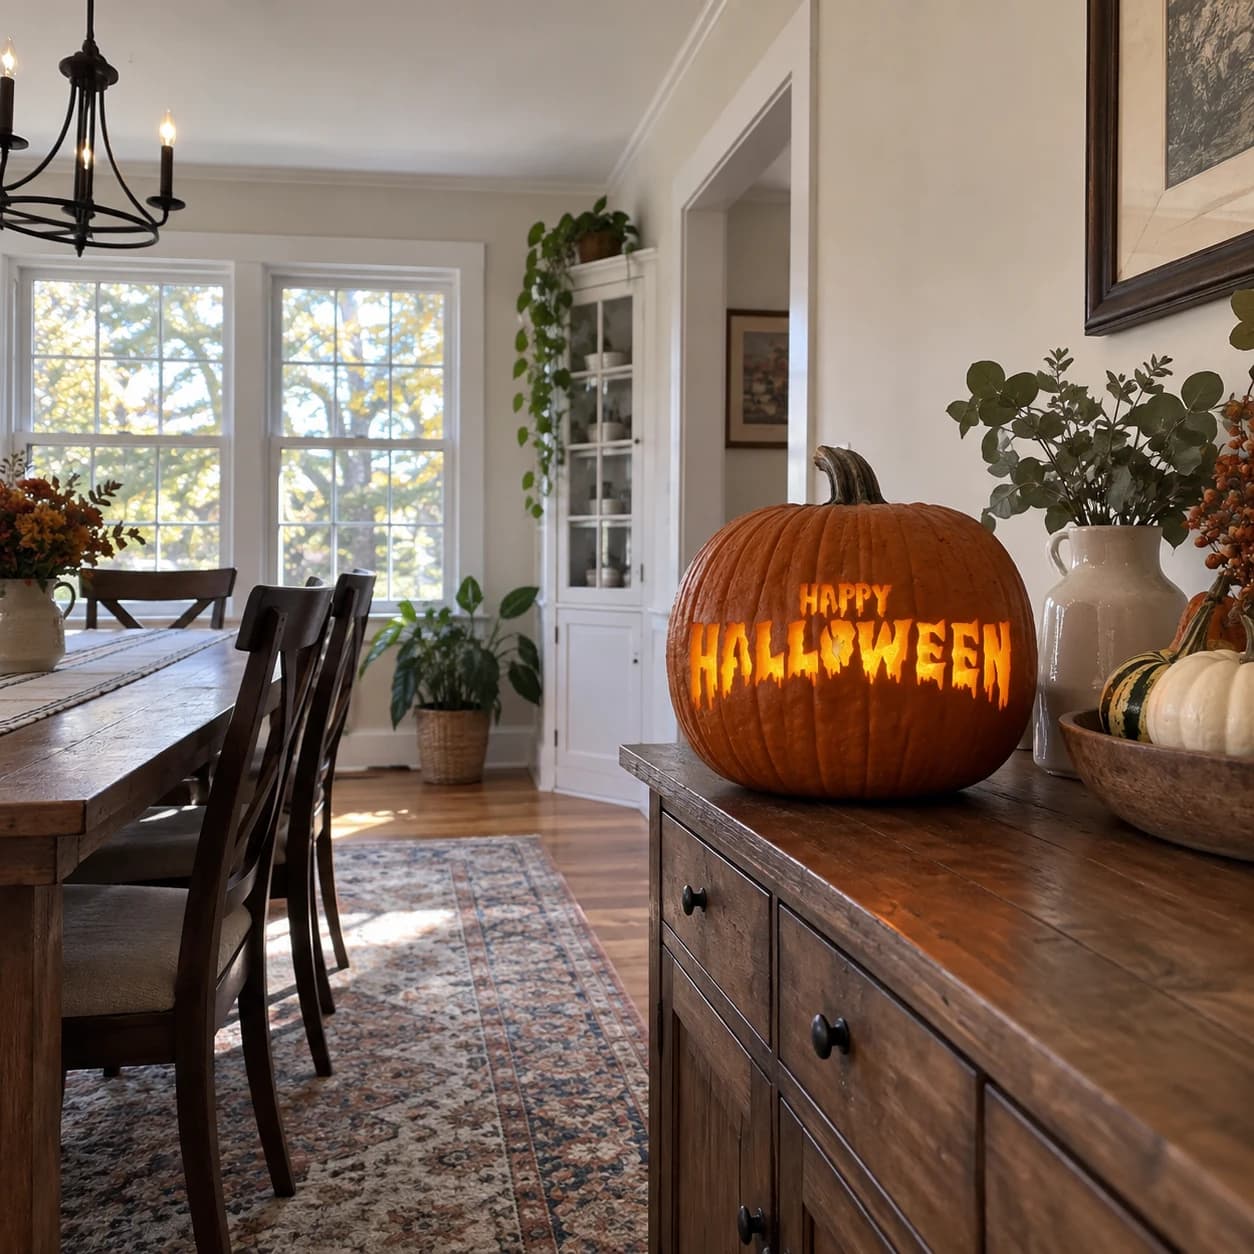
The words HAPPY HALLOWEEN wrap across this pumpkin stencil in a wide dripping horror typeface, the tall letters of HALLOWEEN spanning the full width of the pumpkin in a single solid banner with icicle-like drips hanging from each base. The smaller word HAPPY sits above in a lighter display face. All letters are carved as open cut-outs connected edge to edge, forming a wide horizontal band of glowing text. Thin the pumpkin wall to about half an inch across the whole text zone before carving, because the long horizontal band removes a large section of structural support and a thinner wall is easier to keep from cracking under the blade.
 Expert / Pro
The Ember King Pumpkin Stencil
Hooked, furious eyes glare beneath a crown of flame-shaped cutouts that climb the pumpkin's forehead, while a jagged mouth bristles with rows of interlocking fangs and a diamond nose burns at the center. Nearly a hundred small pierced shapes surround the face, so this is a marathon of careful knife work. Cut from the center outward and rest often; the narrow skin bridges between flames and fangs cannot take rushed strokes.