All pumpkin stencils, A to Z
All 1,193 free printable pumpkin stencils in one list. Each pattern is a PDF template you can print at home, tape to your pumpkin, and trace for a Halloween jack-o'-lantern. Looking for a theme or skill level? Start at the pumpkin stencils hub.
1193 results · A to Z · Page 19 of 34
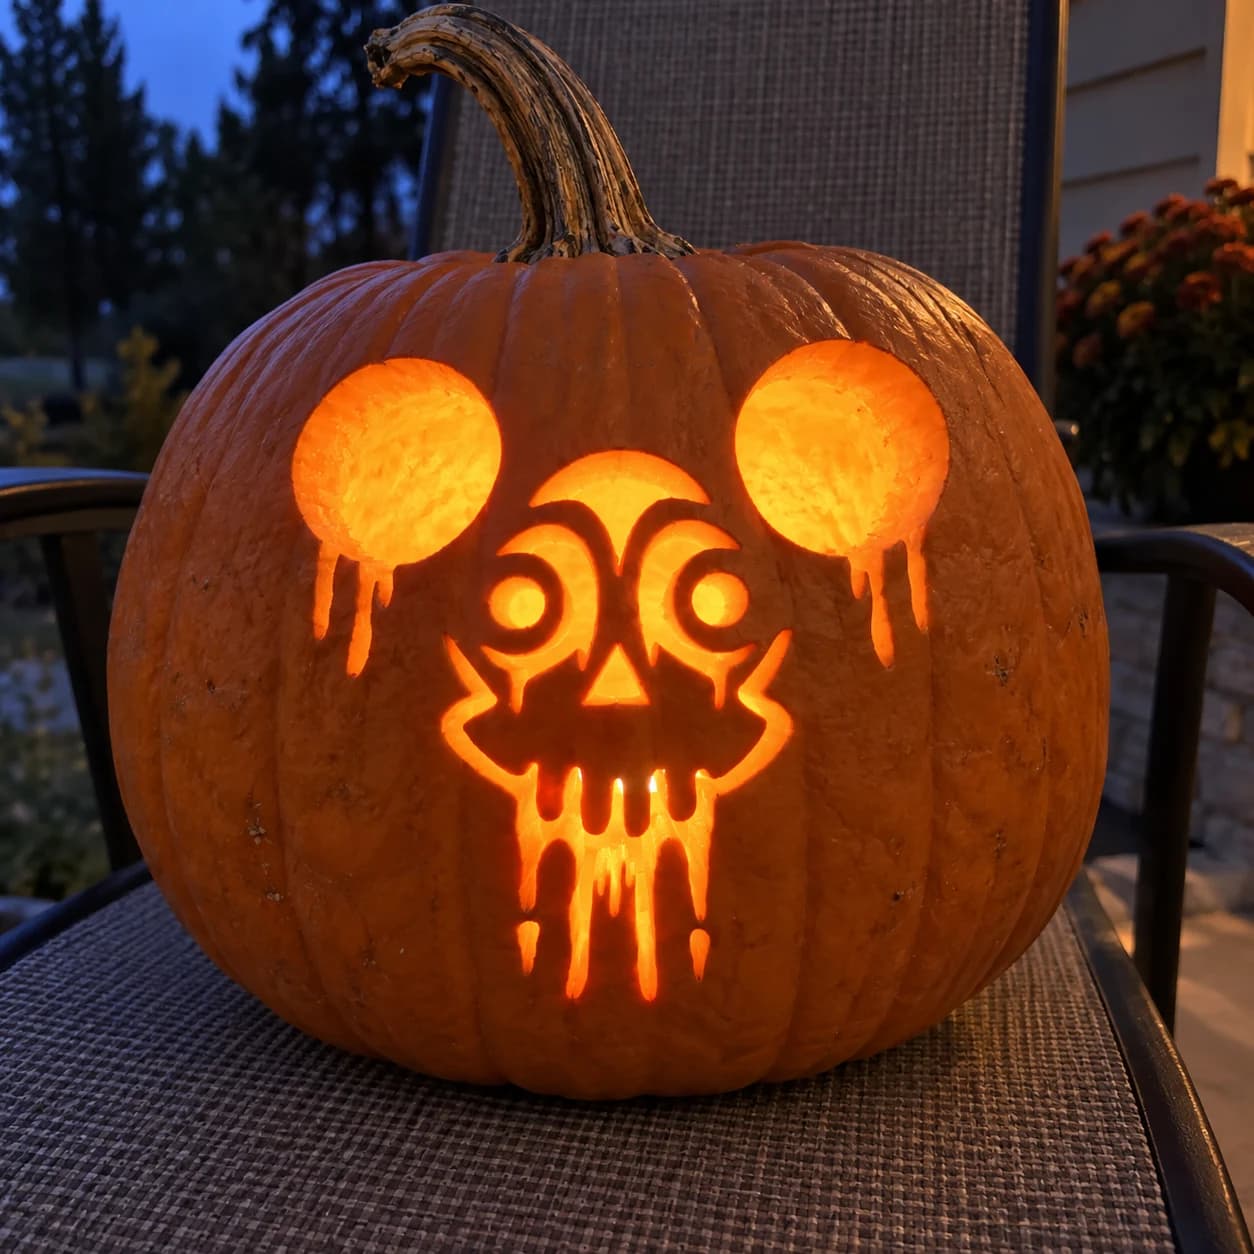
Mouse Skull Pumpkin Stencil
Two large round ear-shaped circles top a grinning skull face in this hard skull pumpkin stencil, the whole design dripping with melting-wax details that hang from the ears and chin. The skull's hollow round eyes and triangular nose are cut through, while the jagged smiling mouth and drip channels below the face create a pattern of narrow glowing slits. Lit inside a jack-o-lantern, the ears glow as two bright round openings above a menacing skull expression. Carve the two large ear circles first since they are structurally independent, then work down through the drips before tackling the fine interior face cuts.
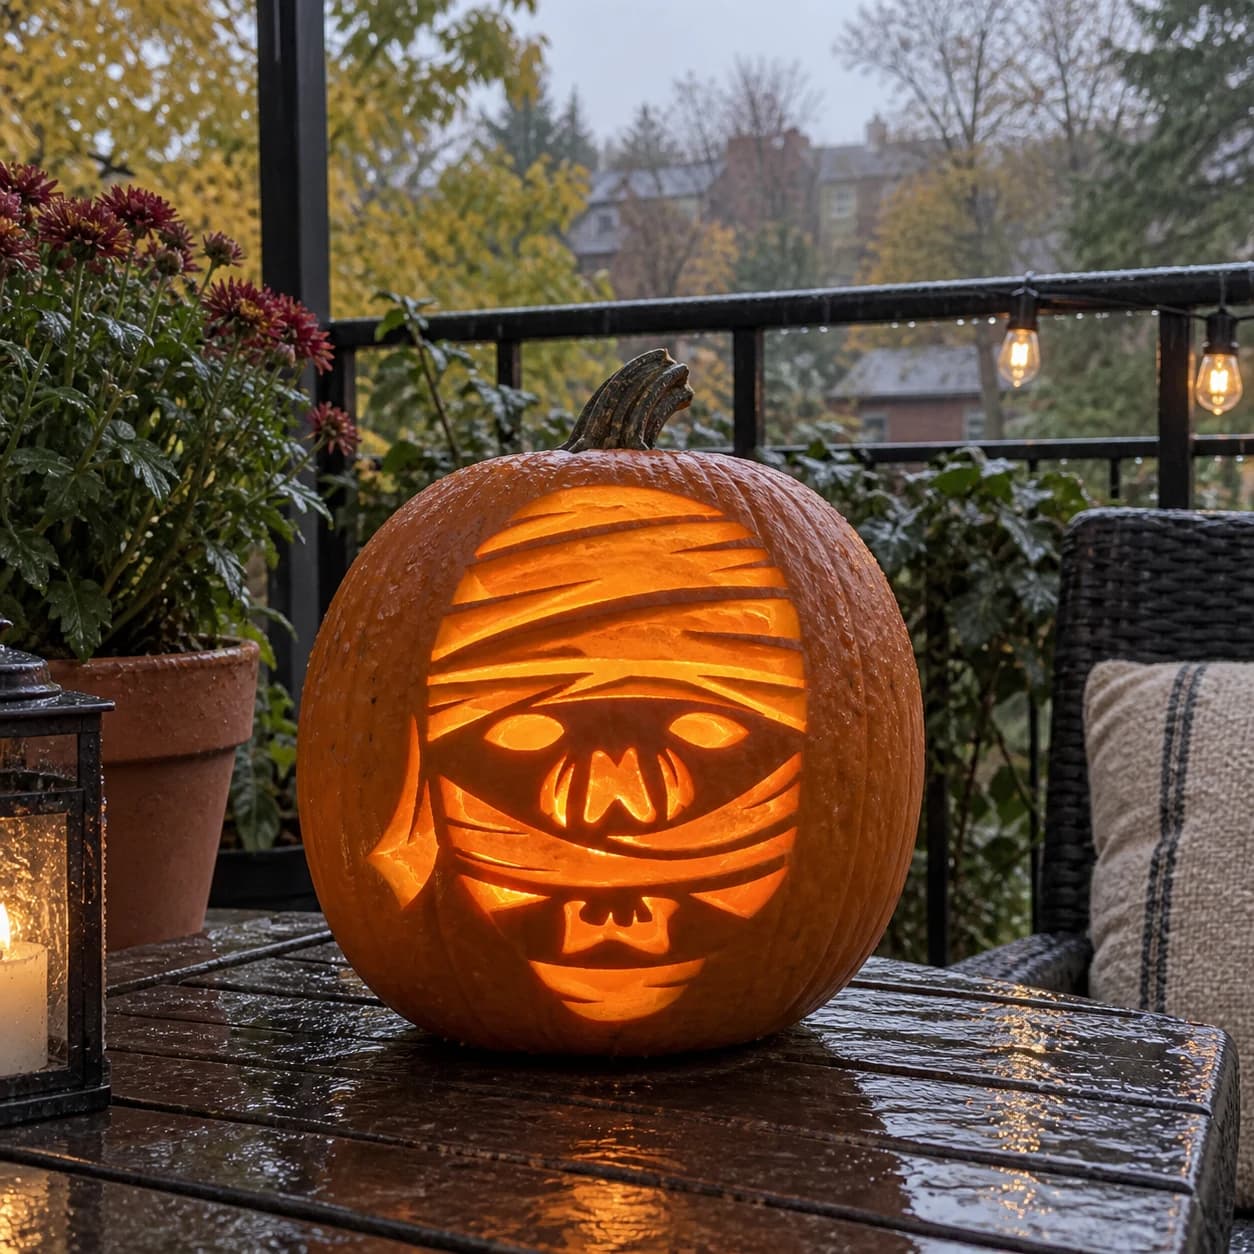
Mummy Face Pumpkin Stencil
A mummy face fills this pumpkin stencil, built from horizontal overlapping bandage strips that cross the forehead, bridge over hollow oval eye sockets, and wrap beneath a grimacing mouth with small exposed teeth. The bandage layers are the solid orange pumpkin wall while the gaps between them are pierced through, so candlelight reads as stripes of light across a dark face. Cut the eye socket ovals first, then work upward through the bandage gaps from the chin to the crown, keeping each horizontal bridge intact until the cut on either side of it is complete.
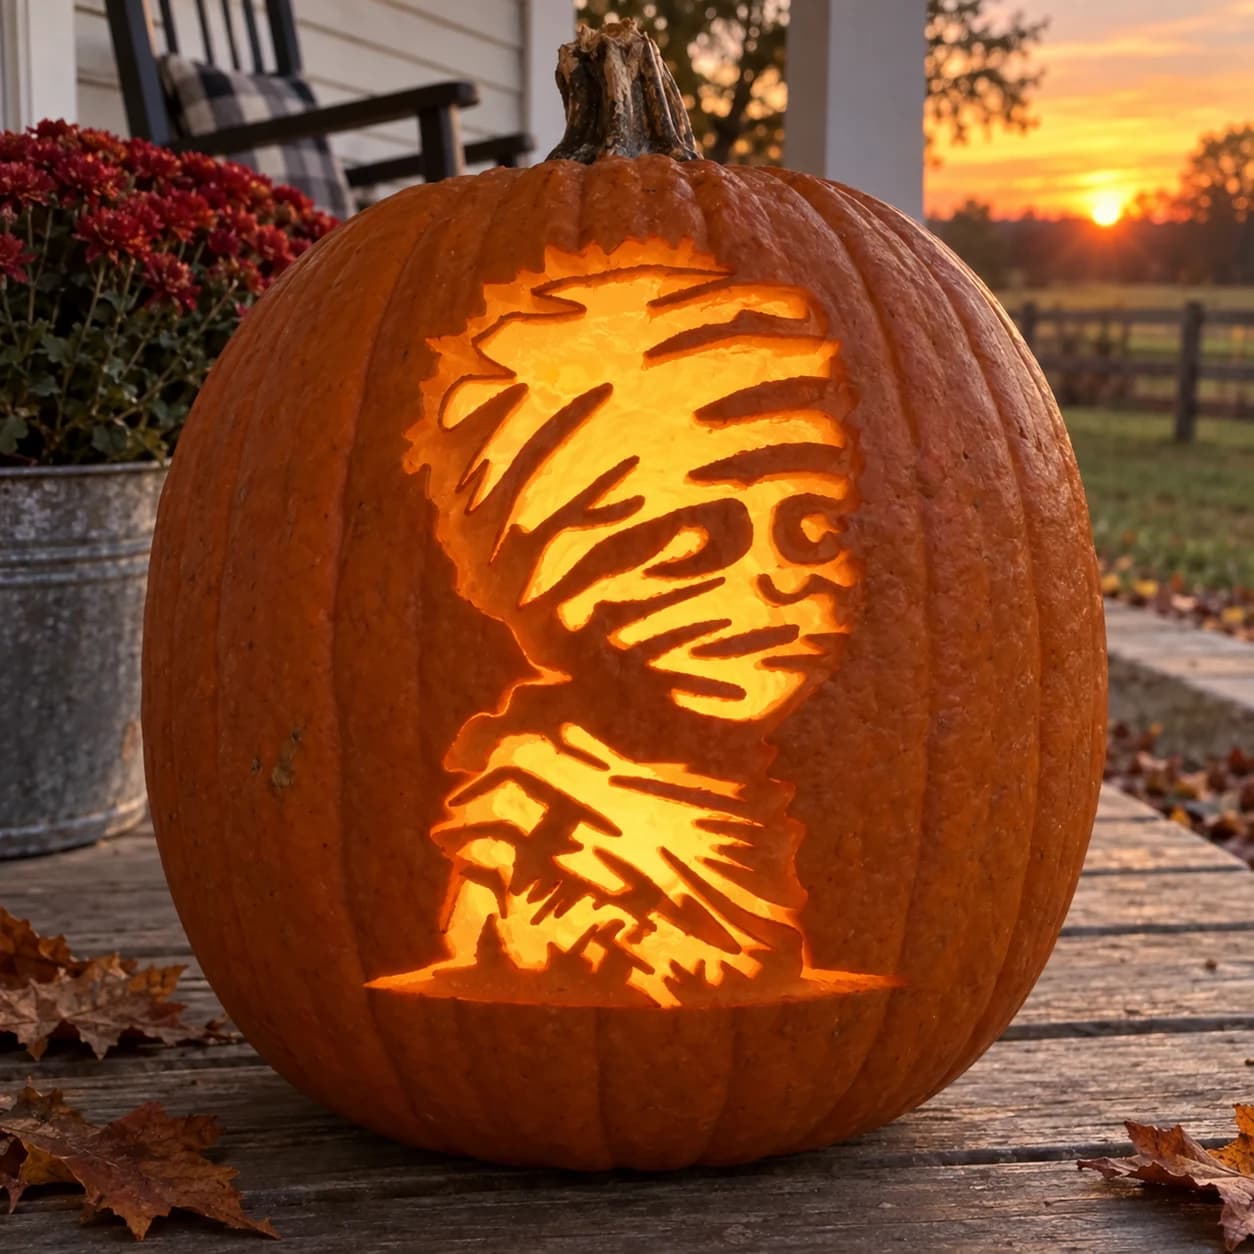
Mummy Pumpkin Stencil
A mummy's head and shoulders rise from a base of wrapping strips in this expert pumpkin stencil, the face emerging through layered horizontal and diagonal bandage cut-outs that reveal a single visible eye and a grimacing mouth. The design is dense with interlocking cut shapes separated by thin strips of uncut pumpkin that simulate gauze wrapping. Work from the face outward, completing the eye and mouth details before tackling the long bandage strips so the central features stay stable throughout.
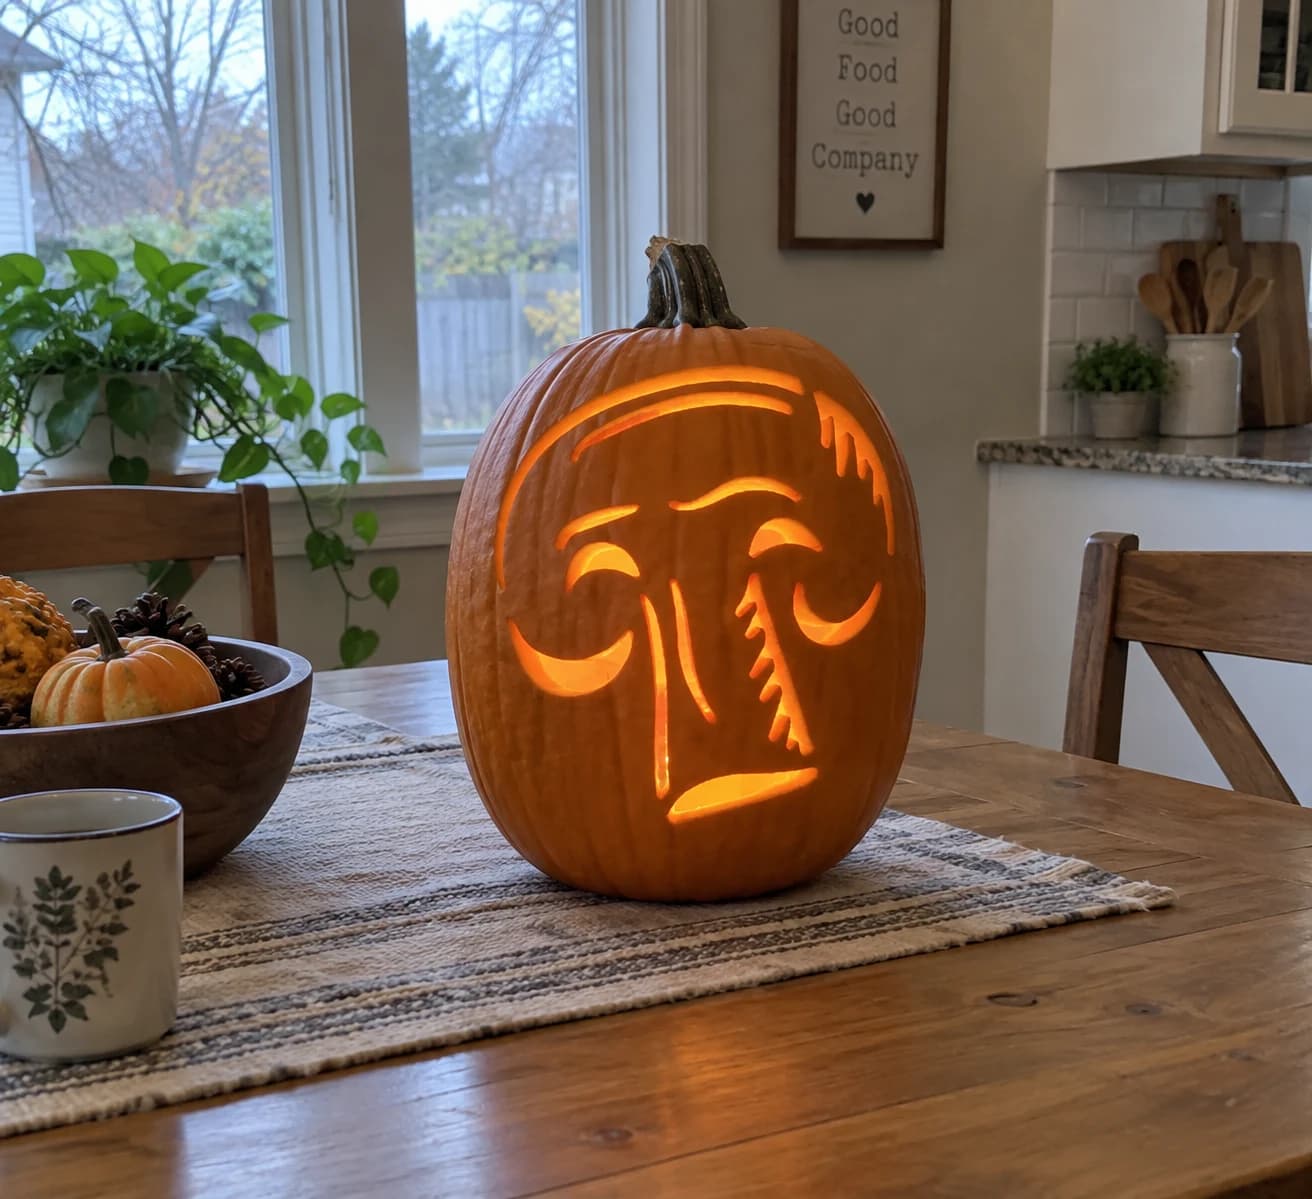
Mushroom Face Pumpkin Stencil
A large mushroom cap viewed head-on occupies the center of this pumpkin stencil, with the rounded cap outlined by a wide curved arc at the top, a pair of angled brow-like ridges beneath giving it a brooding expression, two crescent-shaped gill slits, and a column of vertical stem lines below that narrow at the base into root tendrils. Several short wispy cuts at the upper right suggest spores or texture. The negative spaces between these cut shapes read as a haunting mushroom face when lit. Cut the thin gill crescents before the wider stem column to keep the central face stable.
Mushroom Pumpkin Stencil
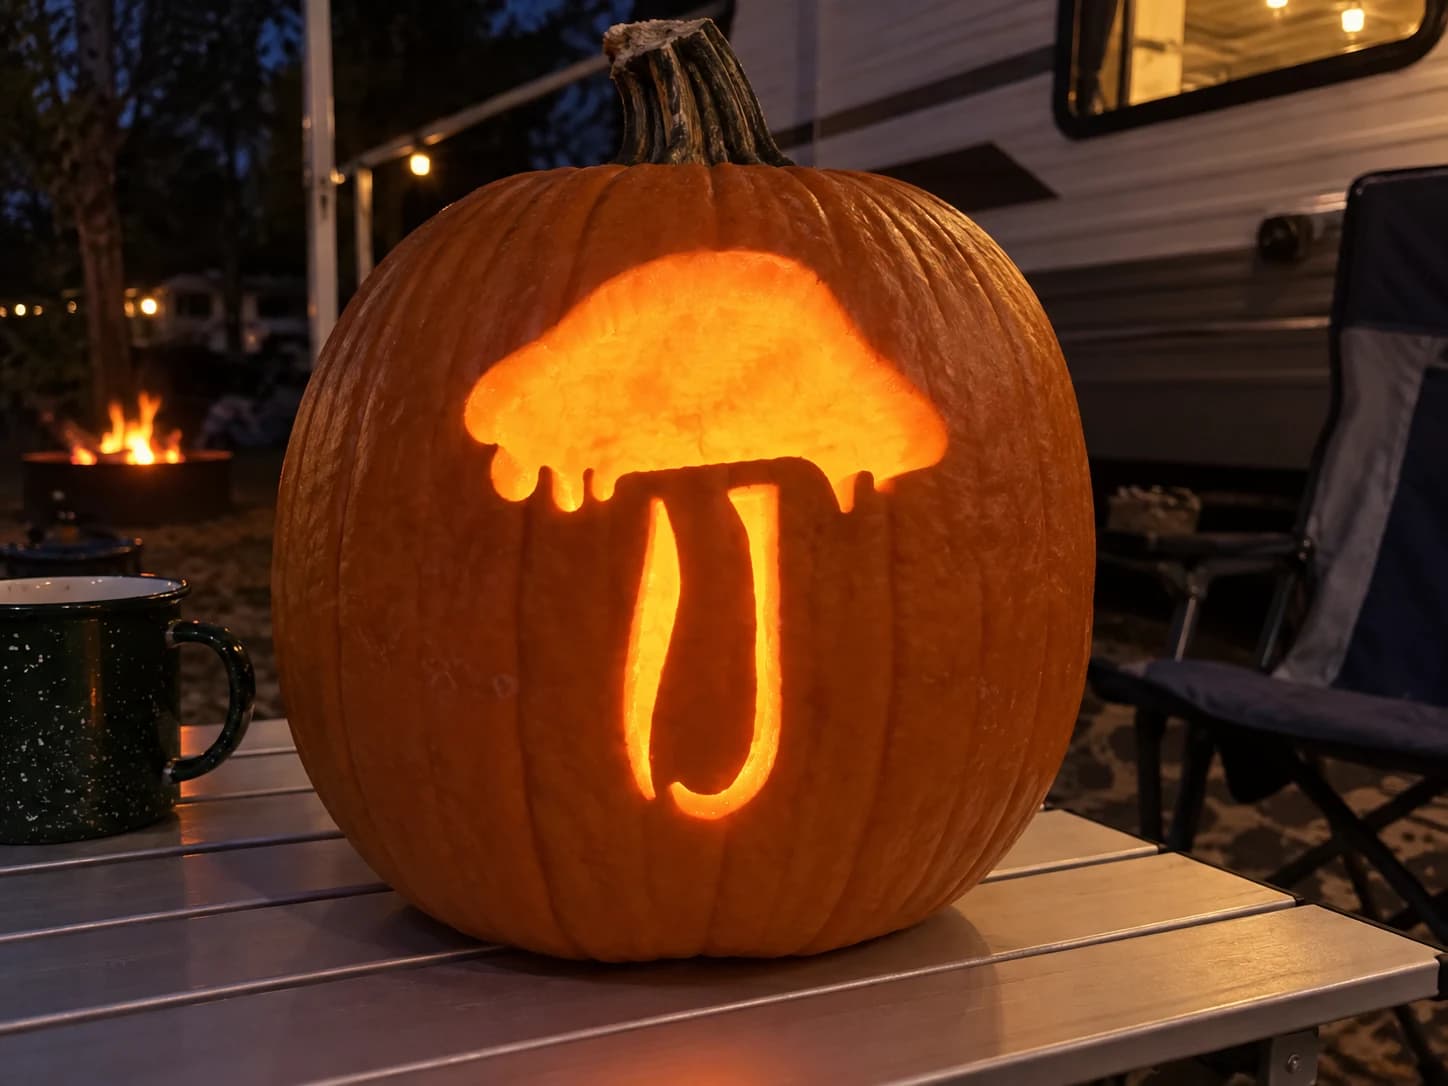
A single large mushroom silhouette fills this pumpkin stencil, its broad rounded cap dripping with three short gill-like projections and a slender curved stem below. The entire shape is carved out as one open negative space, so candlelight pours through the whole silhouette at once. Because the stem is narrow where it meets the cap, score that junction lightly with a detail knife before cutting through fully to keep the bridge from cracking under pressure.
Nebraska Pumpkin Stencil
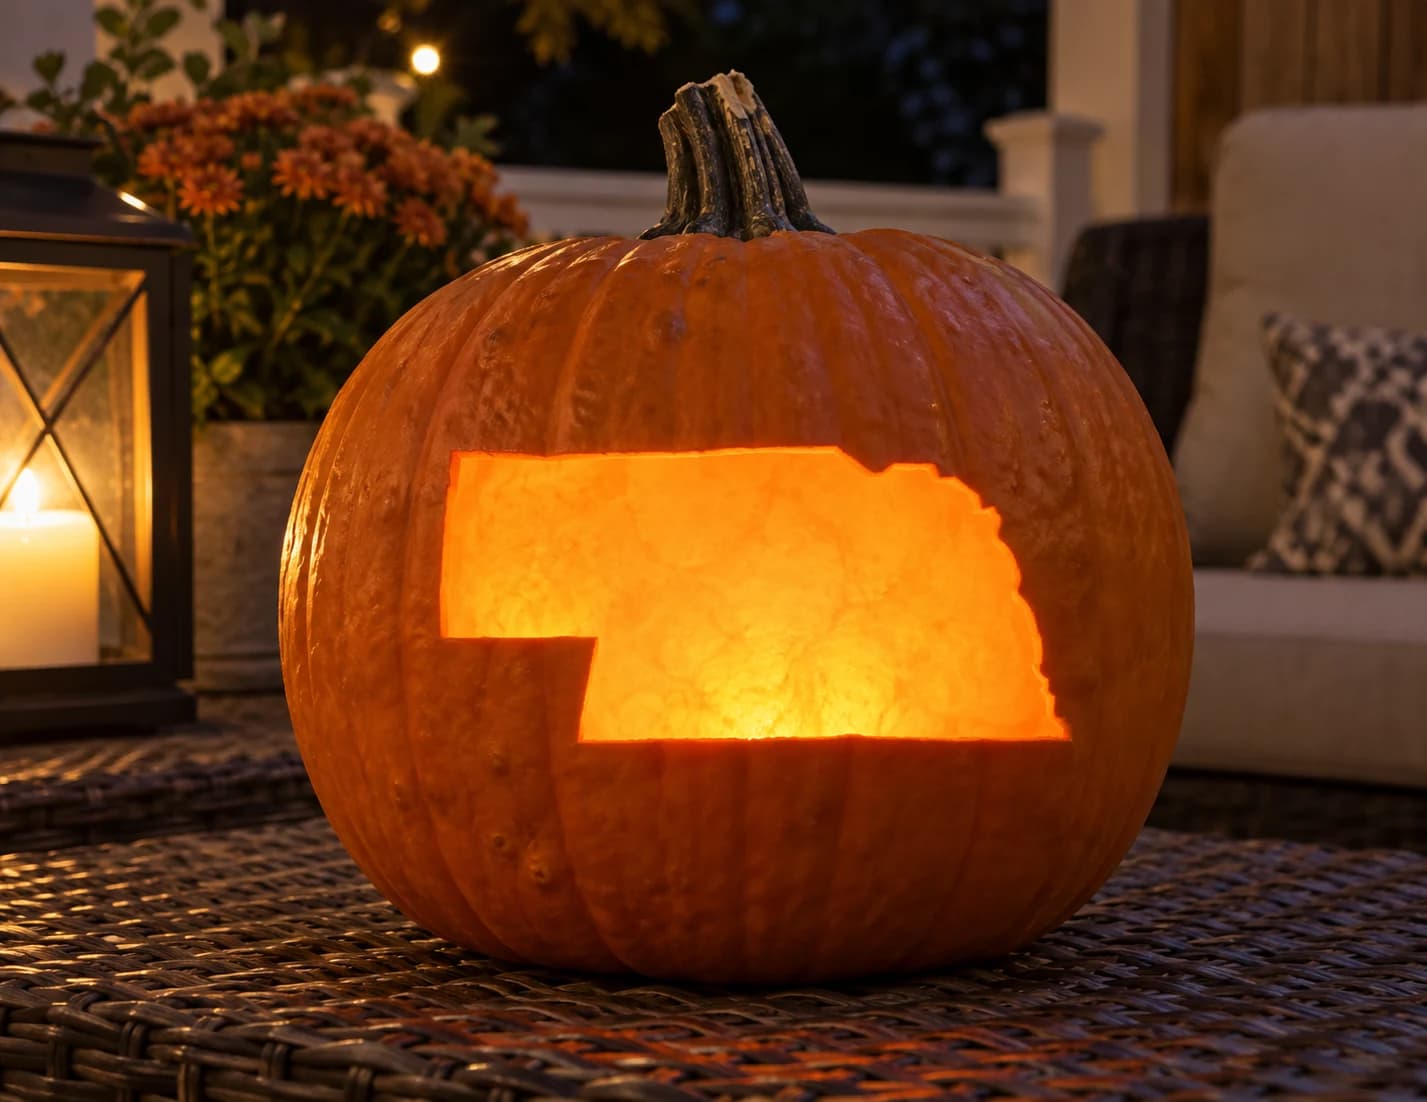
Nebraska's broad, low-slung silhouette is the subject of this beginner pumpkin stencil. Three sides of the state are almost perfectly straight, creating a near-rectangle, while the northeastern corner carries a small notched step-down where the Missouri River forms the border. Carved as a single open cutout, the state glows clearly and distinctly when lit. The step in the upper-right corner is the only detail that requires care: cut directly into the corner rather than rounding it so the state outline stays accurate.
Nebraska State Shape
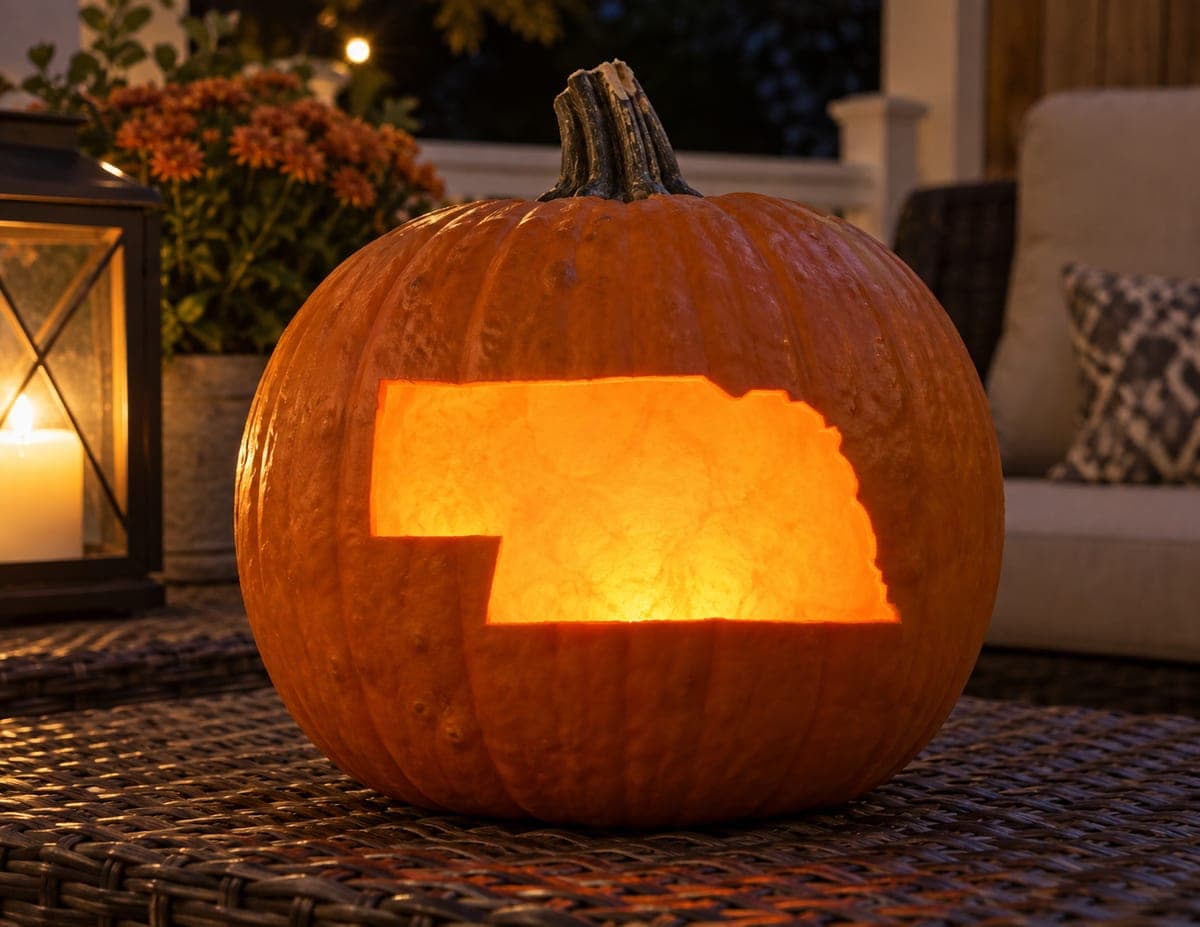
The unmistakable outline of Nebraska, panhandle and all, cut fully through the pumpkin wall so the entire state glows as one bold window of light. There is nothing left inside the shape, making it a clean, graphic statement of Cornhusker pride. Rated medium because of the long straight edges; score the border lines first, then remove the shape in two or three sections so the corners stay sharp.
Nervous Nelly Pumpkin Stencil
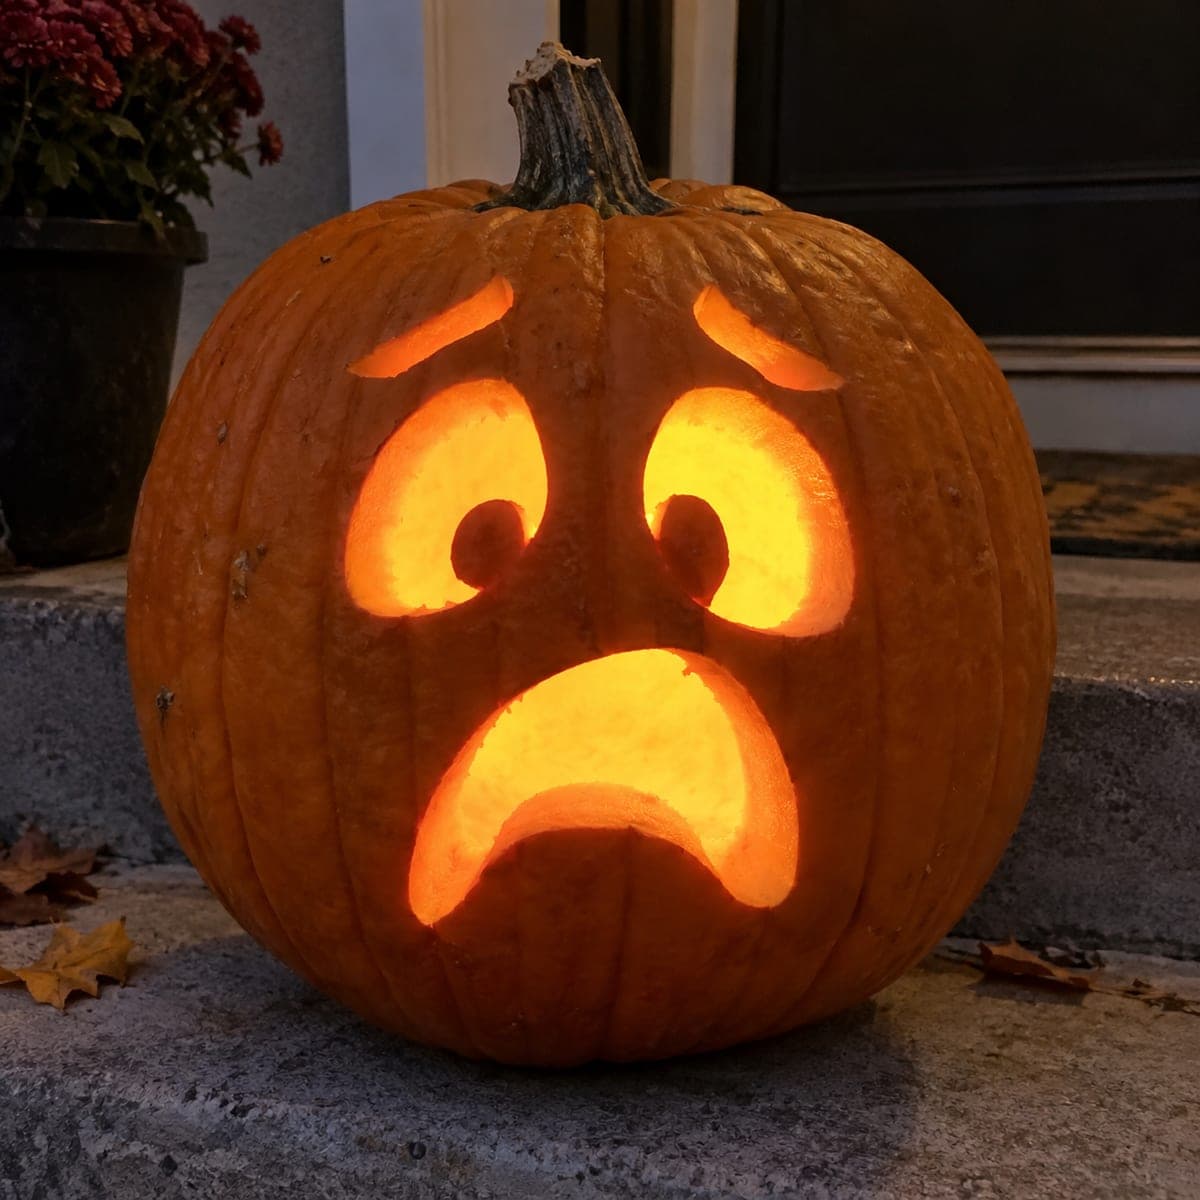
A hilariously worried pumpkin face with two big round eyes topped by drooping eyebrow arcs and a deep upside-down frown. Each feature is a pierced opening, and the round pupils stay attached as tabs inside the glowing eyes to give it that anxious stare. At medium difficulty the pupil bridges are the key detail; cut toward each tab rather than away so you do not snap them off.
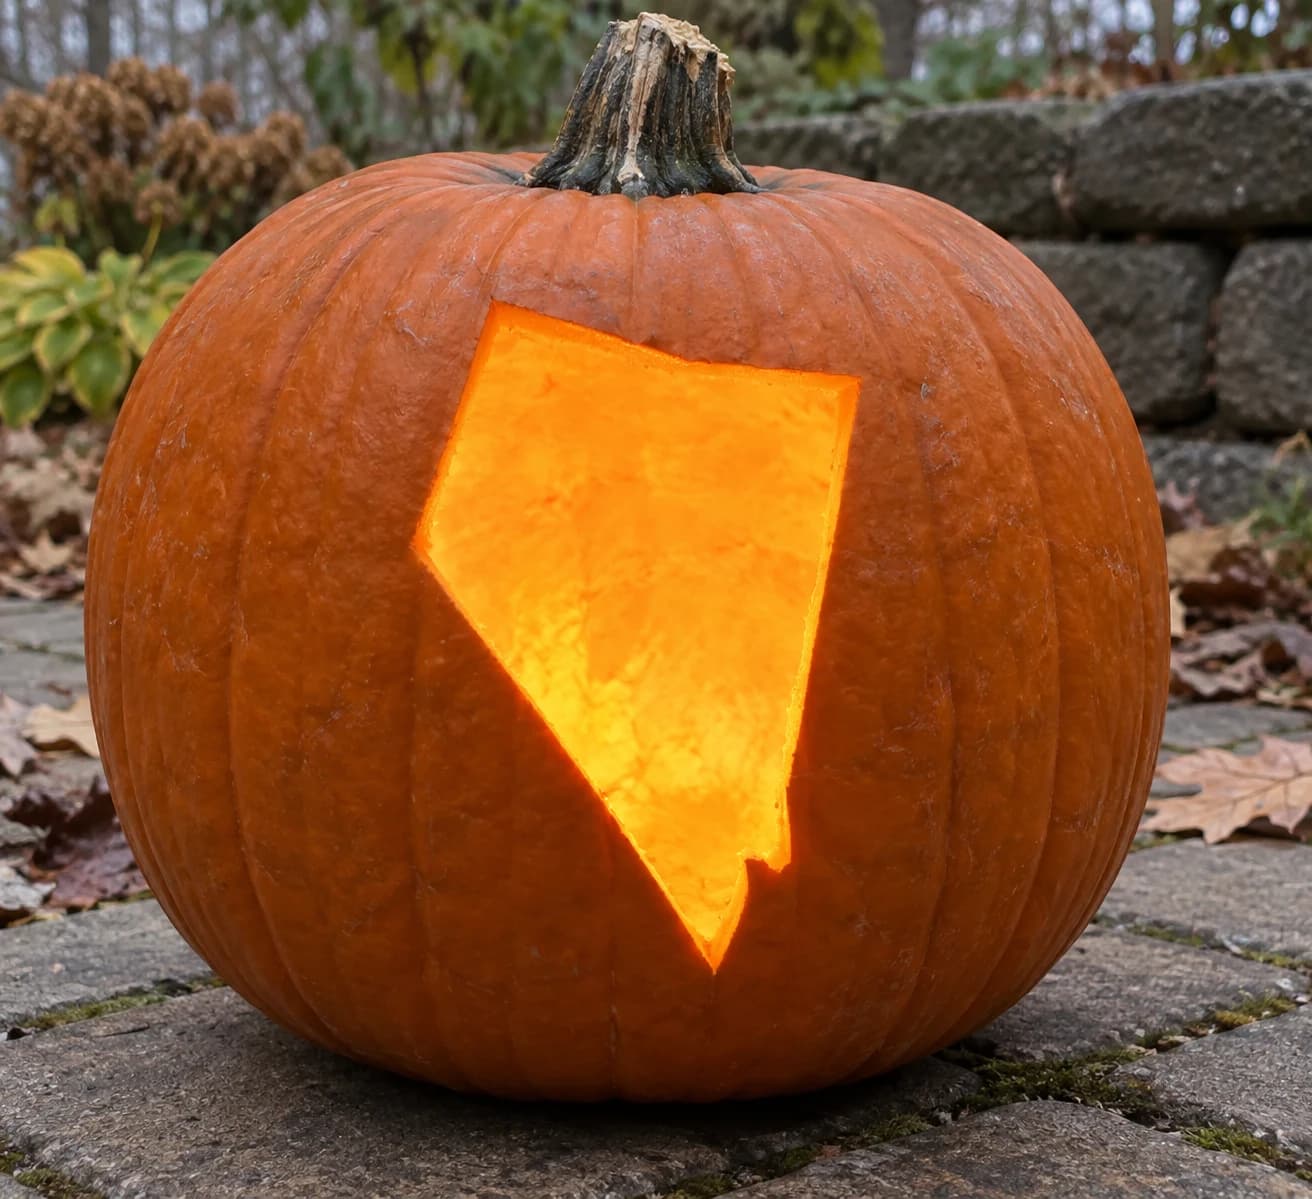
Nevada Pumpkin Stencil
Nevada's distinctive silhouette gives this beginner pumpkin stencil its character: a wide flat top, a long diagonal slash running from the upper-right corner down to the lower-left, and a small rectangular notch cut into the southern tip where the Colorado River forms the state line. The whole shape is carved as one open cutout so the jack-o-lantern's candle light illuminates the full state outline. The diagonal left edge is the identifying feature; carve it as a single long confident stroke rather than short segments so the line stays true.
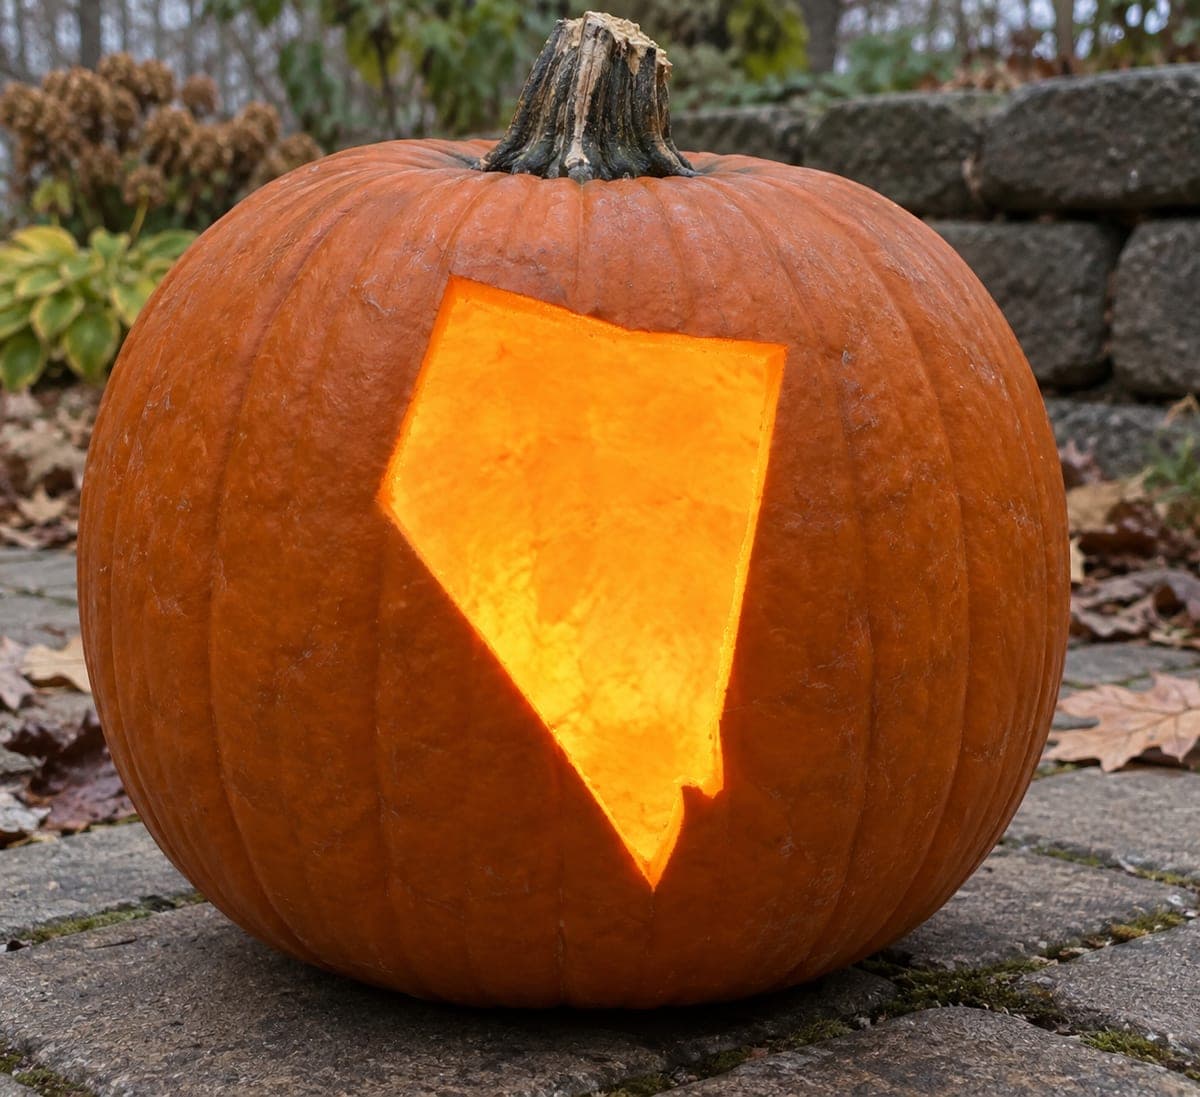
Nevada State Shape
Show some Silver State pride with this bold Nevada silhouette. The entire state shape is removed as one large cutout, so its distinctive angled eastern border and long southern point glow as a single clean panel of light. With no interior details and mostly straight edges, it is a quick, forgiving carve; use a ruler to trace the long diagonal so the line stays perfectly straight from corner to tip.
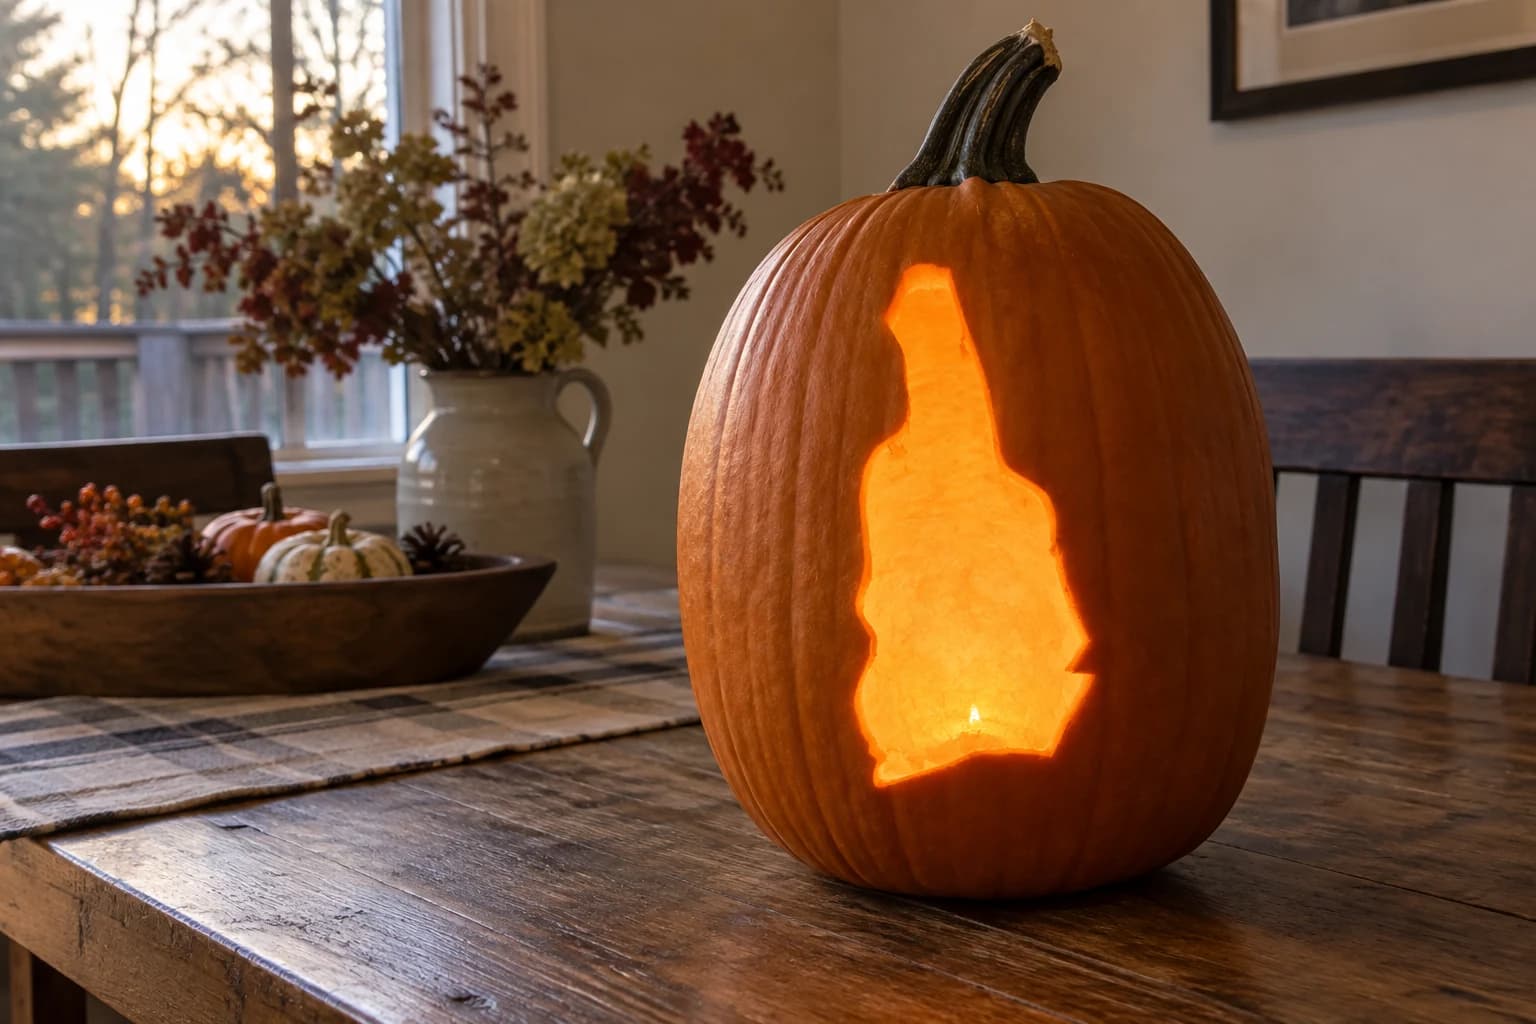
New Hampshire Pumpkin Stencil
New Hampshire's tall, narrow silhouette makes this an immediately recognizable state pumpkin stencil. A thin pointed protrusion at the top-left traces the Connecticut River notch, the left edge steps inward in several gentle curves, and the bottom has a shallow notch separating the main body from the small southeastern coastal corner. Carved as a single open shape, the state glows as a tall vertical cutout. The narrow protrusion at the top-left is the most fragile part: carve inward from either side of that tip last to avoid snapping it off early.
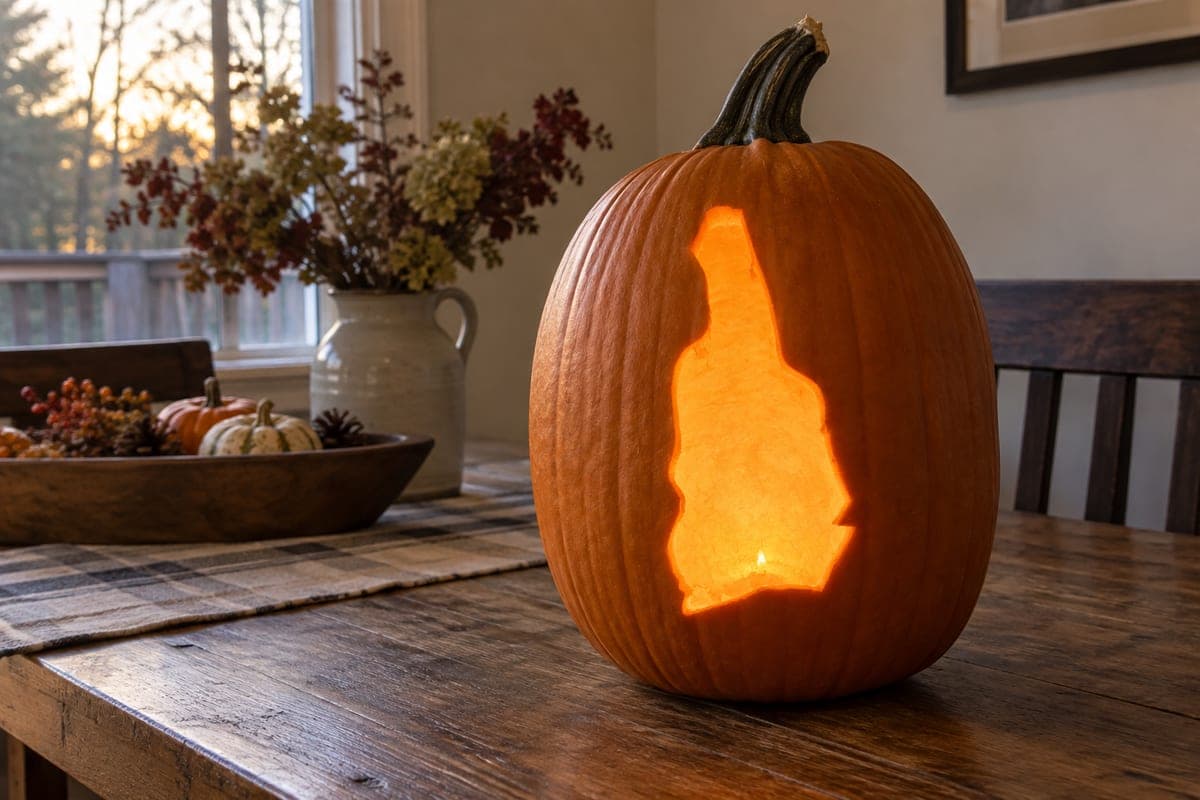
New Hampshire State Shape
The unmistakable tall, tapering outline of New Hampshire, cut fully through as one glowing state silhouette. Everything inside the border comes out, leaving the surrounding rind as the dark frame that defines the shape. This medium carve is one large opening, so work in short, connected saw strokes around the jagged northern border and remove the piece in two or three sections instead of forcing out one big slab, which can tear the notched edges.
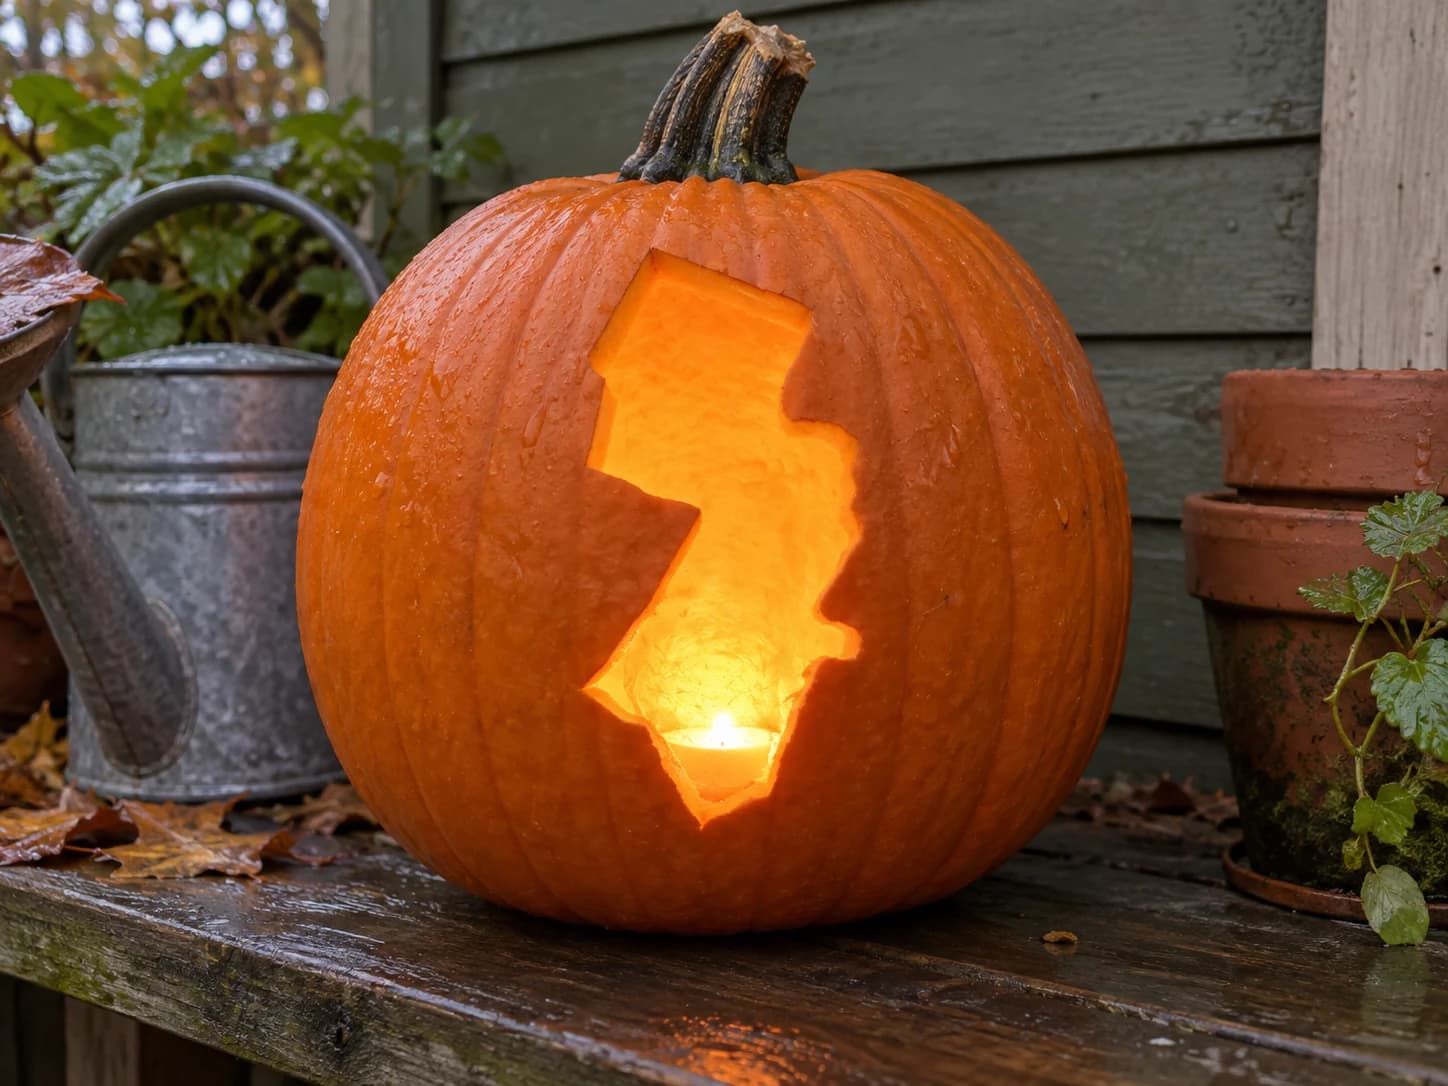
New Jersey Pumpkin Stencil
New Jersey's compact, boot-shaped silhouette fills this beginner state pumpkin stencil. The northern top edge is nearly square, then the shape narrows at the waist before widening again into the rounded southern shore, and the eastern coast carries a subtle wavy line tracing the Atlantic. Carved as a single open piece, the state shape glows as one connected window in the jack-o-lantern. The narrow waist in the middle is the weakest structural point during carving: cut the upper and lower sections first and leave the waist area for last.
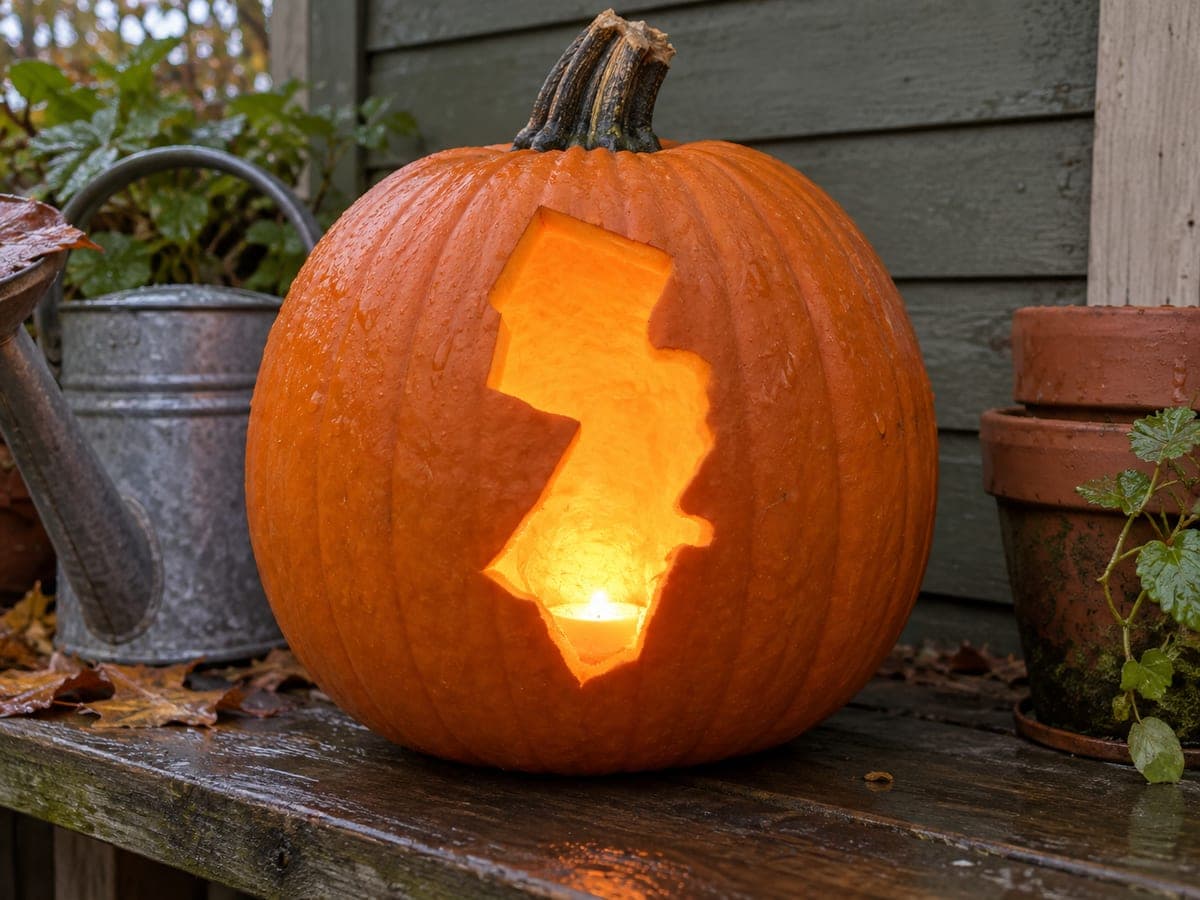
New Jersey State Shape
The outline of New Jersey is carved as a single tall opening, so the whole Garden State glows from the pumpkin wall. Everything inside the border gets cut away while the surrounding rind frames the familiar shape, from the northern notches down to the pointed Cape May tip. Take the jagged northeastern coastline slowly with short saw strokes; the small angles there define the state at a glance.
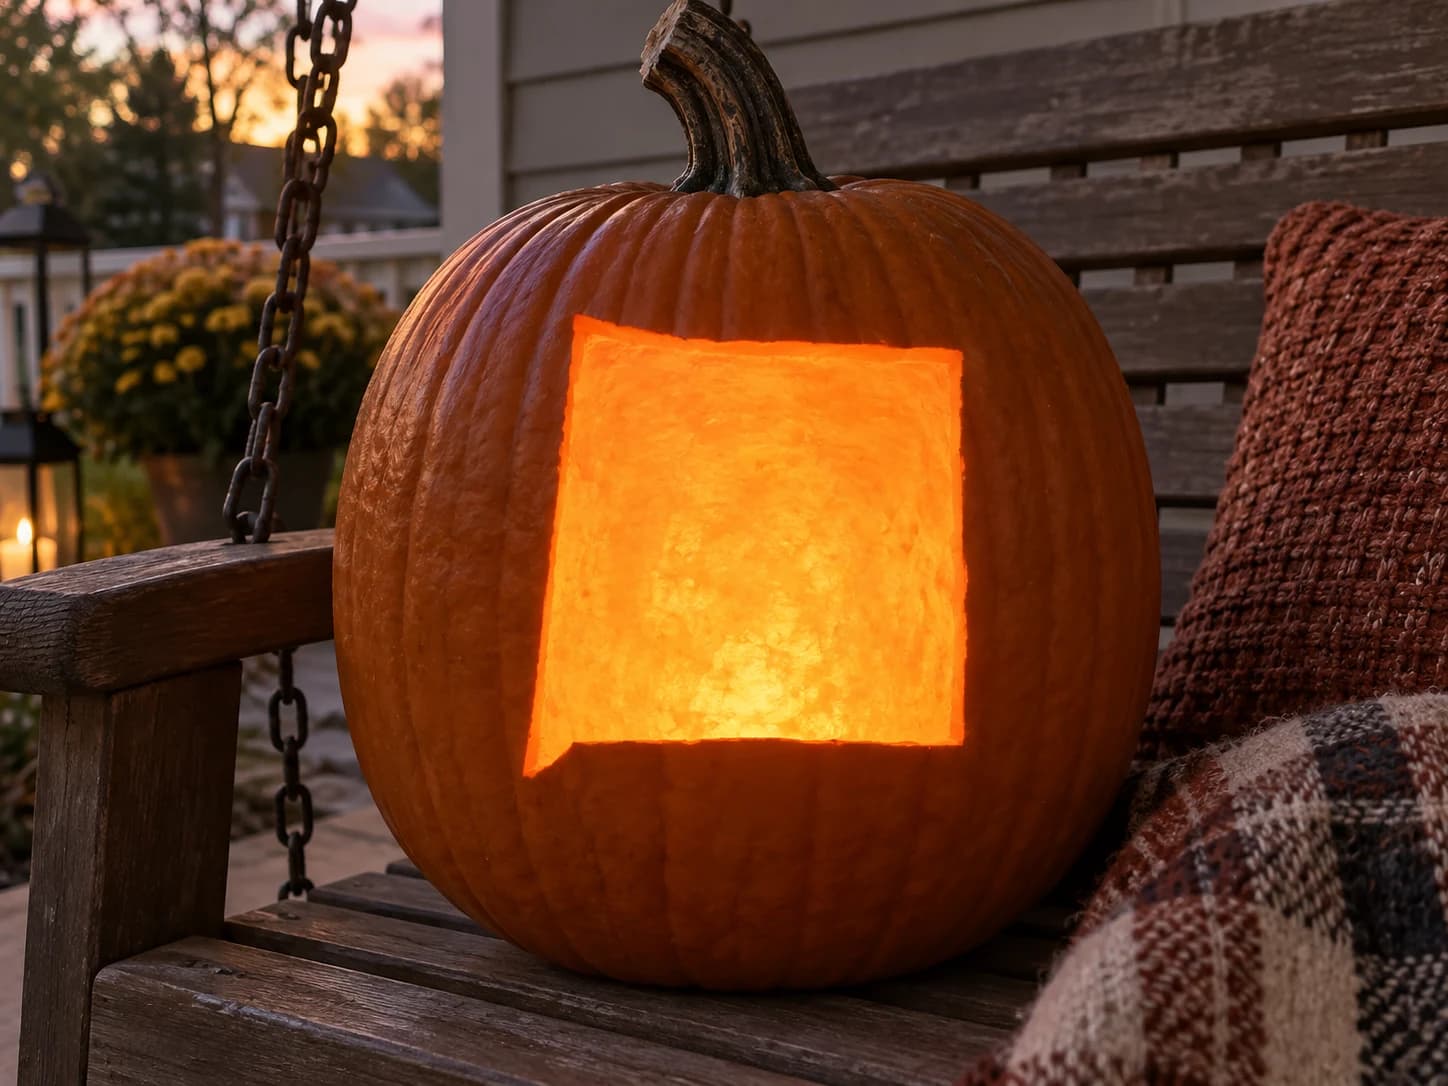
New Mexico Pumpkin Stencil
New Mexico's silhouette is a nearly perfect square with one small rectangular notch cut into the upper-left corner where the Colorado border steps slightly northward. This beginner-friendly pumpkin stencil carves as a single large open shape, glowing as a bold square of light on the finished jack-o-lantern. The one detail that differentiates it from a plain square is that upper-left step: score the corner notch cleanly before removing the bulk of the shape so the step stays sharp rather than rounding off.
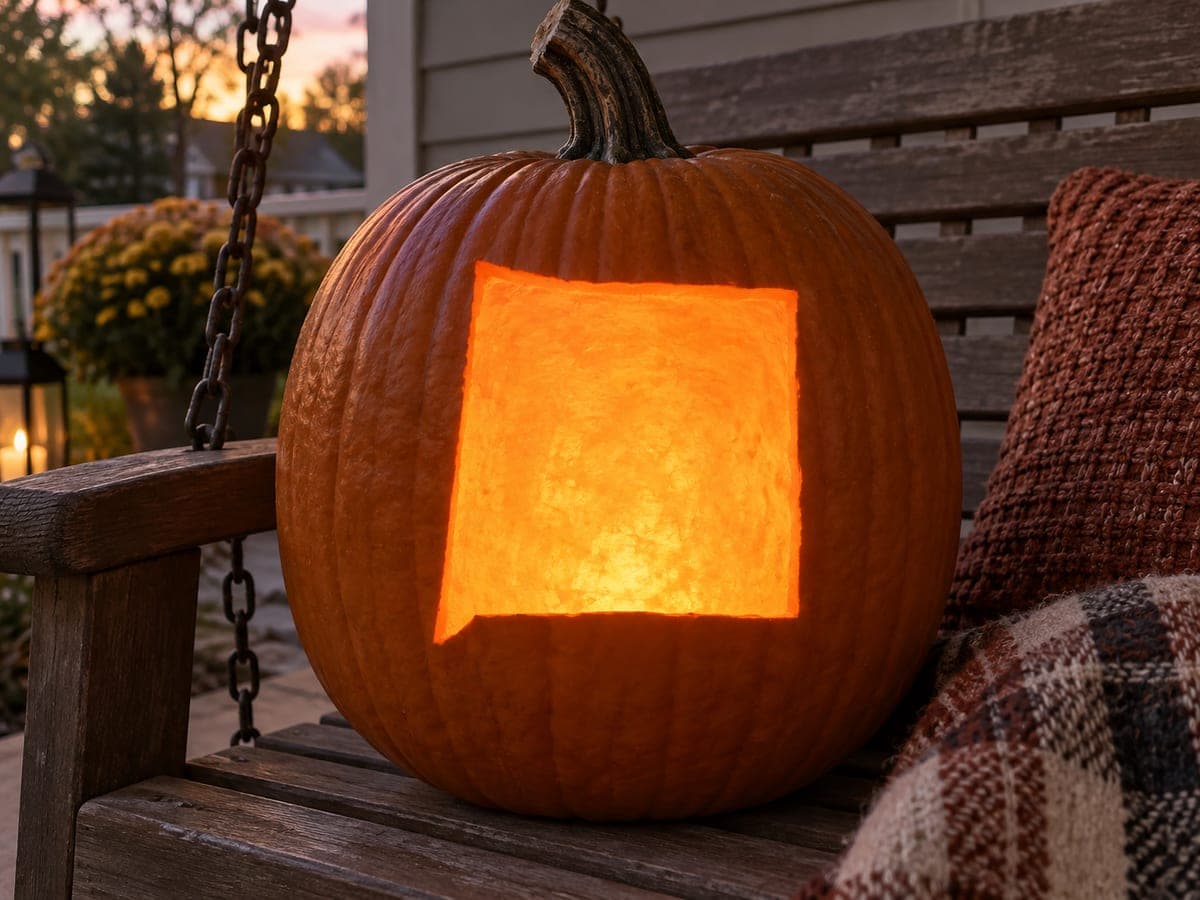
New Mexico State Shape
The blocky outline of New Mexico is cut fully through the pumpkin wall, leaving one bold glowing window in the shape of the state. Because the border is mostly straight lines with a single bootheel notch at the bottom, it is one of the friendliest state maps to carve. Use a ruler edge or firm strokes to keep the long sides straight, then take the small bootheel corner slowly.
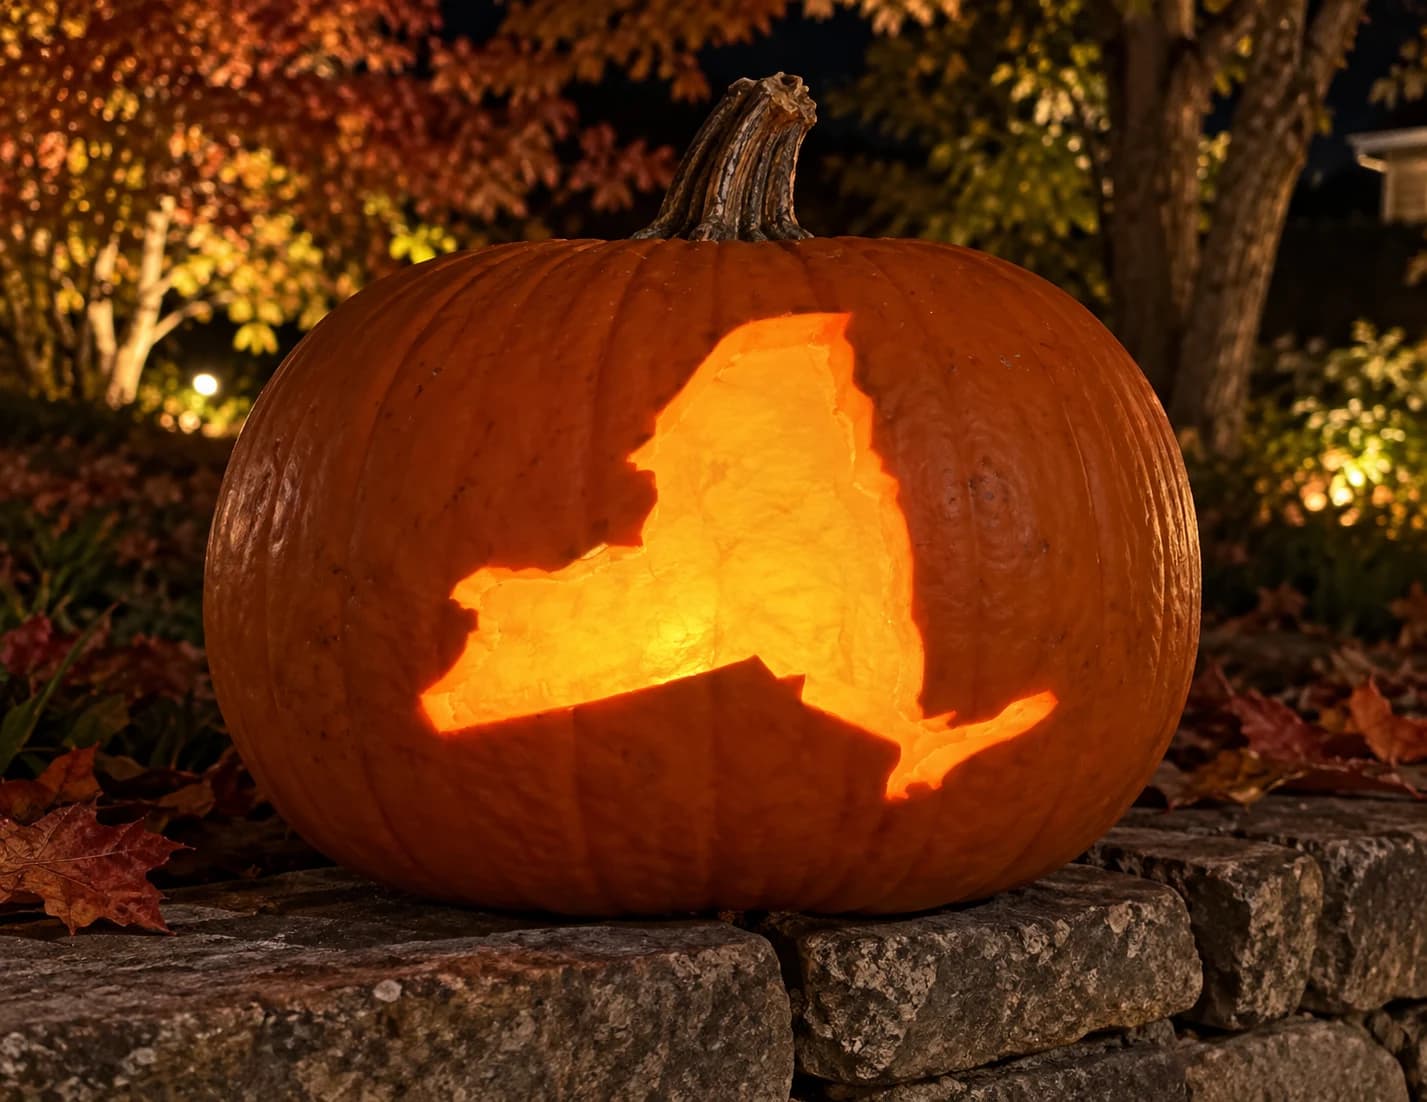
New York Pumpkin Stencil
New York's iconic silhouette is the subject of this hard state pumpkin stencil. The broad rectangular upstate body tapers down on the left into the Hudson Valley, then Long Island extends as a long narrow arm reaching to the right, while the Adirondack notch creates a jagged step on the upper-right edge. Carved as a single large open cutout, the state glows against the dark pumpkin with Long Island's thin tail as the most structurally fragile element. Cut the main body first and leave the Long Island peninsula for the final stroke to prevent it from snapping during earlier passes.
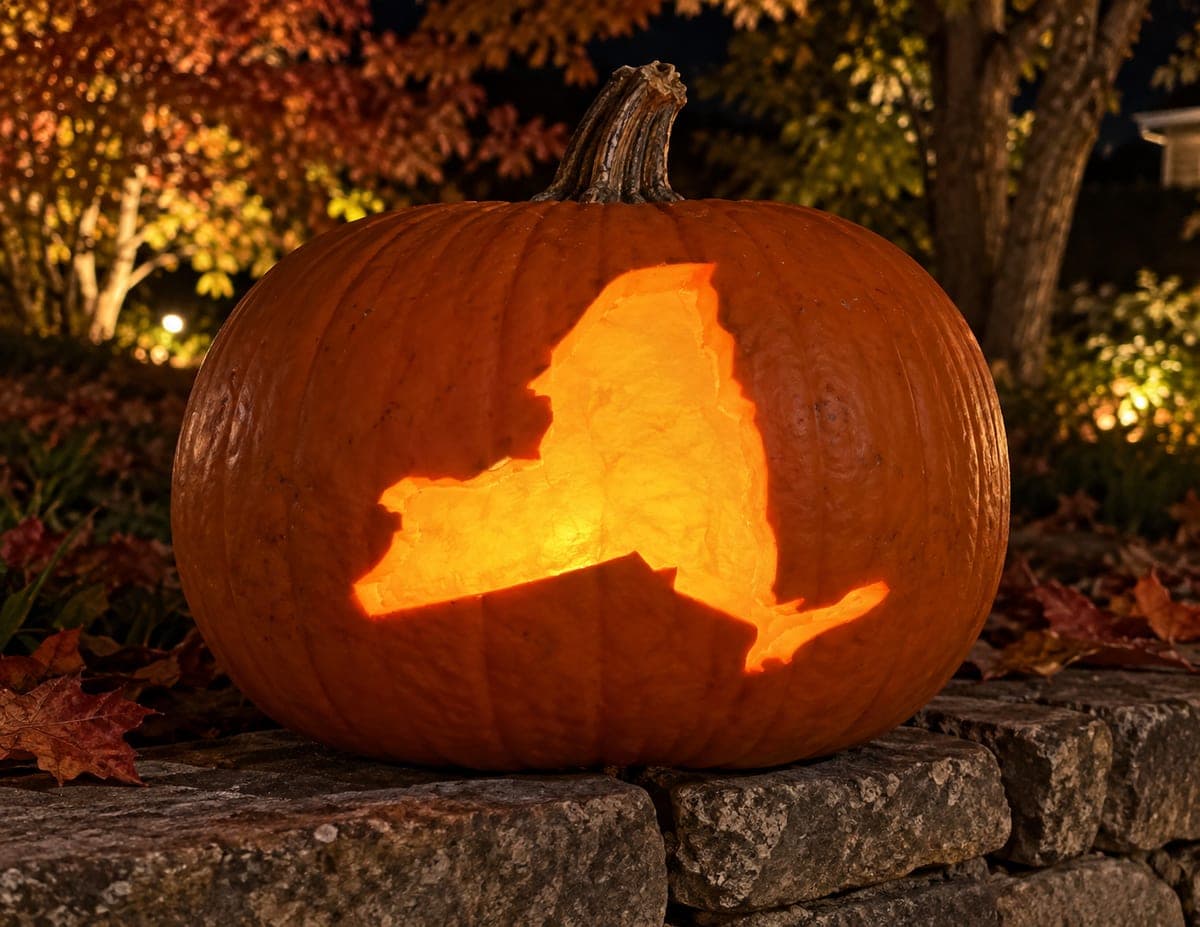
New York State Shape
The Empire State glows in full detail, from the straight Pennsylvania border to the jagged Adirondack edges and the skinny finger of Long Island trailing off the bottom right. The entire state interior is one pierced opening. Long Island is the trickiest part, so cut that narrow strip last with the tip of your saw and support the surrounding shell with your free hand as you work.
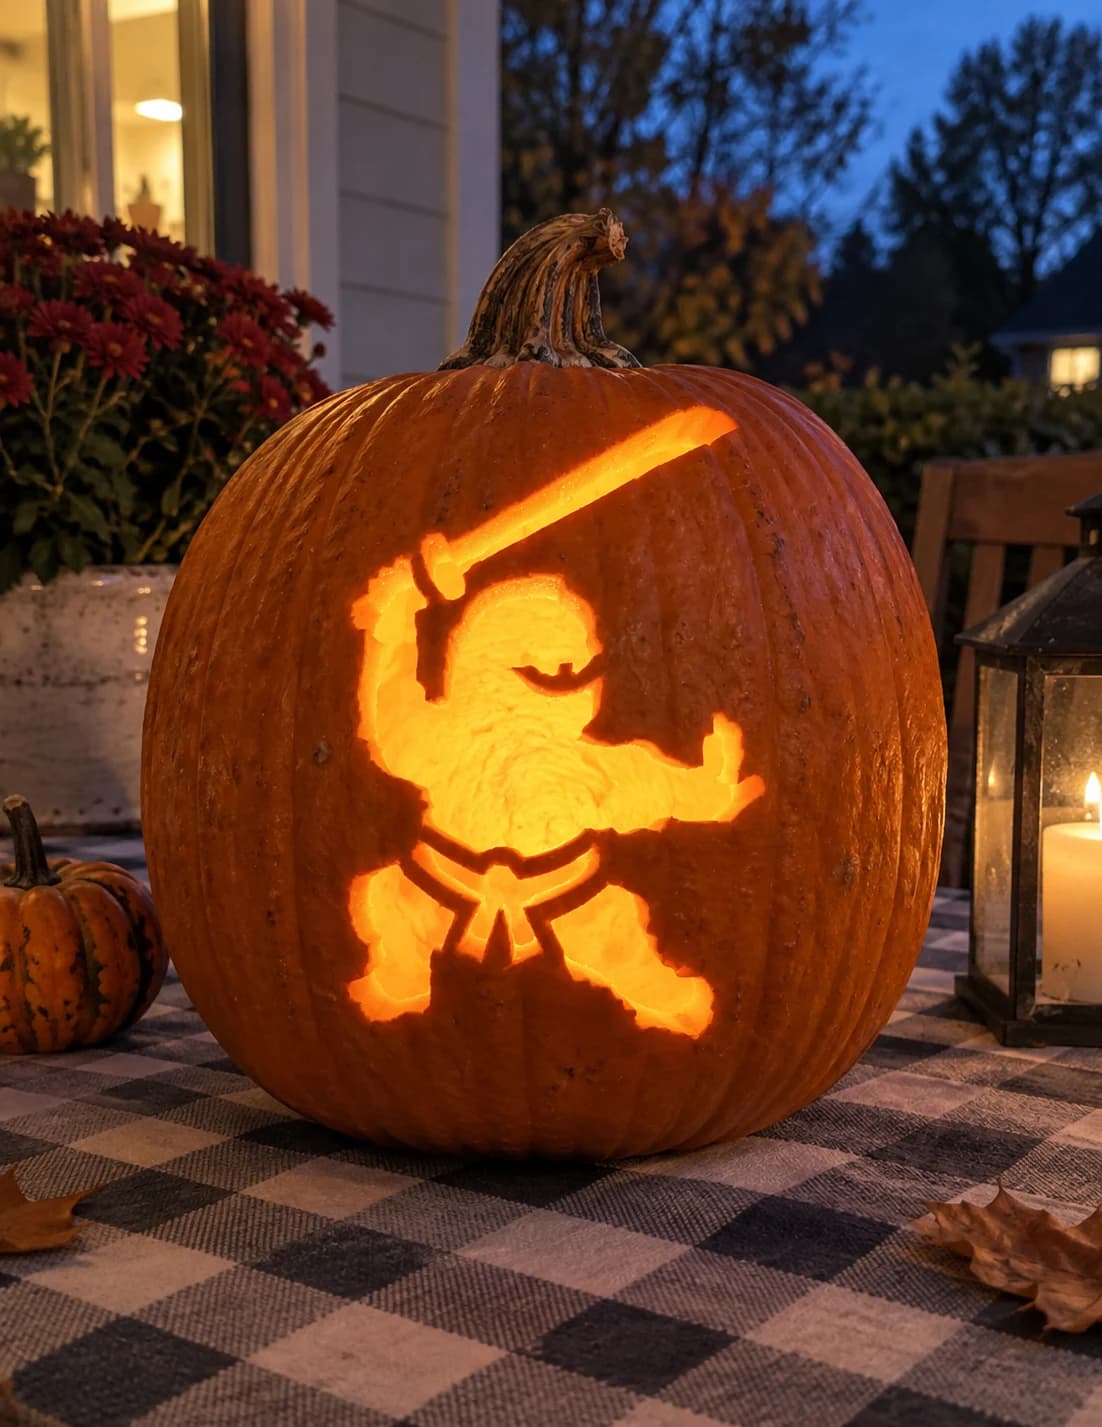
Ninja Warrior Pumpkin Stencil
A stocky ninja warrior in a fighting stance holds a broad katana raised overhead in this easy pumpkin stencil. The figure is nearly a solid silhouette pierce-through, with just a few interior slots carved at the belt sash and the chest opening to add definition. The diagonal sword blade extends well above the head, making it the widest point of the design. Transfer the sword line with care and cut it in a single continuous stroke so the blade stays perfectly straight when lit.
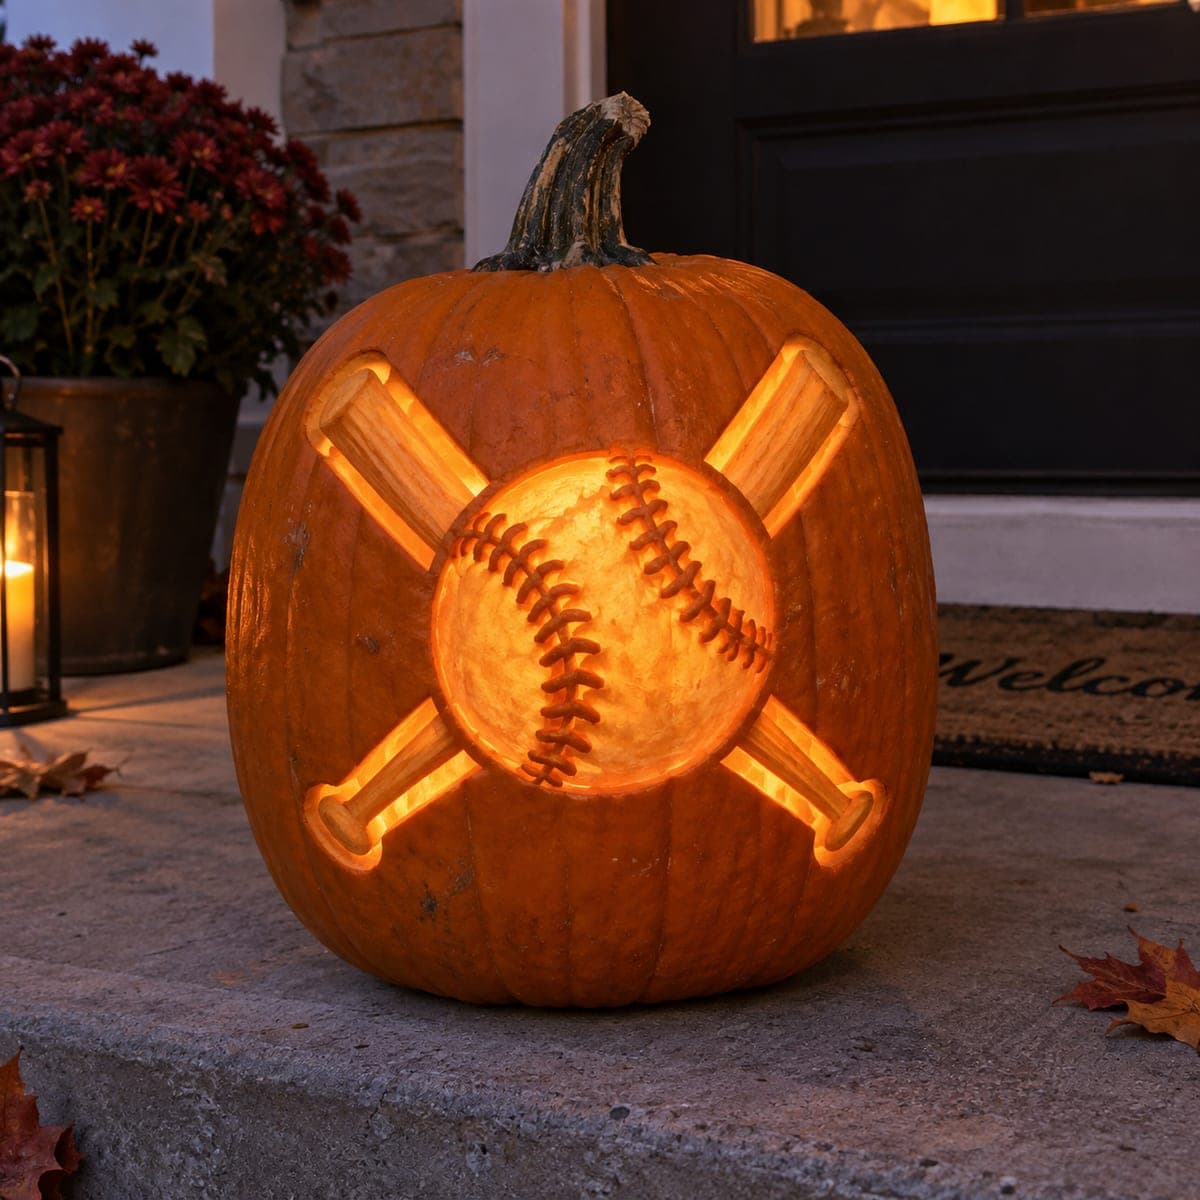
Ninth Inning Pumpkin Stencil
A big tilted baseball sits front and center over two crossed bats, with the ball's curved stitch seams and the bats' wood grain all rendered in shaved skin. This is a continuous-wall shading design, so you peel the skin to different depths rather than piercing holes; deeper shaving makes the ball glow brightest. Rated hard for its layered detail, it rewards patience: establish the crossed-bat outlines first, then texture stitches and grain last.
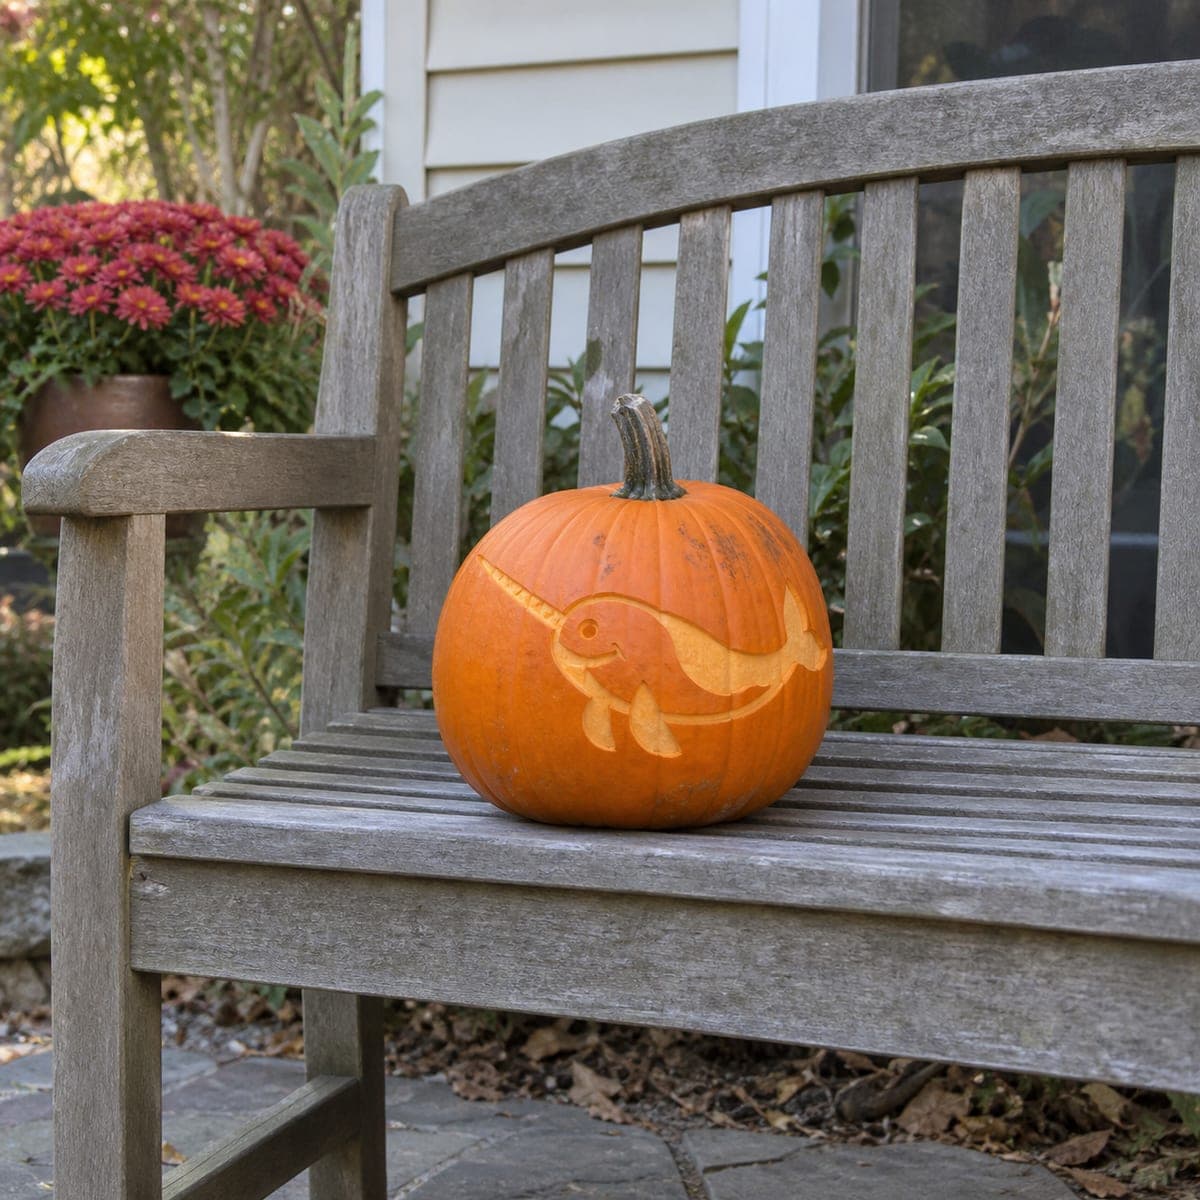
Nori the Narwhal Pumpkin Stencil
A smiling narwhal glides across the pumpkin with a long spiral tusk, two side fins, and a happy upturned mouth. The whole body is skin-shave work with no pierced holes, so the pale shaved shape stands out against the dark rind by day and glows gently with a light inside. On this medium shading design, etch the thin tusk and smile lines first with a fine V-tool, then clear the wide body area so you never drag a big tool across your detail lines.
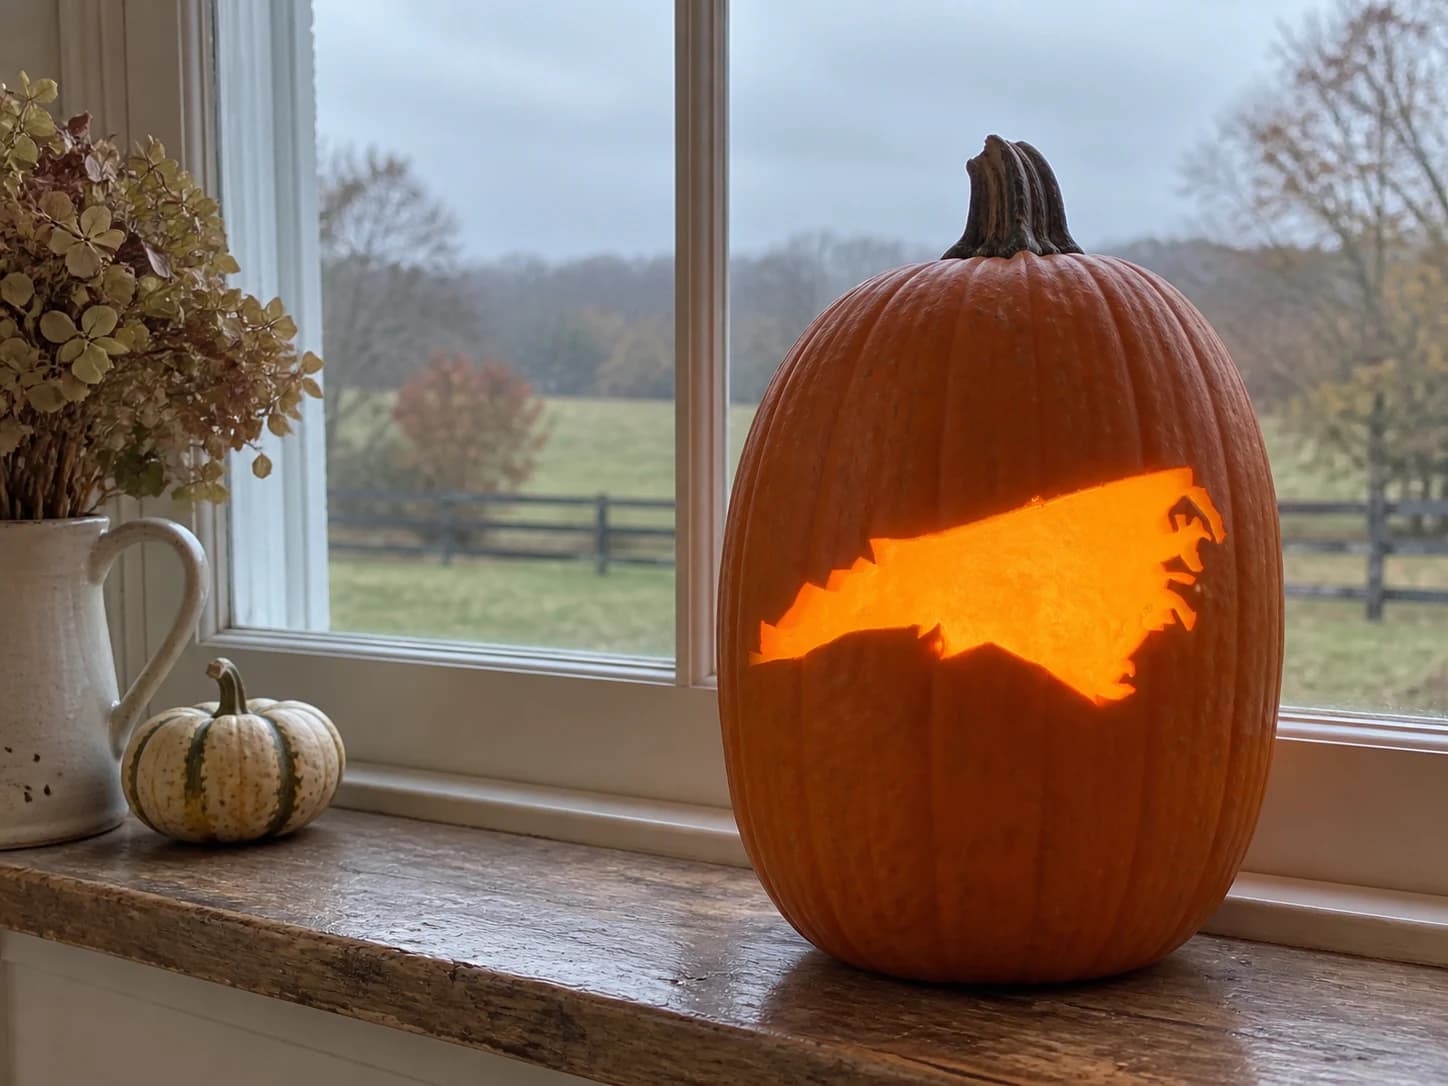
North Carolina Pumpkin Stencil
North Carolina's distinctive silhouette fills this state pumpkin stencil: a wide, roughly trapezoidal body with a notched southwestern corner, a stepped northern border, and the ragged Outer Banks barrier-island coastline jutting into the Atlantic on the right. The entire state outline is pierced through as one connected opening so candlelight floods through the recognizable shape. Because the Outer Banks coastline is the most intricate edge on this stencil, cut that section last using short, controlled strokes to keep the thin peninsular points intact.
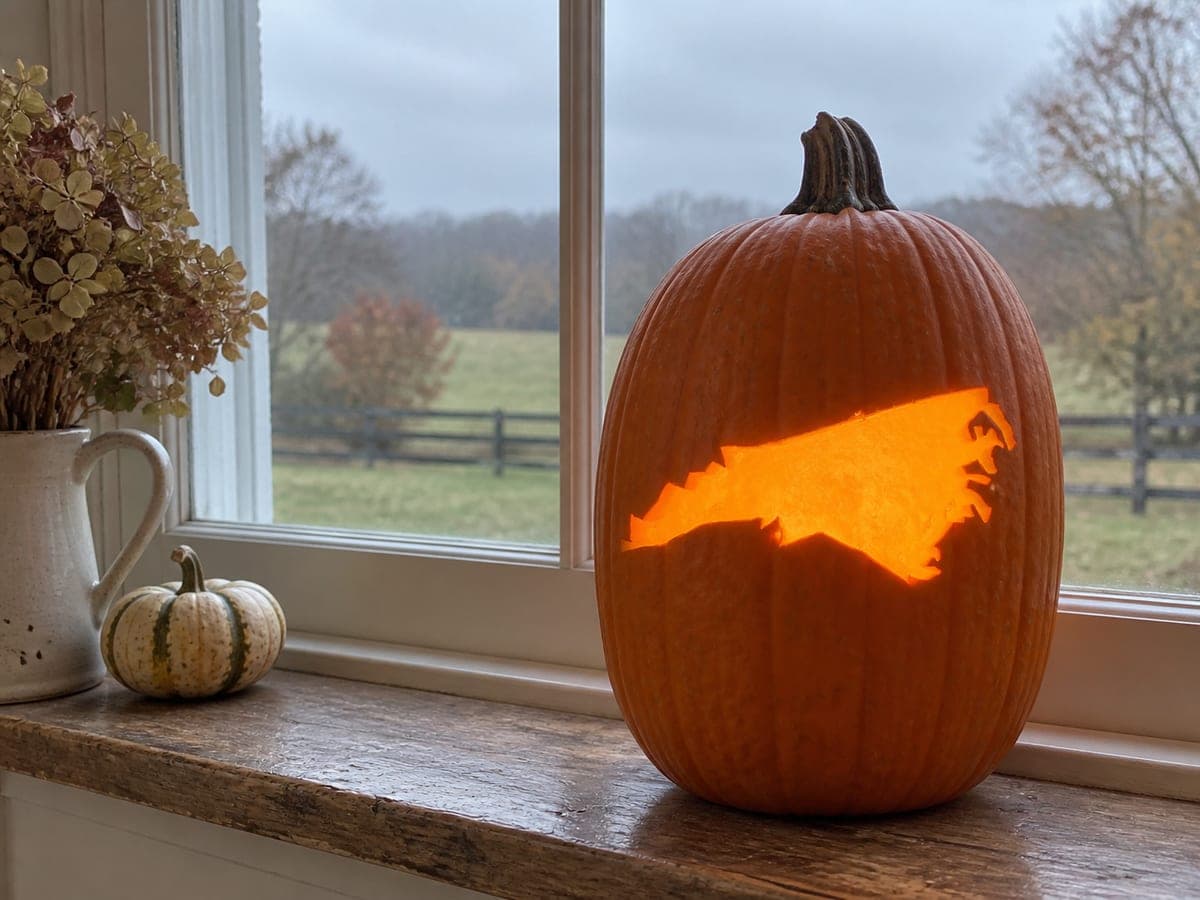
North Carolina State Shape
North Carolina stretches across the pumpkin as one long glowing cutout, from the pointed western mountain tip to the fringed Outer Banks coastline on the right. The entire state interior is removed so the distinctive wedge shape reads clearly at night. Rated hard because of the fine barrier-island fingers along the coast; cut the smooth northern border first, then work the ragged eastern edge slowly with a detail saw, leaving the thinnest points for last.
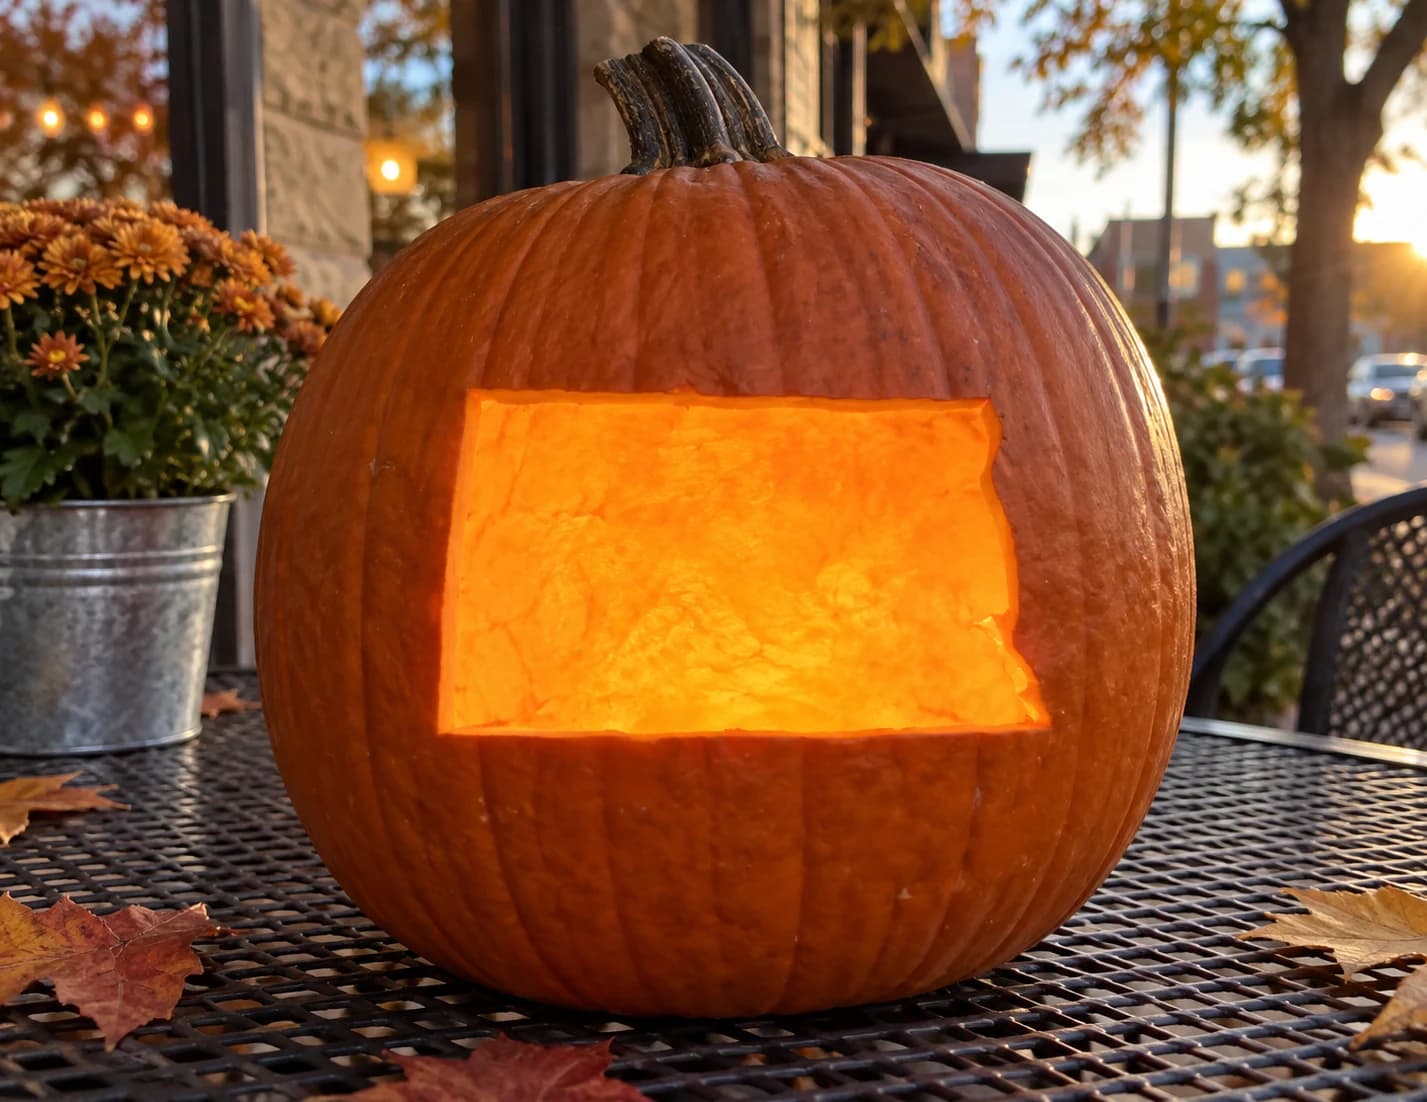
North Dakota Pumpkin Stencil
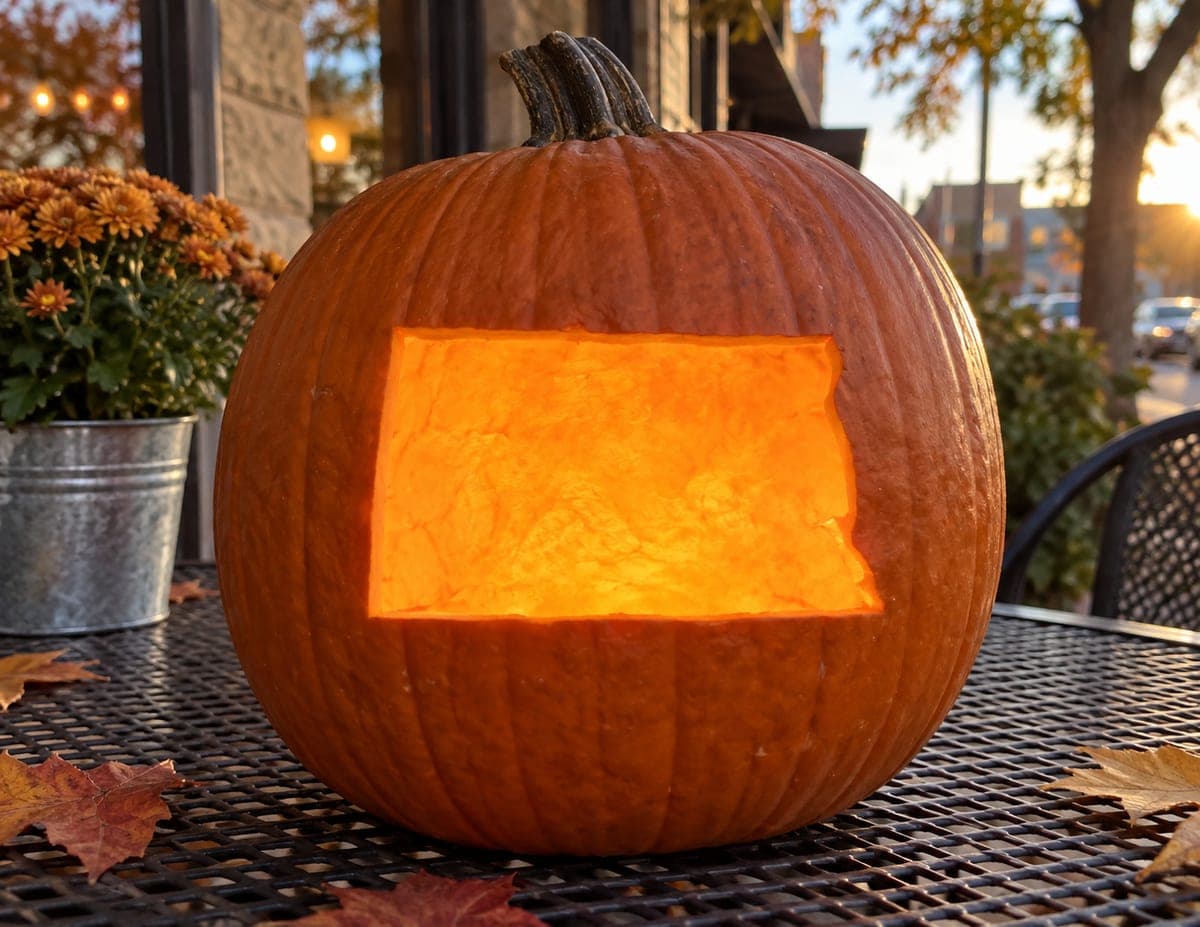
North Dakota's silhouette appears as a wide, nearly rectangular shape with a gentle wave along its northern border and a stepped notch at the lower right, making it one of the simpler state outlines to carve as a pumpkin stencil. The entire interior is cut away as a single open shape, so the lit jack-o-lantern shows the unmistakable broad flatness of the Peace Garden State glowing from inside. Score along the straight southern edge first with a ruler-guided blade to keep the base line crisp before cutting the wavy northern border freehand.
North Dakota State Shape
North Dakota's near rectangle is opened up as one wide glowing panel, with the gently wavy Red River border on the east side breaking the straight lines. The full state interior is cut through and the rind around it stays put, so the shape shines bright at night. This is one of the easiest state maps to carve; keep your knife vertical so the long edges stay clean.

Oak Leaf Tumble Pumpkin Stencil
Two oak leaves of different sizes drift diagonally across the pumpkin, their lobed edges captured in crisp detail. Both leaves are cut fully through the wall, so each one glows like a lantern-lit leaf caught mid-fall. This medium design's challenge is the wavy lobed outline, so use a fine-tooth saw and pivot at every lobe notch, removing each leaf in two or three pieces instead of forcing out one large chunk.
Octopus Face Pumpkin Stencil
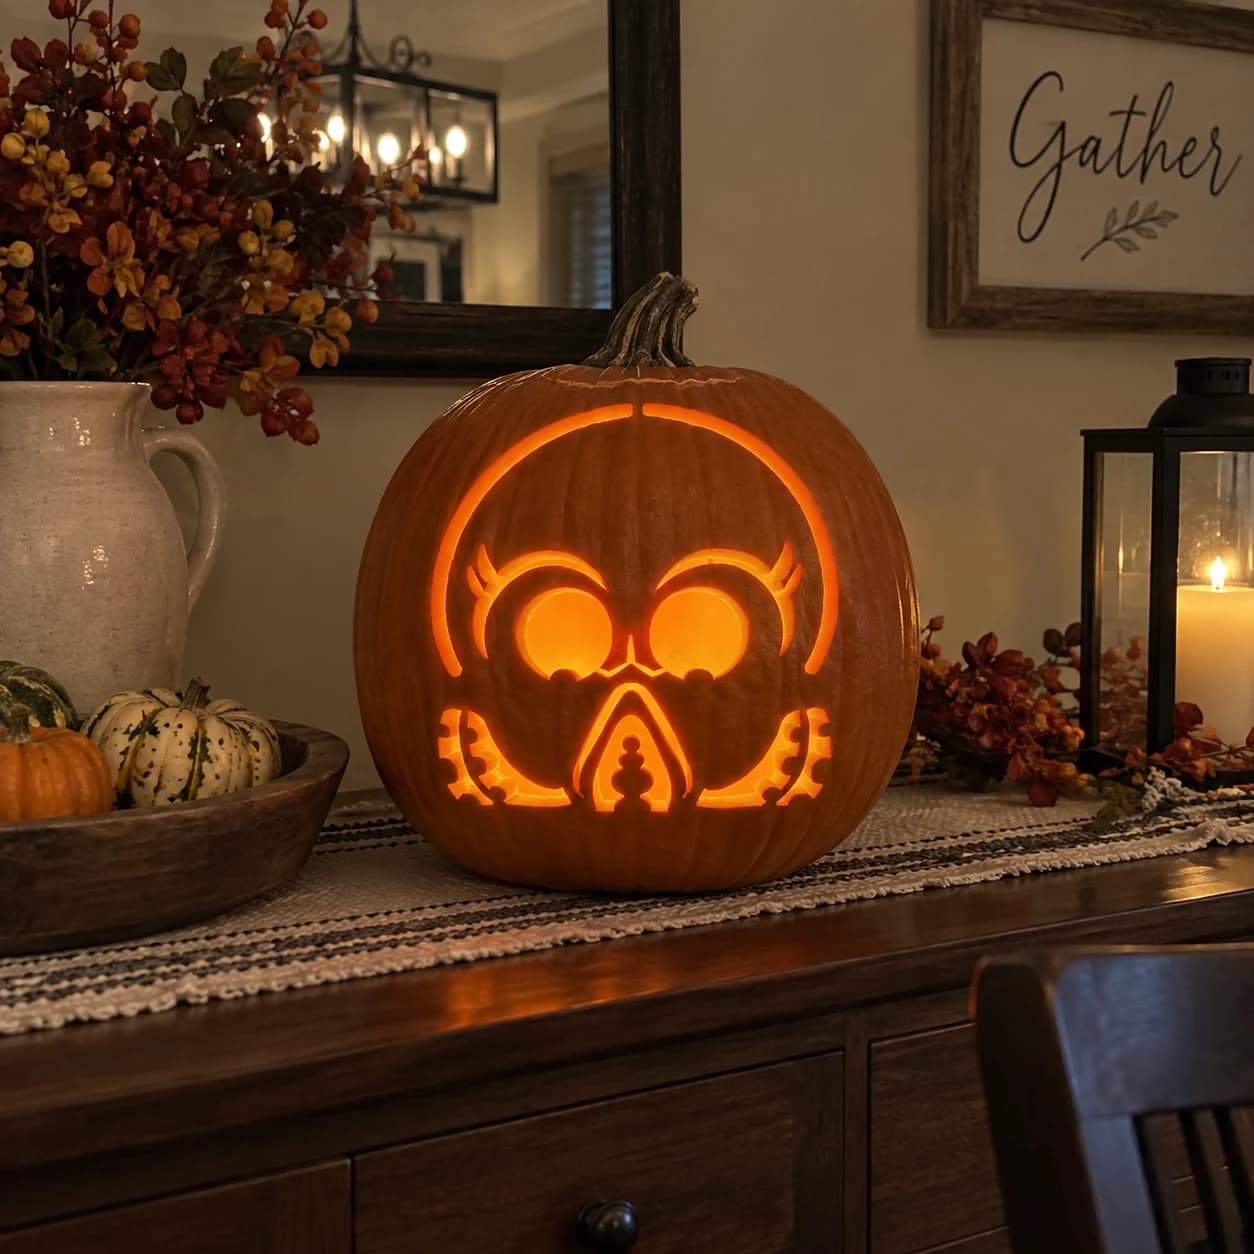
A stylized cartoon octopus face fills this hard pumpkin stencil with a nearly circular head outline, two large round eyes with lash-like detail above them, a central beak-like nose bridge, and a decorative lower section featuring a symmetrical arch with layered cutwork and scalloped tentacle bases on each side. The round eyes are solid islands of pumpkin skin that must be preserved while the surrounding face is cut away. Carve the outer circular head arc first, then remove the face background working around the solid eye discs, and finish with the fine scalloped cuts at the bottom.
Off-Road 4x4 Pumpkin Stencil
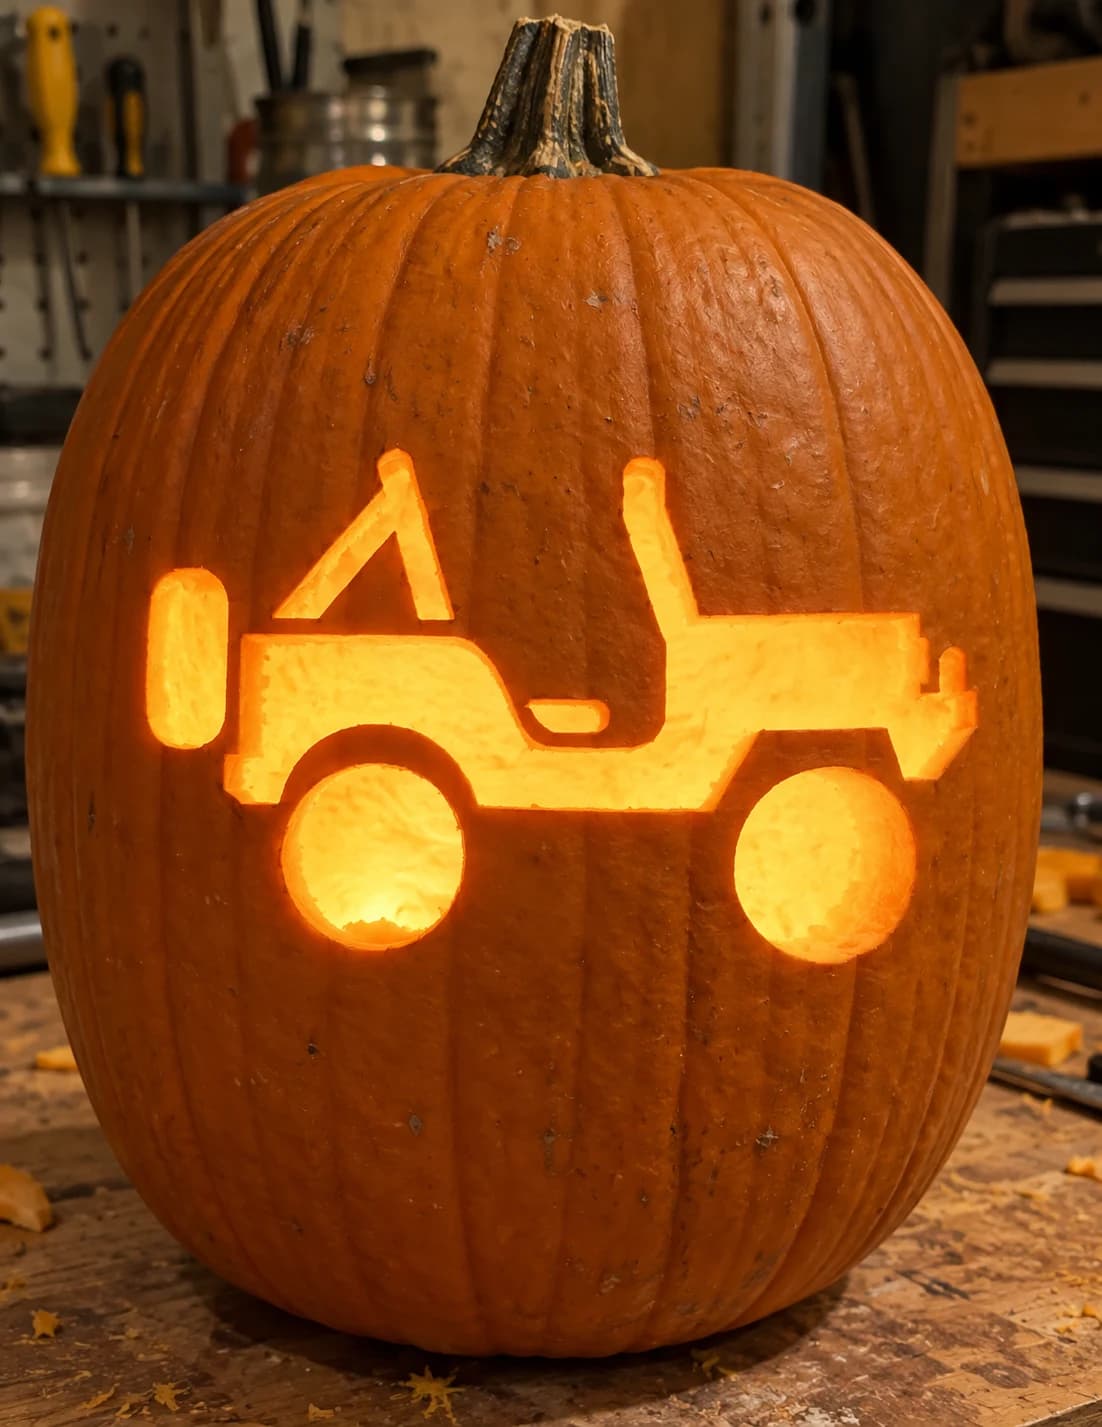
An open-top jeep faces left in a clean side-profile pumpkin stencil, showing the boxy body, roll bar, two large round tires, a spare tire mounted on the hood, and a small hitch at the rear. The body cavity and the two wheel holes are pierced through while the roll bar and body outline remain as solid pumpkin flesh. To keep the narrow roll bar from snapping, cut the large body opening first and work inward toward that bar, not the other way around.
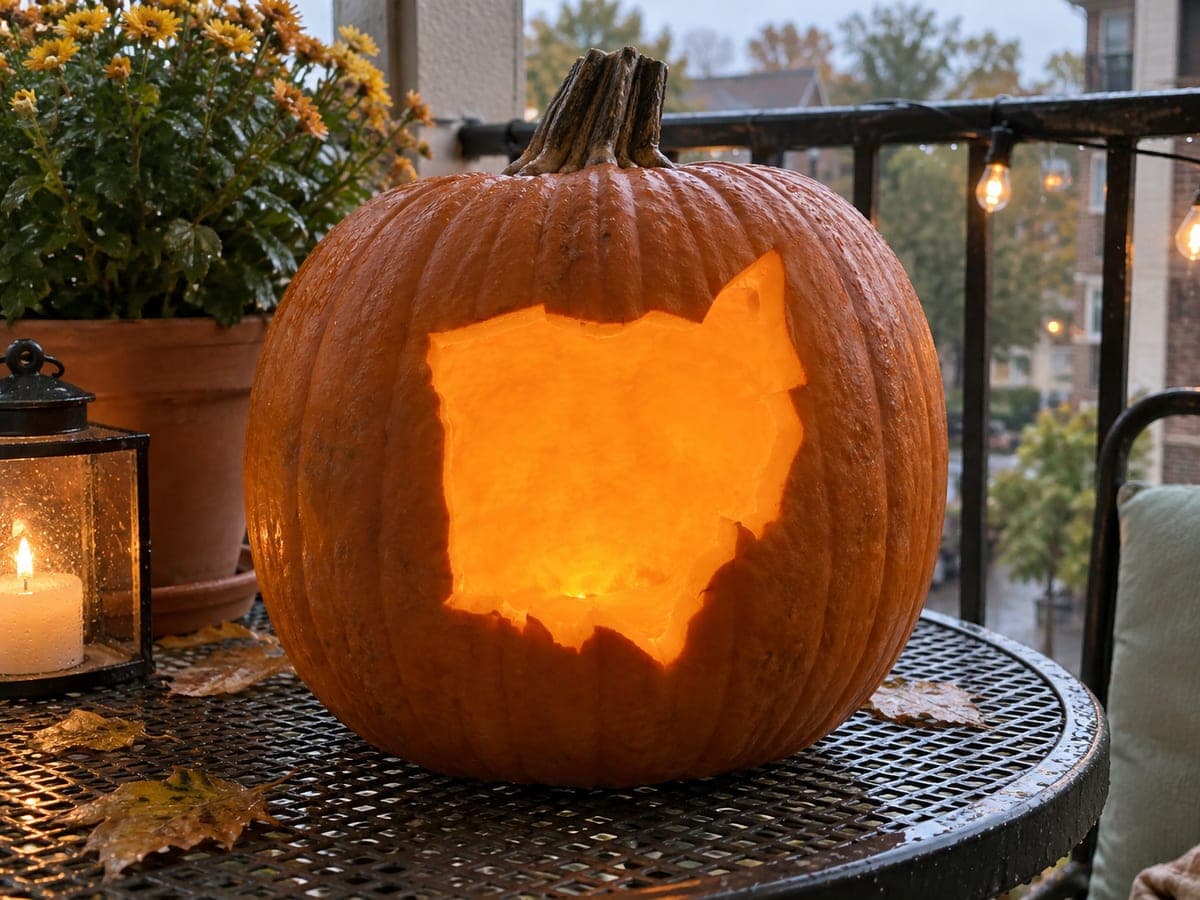
Ohio Pumpkin Stencil
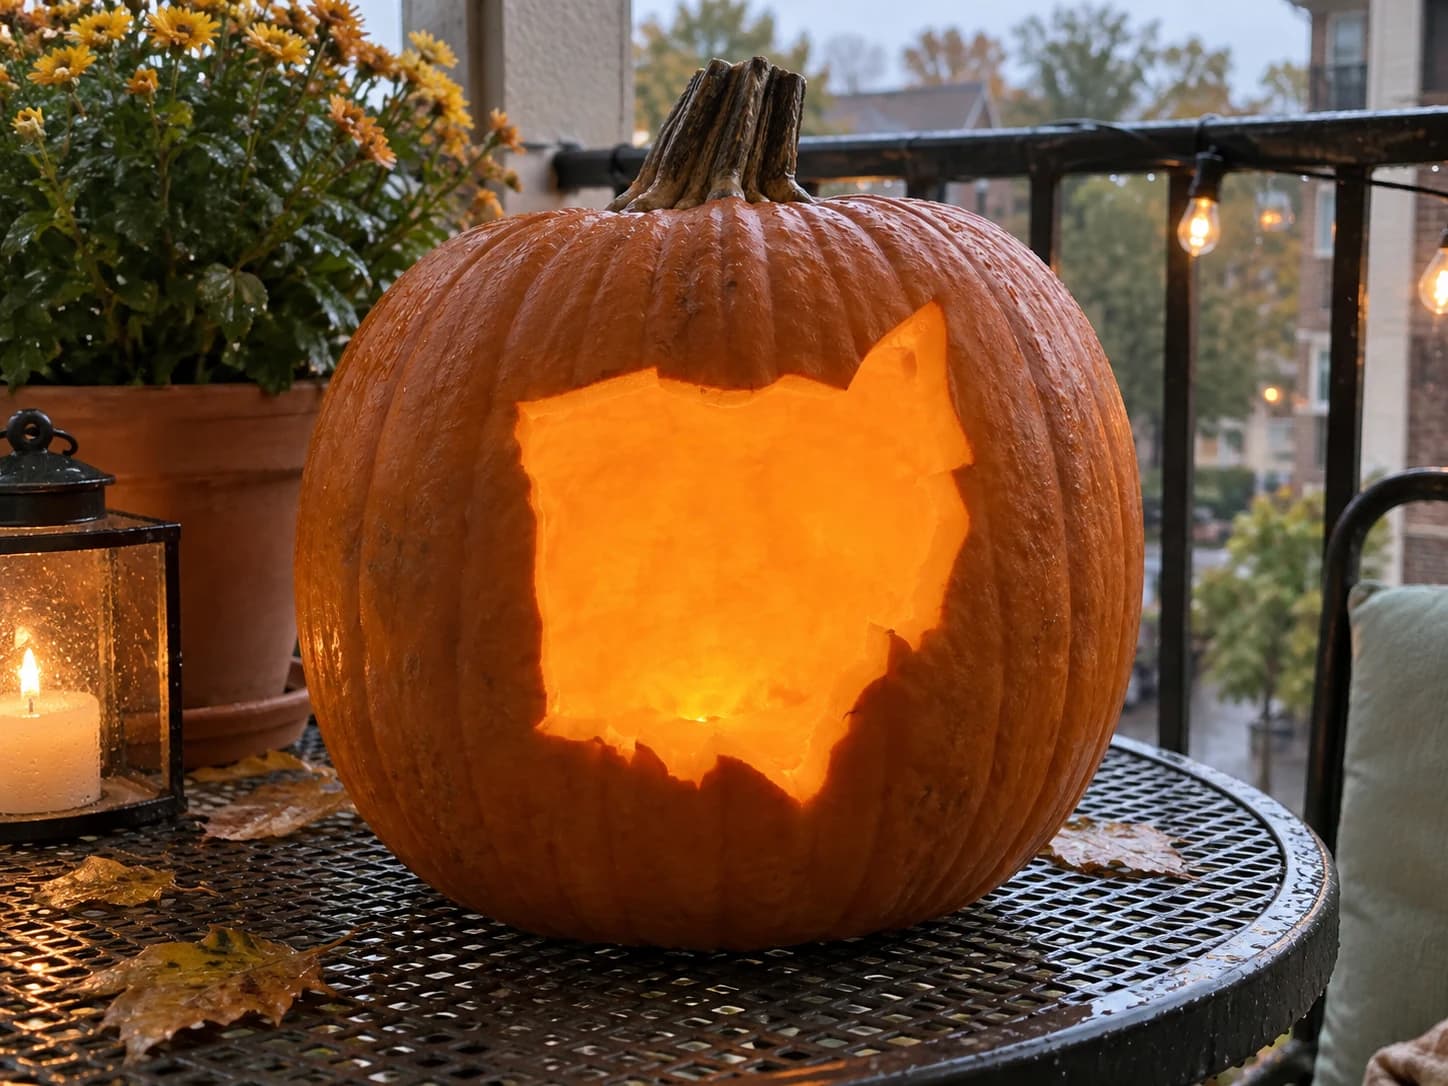
Ohio's state outline fills this easy pumpkin stencil as a roughly tear-drop-shaped silhouette with a distinctive jutting peninsula on the upper right where the panhandle meets Lake Erie, curved western and southern borders, and a slightly ragged bottom edge tracing the Ohio River. The whole interior is pierced as a single open shape so the recognizable Buckeye State glows cleanly from inside the jack-o-lantern. Take extra care cutting the small jutting peninsula tip in the upper right, keeping your blade angled slightly inward to avoid nicking the point.
Ohio State Shape
Ohio's rounded river-border silhouette is cut out as a single glowing shape, with the wavy southern edge and squared northern corners removed clean through the wall. The surrounding pumpkin stays whole, so the map reads instantly from across the yard. Trace the bumpy Ohio River edge slowly with a fine saw; the rest of the outline is gentle curves and easy straightaways.
OK Hand Emoji Pumpkin Stencil
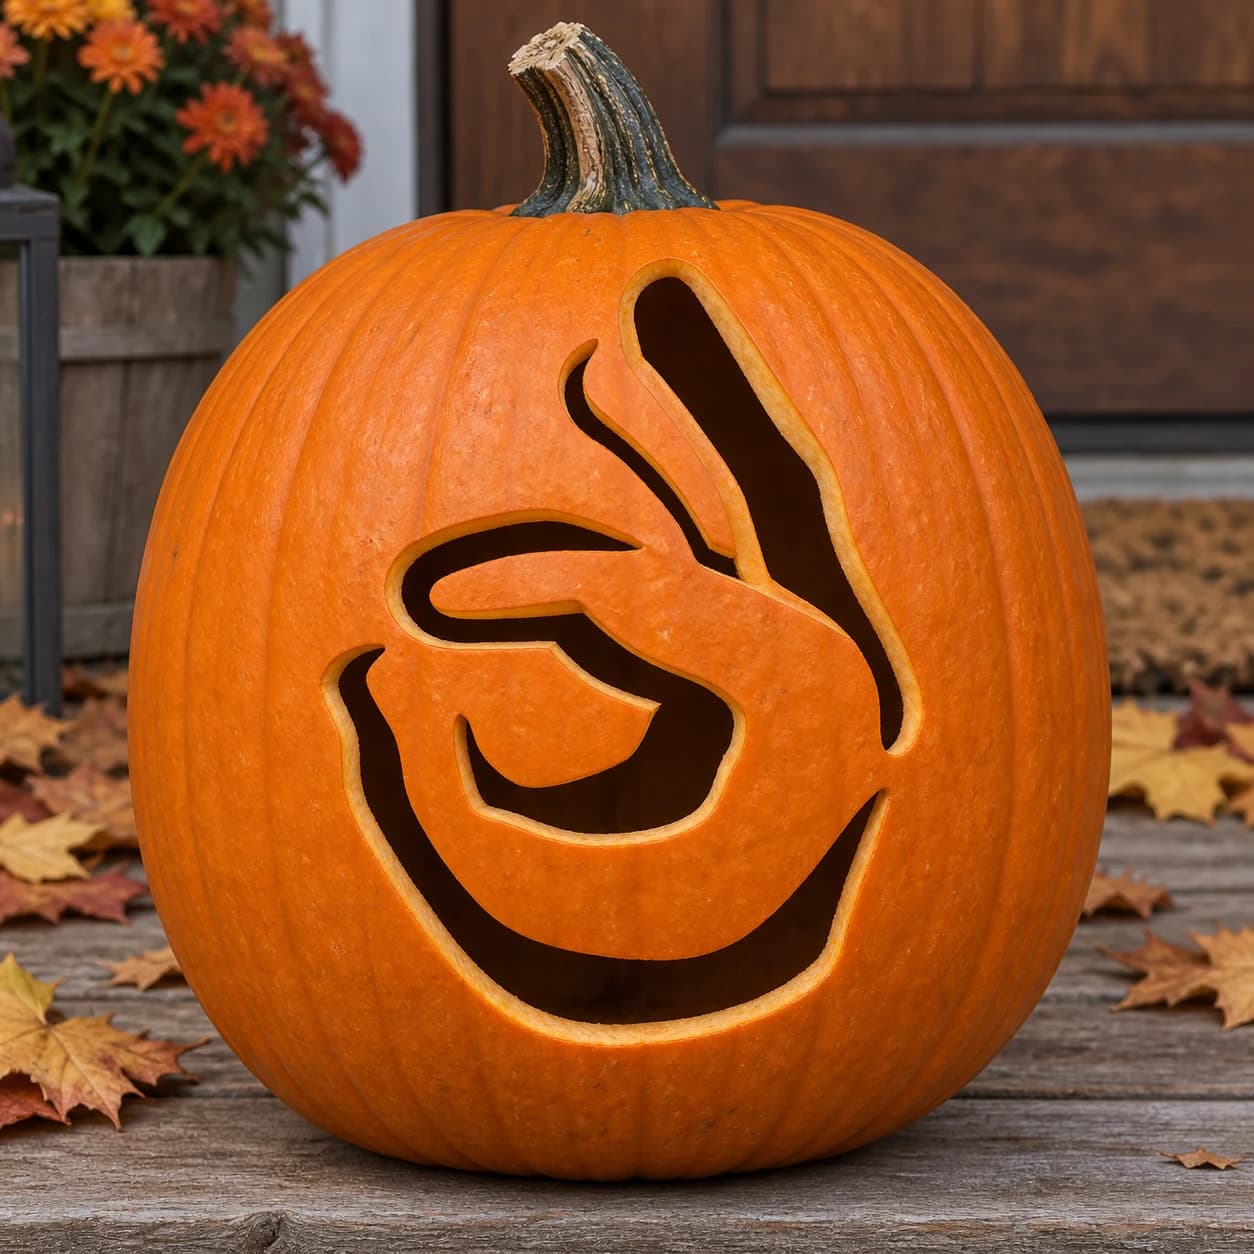
The OK hand gesture fills this pumpkin stencil: the thumb and forefinger curve together to form a circle at center, while the middle and ring fingers extend upward as two solid tapered strips of pumpkin skin. The surrounding negative space and the interior of the OK ring are cut away, so the lit jack-o-lantern shows bold finger shapes and a glowing circle against the interior light. The narrow channel between the two upright fingers is the tightest cut, so make that pass in a single stroke without stopping mid-way.
Oklahoma Pumpkin Stencil
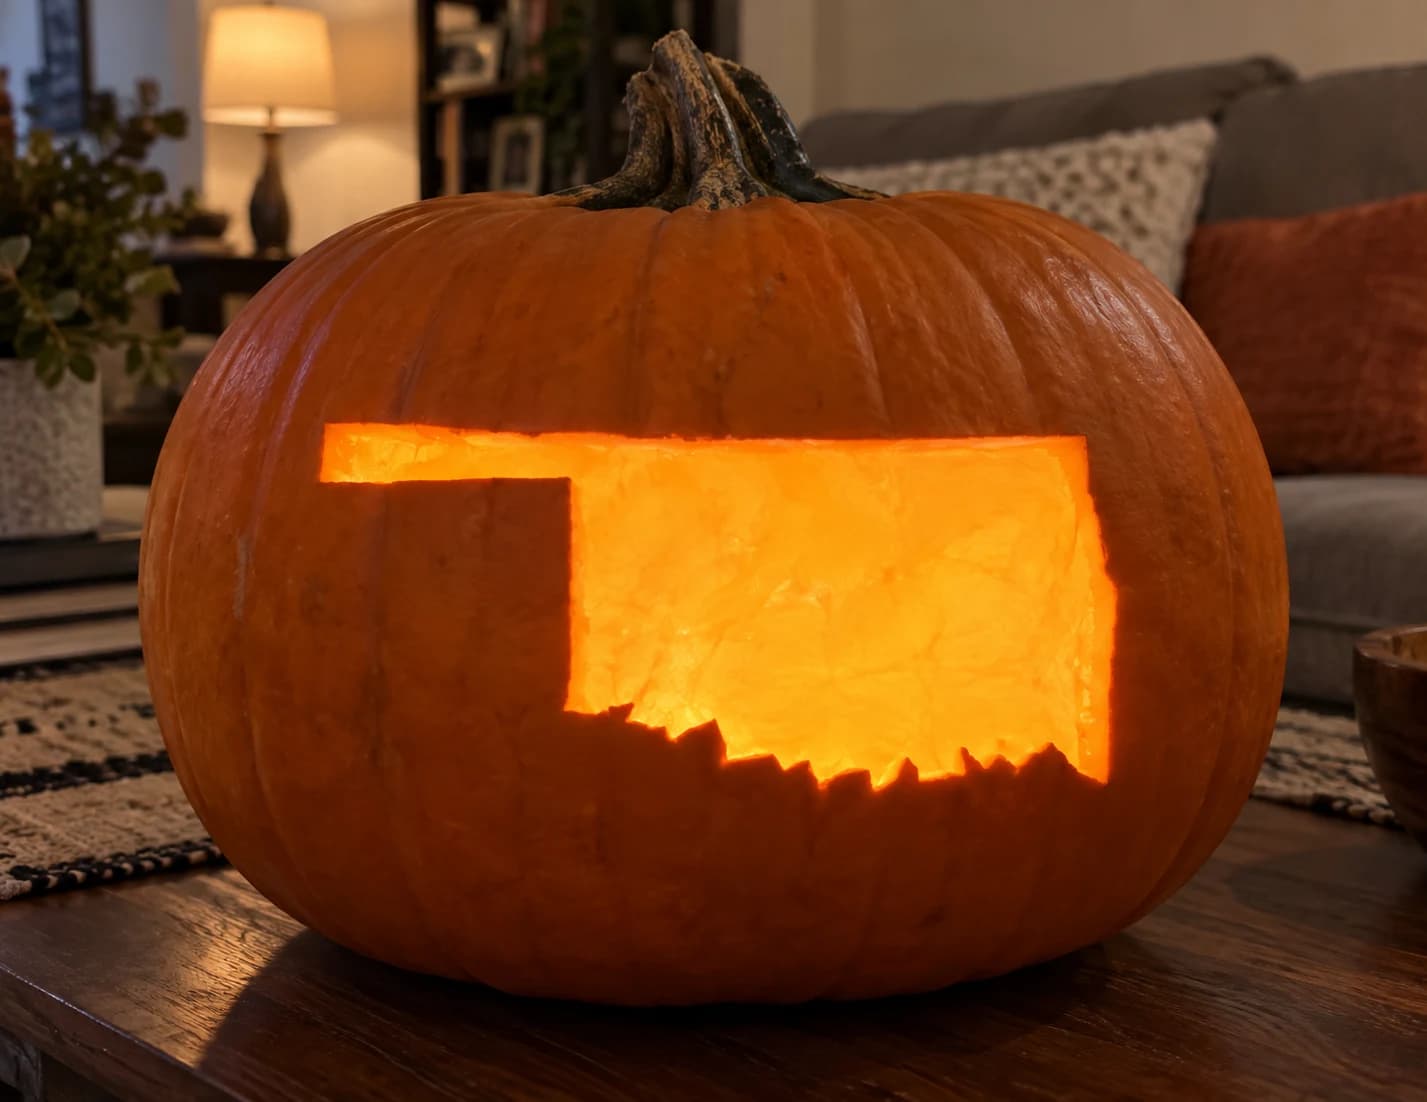
Oklahoma's silhouette stretches wide in this state pumpkin stencil, showing the long panhandle arm extending to the left, a nearly rectangular main body, and the jagged stepped southern border that traces the Red River. The interior is cut as one open shape, making the panhandle the defining visual element that distinguishes Oklahoma from any other state design. Because the panhandle is long and narrow, cut it first while the surrounding pumpkin skin is still firm, using a thin blade and steady outward strokes to keep the arm from cracking.
Oklahoma State Shape
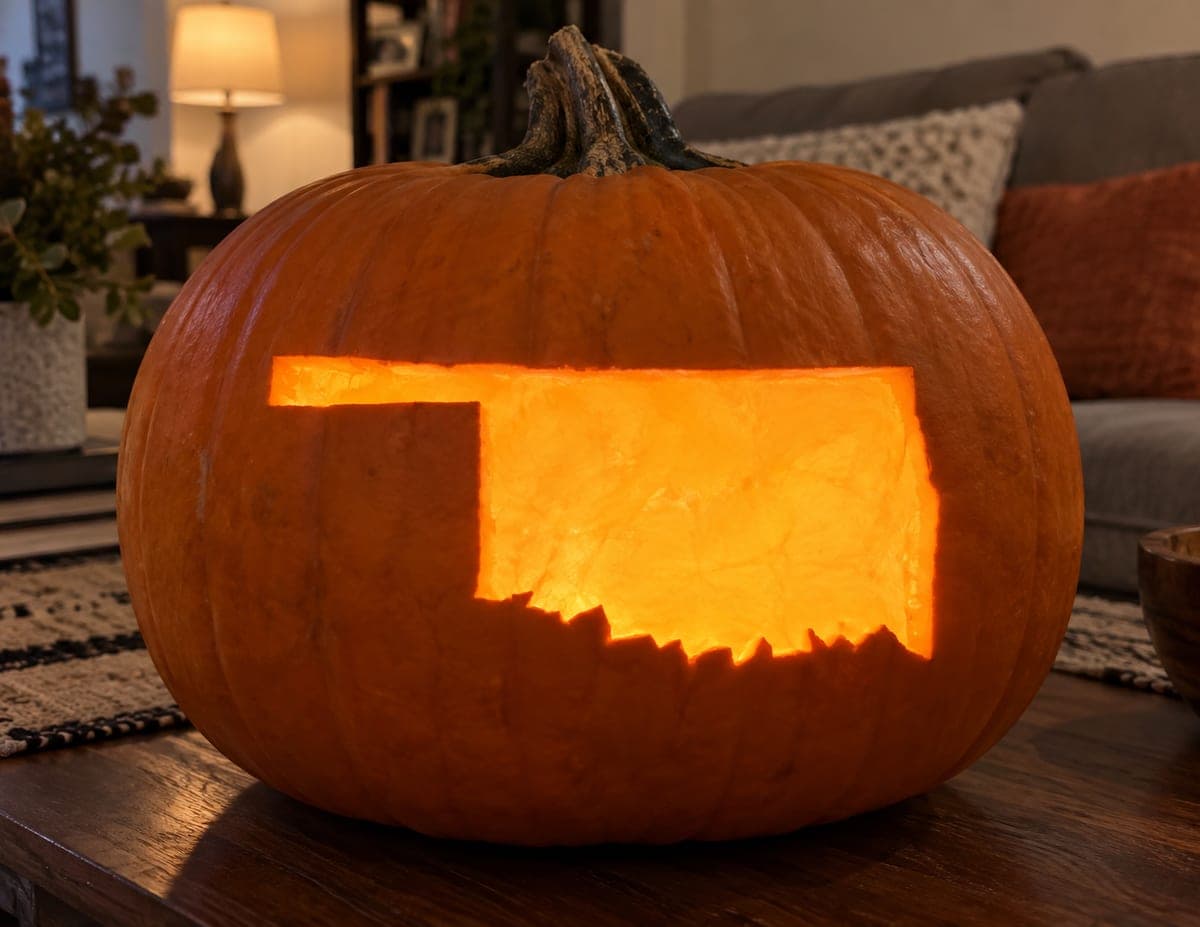
Oklahoma's distinctive silhouette, from the long skinny panhandle to the notched southern border, cut fully through so the entire state shines as a single lit shape. The interior is removed in one large piece while the rest of the pumpkin stays solid. Because the panhandle is a narrow strip, this medium design carves best if you cut that section last and support it with your free hand as you finish.
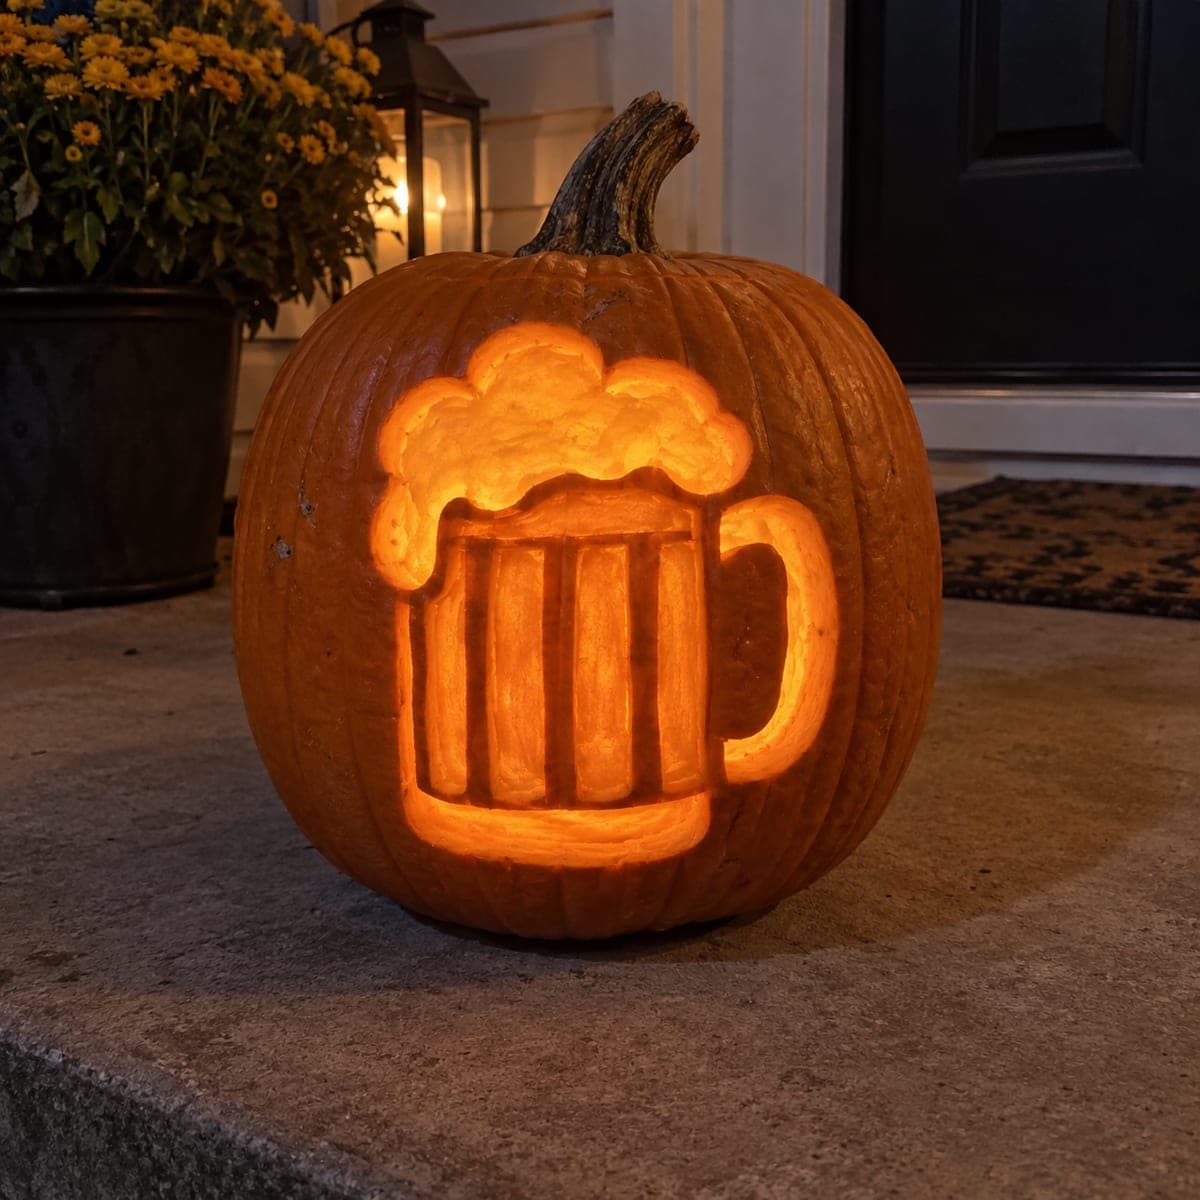
Oktoberfest Cheers Pumpkin Stencil
A frothy beer mug fills the pumpkin, its billowing head of foam spilling over a four-panel glass body and a sturdy curved handle. This is a shaded design carved into a continuous wall, so the mug is shaved out of the skin rather than pierced, which keeps the foam bubbles and panel lines intact. Shave the foam shallow and fluffy, then go slightly deeper on the four panels so the glass glows brighter than the head.
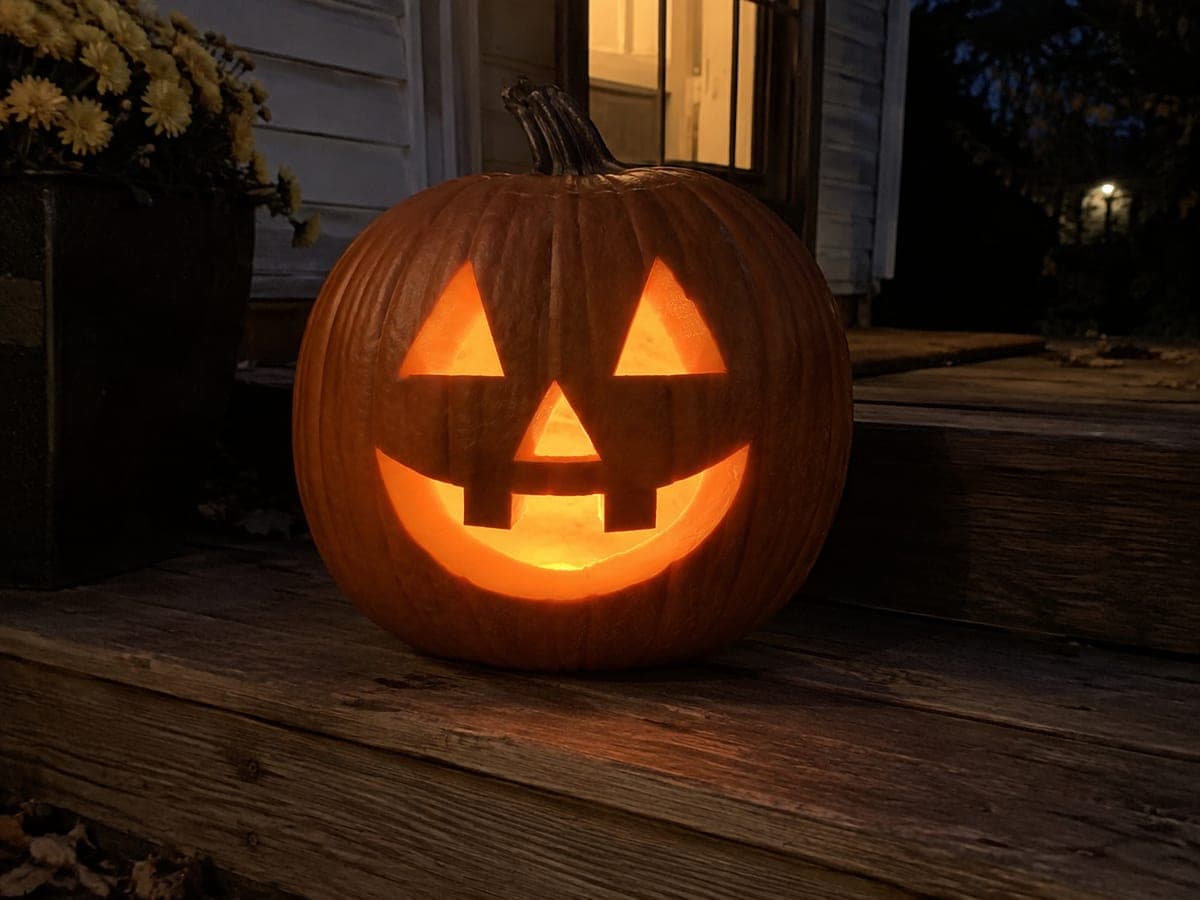
Old Faithful Grin Pumpkin Stencil
The timeless jack-o'-lantern: two triangle eyes, a triangle nose, and a wide curved grin interrupted by two chunky square teeth hanging from the upper lip. Every feature is pierced straight through for maximum glow. This easy pattern is the classic first carve; angle each triangle cut slightly toward the center of the shape so the plugs pop out cleanly, and leave the tooth blocks generous so they do not snap.
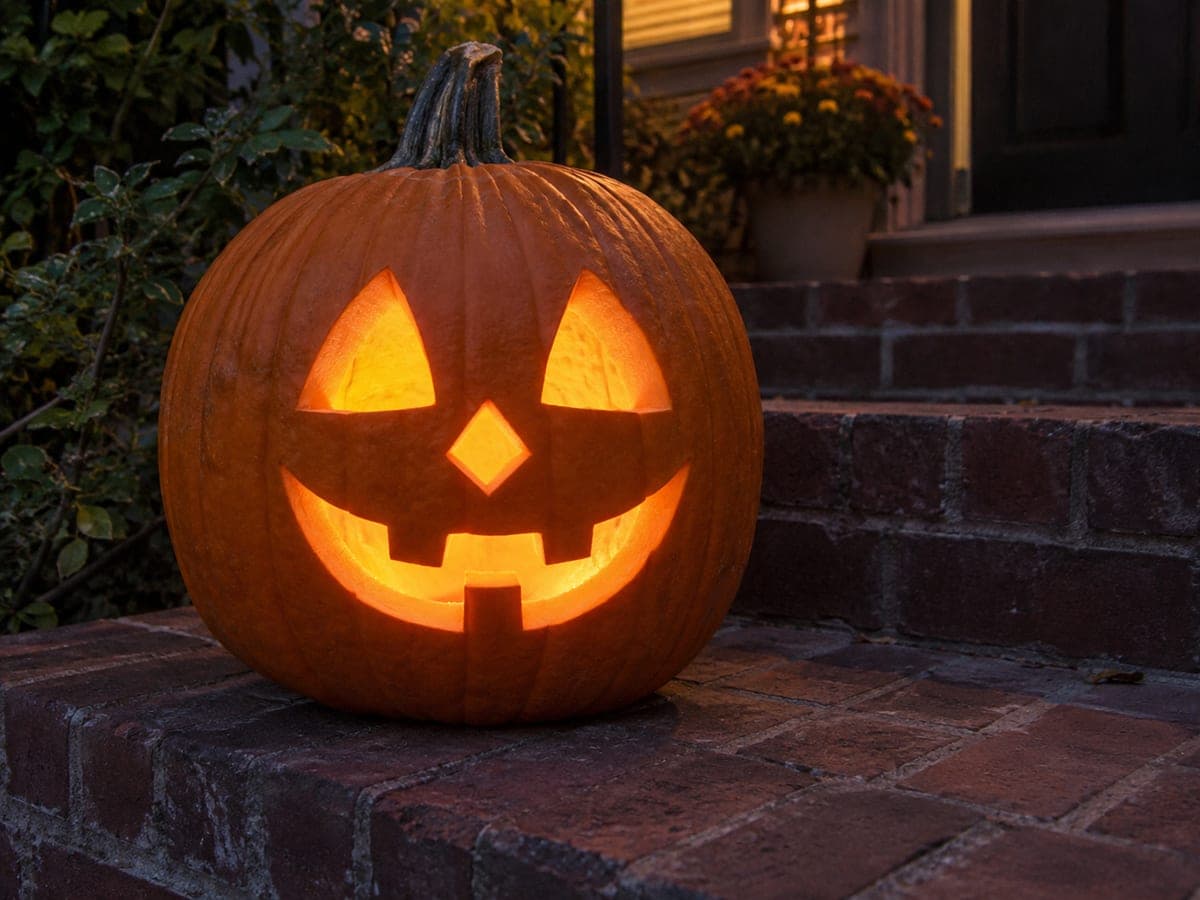
Old Faithful Pumpkin Stencil
This is the timeless jack-o'-lantern: two triangle eyes, a diamond nose, and a wide crescent grin interrupted by three blocky square teeth, one hanging from the top lip and two rising from the bottom. Everything except the teeth is cut through, with the teeth left as standing tabs of shell. It is an easy, forgiving first carve; cut toward each tooth from both sides rather than sawing across it, so the tabs never take sideways pressure.