Similar to This
View all stencils →About this stencil
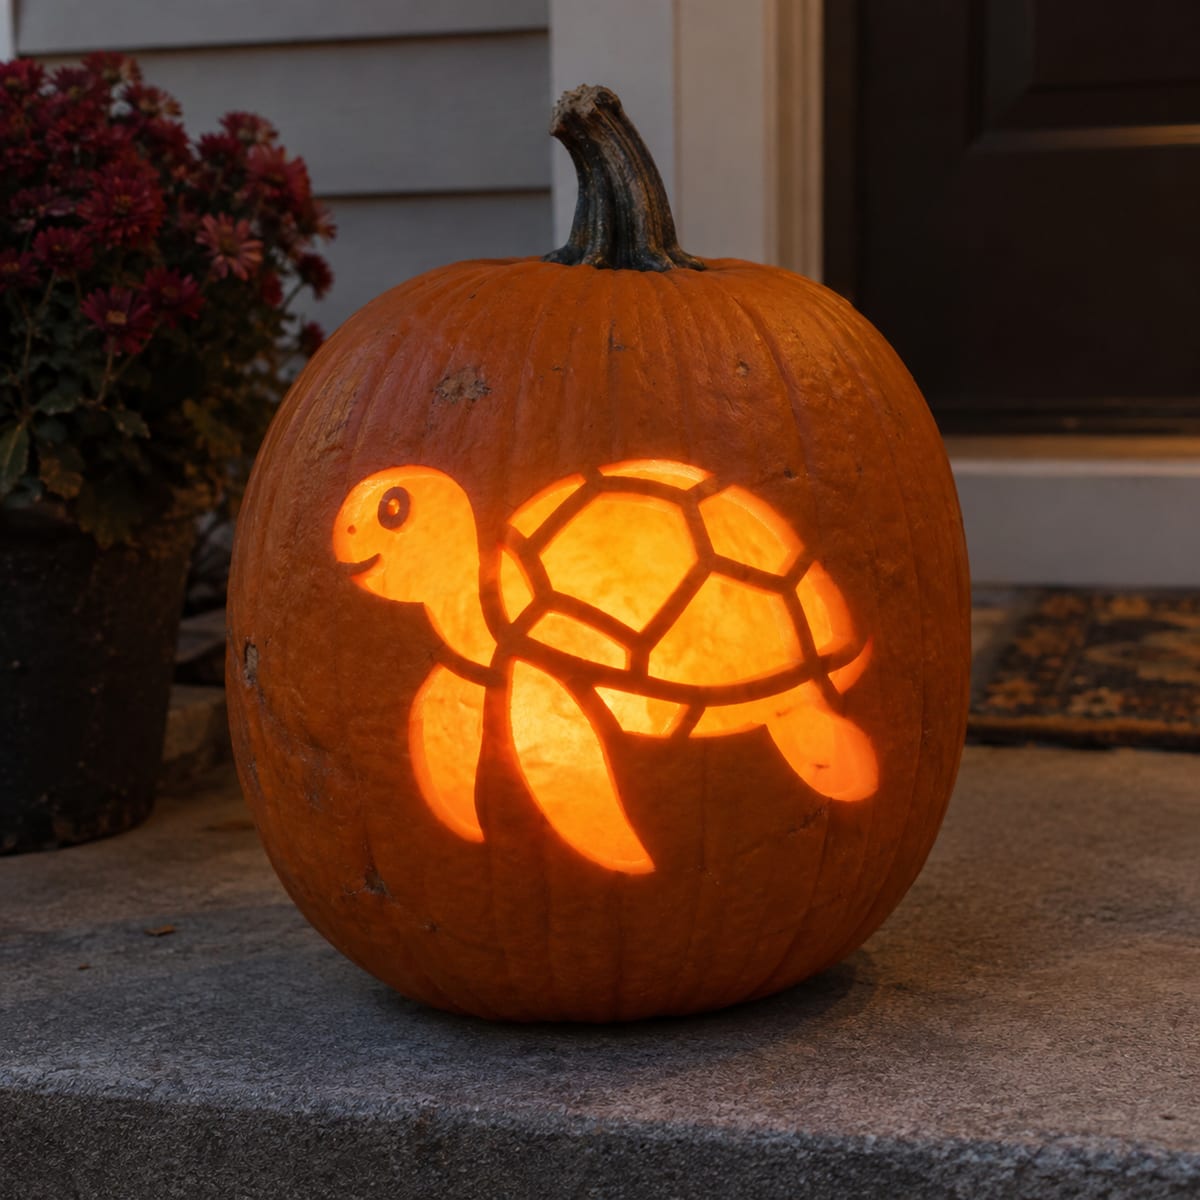
A smiling sea turtle paddles across the pumpkin, its patterned shell divided into glowing plates while thin ribbons of skin stay in place to draw the head, flippers, and shell segments. This is a shading-style design carved on a continuous wall, so you shave away the skin rather than piercing holes, letting the whole turtle glow softly. Shave in thin layers and test with a light often until the flippers and shell panels shine evenly. This design is rated Intermediate and takes most carvers around 75 minutes from trace to glow. Comfortable knife handling required. Small details and curves.
Pumpkin size guide
- 🎃 Small (5–7") — print at 80%
- 🎃 Medium (7–10") — print at 100% (recommended)
- 🎃 Large (11–13") — print at 130%
- 🎃 Giant (14"+) — print at 150% on tabloid paper
Frequently asked questions
Can I resize this stencil?▾
Yes. The PDF is vector so it scales cleanly. Print at 100% for a 7–10 inch pumpkin, 130% for 11–13 inch, or 150% for a giant. Use your printer's "Fit to page" or "Custom scale" setting.
What kind of paper works best?▾
Standard 20 lb letter or A4 printer paper is fine. Heavier paper is harder to bend around the pumpkin curve. If your printer supports it, set the quality to 'best' so the lines are crisp.
How long will the carved pumpkin last?▾
Usually 5–10 days. Coat all cut surfaces with petroleum jelly and store the pumpkin somewhere cool overnight. Avoid direct sun. Battery LED pumpkin lights produce no heat and double the lifespan.
Can I sell pumpkins carved with this stencil?▾
Yes, the carved pumpkin you make is yours. The license covers personal and small-scale commercial carving (selling carved pumpkins, photographing them, posting on social). You may not resell the PDF file itself.
What if my printer doesn't print the whole stencil?▾
Set 'Page scaling' to 'Fit' in the print dialog and uncheck 'Auto-rotate'. If it still cuts off, the design includes 0.25" of safe-area margin so a small crop won't ruin it.
How to carve this stencil
This is a continuous-wall shading design: you never cut all the way through the pumpkin. On the printable pattern, light gray regions get just the skin shaved off for a faint glow, dark gray regions are scraped deeper so more light comes through, and white areas keep their skin untouched. The numbers give you the safest working order. Plan on about 90-120 minutes from print to candle.
Set up first. Print the PDF at 100% scale on letter or A4 paper. Cut the lid at an angle, scoop the pumpkin clean, and thin the wall to about 1 inch behind the design so light can pass through the shaded areas. Tape the pattern on (snip small darts in the paper so it hugs the curve) and transfer the outlines by poking dots along every line. Work with a loop tool, clay ribbon scraper, or the back of a spoon rather than a saw.
Shading order
- Trace the turtle (1). Scrape all gray regions shallowly. Follow the smiling head, curved neck, three visible flippers, small right tail tip and ten separated shell plates or rim pieces. Keep white shell seams, eye, nostril, smile, limb gaps and background intact.
- Brighten head and flippers. Deepen the dark-gray head and neck, then all three dark-gray flipper centers marked 2. Keep the pale edges and small tail shallow. Preserve the eye, its shallow glint, nostril and curved smile.
- Shape the shell. Deepen the three broad dark-gray shell centers marked 3. Leave the smaller plates, rim fragments and all pale borders shallow. The white band below the shell remains intact. Check with an LED and never pierce the pumpkin wall.
Check your progress often: set a bright LED inside and dim the room lights, and the glow shows exactly where to scrape deeper. Go slowly near thin spots and stop before the wall flexes; a pierced wall cannot be undone.
Tools you'll need
For a intermediate carve like this you'll want a x-acto knife, poker tool, ribbon scoop, and painter's tape. Here's the kit we reach for — start with whatever you already own.

Elmchee Pumpkin Carving Kit
13-piece kit with carrying case
Saws for the larger cutouts, plus a scoop for hollowing. Covers both jobs in one kit.
View on Amazon ↗
HOME MOST LED Pumpkin Lights
4-pack, battery operated, with remote + timer
Orange glow made for jack-o'-lanterns. The remote and timer light the pumpkin every evening without reaching inside.
View on Amazon ↗
Speedball 4131 Lino Cutter Set
Handle + 5 interchangeable cutters
Interchangeable cutters for peeling and shading the face. Useful for the finer details.
View on Amazon ↗
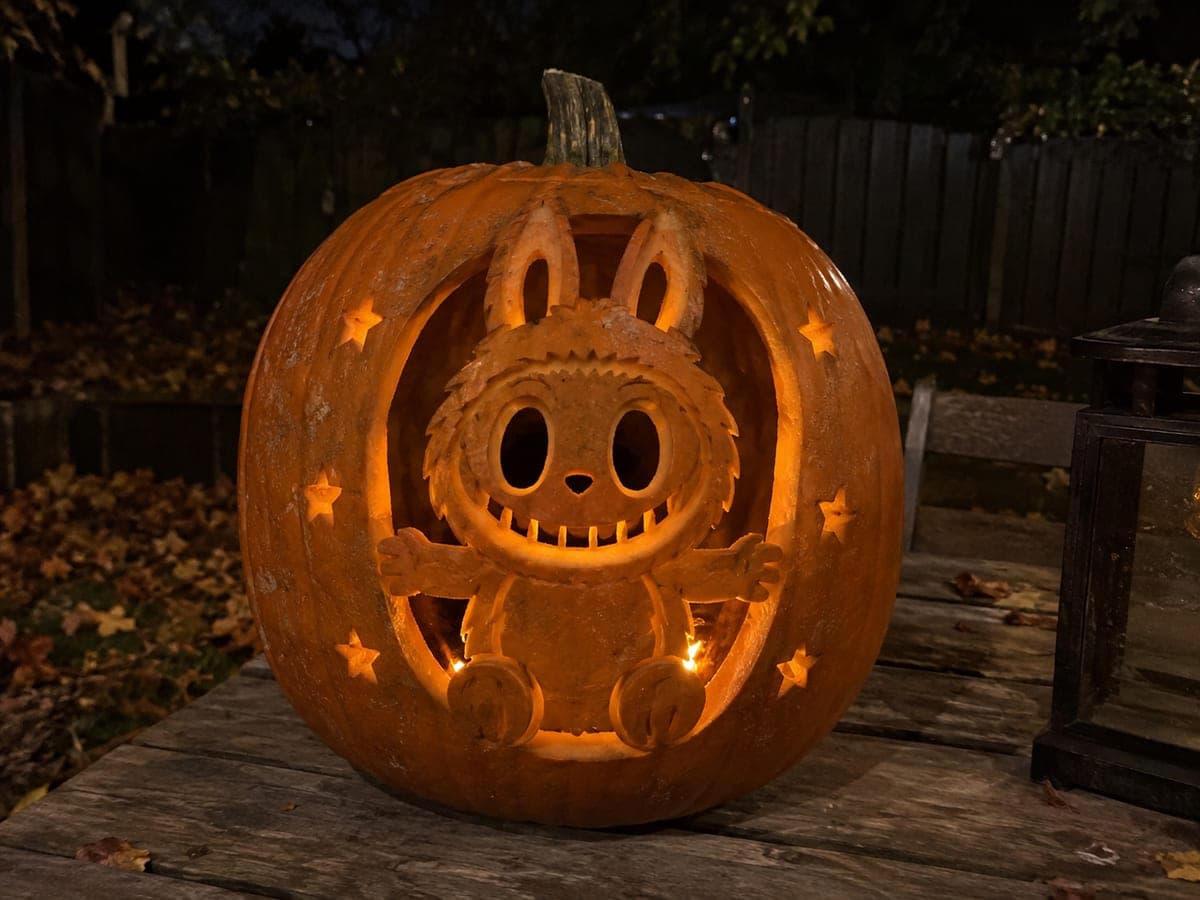
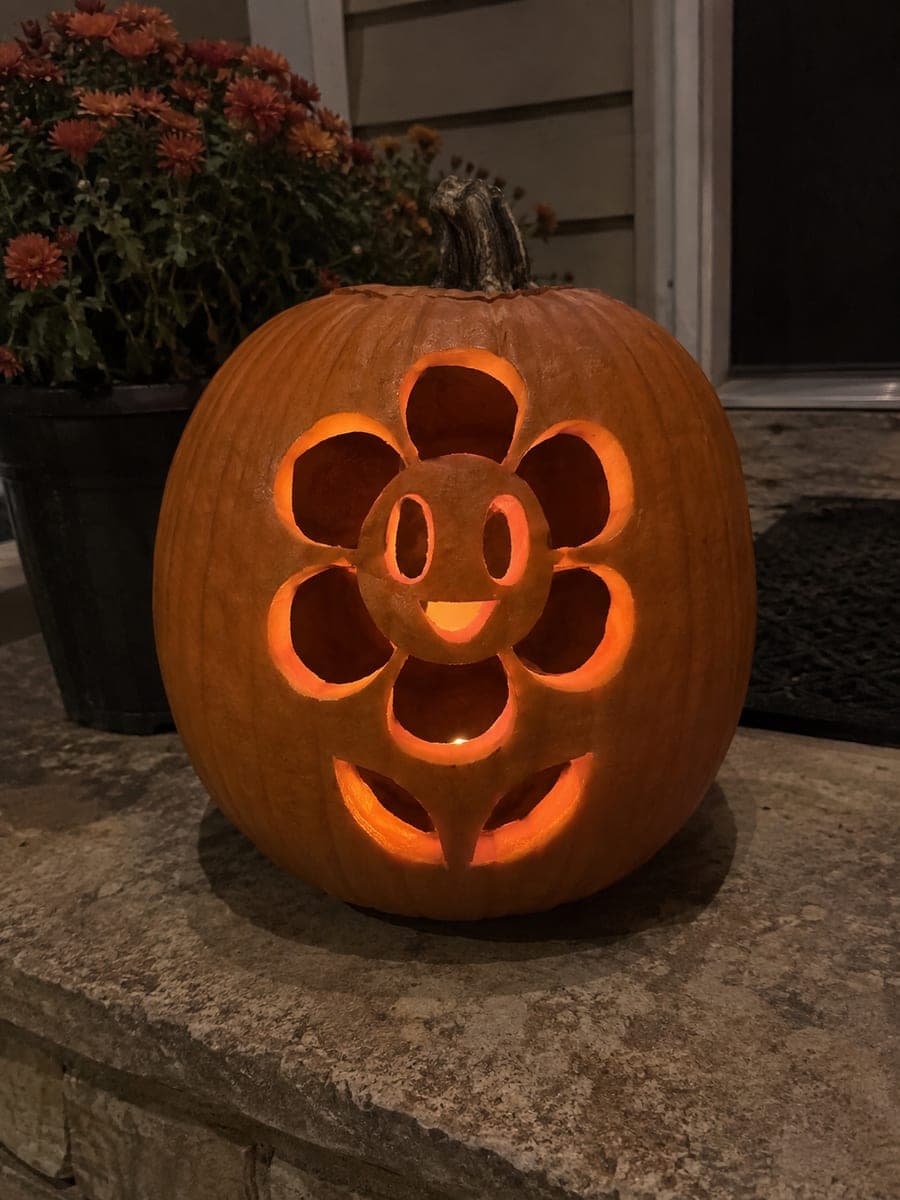
Community Pumpkin Carving Ideas
Carving ideas that use stencils like this one.

Related stencils
Carvers who liked this one also downloaded these.
 Expert / Pro
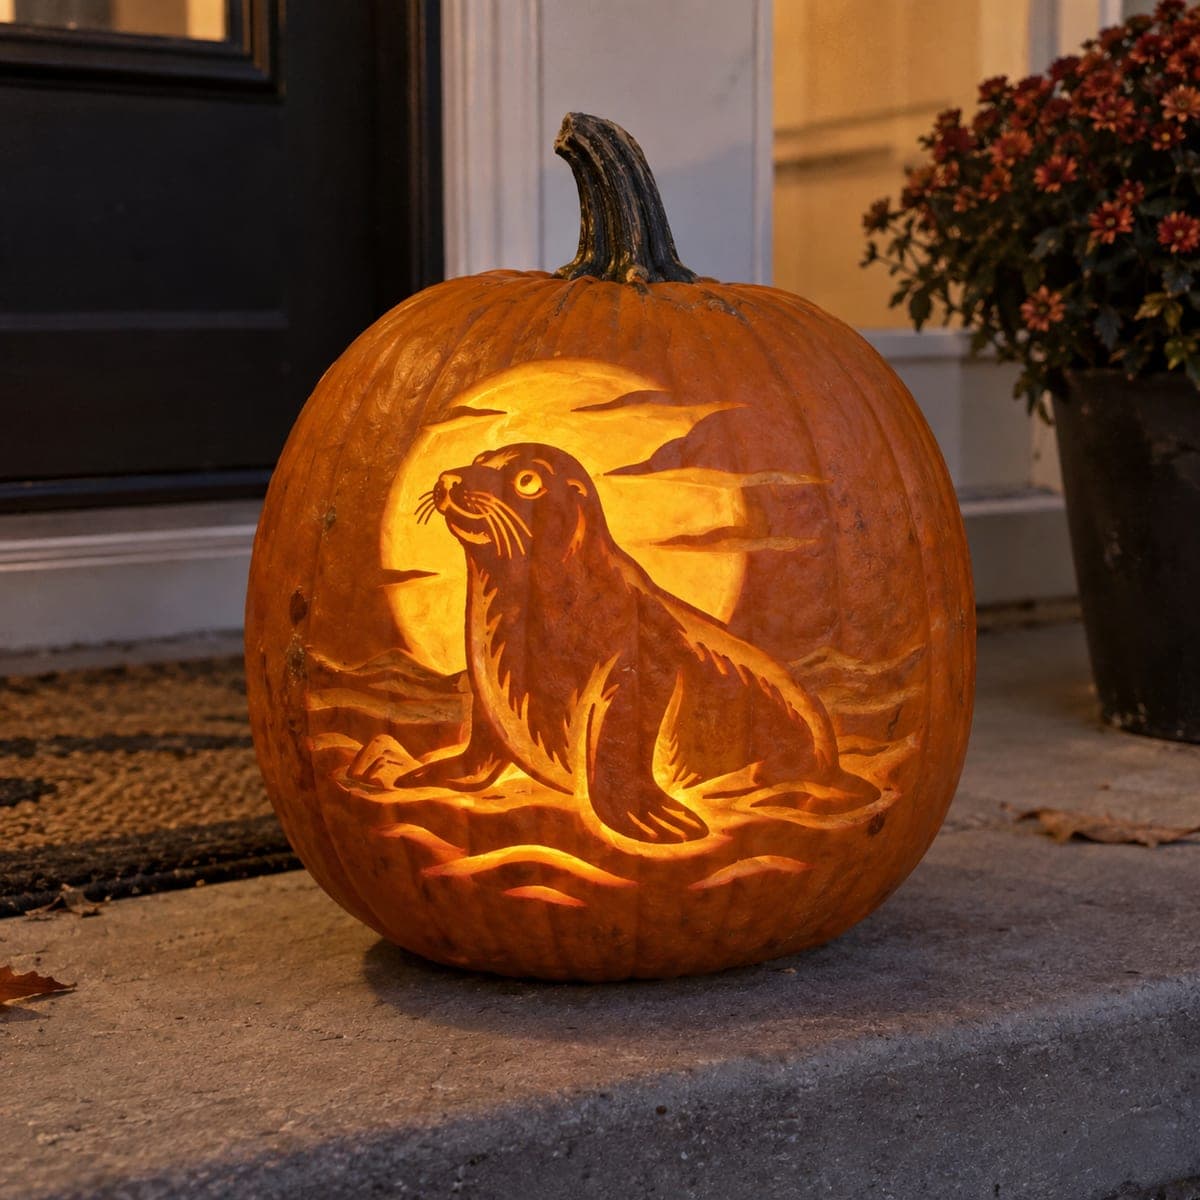
Moonlit Seal and Water Bands
A harbor seal rests on the shore with its head raised and tail curled up, backed by a huge full moon, drifting clouds, and bands of rippling water below. The entire scene is skin-shaved shading with no pierced holes, so the moon glows brightest behind the seal's darker sculpted body. Expert carvers should establish the moon's deep, even shave first, then build the seal with shallower graded layers so its whiskered face keeps crisp contrast.
 Beginner-friendly
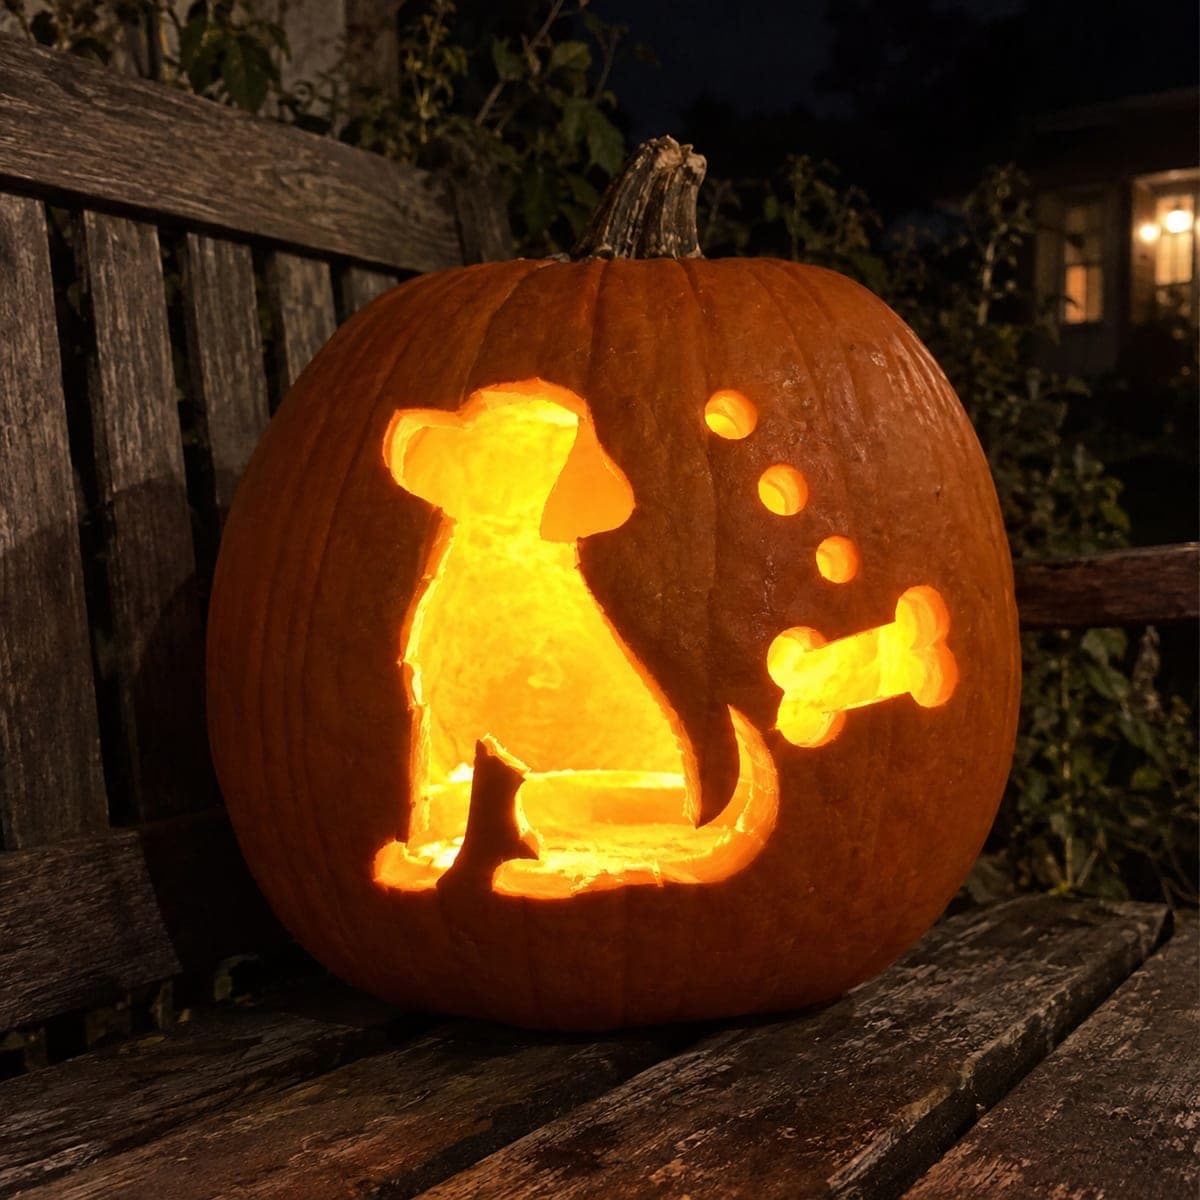
Seated Dog with Bone and Dots
A patient pup sits in profile, ears perked and tail resting, while a bone floats nearby with a trail of small dream-bubble dots connecting them. The dog's body, the bone, and the dots are all cut fully through as bold, separate openings, so the scene reads instantly from the street. This easy design has no fragile interior bridges; just cut the large dog body in two or three sections and pop the bone and dots out last for a tidy finish.
 Advanced
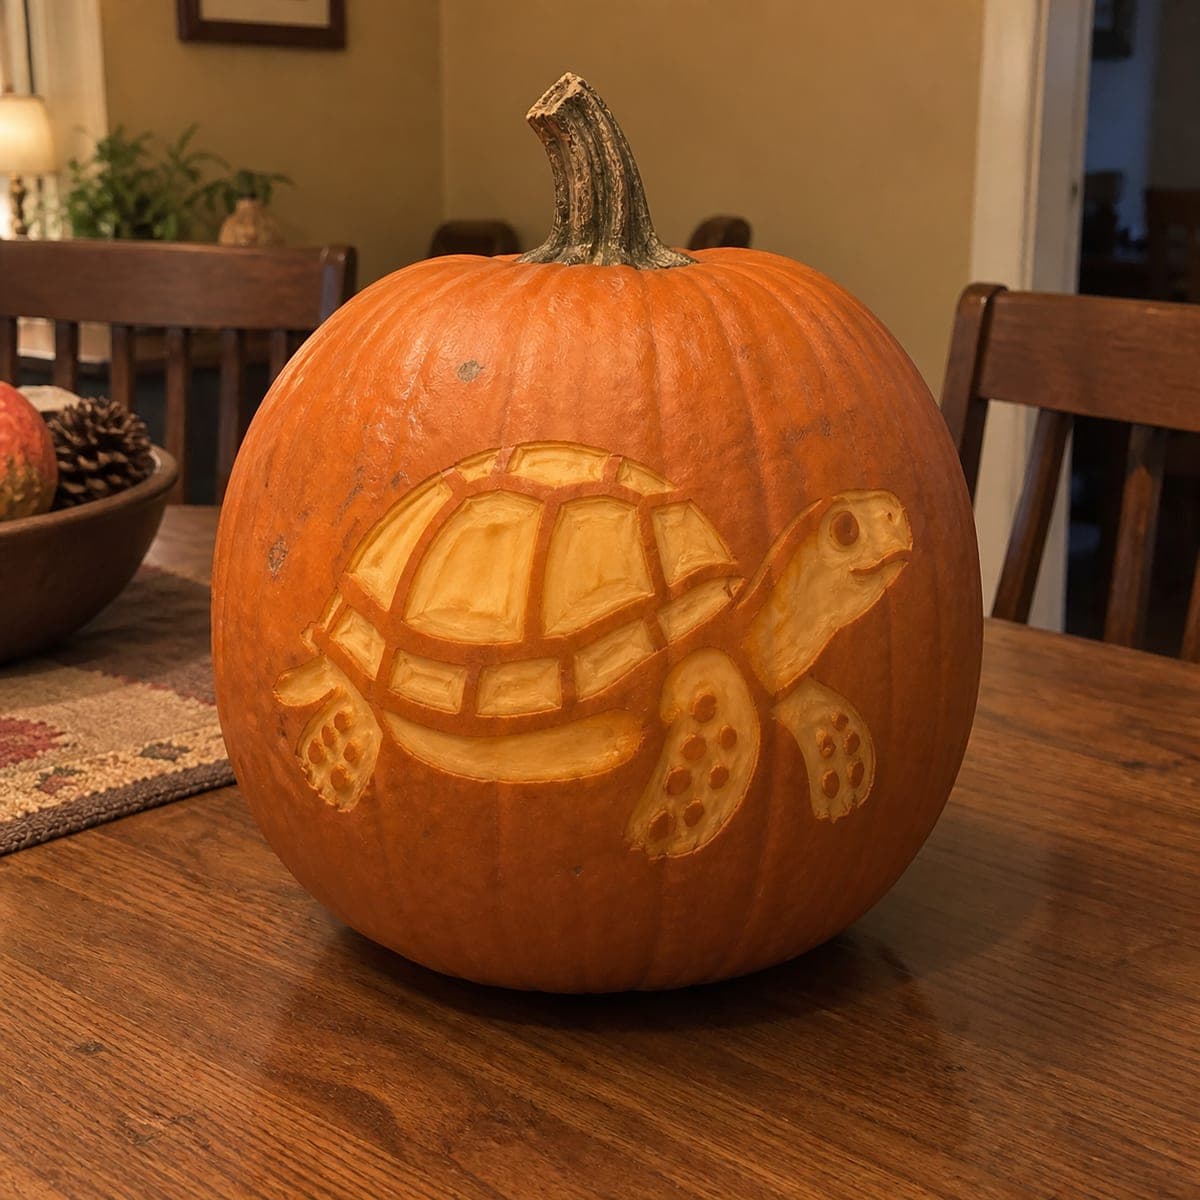
Turtle with Raised Shell Seams
A gentle box turtle strolls across the pumpkin, its domed shell divided into raised seams and its legs dotted with rounded scale spots. The whole design is skin-shave work with no pierced holes; you strip the skin inside each shell panel and body section while leaving the seam lines dark and raised. Vary your shaving depth slightly between panels to give the shell dimension, and save the tiny scale dots for last.
 Intermediate
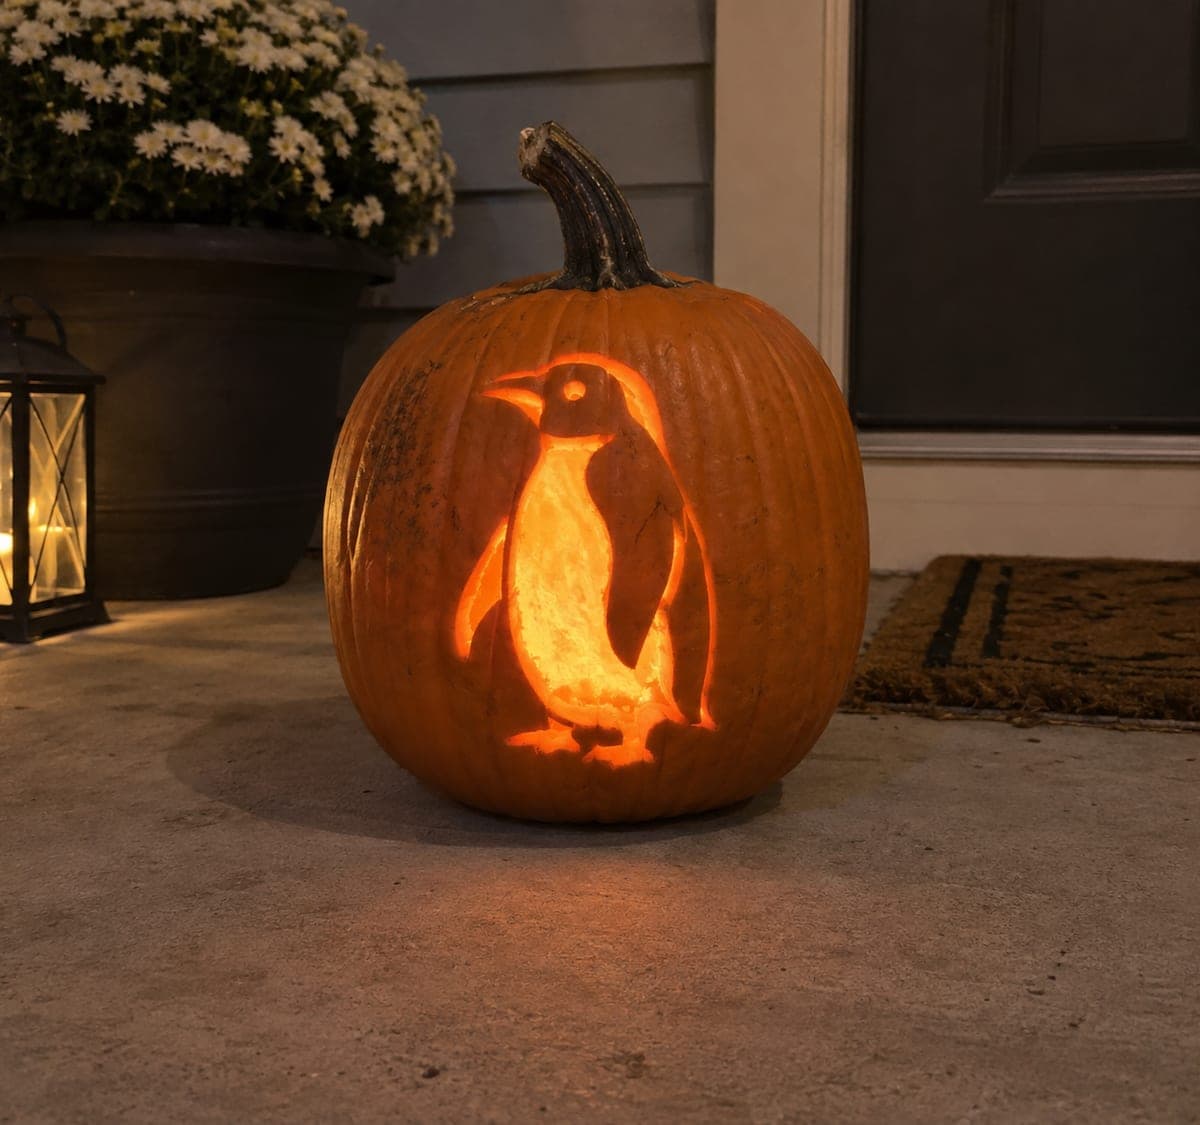
Side-View Penguin
A plump penguin stands in profile with its beak raised, and the design is built entirely from skin shading rather than pierced cuts. You shave away the rind across the penguin's white belly and face for a bright glow, leave the darker back and flipper as untouched skin, and etch a fine outline around the whole bird. For this medium etch, remove the belly in shallow, even layers and stop as soon as light glows through at test lighting.
 Intermediate
Floppy-Eared Labrador Muzzle
A lovable Labrador face with two glowing floppy ears, round eyes, a rounded triangle nose, and an open smiling muzzle beneath. The big ear panels and the mouth cut fully through, while narrow skin bridges separate the nose from the jowl lines. A medium carve thanks to those bridges; cut the small eye and nose openings before the large ears so the face area keeps its strength while you work.
 Intermediate
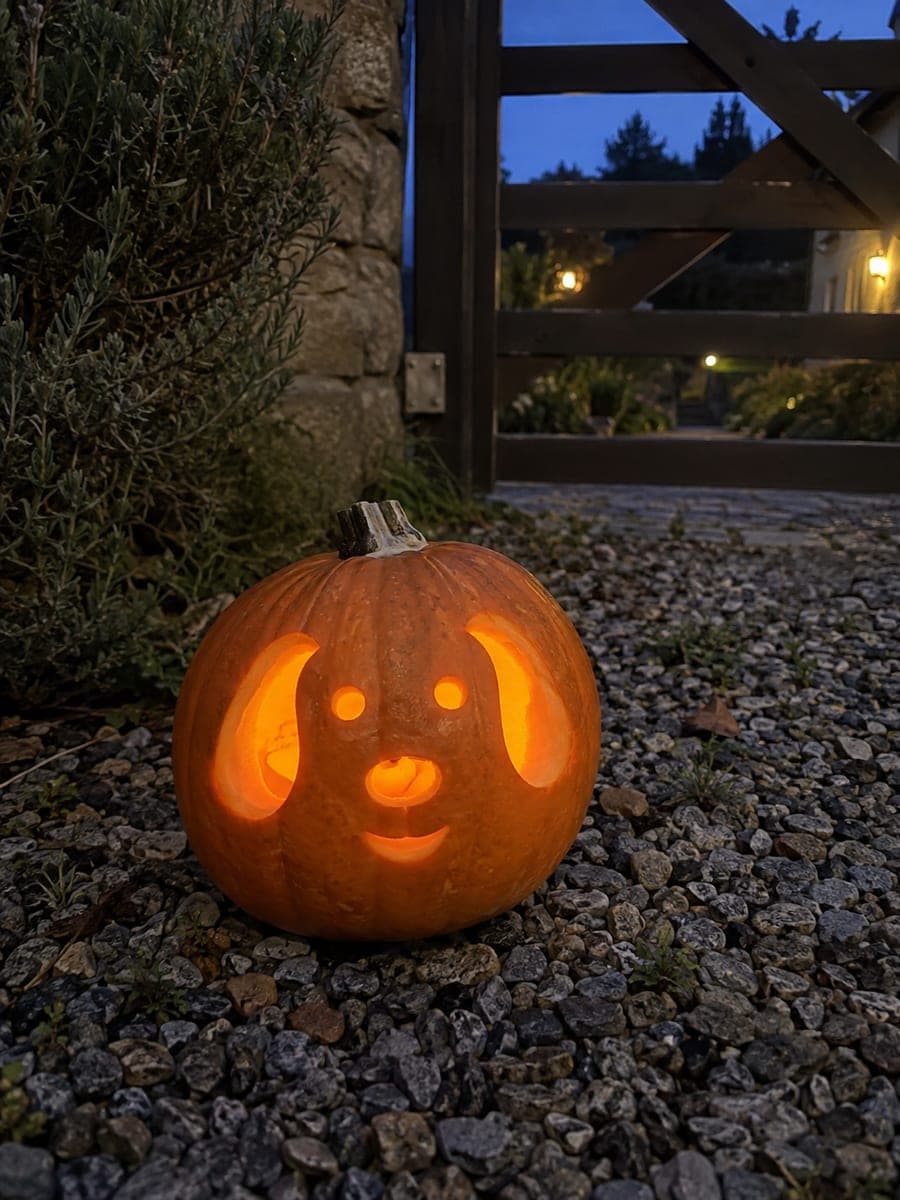
Small-Eyed Dog and Short Smile
A sweet puppy face fills the pumpkin: two long floppy ears drooping down the sides, small round eyes, a rounded nose, and a short curved smile beneath it. The ears, eyes, nose, and mouth are all cut through, so the whole dog glows warmly after dark. Rated medium mainly for the large ear openings; leave a generous strip of wall between each ear and the eyes so the face stays sturdy.