Halloween Pumpkin Carving Contest · Starts October 1st · $500 in prizes
← Back to ideas
@ai_concepts
Sep 25, 2026
Cat and Moon Shading Pumpkin in Warm CandlelightAI
0

Report this carving

Tell us what is wrong. Reports are private.

Cat and Moon Shading Pumpkin in Warm Candlelight

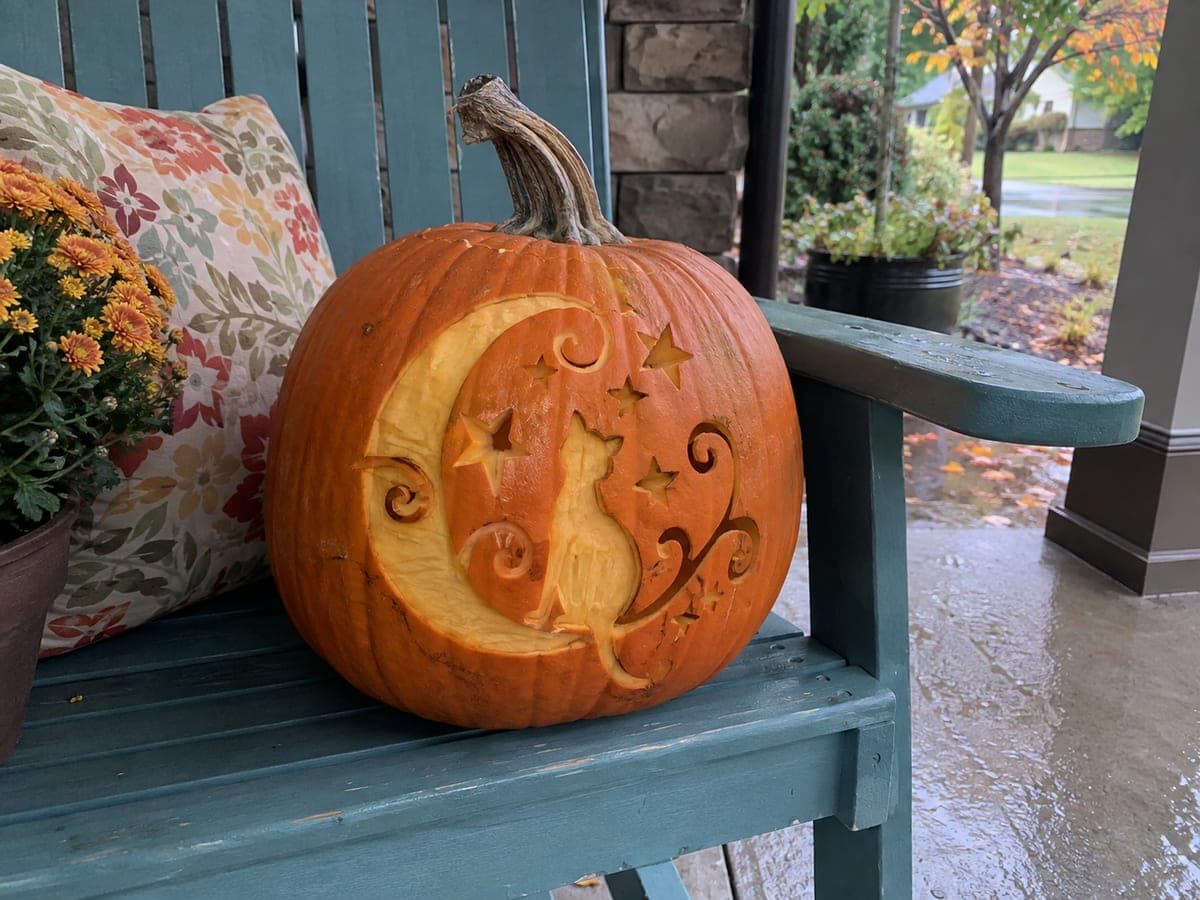
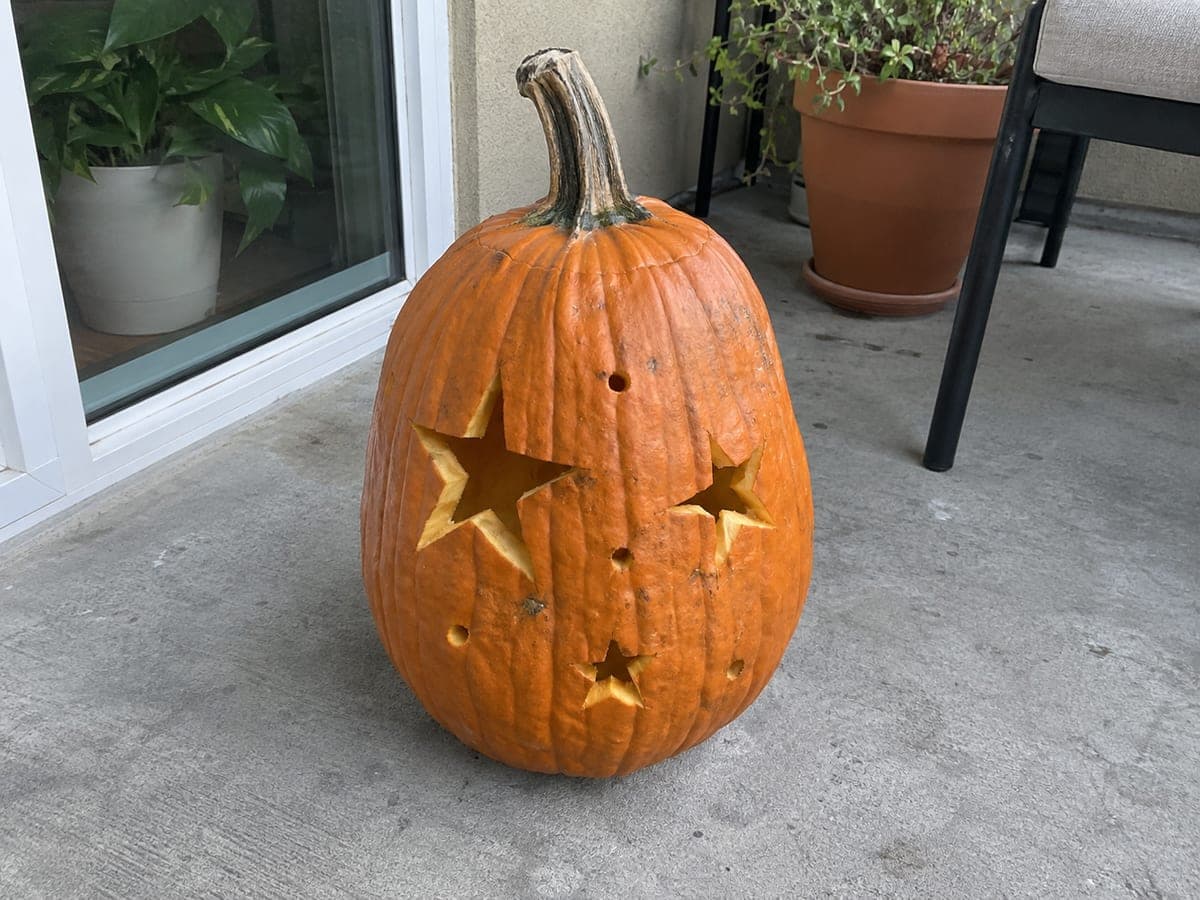
A shallowly scraped cat silhouette sits beside a glowing moon and scattered stars in this simple pumpkin carving idea, requiring no cut-through openings at all. Use a small V-gouge or paring knife tip to carefully scrape around the cat outline, removing only the orange skin layer and leaving the pale flesh below visible. Scrape the moon and each star as separate shallow patches, keeping all shapes attached to surrounding skin so nothing lifts or peels. Placing a warm candle or LED inside makes every scraped area glow beautifully at night.

No ratings yet · Sign in to rate

Comments (0)

  • No comments yet — be the first.

Save without an account. Sign in to like or comment.

Our tips for carving a similar design

All three motifs, the cat, the moon, and the scattered stars, are scraped as separate shallow patches with no part of the design cut through. Keeping every scraped area attached to its surrounding skin is what holds the design together. A warm LED inside makes the thinner scraped areas glow more than the surrounding unscraped rind, producing a soft two-tone effect.

From pumpkin to porch

  1. Surface prep

    Wipe the pumpkin dry and let it sit at room temperature. You can leave the pumpkin uncut for a pure scraping design, or hollow it for interior lighting. If hollowing, scrape the interior front wall to about an inch for an even glow.

  2. Transfer the design

    Tape a printed template to the surface and trace the cat outline, moon shape, and star positions with a stylus. Remove the paper and confirm all lines are visible. Position the cat in the lower center, the moon to one side, and scatter stars in the remaining space.

  3. Scrape the moon first

    Use a small V-gouge to scrape within the moon outline, removing only the orange skin layer to reveal the pale flesh below. Work in smooth short strokes following the curve of the crescent. Keep the scrape depth consistent and leave the moon outline intact as an orange border.

  4. Scrape the cat

    Scrape within the cat body outline using the same shallow technique. Work from the edges of the shape toward the center, keeping all areas inside the outline at a uniform skin-off depth. Do not try to add facial detail since small features risk being scraped through in this technique.

  5. Scrape the stars

    Scrape each star as an individual small patch. For each point, take very short controlled strokes to avoid accidentally removing the connecting orange skin between points. Five separate scrape patches per star produce cleaner points than trying to scrape around the full outline in one pass.

  6. Clean up and display

    Brush away loose skin particles with a dry soft brush. Place a candle or LED inside if hollowed, or display in natural light outdoors. The pale scraped shapes glow warmly against the orange rind in any lighting condition.

Written with AI to match this design

Gather your supplies

Check things off as you get ready.

Work on a stable surface, keep your free hand out of the cutting path, and have an adult handle sharp tools.

Three levels of light

  • Leave intact

    All orange skin outside the scraped shapes stays fully intact as the dark background

  • Peel & shade

    The cat body, the crescent moon shape, and each individual star: orange skin removed to reveal pale flesh

  • Cut through

    None, the wall is fully intact

Learn the carving basics

Before you start cutting

How do I avoid accidentally scraping through the rind?

Keep strokes short, no more than an inch at a time, and check the scrape depth after each pass. The target depth is the pale cream layer just beneath the orange skin. If the flesh appears darker yellow or you see the interior color starting to show, stop immediately and move to an adjacent area.

What if my scraped cat silhouette looks uneven or patchy?

Go back over light areas with additional shallow passes of the V-gouge to even out the tone. Patchy scraping is very common on the first attempt. Consistent even pressure across the shape produces the most uniform pale glow when lit from inside.

Can I add black paint accents to the scraped design?

Yes. A small dot of black acrylic for the cat eye and some whisker lines painted over the scraped area adds detail that scraping alone cannot achieve. Apply paint after scraping is complete and let it dry before sealing.

Your take belongs here, too.

Changed a detail? Made it simpler? Share a photo of your version and tell the community what worked.

Share your pumpkin

More pumpkins like this

You've reached the end · 8 pumpkins
The Patch Report

Fresh pumpkins, in your inbox.

The best new carvings, ideas worth stealing, and how-tos for carving season. Short, seasonal, and gone by November.

A short email during carving season. Unsubscribe anytime. See our privacy policy.