Halloween Pumpkin Carving Contest · Starts October 1st · $500 in prizes
← Back to ideas
@ai_concepts
Jul 20, 2026
Dragonfly Painted No-Carve Pumpkin IdeaAI
0

Dragonfly Painted No-Carve Pumpkin Idea

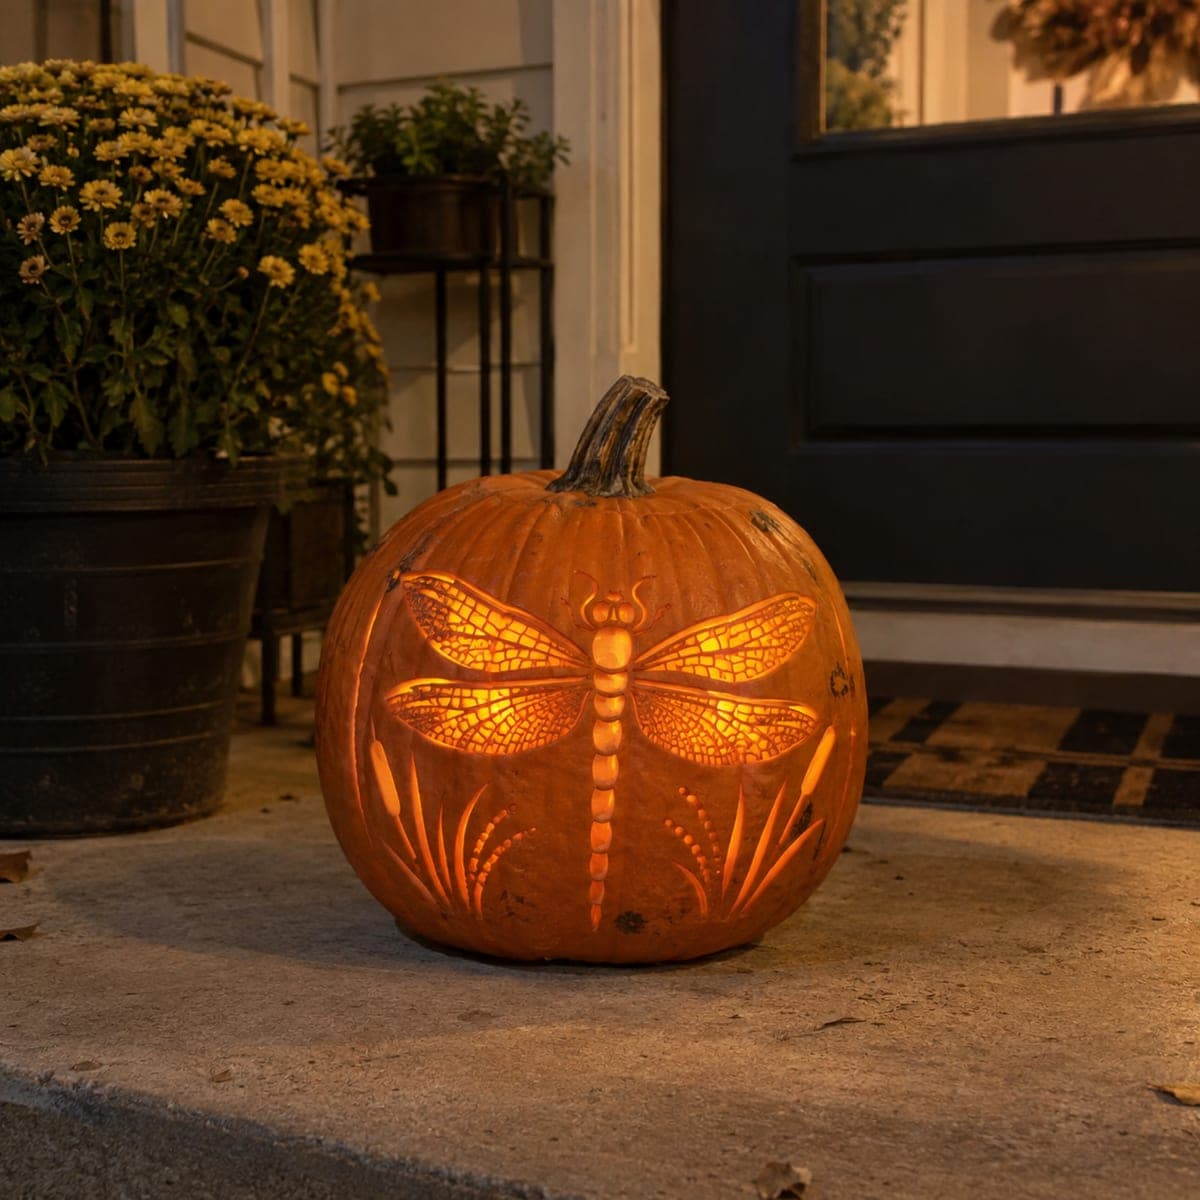
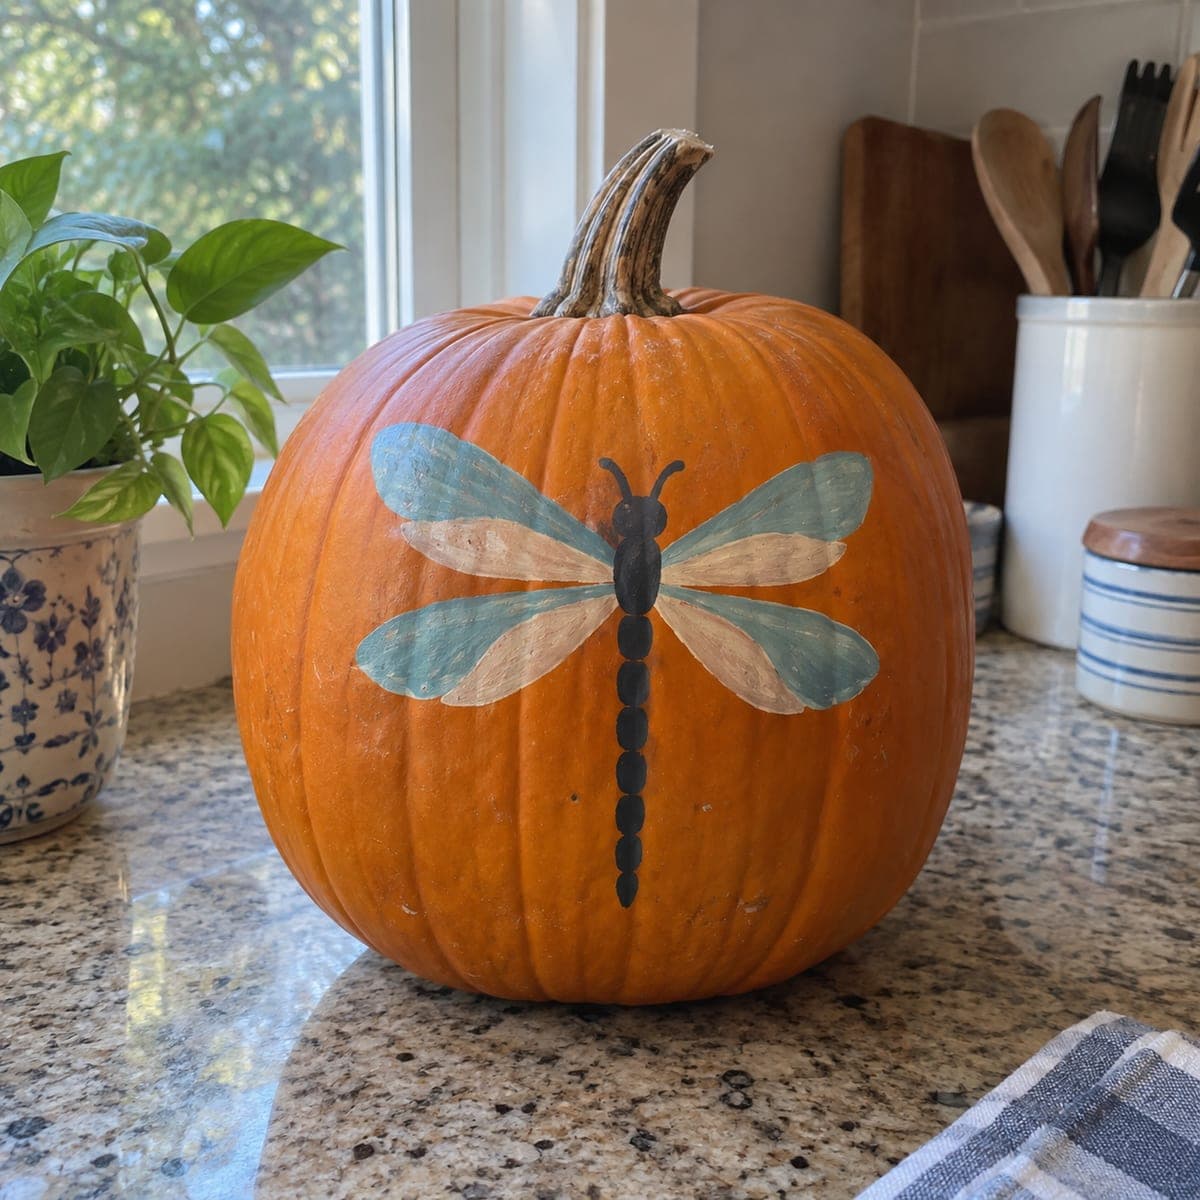
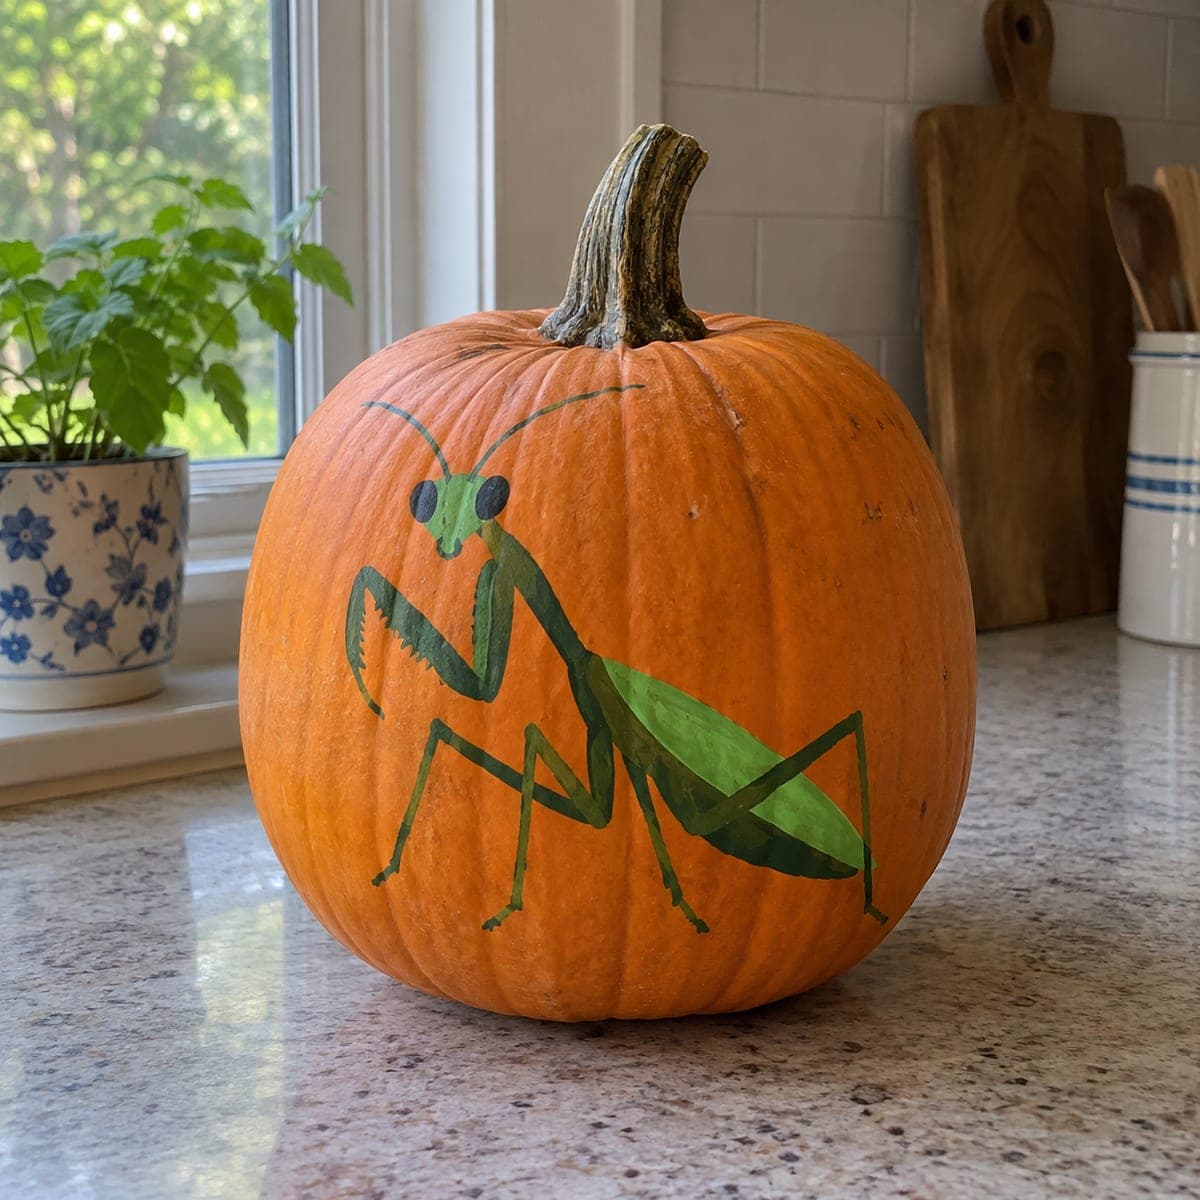
A large dragonfly with translucent blue-grey wings and a segmented body is painted in soft, watercolor-style strokes on this uncut pumpkin, giving it an elegant garden-art feel. The no-carve pumpkin design works beautifully indoors or on a covered porch where a candle is impractical. Thin your acrylic paints slightly with water for the wing areas to get that delicate, semi-transparent wing texture, and use a fine liner brush for the wing venation details.

This is an AI-generated concept image: a realistic, carvable design idea rather than a photo of a finished carve. AI concepts are always labeled and sit out the leaderboard and the contest.

No ratings yet · Sign in to rate
Comments (0)

  • No comments yet — be the first.

Save without an account. Sign in to like or comment.

Our tips for carving a similar design

The whole charm here is thinned, semi-transparent paint that mimics translucent dragonfly wings, balanced against a solid dark body. Sketch the symmetrical wing and body layout first, block in the pale wing washes, then add crisp venation and the segmented body last so your fine lines sit on top of dry color. Because this is a no-carve design, all the depth comes from paint opacity rather than light, so plan your light and dark values before you start.

Written by PumpkinCarvingIdeas.com, inspired by the image above. These are our suggestions, not instructions from the uploader. This approach to the AI concept has not been tested on a real pumpkin.

From pumpkin to porch

  1. Clean and dry the surface

    Wipe the pumpkin with a damp cloth and let it dry fully so paint grips well. Pick the smoothest, flattest face for your dragonfly and set the pumpkin on a towel to keep it from rolling. A dry surface prevents beading and streaking, especially with thinned paint. Give it a few minutes before you begin sketching.

  2. Sketch the layout lightly

    Use a pencil or washable marker to draw a vertical center line for the body, then rough in four wings, two long upper and two shorter lower, spreading out symmetrically. Keep the body a slim vertical shape with a rounded head at top and a tapering tail toward the bottom. Step back and check that both sides match before committing to paint. Light lines will disappear under the color.

  3. Wash in the wings

    Thin your blue-grey and cream acrylics with a little water to a milky, semi-transparent consistency and fill each wing with soft strokes. Let some pumpkin orange show through for that delicate, see-through wing feel. Work one wing at a time and keep edges a bit loose rather than hard. Allow this layer to dry before adding detail.

  4. Paint the body and head

    Switch to undiluted black or deep charcoal for full opacity and paint the segmented body as a row of connected oval beads running down the center line. Add the rounded head at the top with two short antennae. Keep the body narrow so the wings stay the star of the design. Let it dry completely.

  5. Add wing venation

    Load a fine liner brush with slightly thinned grey and draw the thin branching veins across each wing. Keep the lines light and airy so they suggest texture without crowding the wing. A steady hand and a light touch matter more than perfect symmetry. Fix any smudges with a damp cotton swab while wet.

  6. Seal and stage

    Once everything is bone dry, brush on a thin coat of matte acrylic sealer to protect the paint and reduce chipping. Set the finished pumpkin on a covered porch or indoor shelf where it can be admired up close. A small LED puck light nearby will make the pale wings glow softly at night. Snap your photo in soft daylight to catch the watercolor effect.

Gather your supplies

Check things off as you get ready.

Work on a stable surface, keep your free hand out of the cutting path, and have an adult handle sharp tools.

Three levels of light

  • Leave intact

    The bare orange pumpkin skin stays as the warm background around and between the wings.

  • Peel & shade

    The thinned, semi-transparent wing washes let orange show through for a soft, glowing mid tone.

  • Cut through

    Nothing is cut on this no-carve design; the opaque black body reads as the darkest, most solid area instead.

Learn the carving basics

Before you start cutting

How do I keep the wings looking translucent instead of chalky?

Thin the acrylic with water a little at a time until it looks like watery milk, and build color in light layers rather than one thick coat. Letting a bit of orange show through is what sells the see-through wing look. Test your mix on the back of the pumpkin first.

Can I really skip carving and still have it glow?

Yes. This is a painted, no-carve design, so it never needs an opening or a candle. Set a battery LED beside it or place it near a lamp, and the pale wing washes will catch the light softly. This also means it lasts far longer than a carved pumpkin.

How do I get both sides of the dragonfly even?

Draw a center line first and measure the wing spread on each side with your fingers or a strip of paper. Sketch lightly and adjust before any paint goes down. Perfect symmetry is not required; small natural differences still read as a real dragonfly.

Your take belongs here, too.

Changed a detail? Made it simpler? Share a photo of your version and tell the community what worked.

Share your pumpkin

More pumpkins like this

You've reached the end · 8 pumpkins
The Patch Report

Fresh pumpkins, in your inbox.

The best new carvings, ideas worth stealing, and how-tos for carving season. Short, seasonal, and gone by November.

A short email during carving season. Unsubscribe anytime. See our privacy policy.