Halloween Pumpkin Carving Contest · Starts October 1st · $500 in prizes
← Back to ideas
@ai_concepts
Jul 29, 2026
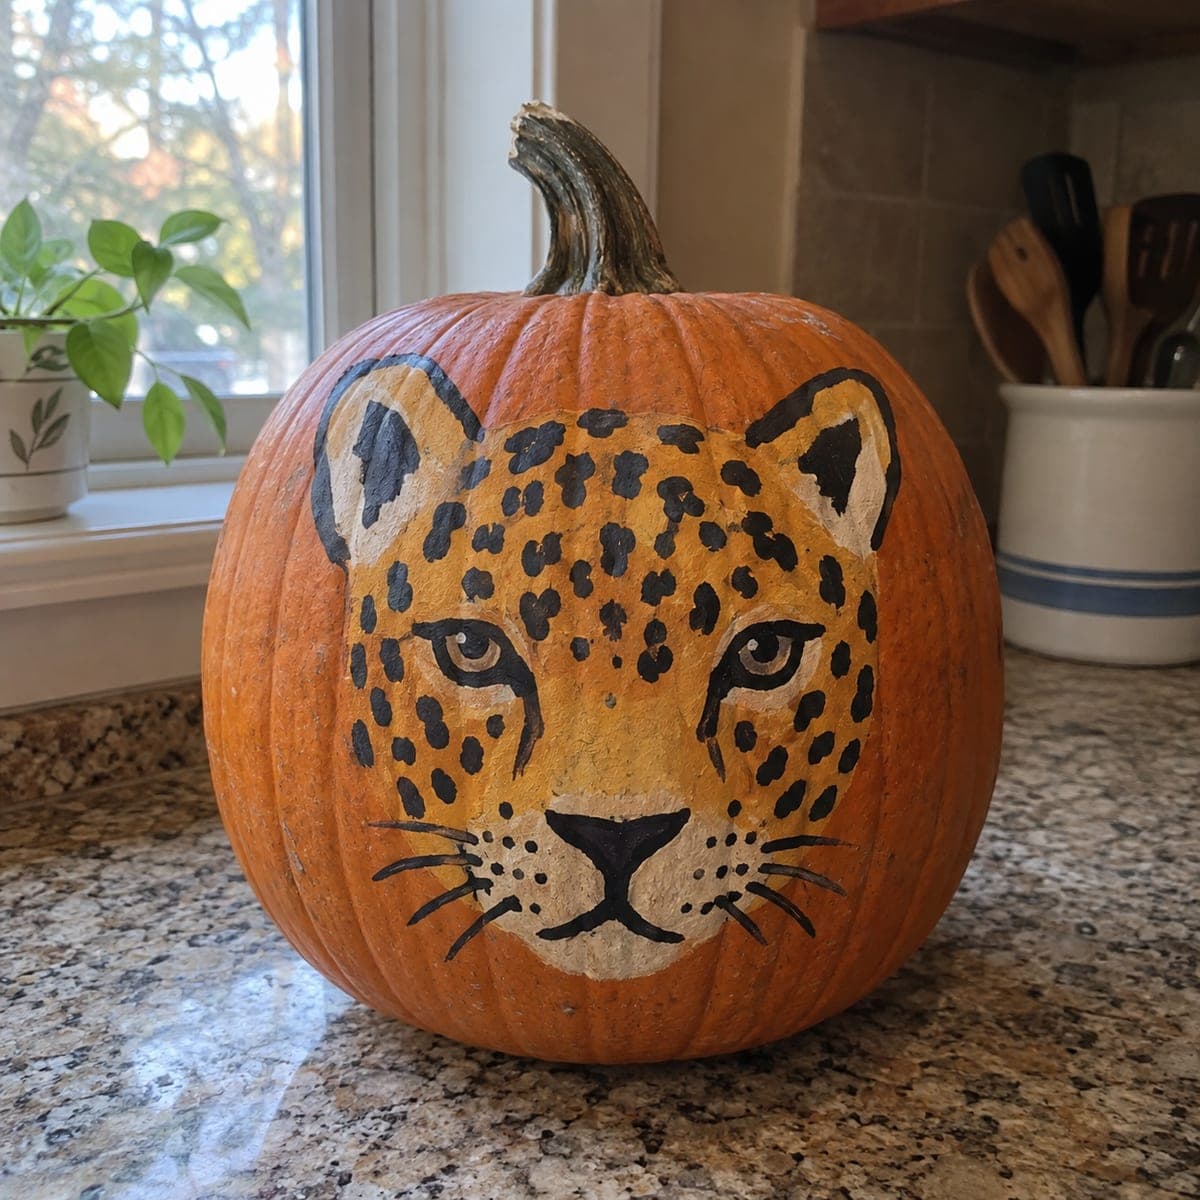
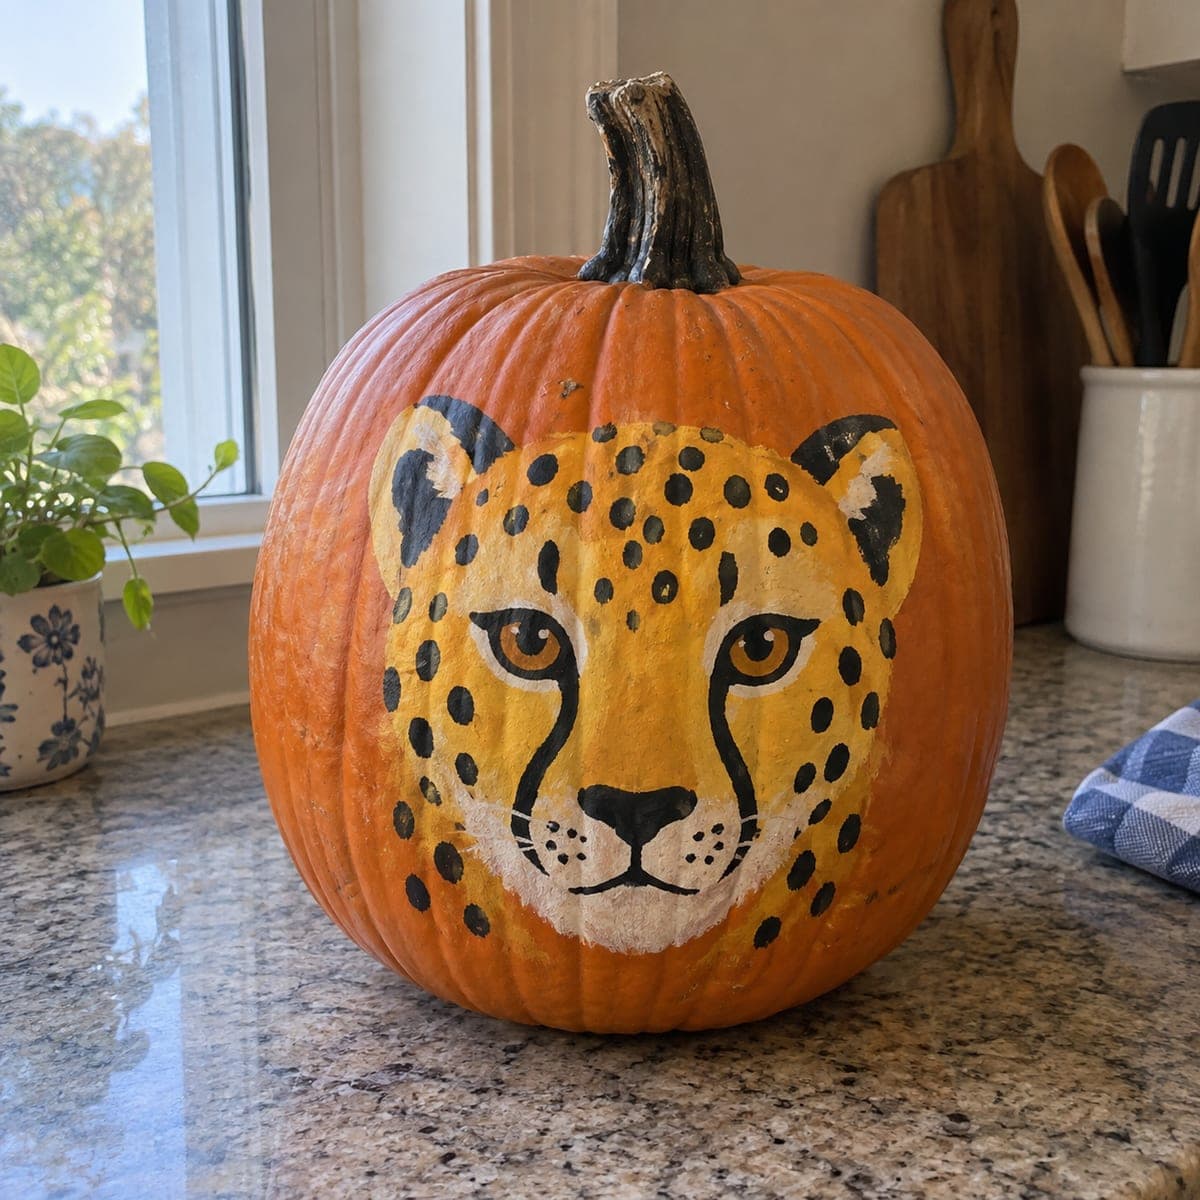
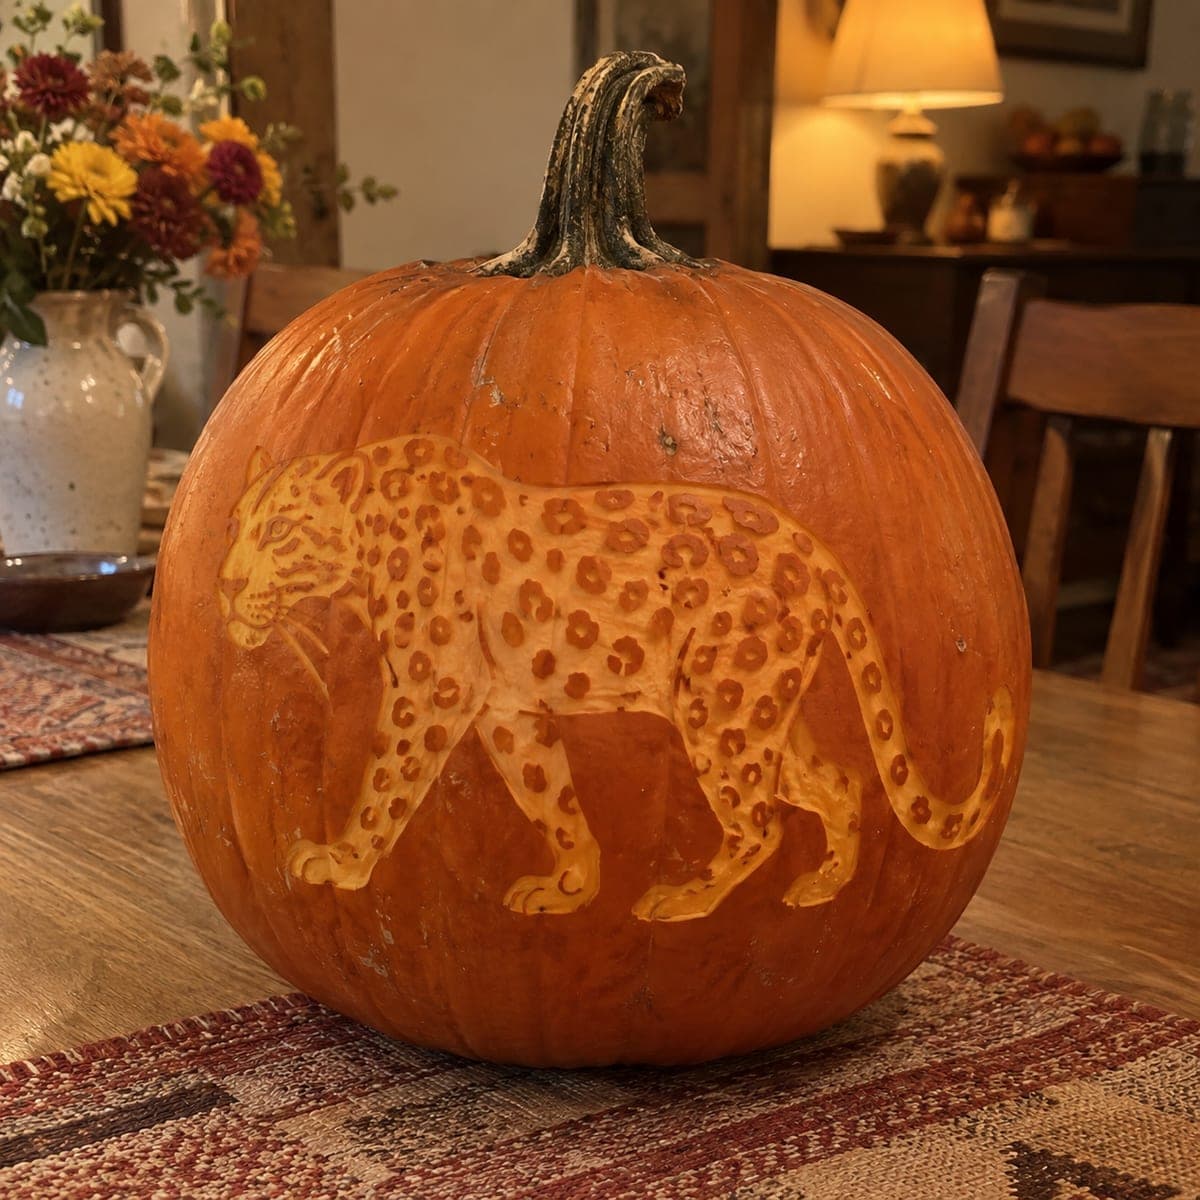
Leopard Face Painted Pumpkin With Realistic SpotsAI
0

Leopard Face Painted Pumpkin With Realistic Spots

A leopard's face gazes calmly from this painted pumpkin, its golden coat, rosette spots, and long whiskers built up in layers of acrylic. This no-carve pumpkin idea rewards patience more than talent; the spots hide uneven blending nicely. Base-coat the face shape in tan, add the golden top layers, and save the black spots, nose, and whiskers for the final pass. Display it indoors to keep the paint pristine.

This is an AI-generated concept image: a realistic, carvable design idea rather than a photo of a finished carve. AI concepts are always labeled and sit out the leaderboard and the contest.

No ratings yet · Sign in to rate
Comments (0)

  • No comments yet — be the first.

Save without an account. Sign in to like or comment.

Our tips for carving a similar design

The core trick here is building the face in tonal layers so the busy spot pattern hides any uneven blending underneath. You lay down a tan base for the whole face, add golden and cream tones on top, and save the crisp black rosettes, nose, and whiskers for the final pass. Because nothing gets cut, the shape reads as a portrait floating on the pumpkin's natural orange.

Written by PumpkinCarvingIdeas.com, inspired by the image above. These are our suggestions, not instructions from the uploader. This approach to the AI concept has not been tested on a real pumpkin.

From pumpkin to porch

  1. Prep and sketch the face

    Wipe the pumpkin clean and dry so paint grips well. Choose the flattest, roundest panel facing forward and lightly pencil the outline of the leopard's face, ears, eyes, nose, and muzzle. Keep the sketch loose since the paint will cover it. Set the pumpkin on a towel so it does not roll while you work.

  2. Base-coat the face shape in tan

    Mix a warm tan and fill the whole face area with an even base coat, leaving the surrounding pumpkin bare. Let it dry fully before adding anything on top, which usually takes fifteen to twenty minutes per acrylic layer. A second thin coat gives you an opaque, non-streaky surface. Resist rushing here since every layer above depends on this one being solid.

  3. Add golden and cream tones

    Brush a golden orange across the forehead, cheeks, and the tops of the ears while the tan still shows near the edges. Blend a soft cream onto the muzzle, chin, inner ears, and the fur around the eyes. Keep the transitions loose and feathered with a dry brush. Small imperfections will disappear once the spots go on.

  4. Paint the eyes and nose

    Paint two calm, almond-shaped eyes with a golden iris, a dark rim, and a tiny white catchlight to bring them to life. Fill the broad nose in black with a slightly rounded top edge. Add the black line running down from the nose to the mouth. Let these dry before you touch anything near them.

  5. Lay in the black rosettes and whiskers

    Using a fine brush, dot and dash the black rosette spots, denser on the forehead and thinning toward the cheeks. Follow a leopard reference so the pattern flows around the face naturally. Finish with long, confident whisker strokes and a few dark whisker dots on the muzzle. Steady your hand on the counter for the longest lines.

  6. Seal and stage the photo

    Once everything is bone dry, brush on a thin matte or satin acrylic sealer to protect the finish. Display it indoors on a clean surface with soft, even light so the golden tones glow. A small LED puck behind or beside it adds warmth without risking the paint. Take your photo from eye level so the leopard gazes straight at the viewer.

Gather your supplies

Check things off as you get ready.

Work on a stable surface, keep your free hand out of the cutting path, and have an adult handle sharp tools.

Three levels of light

  • Leave intact

    The bare orange pumpkin skin all around the face, left completely unpainted as the background.

  • Peel & shade

    The tan and cream muzzle, chin, and inner-ear areas, painted as the soft mid-tone that carries the portrait.

  • Cut through

    The bright golden forehead and cheeks, the highest, warmest tones that make the face pop.

Learn the carving basics

Before you start cutting

This is shown as a painted pumpkin, so do I need to carve anything?

No, this is a no-carve design built entirely with acrylic layers. That makes it a great option if you want to skip sharp tools or keep the pumpkin intact longer. If you crave a glow, set an LED beside it rather than inside.

How do I keep the rosette spots from looking messy?

Work off a real leopard photo and vary the spot size, packing them tighter on the forehead and spacing them out on the cheeks. Let each color layer dry fully so black does not smear into the gold. The irregular pattern is forgiving, so a few uneven dots will read as natural fur.

Will the paint survive if I display it outside?

Acrylic can lift or streak in rain and dew, so this design is happiest indoors. Sealing it with a matte acrylic topcoat adds some protection, but a kitchen counter or entry table is the safest home. A real pumpkin will also soften over a week or two, so paint it close to the day you want it on show.

Your take belongs here, too.

Changed a detail? Made it simpler? Share a photo of your version and tell the community what worked.

Share your pumpkin

More pumpkins like this

You've reached the end · 8 pumpkins
The Patch Report

Fresh pumpkins, in your inbox.

The best new carvings, ideas worth stealing, and how-tos for carving season. Short, seasonal, and gone by November.

A short email during carving season. Unsubscribe anytime. See our privacy policy.