Halloween Pumpkin Carving Contest · Starts October 1st · $500 in prizes
← Back to ideas
@ai_concepts
Sep 14, 2026
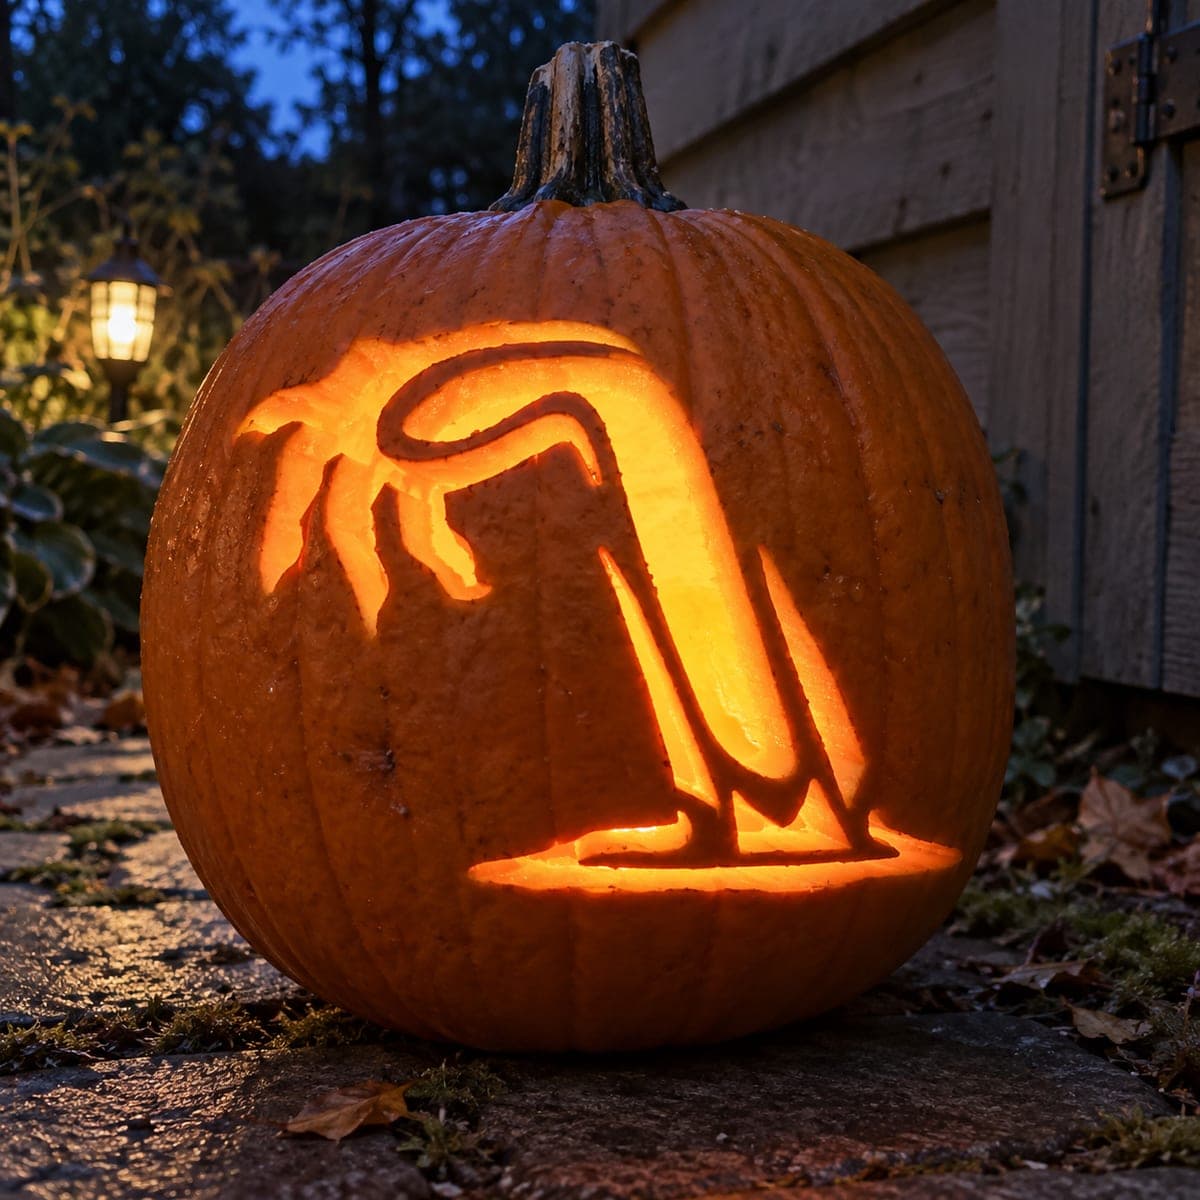
Pair of Clawing Zombie Arms PumpkinAI
0

Pair of Clawing Zombie Arms Pumpkin

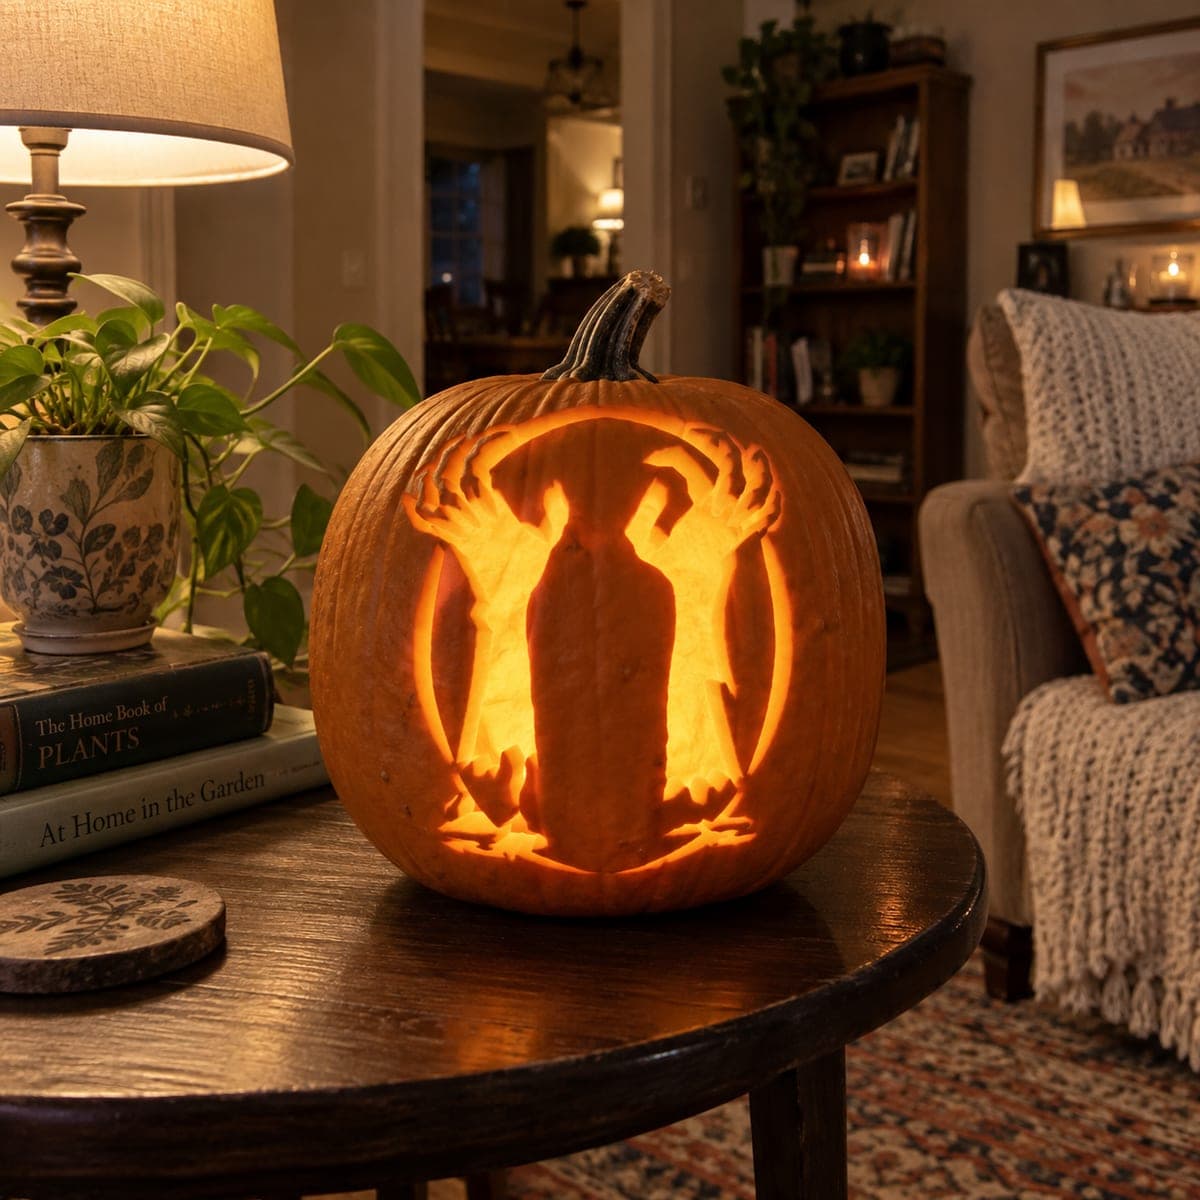
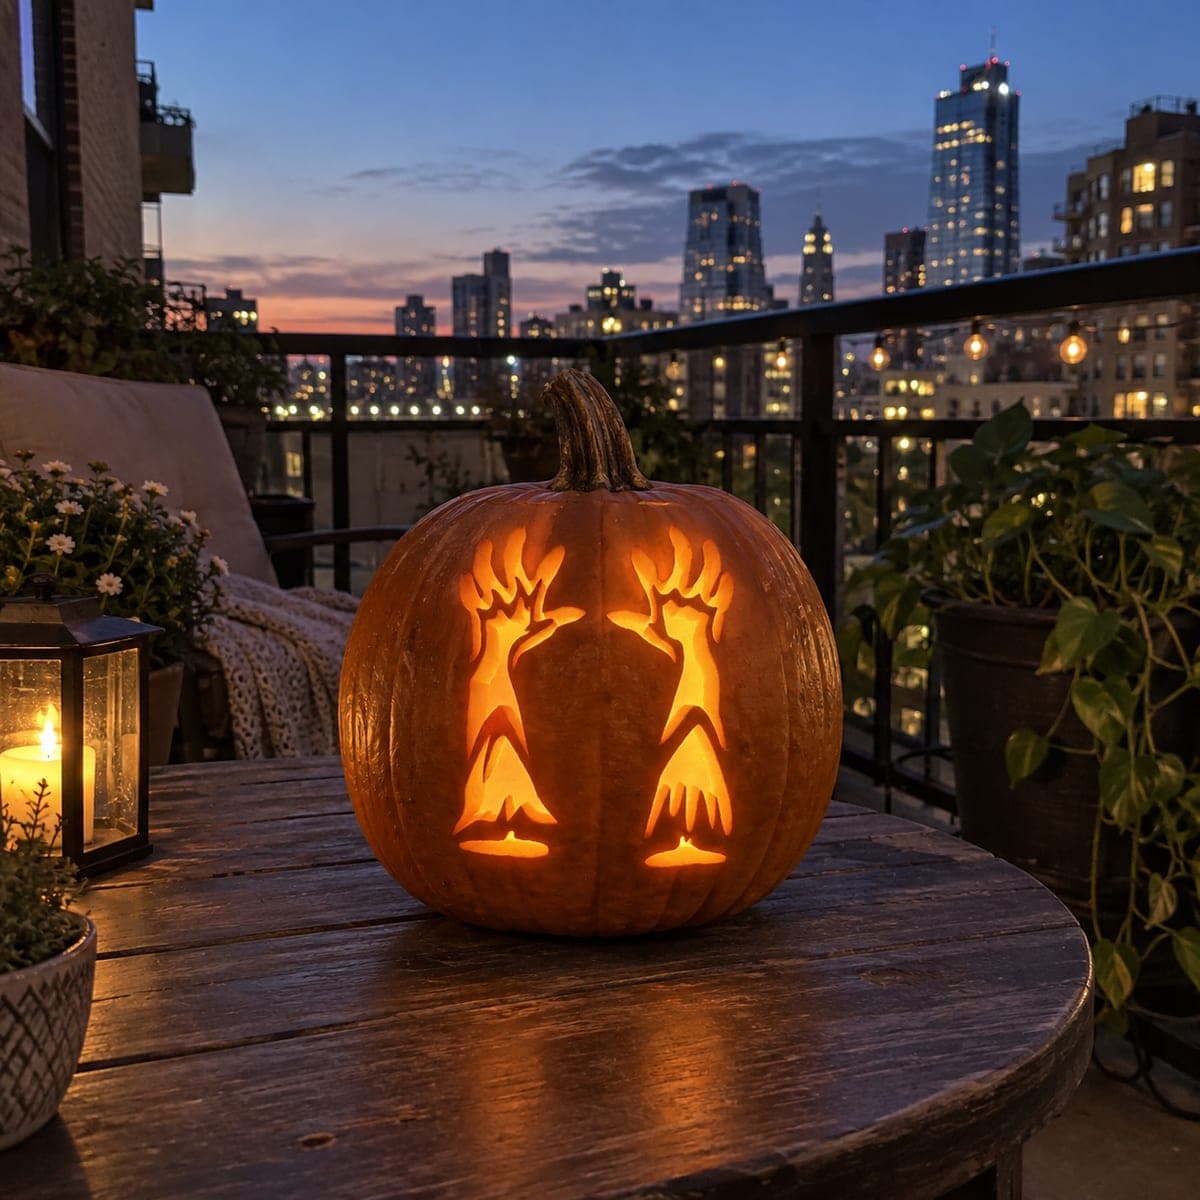
Two separate forearms emerge side by side from the lower edge of the design, each ending in long curled clawing fingers reaching upward, glowing against a city-skyline background at dusk. Both arms and the gaps between every finger are pierced through so the light outlines each bone-like finger in this cutout jack-o-lantern pumpkin carving. Cut the outer fingers on each hand first and work inward so the center fingers, which have the least rind support, are removed last and stay stable throughout.

This is an AI-generated concept image: a realistic, carvable design idea rather than a photo of a finished carve. AI concepts are always labeled and sit out the leaderboard and the contest.

No ratings yet · Sign in to rate
Comments (0)

  • No comments yet — be the first.

Save without an account. Sign in to like or comment.

Our tips for carving a similar design

The core trick here is symmetry and negative space: two forearms rise from the bottom edge, and the gaps between every finger are pierced clean through so light draws each bone-like claw. Plan it as a mirror image down the center of the pumpkin, then carve from the outer fingers inward so the fragile center fingers keep their rind support until last.

Written by PumpkinCarvingIdeas.com, inspired by the image above. These are our suggestions, not instructions from the uploader. This approach to the AI concept has not been tested on a real pumpkin.

From pumpkin to porch

  1. Pick the pumpkin and plan the mirror

    Choose a tall, smooth pumpkin with a flat front face so both hands sit at the same height. Draw a light vertical center line, then sketch or trace one forearm and copy it flipped to the other side. Keep both wrists near the lower third so the fingers have room to reach up. Leave at least a finger-width of rind between the two hands and around the outer edges for strength.

  2. Gut and thin the wall

    Have an adult cut a lid or a bottom access hole, then scoop the inside clean with a sturdy scoop. Shave the front carving wall down to about one inch thick so your blade passes through easily. A thinner wall makes the narrow finger gaps much less likely to crack. Save the flat scraps in case you need to patch a slip later.

  3. Transfer the design

    Tape your stencil over the front and poke the outlines with a pin or a poker tool, following every finger and the gaps between them. Remove the paper and connect the dots with a washable marker so you can see the whole reaching shape. Double-check that the two hands still read as a matched pair before any cutting. Mark which slivers are full cutouts versus finger edges so you do not remove too much.

  4. Cut outer fingers first, work inward

    With a small detail saw, cut through the gaps starting at the outermost finger on each hand. Work steadily toward the center, leaving the two innermost fingers for last since they have the least rind holding them. Cut with gentle sawing pressure and let the blade do the work so you do not snap a thin finger. Push each freed piece out toward you rather than prying sideways.

  5. Shape the claws and open the palms

    Round the tips of each finger into a curled, pointed claw by trimming small wedges from the cut edges. Open the larger palm and wrist gaps last, since those are the biggest holes and weaken the face most. Step back often to make sure both hands stay balanced. Clean up any ragged edges with the tip of your tool for crisp light lines.

  6. Light it and photograph

    Drop in a bright LED puck or string light, never a candle, so the pierced fingers glow evenly. Set the pumpkin on a railing or table with a skyline or porch behind it and shoot at dusk for that blue-hour contrast. A light placed low and slightly behind the wall pushes the glow through every finger gap. Rotate the light until both hands read clearly.

Gather your supplies

Check things off as you get ready.

Work on a stable surface, keep your free hand out of the cutting path, and have an adult handle sharp tools.

Three levels of light

  • Leave intact

    The broad rind between and around the two arms stays untouched and dark to frame the shapes.

  • Peel & shade

    Shave the surface of the forearms and fingers themselves for a dim orange glow that reads as pale undead flesh.

  • Cut through

    Pierce the gaps between every finger and the open palm and wrist areas straight through for the brightest outline of each claw.

Learn the carving basics

Before you start cutting

How do I keep the thin center fingers from breaking?

Thin the carving wall to about an inch first so your blade glides through without forcing. Then cut the outer fingers on each hand first and save the two center fingers for last, since the surrounding rind supports them while you work. Use light sawing pressure and push pieces out toward you instead of prying.

How do I get the two hands to match as a mirrored pair?

Draw a center line and carve or trace one hand, then flip the same stencil for the other side. Check the wrist heights and finger lengths against the line before cutting. Small differences are fine and even add to the creepy handmade look.

This is an AI concept, so can a real pumpkin hold all these cutouts?

Yes, if you keep solid rind between the two hands and around the edges. Avoid making the finger gaps so wide that only slivers remain, and open the big palm holes last. A one-inch wall and modest gaps keep the whole face stable.

Your take belongs here, too.

Changed a detail? Made it simpler? Share a photo of your version and tell the community what worked.

Share your pumpkin

More pumpkins like this

You've reached the end · 8 pumpkins
The Patch Report

Fresh pumpkins, in your inbox.

The best new carvings, ideas worth stealing, and how-tos for carving season. Short, seasonal, and gone by November.

A short email during carving season. Unsubscribe anytime. See our privacy policy.