Pumpkin carving templates
1155 free printable stencils. Download, print, trace, carve.
366 results · Page 7 of 11
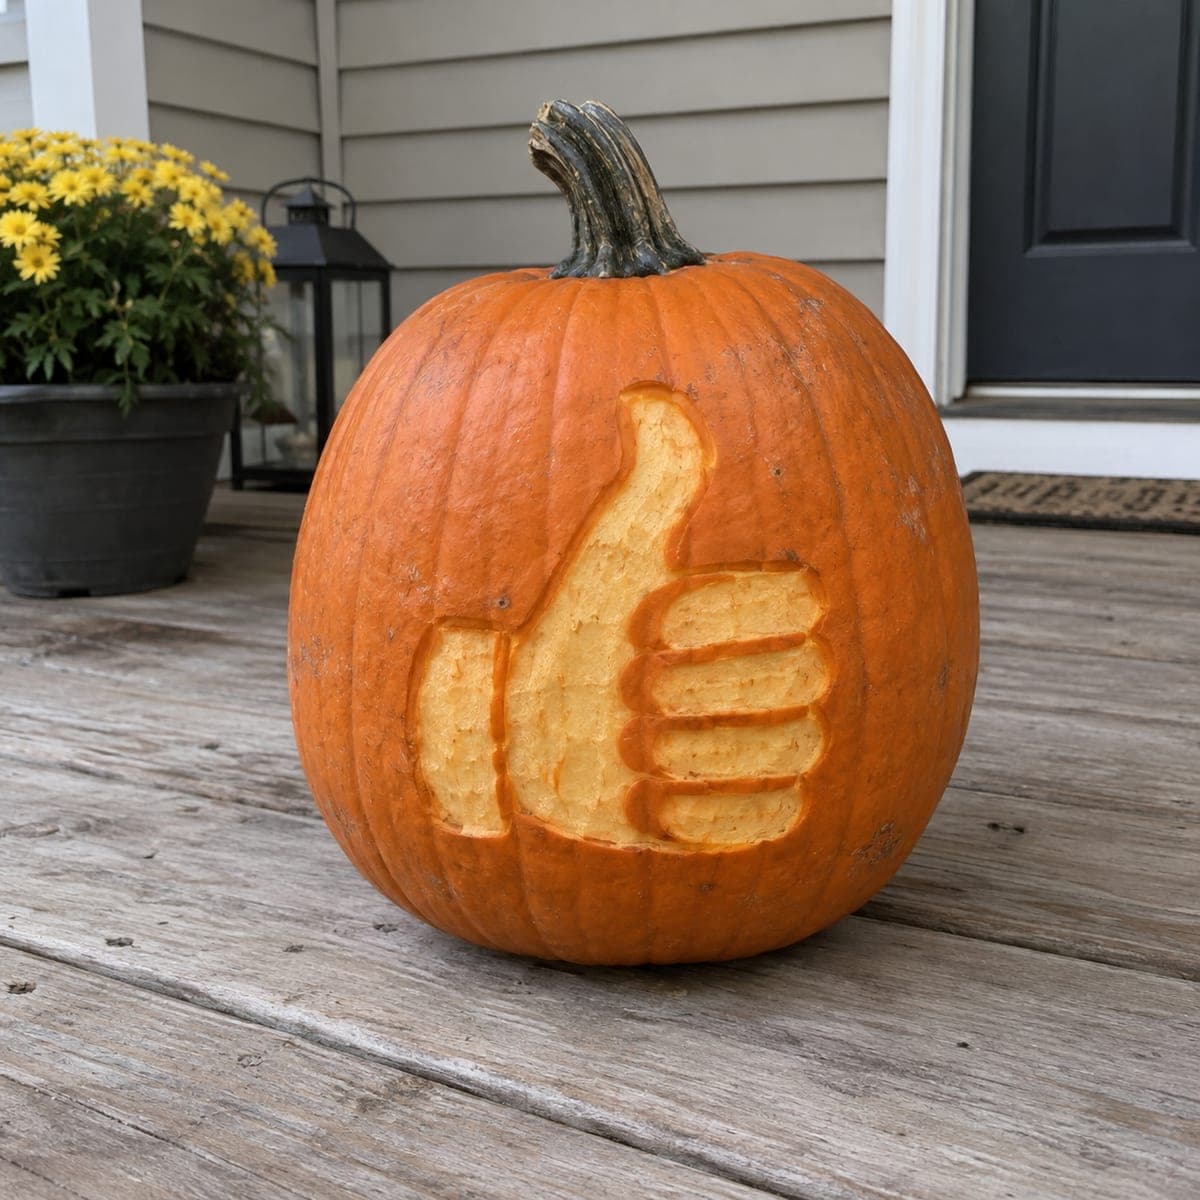
Plain Thumbs Up Relief
The classic thumbs-up hand, thumb raised high over four curled fingers, presented as a bold etched panel on the pumpkin's face. No holes are pierced; you shave the outer skin inside the hand outline so the pale flesh forms the gesture, leaving thin rind lines to separate the fingers. Keep the shaved depth even and stop at each finger line so the knuckle ridges stay dark and readable.
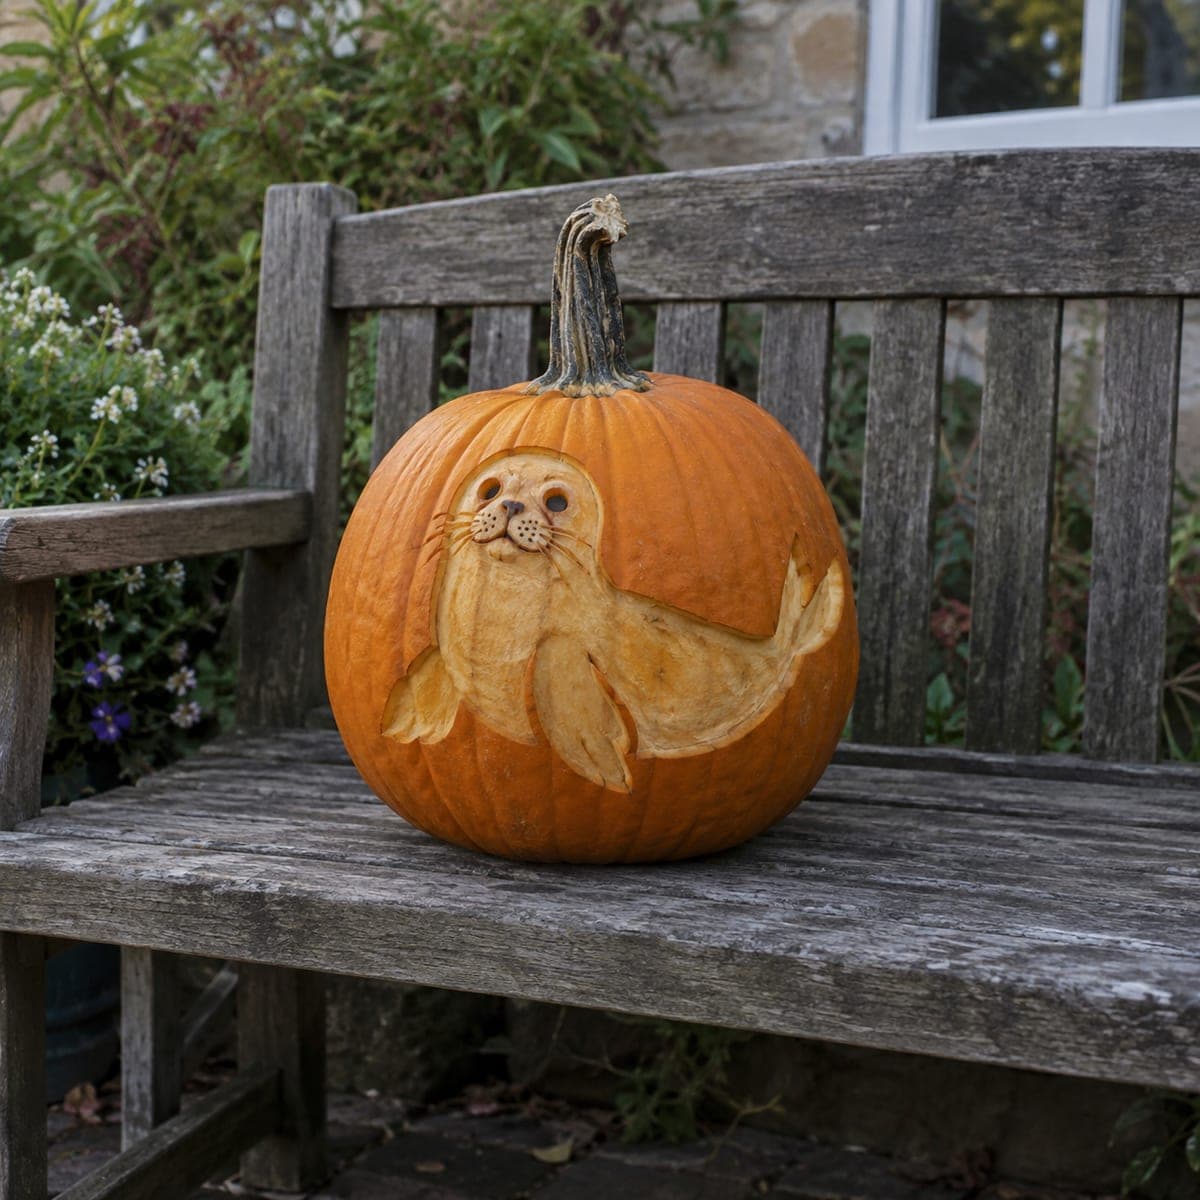
Playful Harbor Seal
A playful harbor seal reclines with its head up, whiskers spread, and tail flippers raised in a happy curl. Everything is done with skin shaving rather than pierced cuts, so the seal's body emerges in pale relief with darker skin left for the eyes, nose, and whisker dots. It rates hard because of the fine facial detail; use a small gouge for the whisker spots and shave the body in smooth, even layers.
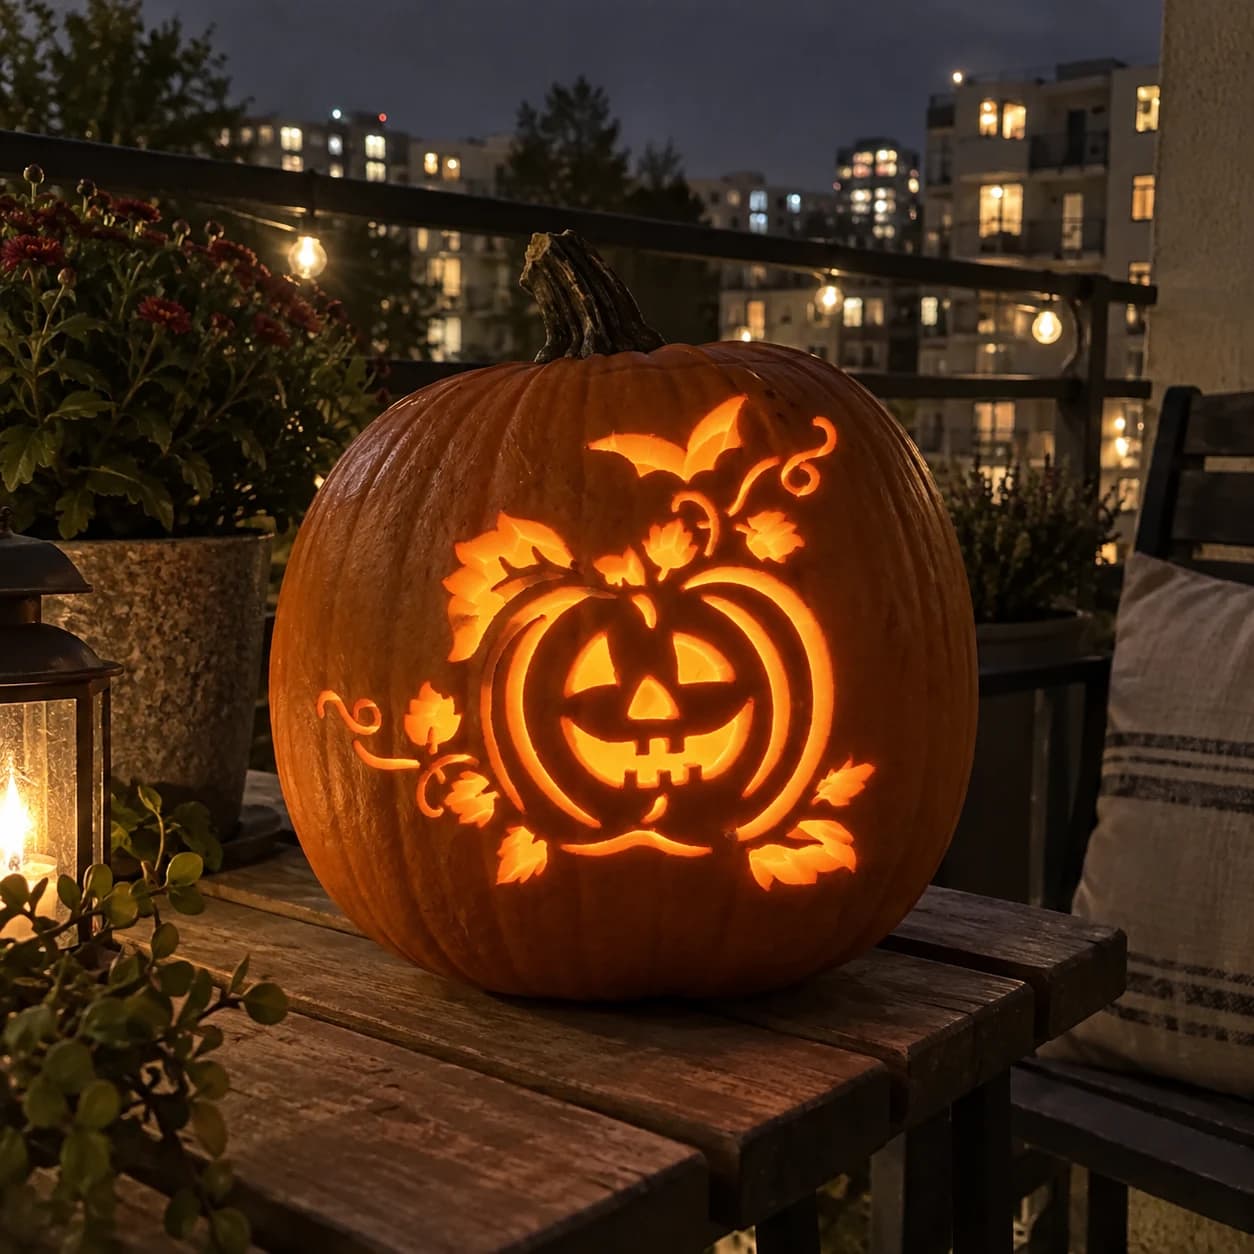
Pumpkin with Vines Pumpkin Stencil
A jack-o-lantern-within-a-pumpkin stencil showing a grinning carved pumpkin face at the center, surrounded by a flowing arrangement of autumn leaves, curling vines, and a flying bat perched near the stem above. The inner pumpkin face, triangular eyes, jagged mouth, and stem, stays solid orange while the vine-and-leaf background area around it is pierced through to glow. Carve the outer leaf and vine shapes before opening the inner face cuts, so the decorative frame is complete and stable before you work near the center detail.
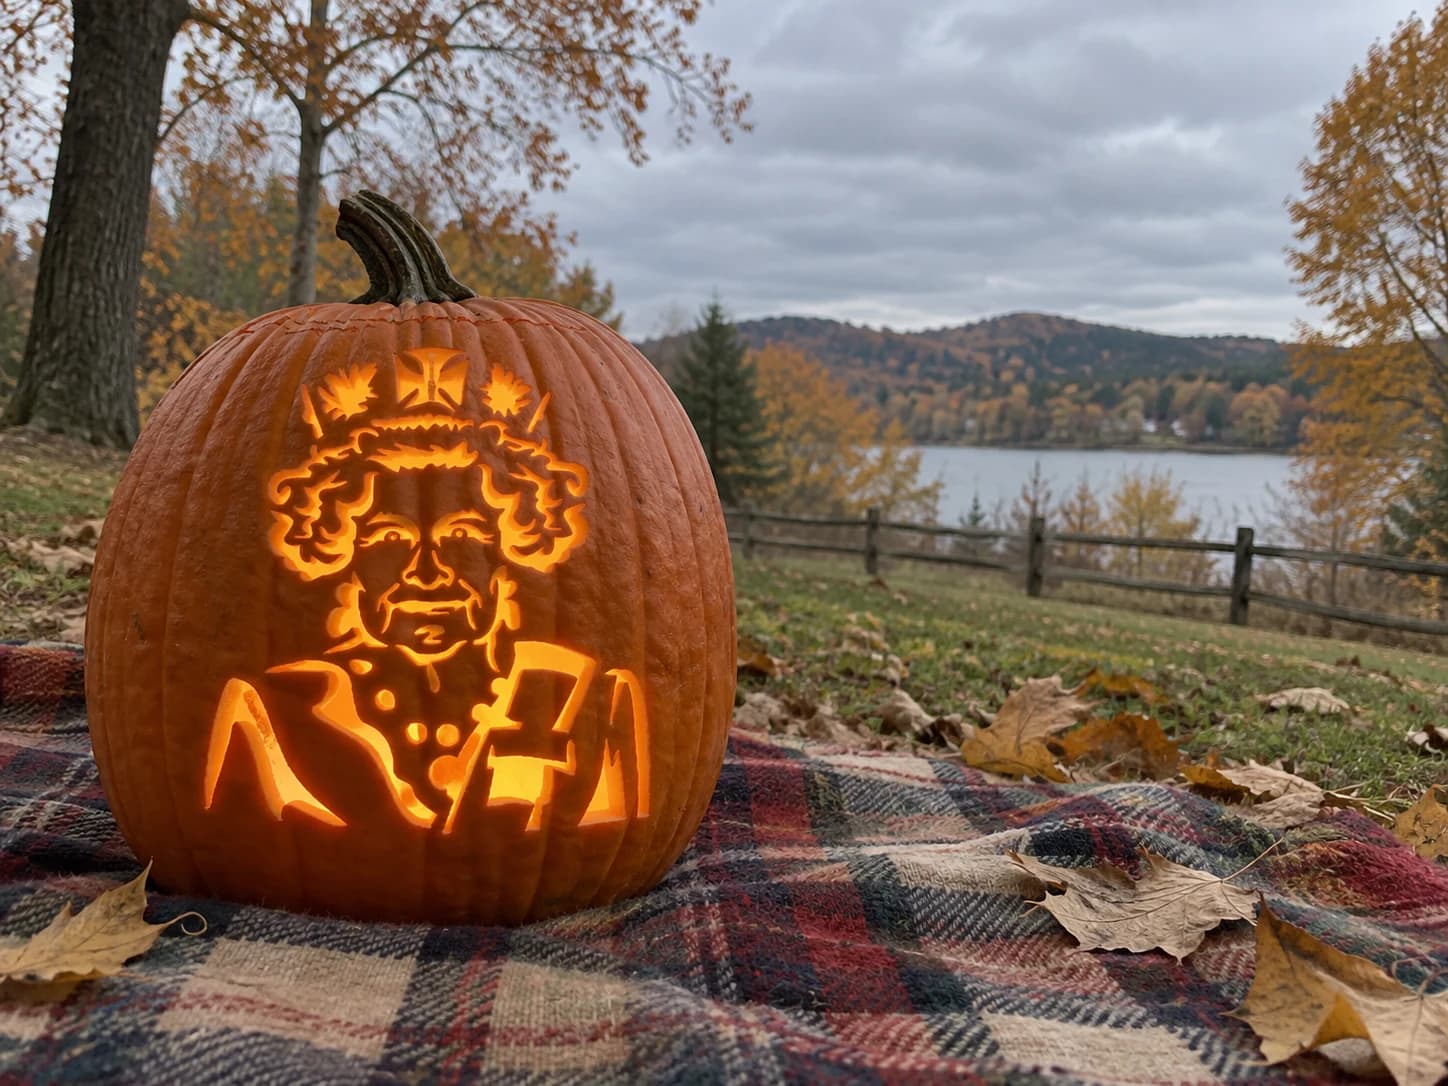
Queen Portrait Pumpkin Stencil
An elderly queen in full regalia looks forward from this pumpkin stencil, her curly hair framing a detailed face with distinct brows, eyes, and lips, topped by an ornate crown bearing a cross, leaf shapes, and decorative elements. The portrait is built from dozens of small and medium cut sections across the hair, face, and jeweled bodice, with thin orange bridges holding the likeness together. Begin with the smallest crown ornament shapes at the very top before moving to the face, since removing the large hair sections early would flex the wall and risk tearing the delicate facial bridges.
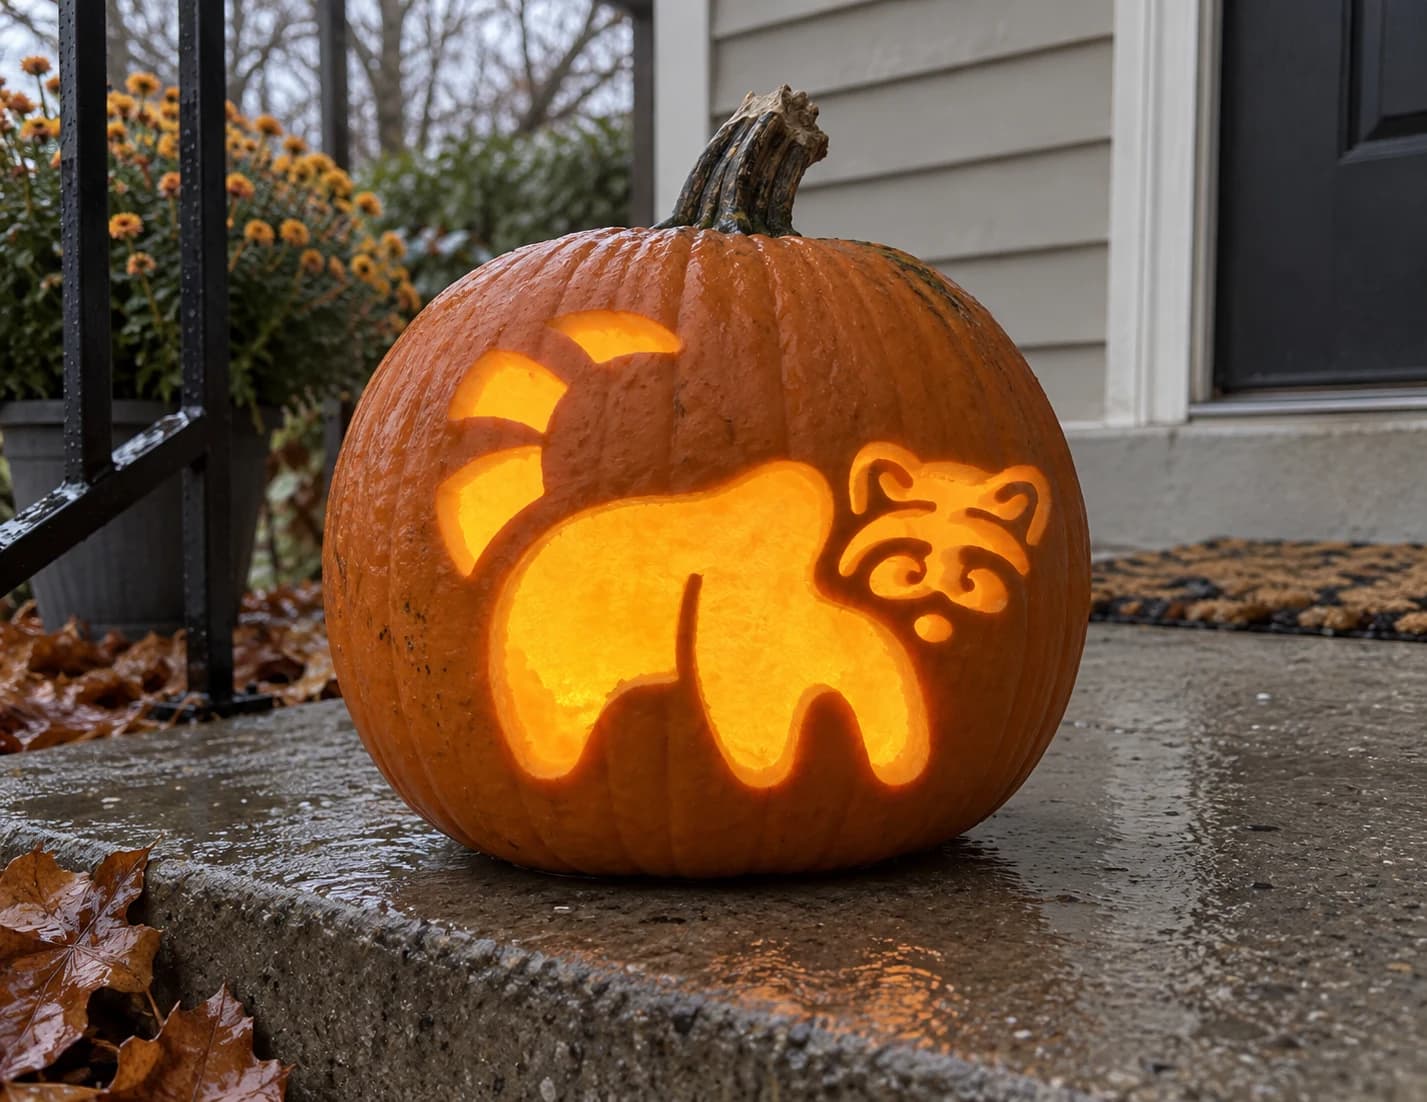
Raccoon Pumpkin Stencil
A raccoon ambling to the right fills this beginner pumpkin stencil with a chunky, rounded body, stubby legs, and a distinctive ringed face featuring the signature black mask rendered as curved cutout shapes around the eyes. A striped banded tail curves up behind the body and is carved as two separate arc shapes above the main silhouette. When lit, the mask rings and tail arcs glow while the body reads as a solid dark silhouette. The two small tail arc pieces are unconnected islands; press the stencil firmly and cut them before removing the larger body sections so they stay anchored.
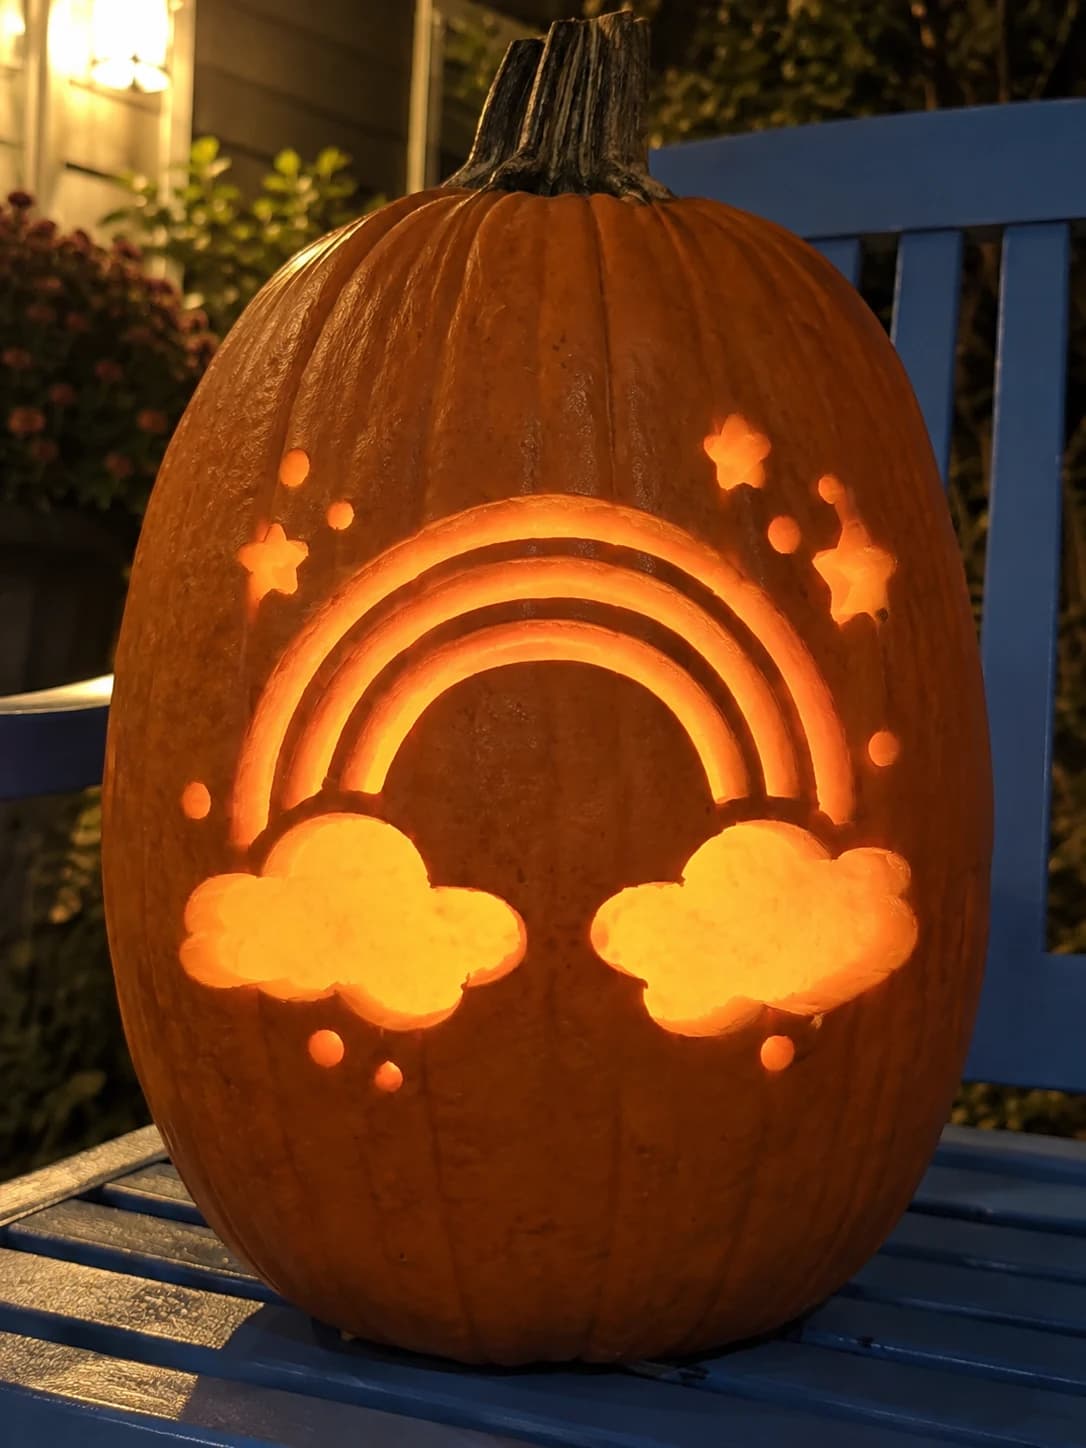
Rainbow and Clouds Pumpkin Stencil
This pumpkin stencil features a rainbow of four concentric arcs rising above two puffy clouds, with scattered stars and small circles floating around the composition. The clouds and stars are separate pierced cutouts, and the arc bands are cut through with thin solid bridges between them, creating a whimsical scene that glows warmly from a candle or LED inside. Cut the small stars and round circles first while the wall is firm, then remove the cloud shapes, and finish with the long sweeping arc cuts so the composition stays supported throughout.
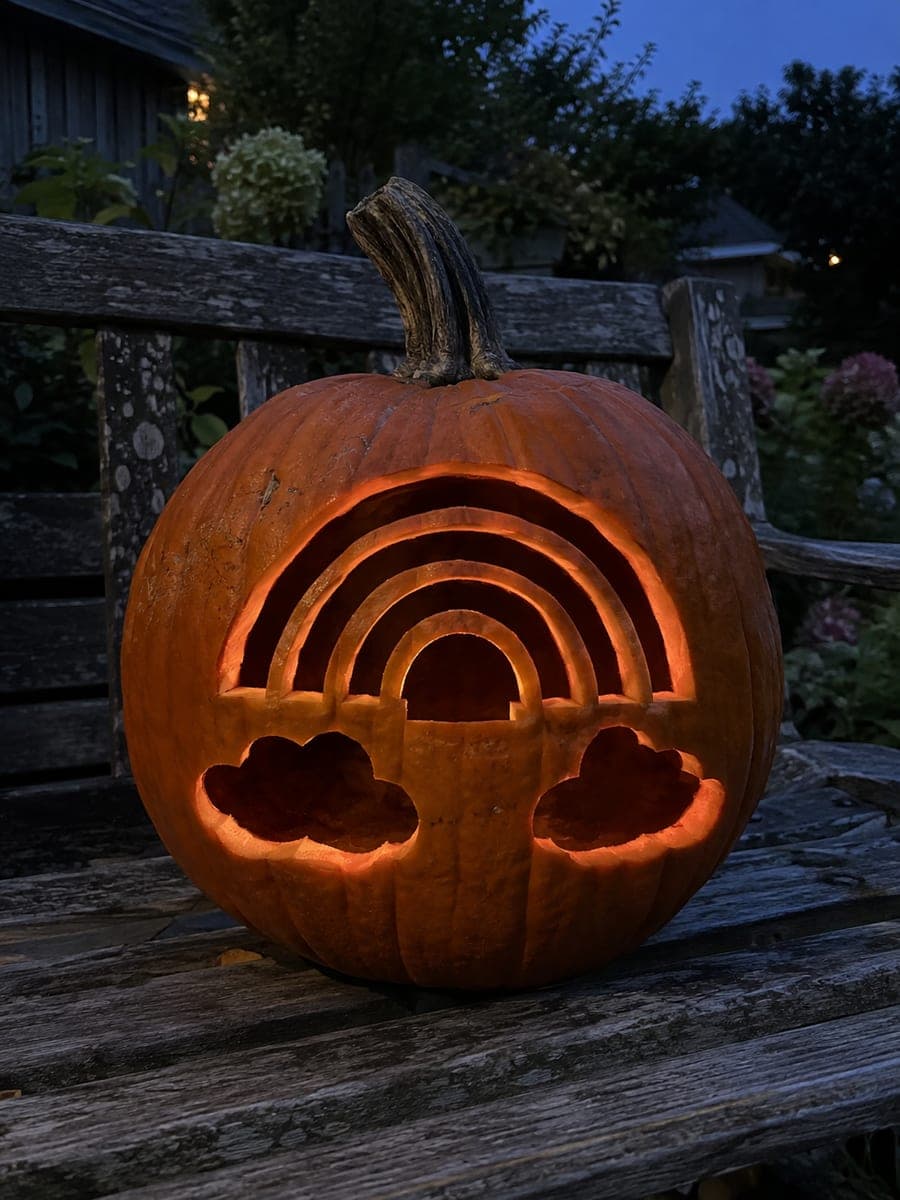
Rainbow and Two Clouds
A four-band rainbow arches across the top of the design, with two puffy clouds floating beneath its ends. Each rainbow band and both clouds are cut fully through, so the concentric arcs glow in bright stacked stripes separated by thin ribs of rind. This medium pattern lives or dies by those ribs, so cut the innermost arc first and work outward, supporting each rib with your free hand as you remove the waste.
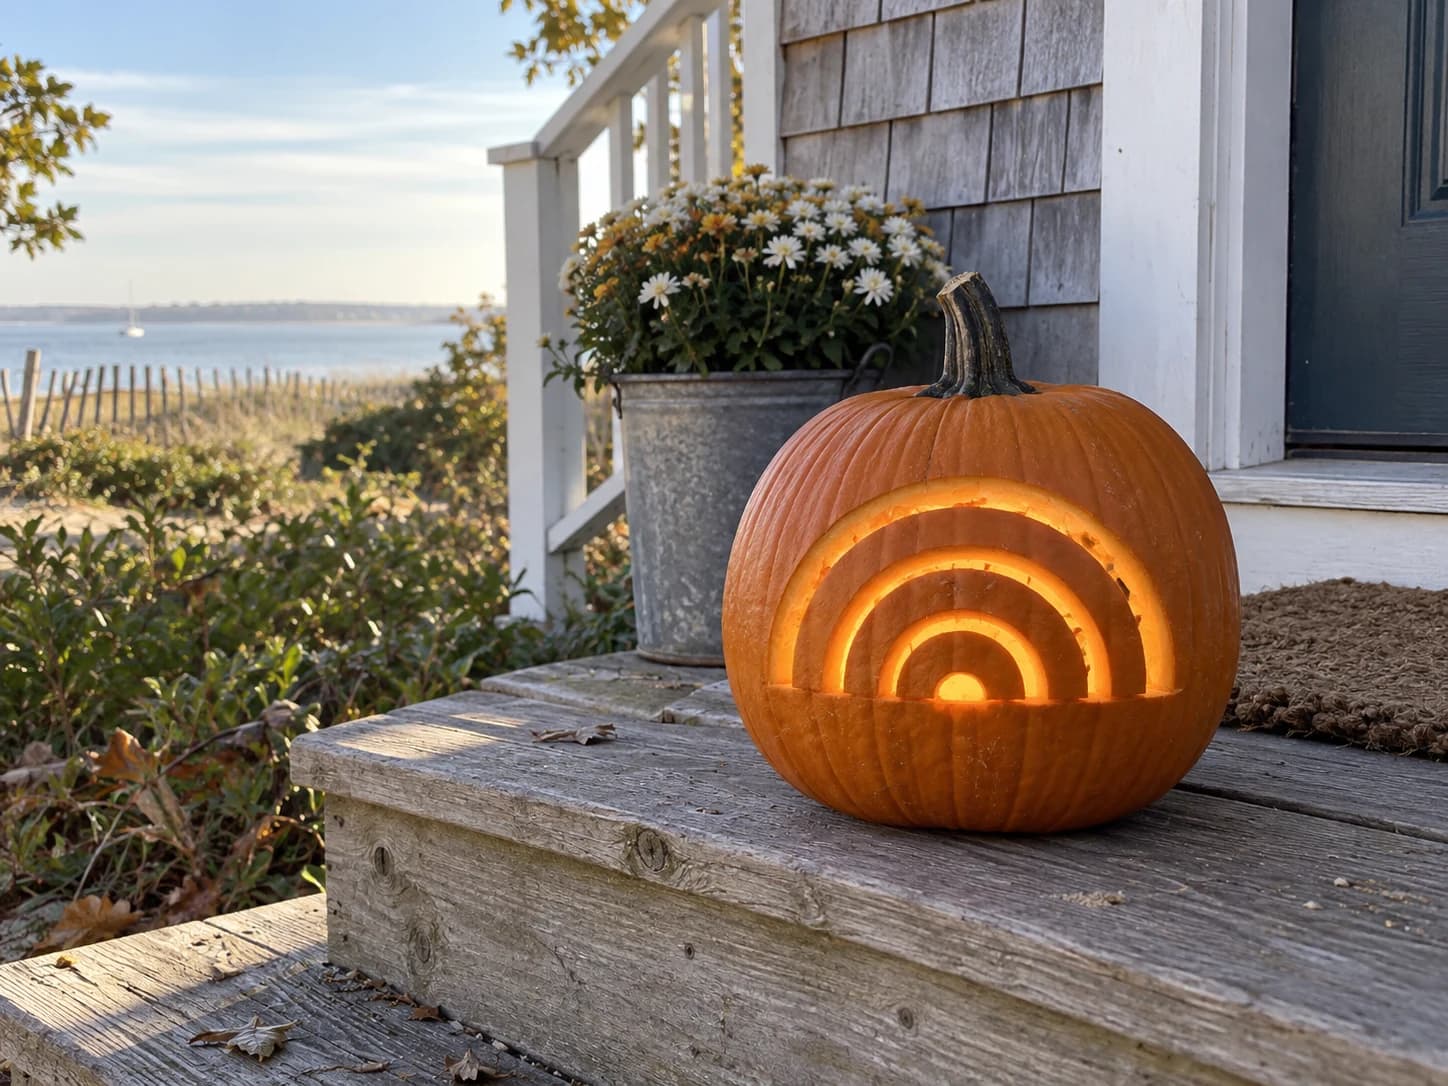
Rainbow Arch Pumpkin Stencil
Five concentric rainbow arcs are centered on this pumpkin stencil, each band separated by a narrow uncut strip so the finished jack-o-lantern glows with layers of orange between bands of dark. The arcs are wide and smoothly curved, making every cut a long gentle sweep with no tight corners. To keep all five bands from sagging after carving, work from the innermost arc outward so the outer wall stays thick and supportive while you remove each layer.

Raised Brows and Oval Gasp
An ornamental surprised face: two big eyes striped with vertical bars sit beneath fanned brow lines, above a tall oval gasping mouth ringed by a halo of teardrop cutouts. Every bar, fan line, teardrop, and the central oval is pierced through, and the sheer number of narrow slits is what makes this an expert carve. Cut all the fine slits before the big oval, working outward from the center, so the wall keeps its strength as long as possible.
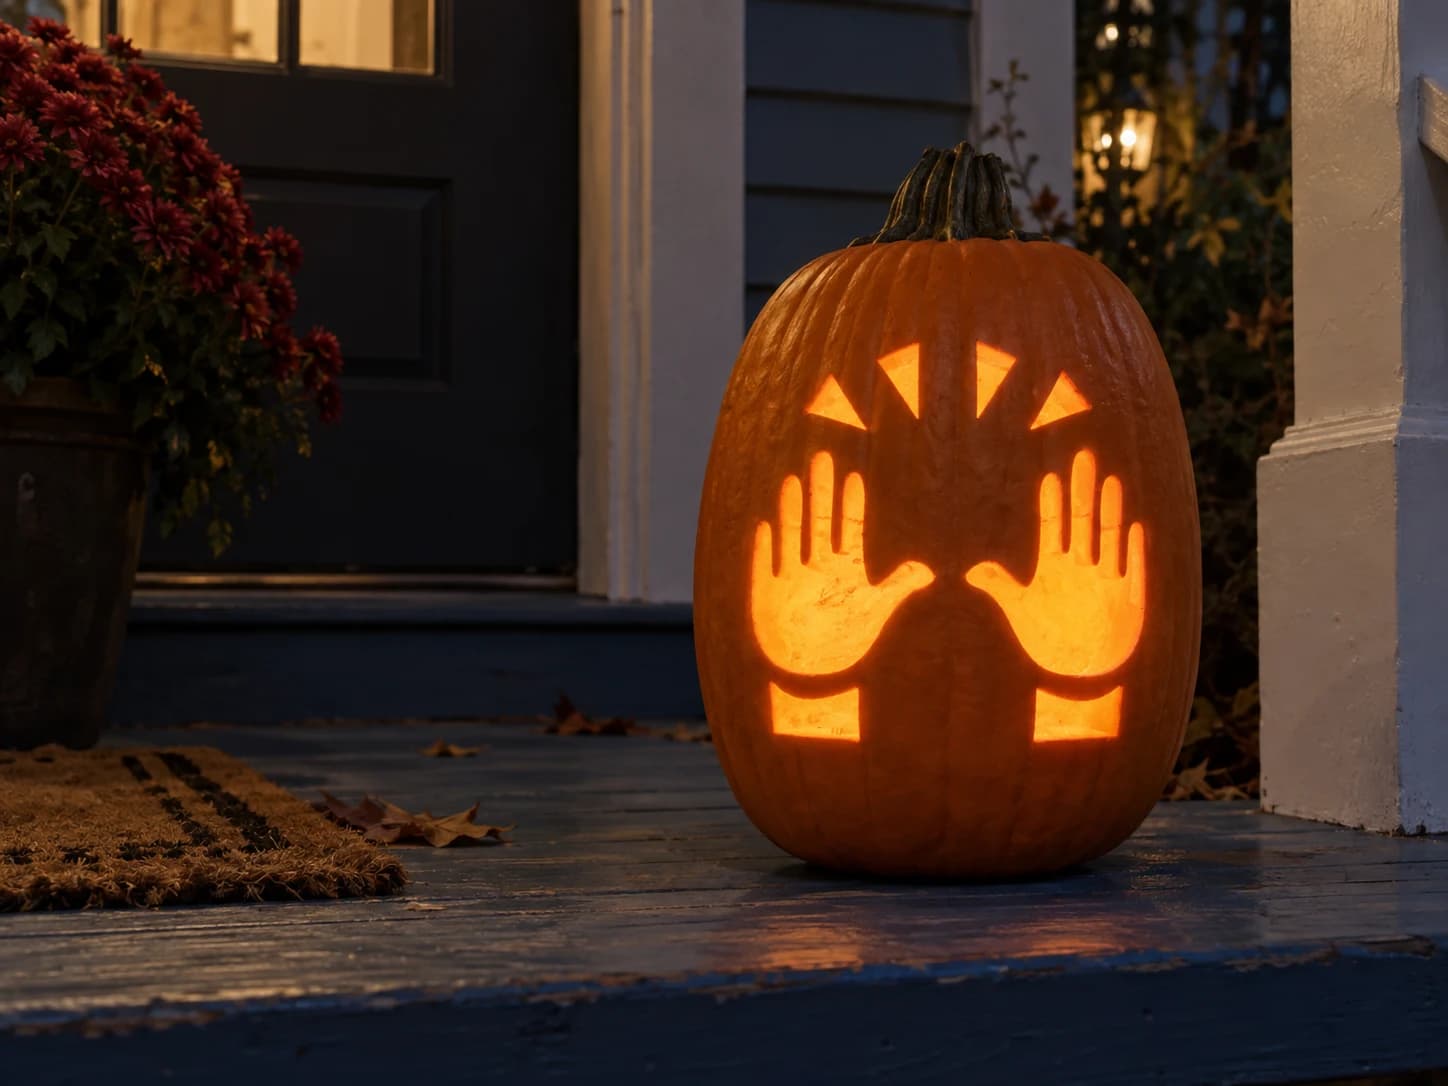
Raising Hands Emoji Pumpkin Stencil
Two open hands with spread fingers are raised side by side on this emoji pumpkin stencil, each palm facing forward with small rectangular cuff shapes below the wrists. Four small triangular sparkle shapes are arranged above the hands in a row. All elements are pierced through so the lit jack-o-lantern shows a bright raising-hands celebration scene. Cut the four small triangles at the top first while the wall is thickest, then remove the cuff rectangles, and finish by cutting around the finger contours of each hand last.
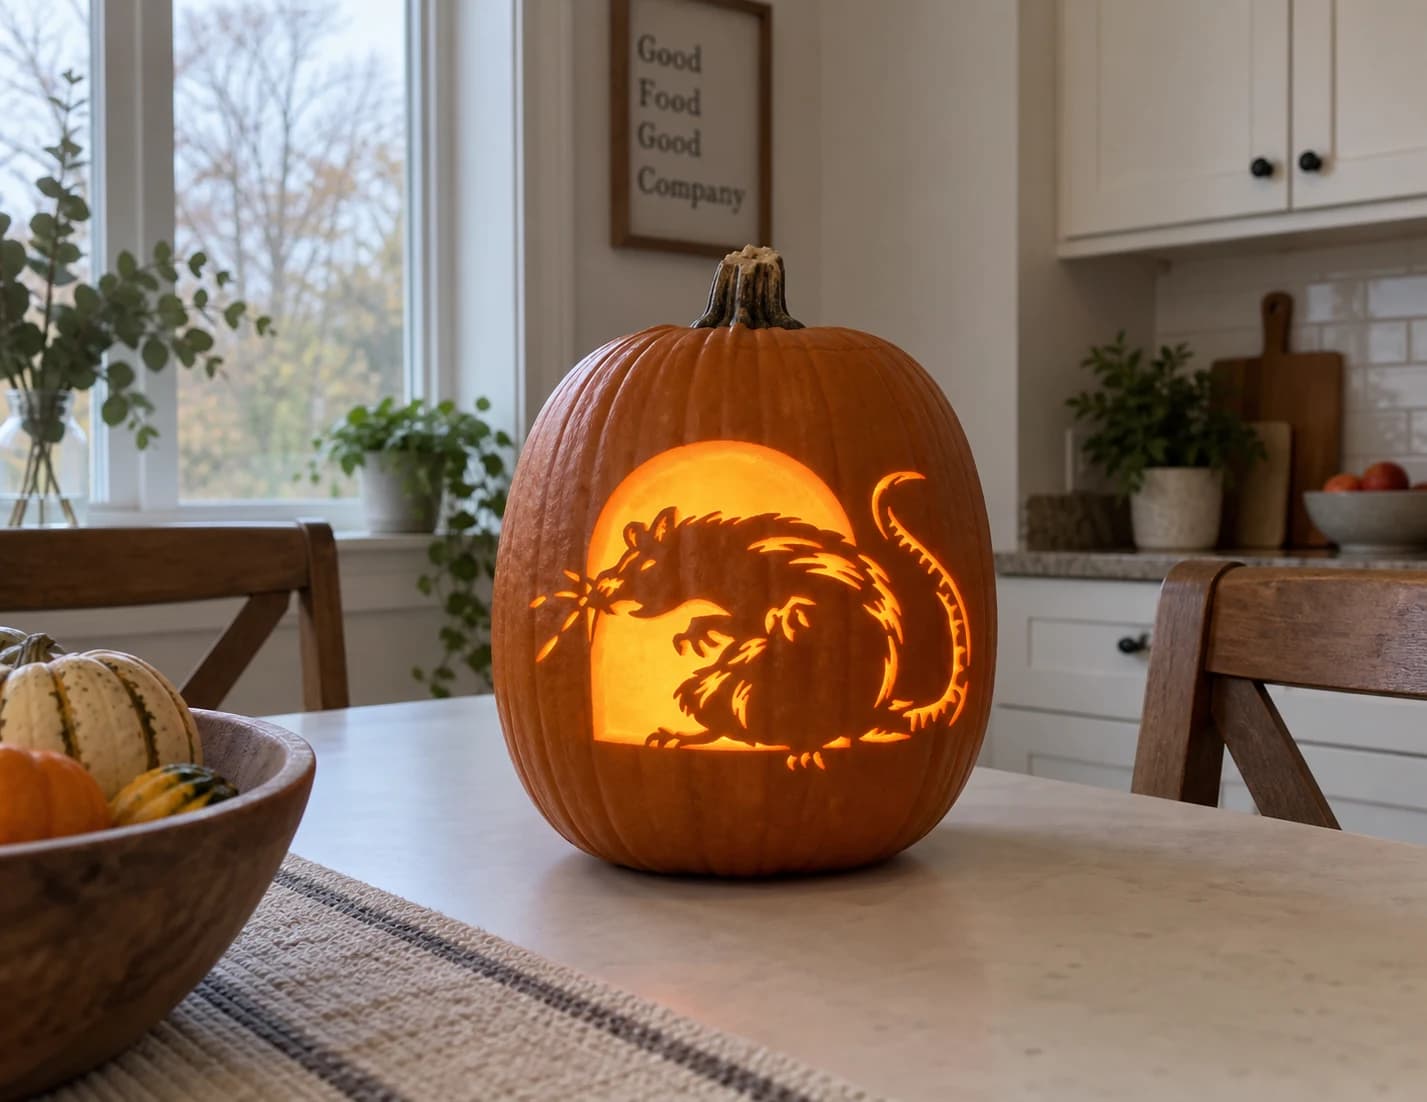
Rat and Moon Pumpkin Stencil
A large aggressive rat crouches in front of a semicircular moon arch in this pumpkin stencil, its shaggy fur rendered in dozens of fine radiating cut lines while the long serrated tail curves up behind it. Small star-burst marks scatter near the snout. The moon background is the main large negative-space cut-out, while the rat body itself is an intricate network of fur-line slots with solid orange between them. Cut the moon arch first as a single clean sweep, then work the fur lines from the rat's back inward toward the belly.
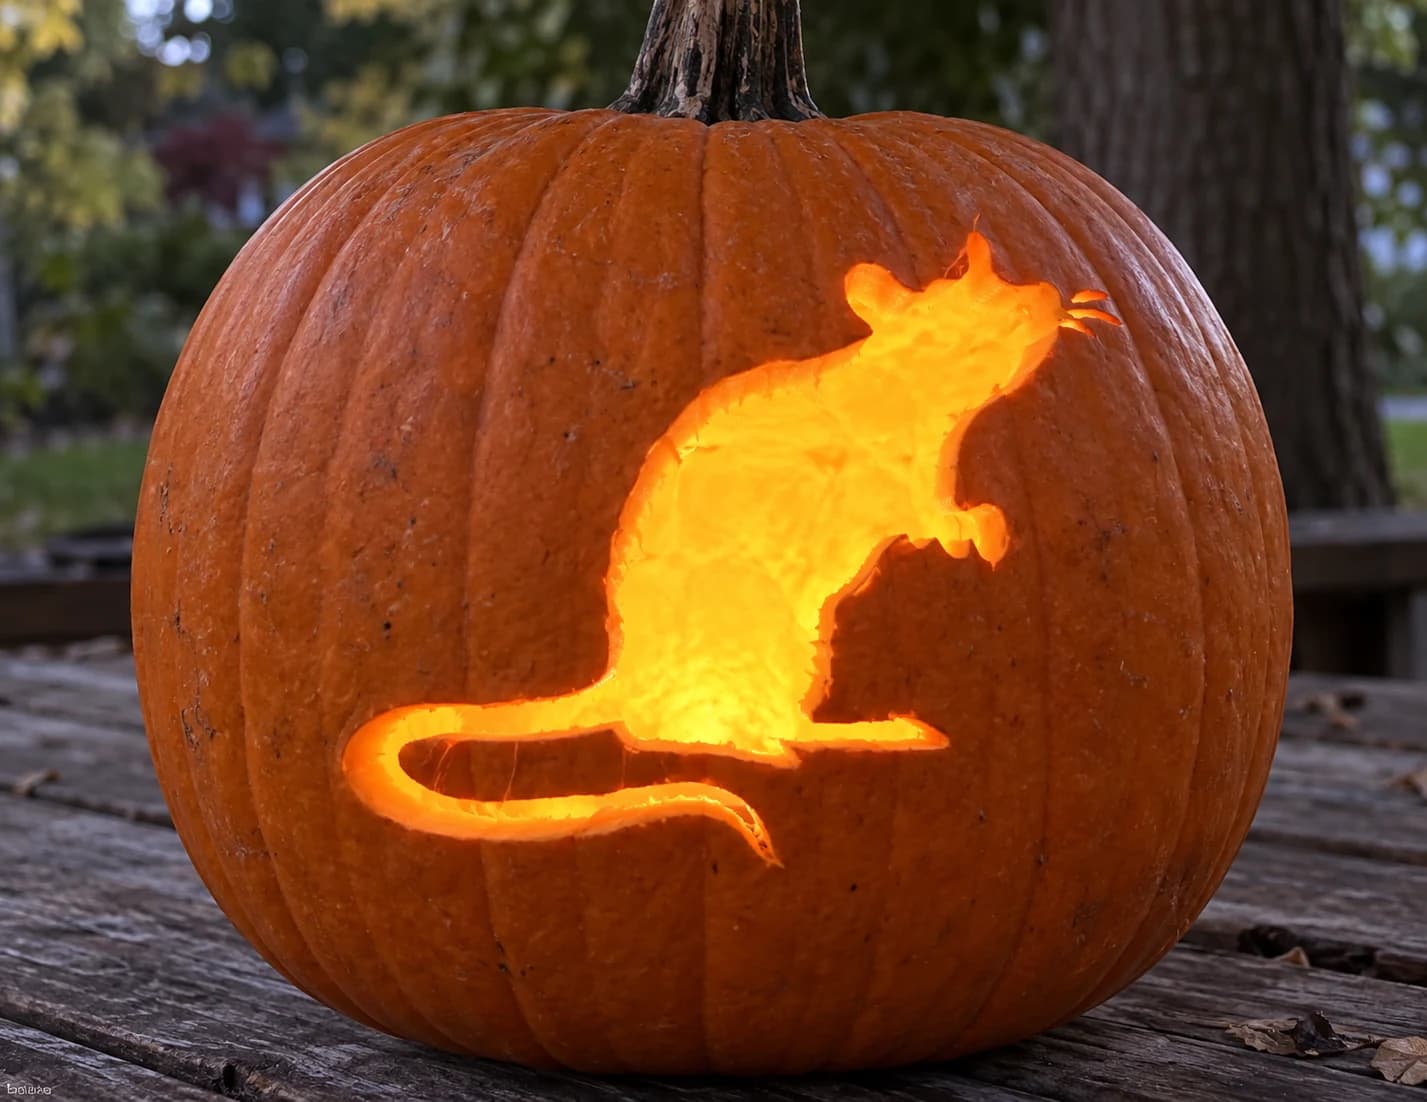
Rat Pumpkin Stencil
A rat stands upright on its hind legs in profile, nose tilted upward and thin whiskers radiating from its snout, with a long curved tail sweeping forward along the base. The entire silhouette is cut away as a single open shape, so candlelight throws a clean, solid rat shadow on surrounding surfaces. Because the tail curls close to the body at one point, make sure to cut that gap all the way through without nicking the connecting pumpkin flesh above it.
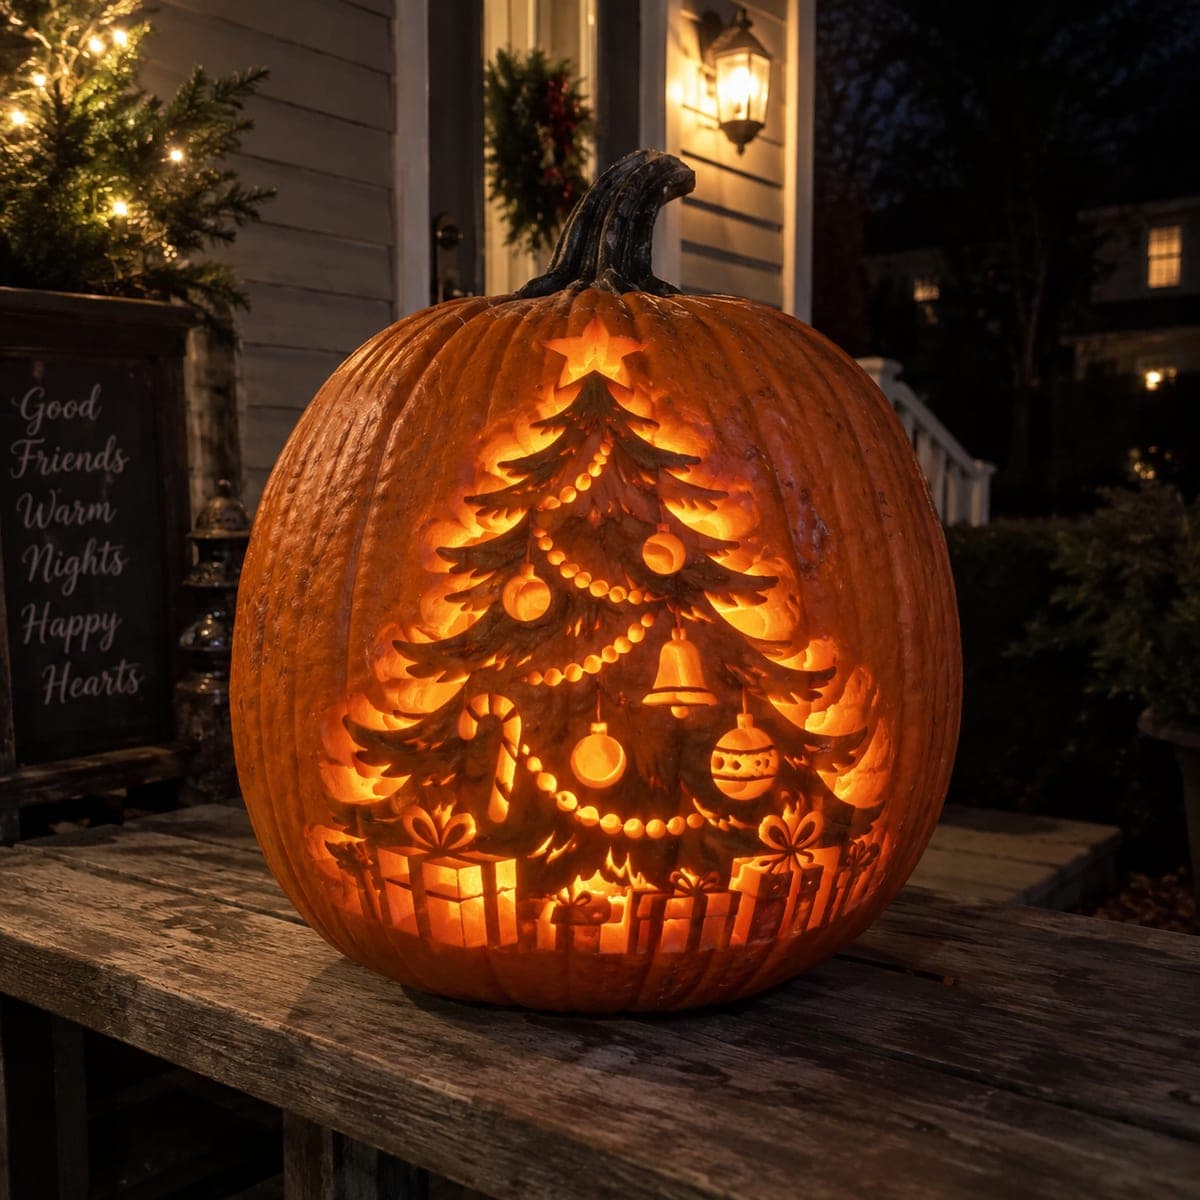
Raw Fir with Glowing Ornaments
A fully decorated Christmas tree rises from a pile of wrapped presents, hung with round ornaments, a bell, beaded garland swags, and a star topper at its peak. The scene is shaved into the pumpkin wall at multiple depths, with the ornaments and gift boxes thinned brightest while the boughs stay as dark raised skin. Block in the tree's triangle first, then carve each bough layer top to bottom so the branches overlap naturally.
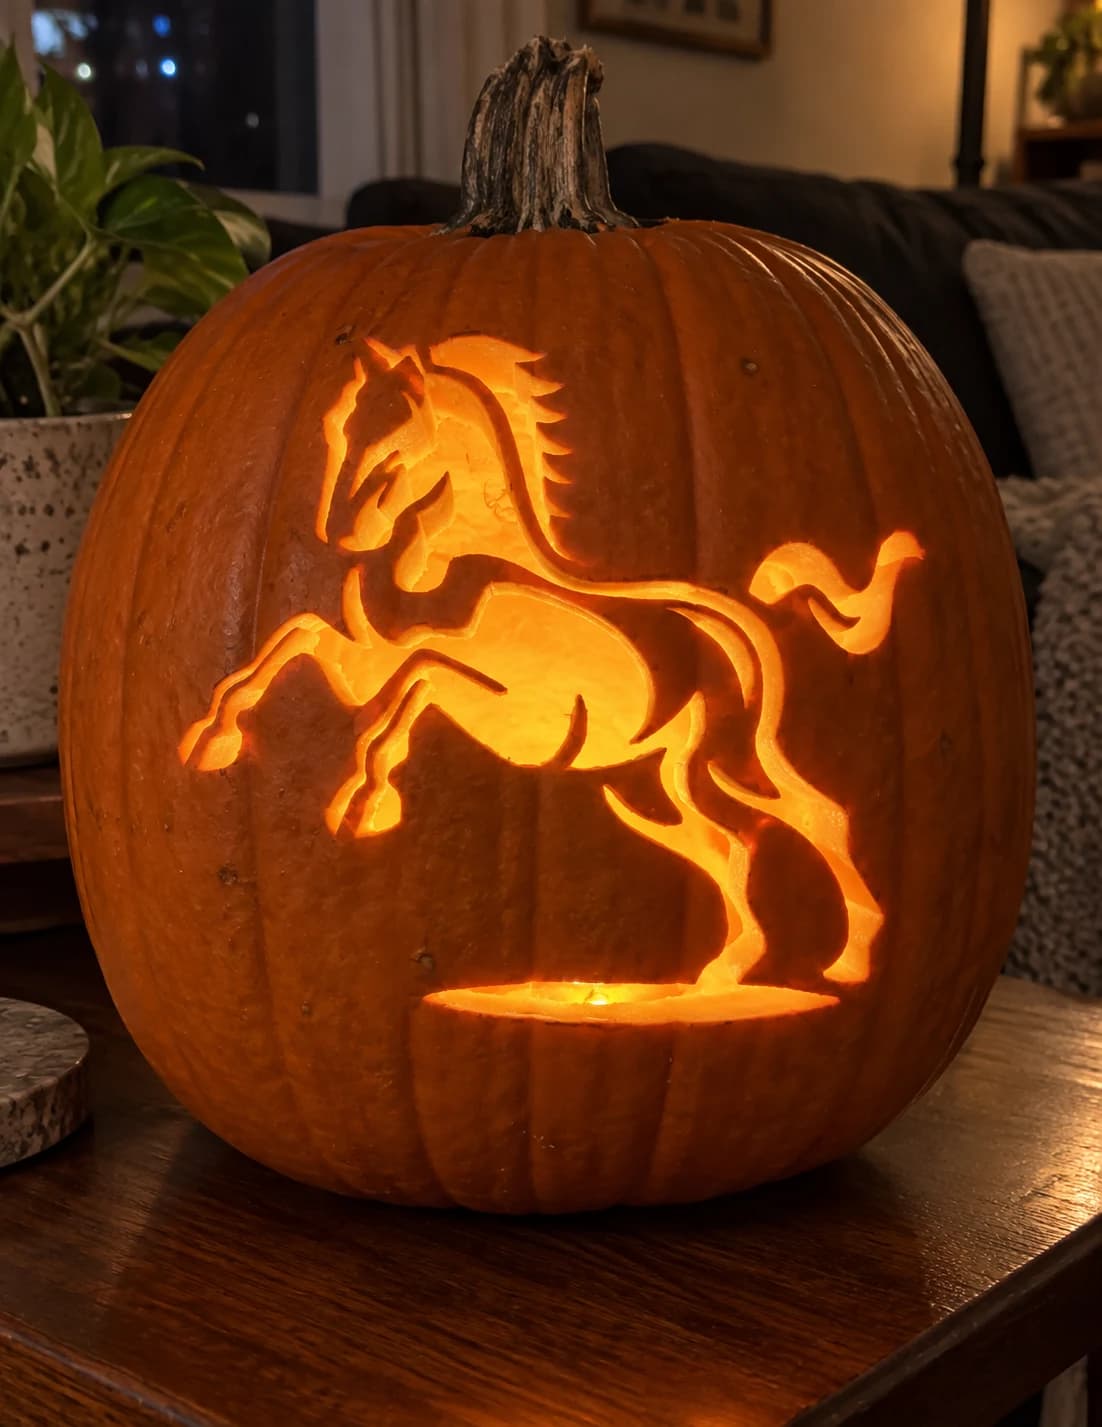
Rearing Horse Pumpkin Stencil
A powerful horse rears up on its hind legs in this detailed pumpkin stencil, its flowing mane and arched neck rendered in sweeping cut-through lines while the body remains largely solid orange. Thin bridges of pumpkin between the leg cuts and the belly keep the composition intact, so light escapes in dramatic slashes rather than one big opening. Cut the fine mane strands at the top first before tackling the larger body sections, to avoid flexing those delicate cuts while the rest of the work is underway.
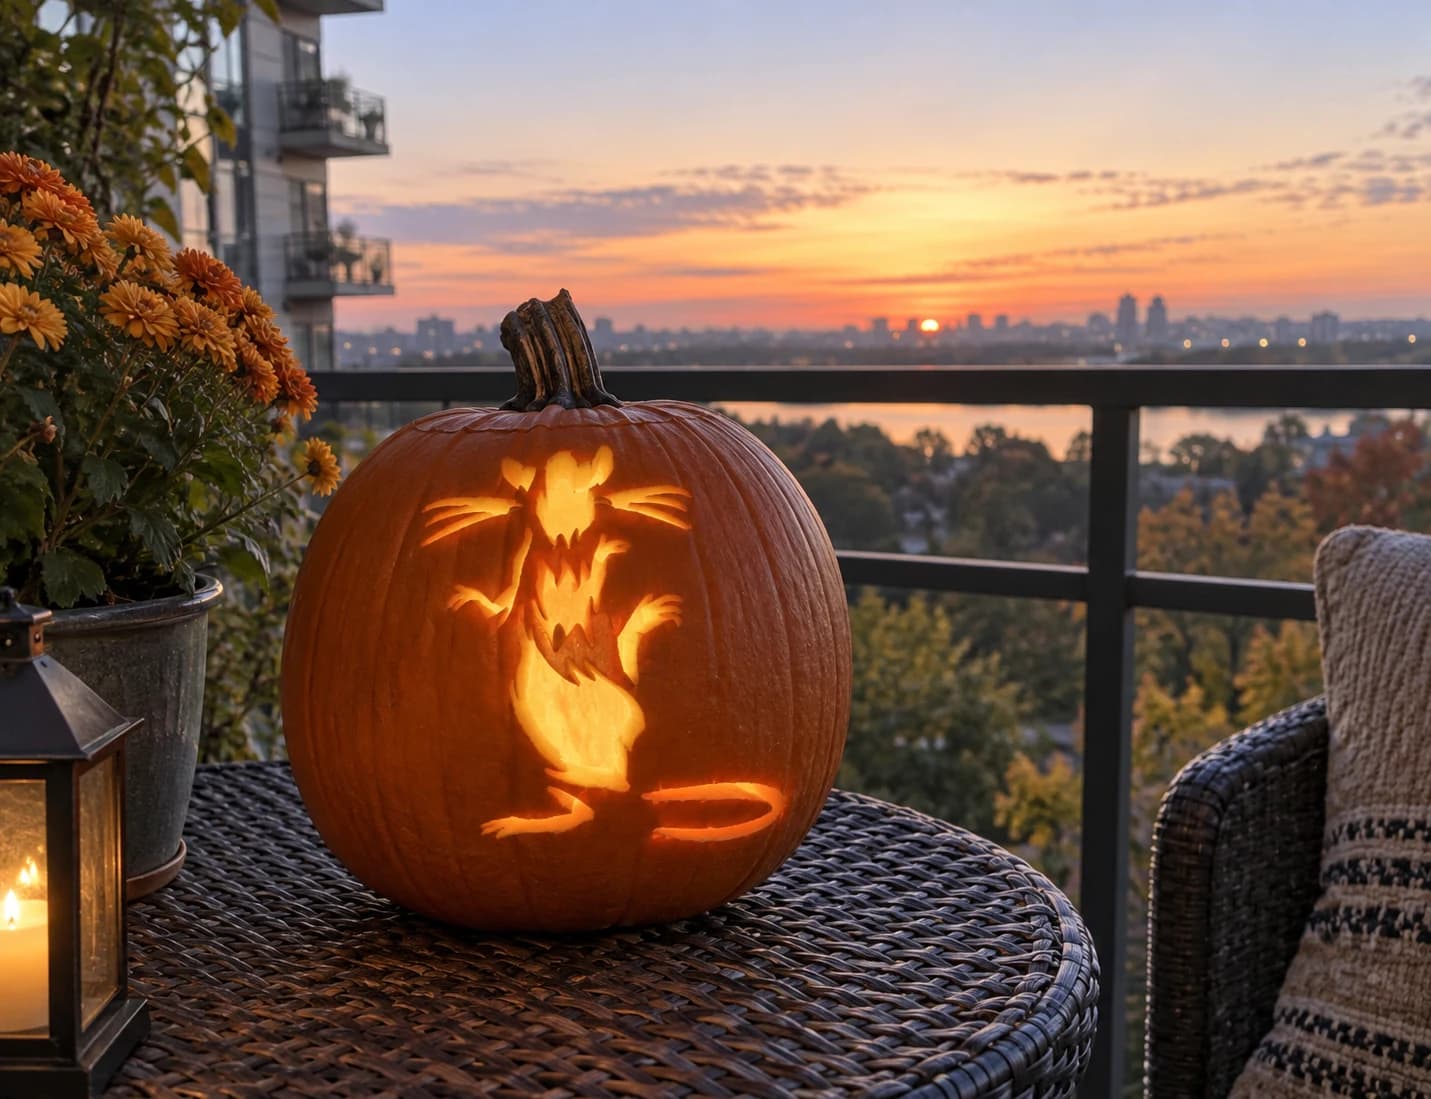
Rearing Rat Pumpkin Stencil
A rat rearing up on its hind legs fills this Halloween pumpkin stencil, its long curved tail sweeping to one side and multiple whiskers fanning from both sides of the snout. The body is largely solid orange pumpkin skin framed by a pierced silhouette, so candlelight outlines the creature's claws and ragged chest fur in warm amber. Cut the whisker lines early while the stencil is anchored: there are three to four per side, so work from the snout outward on each side before opening the larger body area.
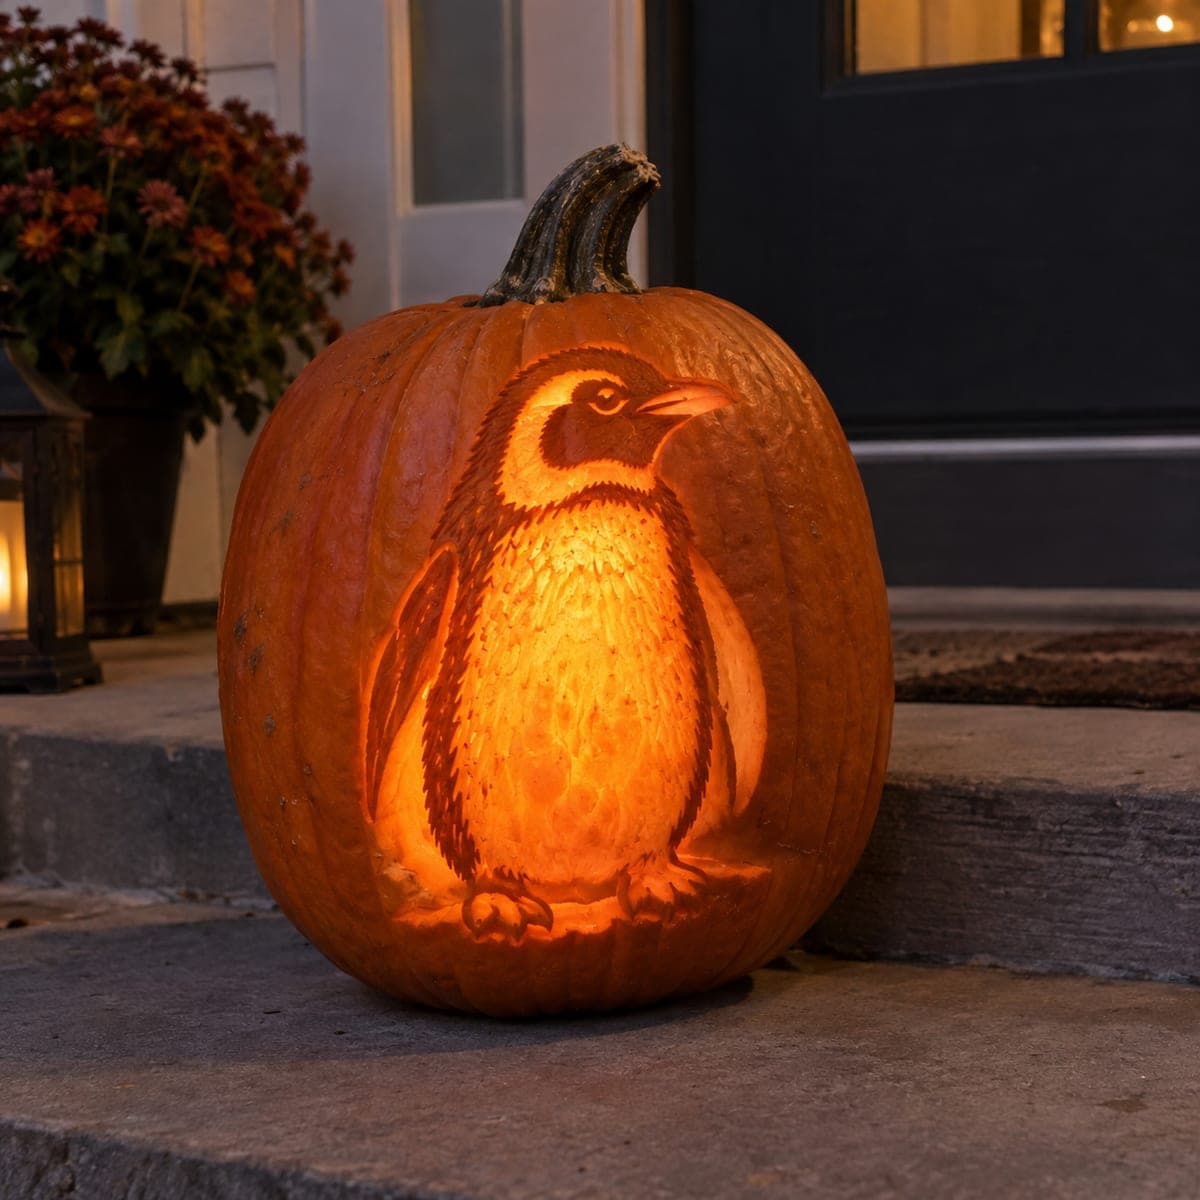
Right-Facing Baby Penguin
A plump baby penguin stands in profile facing right, with a dark head and back, a softly glowing belly, and tiny webbed feet. The design is shaded rather than pierced: you shave the belly and face patches thin so they shine brightly, leave the flipper and back skin dark, and feather the transition between them. Work the big belly area with broad shallow strokes and save the fine downy texture lines for the very end.
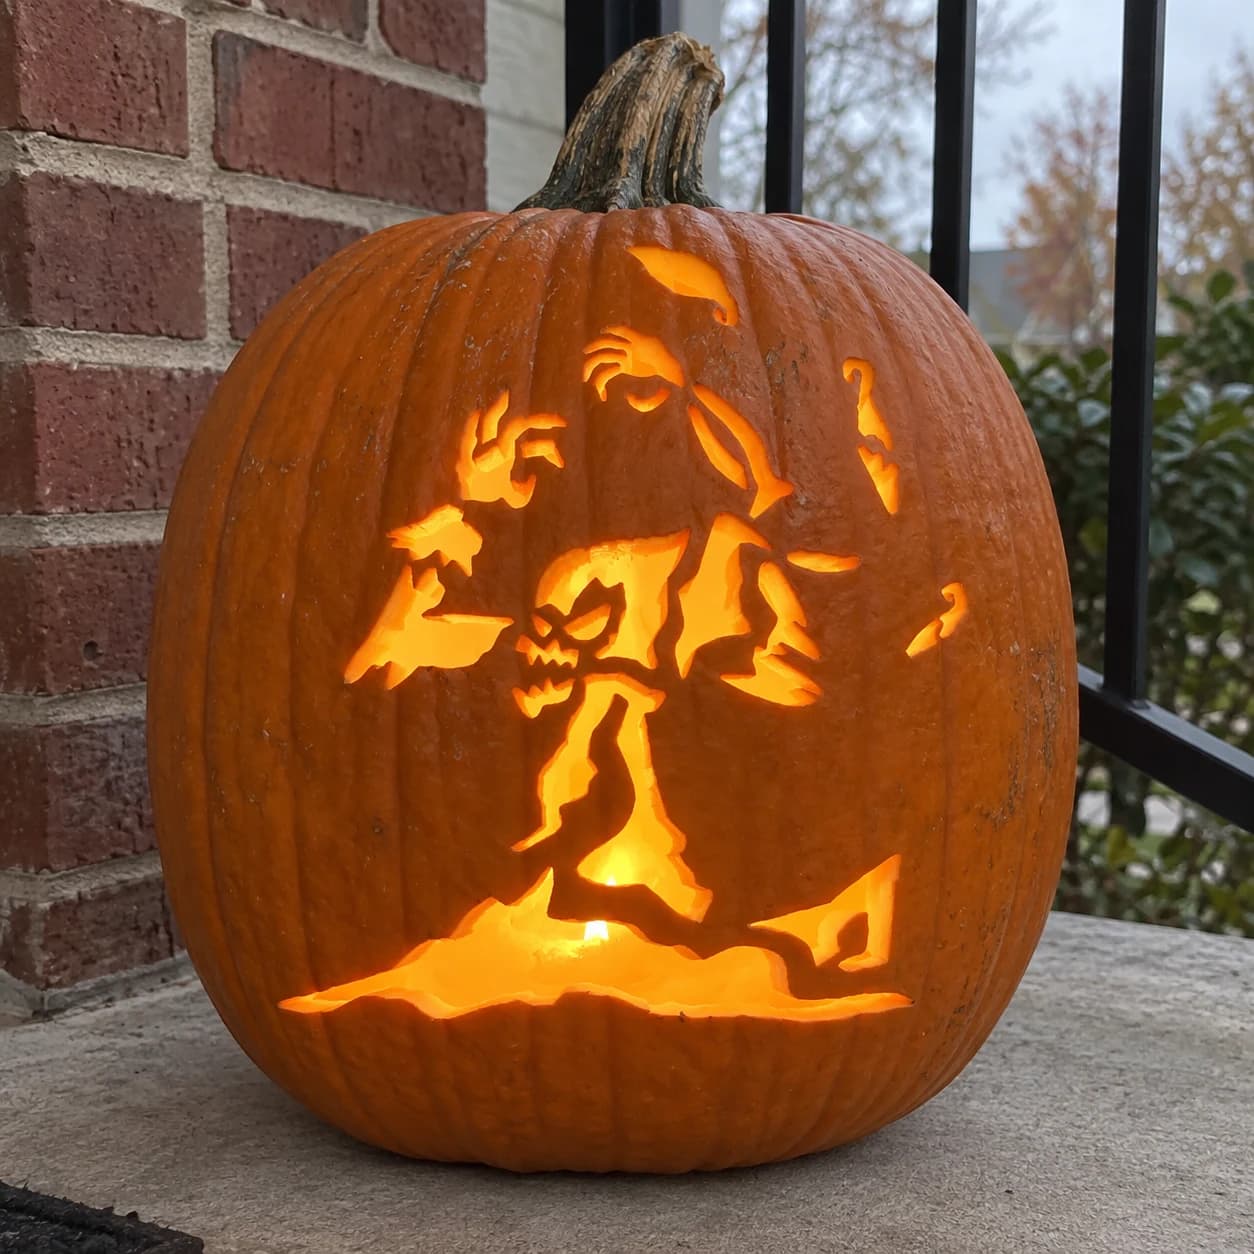
Rising Ghoul Pumpkin Stencil
A skeletal ghoul mid-stride in this expert pumpkin stencil reaches one clawed hand upward, its skull-face snarling with hollow triangular eyes, while ragged clothing and a mass of dirt and bone at the base suggest it is rising from the grave. The figure is a loose silhouette of interconnected pieces separated by thin white-line channels, so the lit jack-o-lantern shows a glowing zombie body with dark gaps that define the bones and tattered fabric. Preserve the thin ankle and wrist bridges until last, cutting the torso and skull interior openings first to keep those fragile joints from being stressed by surrounding cuts.
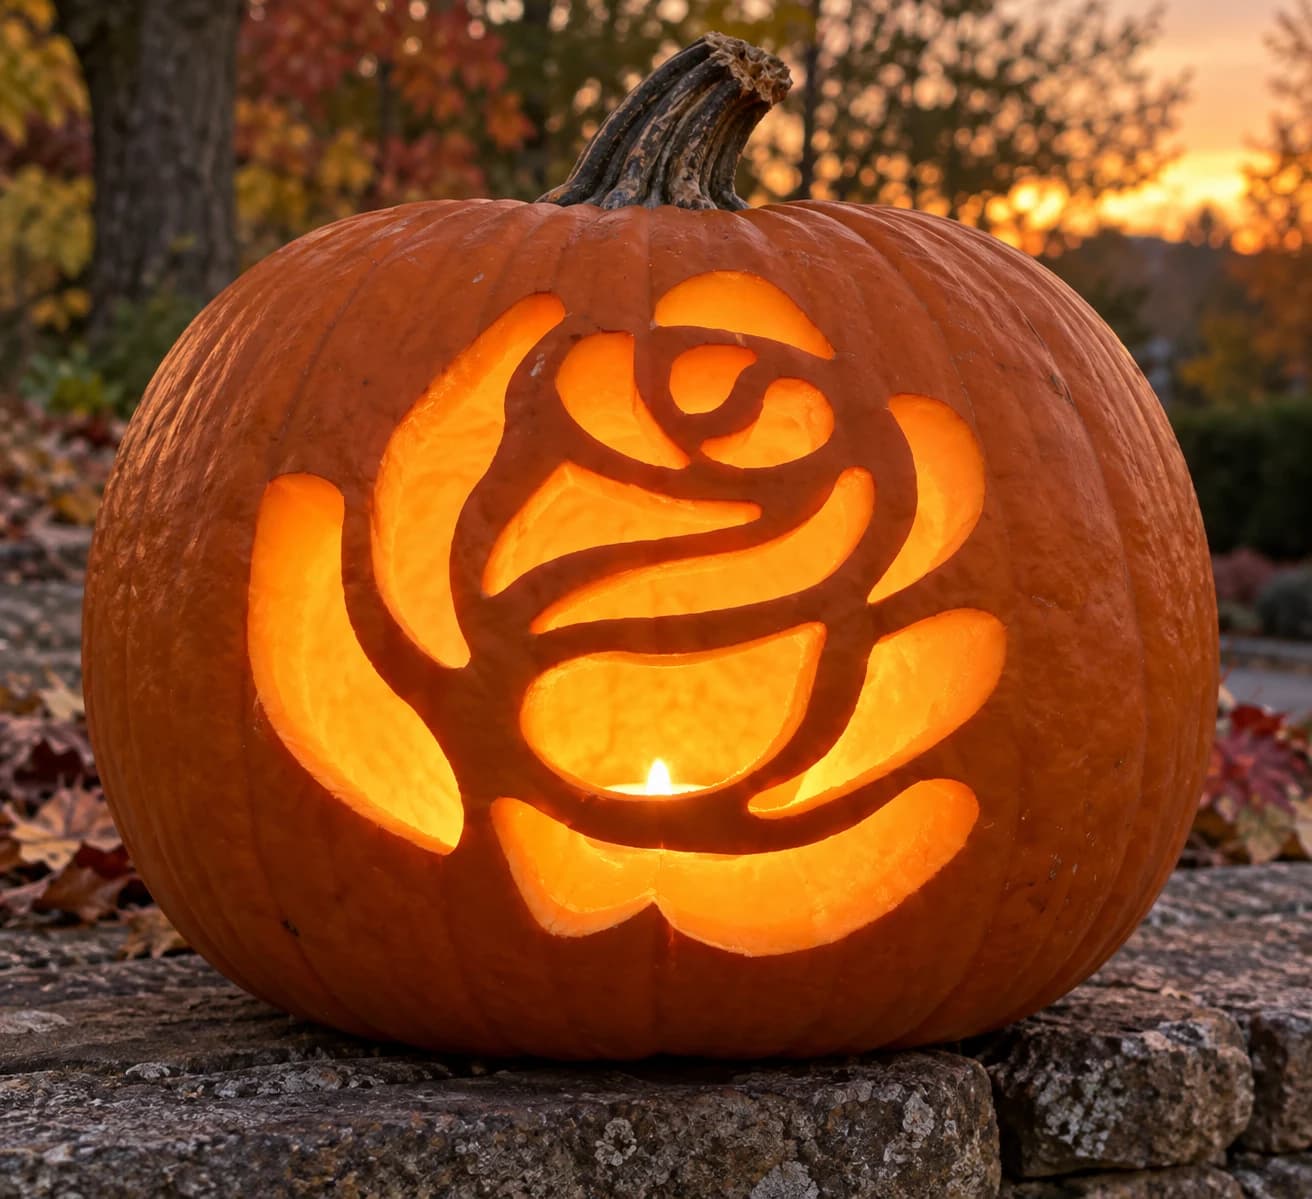
Rose Bloom Pumpkin Stencil
A fully open rose bloom fills this pumpkin stencil, rendered as a set of curved, teardrop-shaped petals radiating from a tight spiral center. The cut-out segments are separated by thin pumpkin-flesh bridges that hold the design together, so when lit the candle glow traces the swirling petal arrangement. Carve the smallest center pieces first to avoid cracking the surrounding petals, and keep a damp cloth nearby to prevent the thin bridges from drying out mid-session.
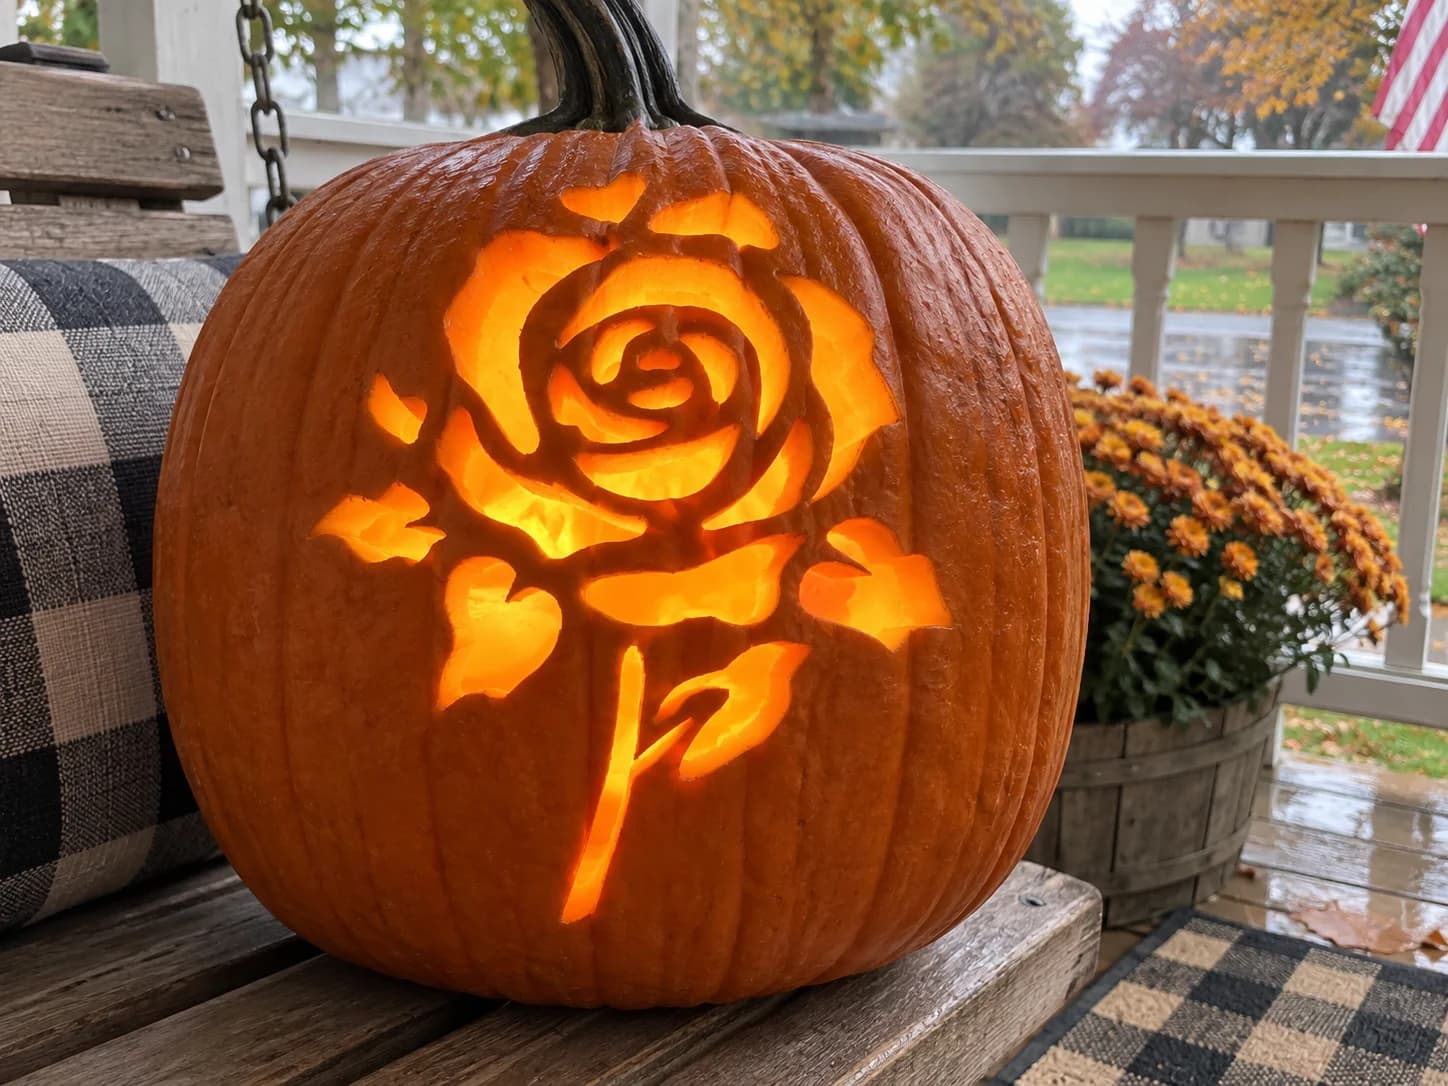
Rose Pumpkin Stencil
A full rose with a spiraling center bud, layered outer petals, and a thin stem with two small leaves is the subject of this flower pumpkin stencil. The petals are rendered as irregular organic cut sections that radiate from the tight center spiral outward to ragged outer edges, while the stem and leaves below are smaller separate pieces. Lit from inside, the solid pumpkin between cuts reads as petal ridges framing windows of light. Cut the innermost spiral bud sections first so the outer petals remain attached and sturdy while you navigate the tightest curves.
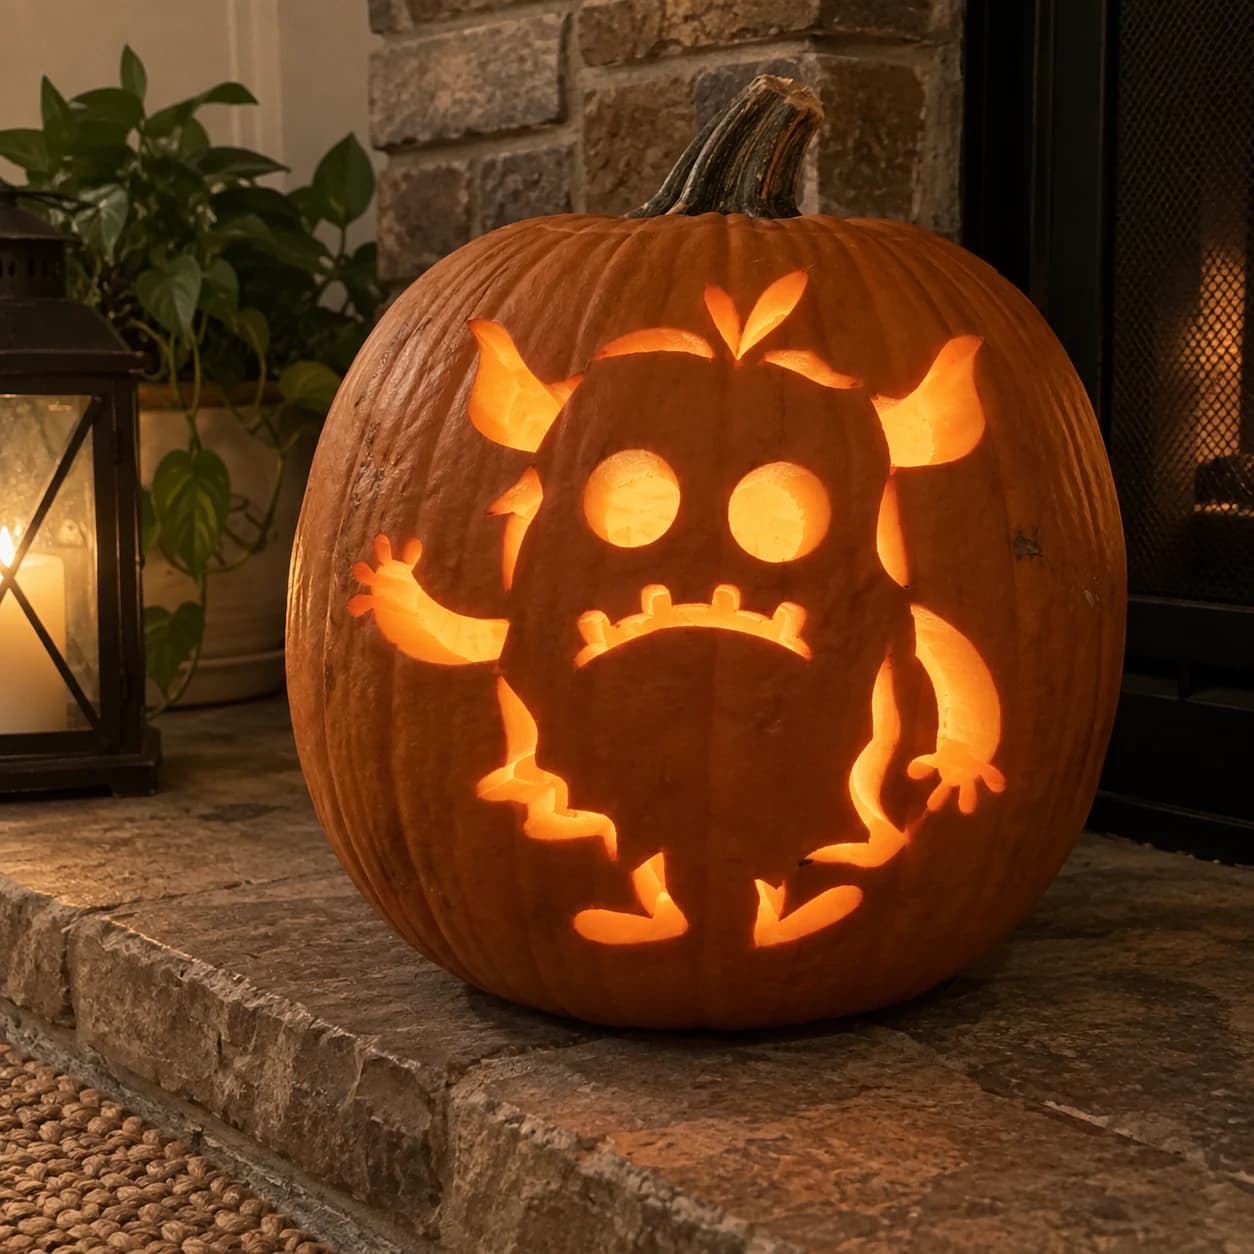
Round Cartoon Monster Pumpkin Stencil
A small round cartoon monster occupies this pumpkin stencil: a chunky body with two large circular eyes, a frowning row of square teeth, a curly stem-like antenna on top, sideways horns, stubby arm appendages, and splayed feet all carved as separate islands of light. The design has many floating cut-through pieces spread across the face of the pumpkin. Start with the two circular eye holes since they are the most central reference points, then position the surrounding appendage cuts relative to them.
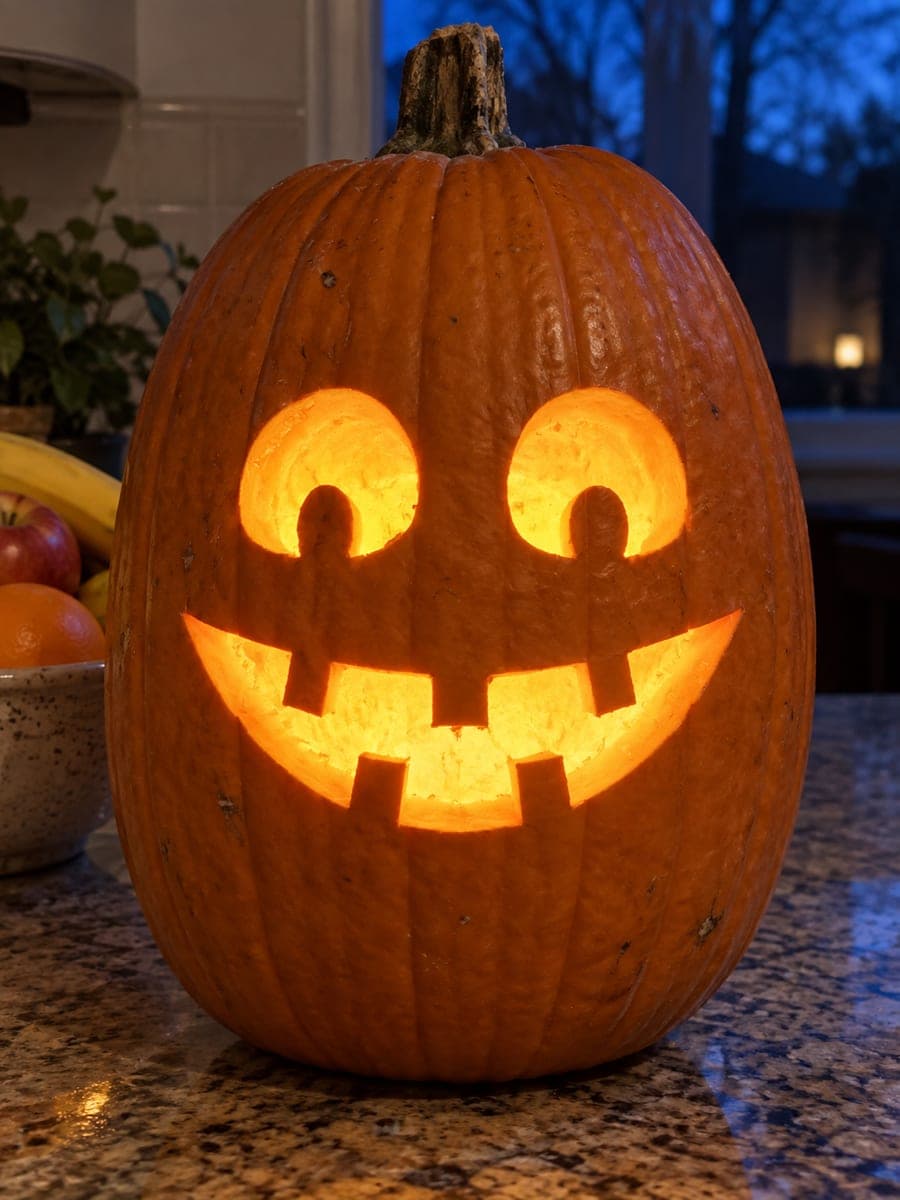
Round Pupils and Five Teeth
A big-eyed, grinning jack-o'-lantern face with round pupil tabs left inside each eye and five square teeth breaking up a wide smile. The eyes and mouth are cut clean through while the pupils and teeth remain attached to the rind as solid bridges. Those round pupils make this a medium carve, so pierce a relief hole beside each one first and saw toward it rather than levering the blade, which can snap the connecting tab.

Round Pupils and Twelve Drops
A round-eared bear face grins from the pumpkin, with big circular eyes holding attached pupil tabs, a shiny nose, two little teeth, and a crown of twelve teardrop openings fanning above like fur tufts. The eyes, muzzle, teardrops, and ear rings are pierced while pupils and outlines stay connected. Rated hard for the hanging pupil tabs, so leave their bridges thick and cut them dead last.
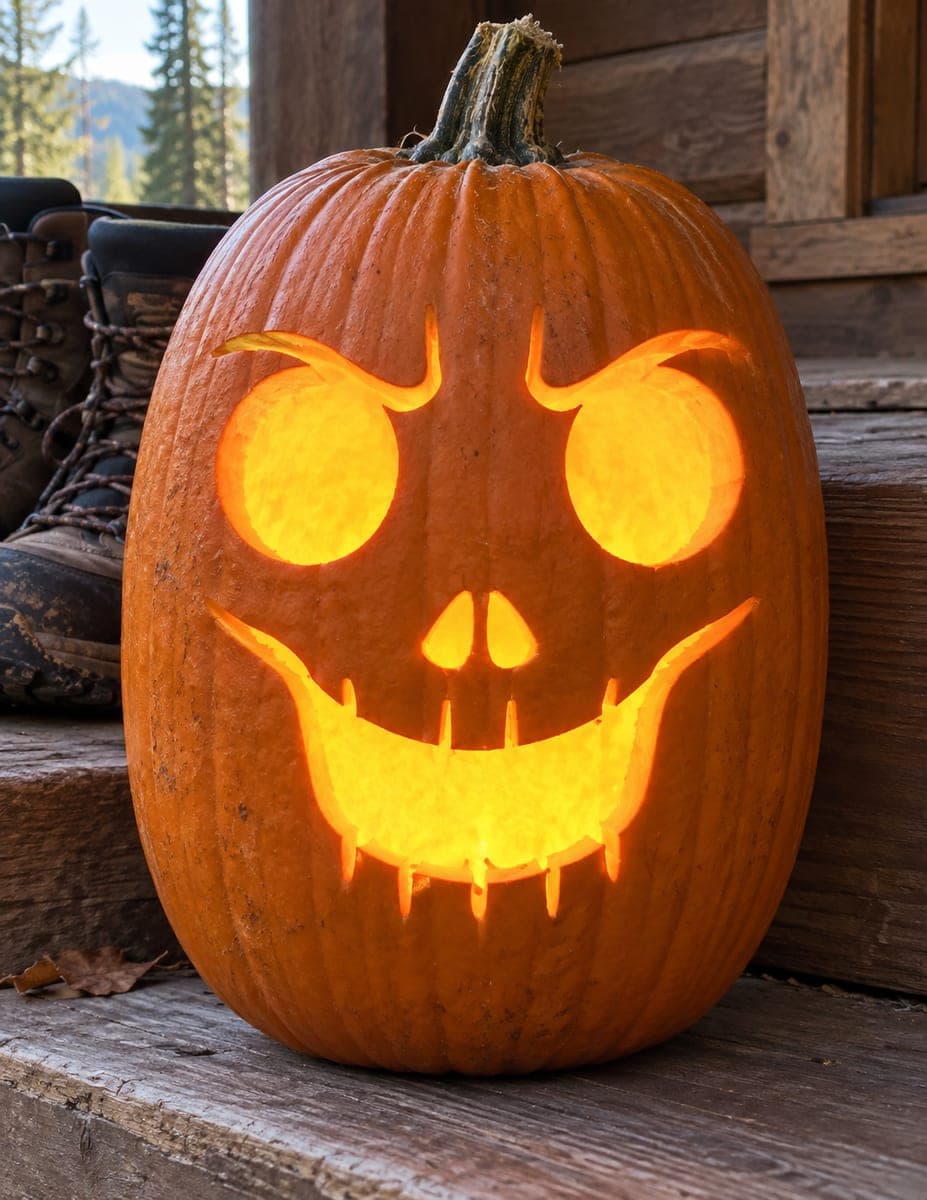
Round-Eyed Dripping Grin
A gleefully sinister face with huge round eyes topped by curling, hooked brows, a small skull-style nose, and an enormous crescent grin edged with thin dripping tooth spikes. Every element is cut through, and the narrow drip slits along the mouth are what earn the hard rating. Carve the big eye and mouth openings first, then cut the fragile tooth drips last with a fine saw so they do not snap.
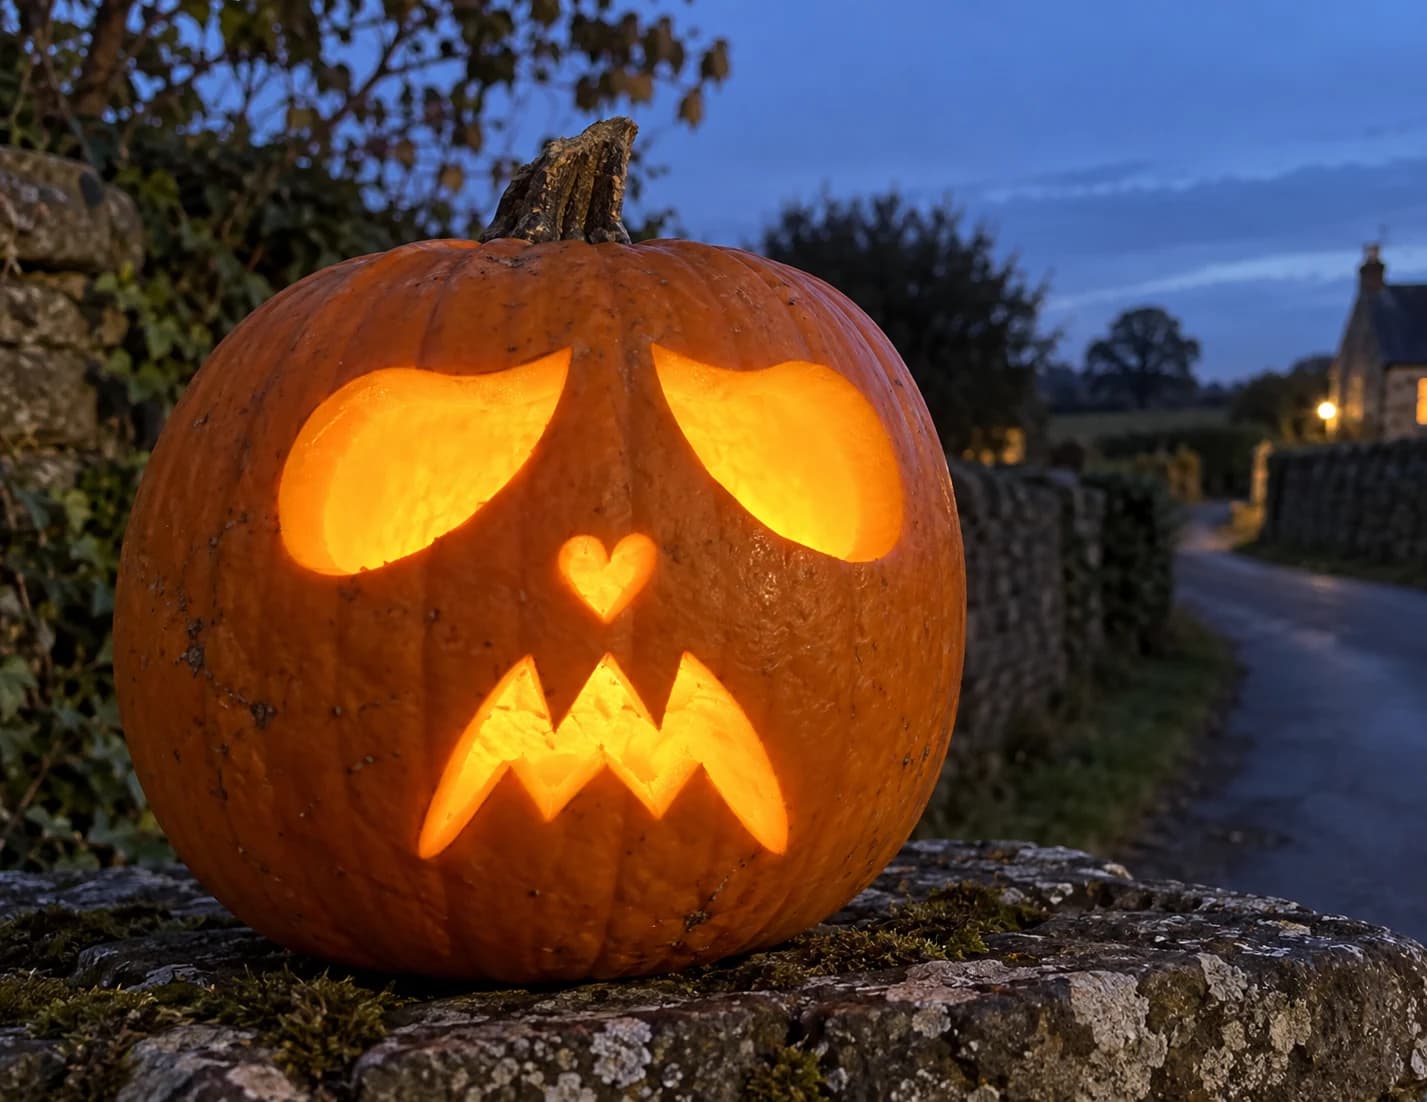
Sad Ghost Pumpkin Stencil
Two drooping teardrop eyes, a tiny pierced heart for a nose, and a jagged zigzag mouth give this ghost jack-o-lantern pumpkin stencil its mournful expression. All five cut pieces are bold and generously sized, making them straightforward to carve cleanly. The small heart is the trickiest element; cut its two lobes with short inward strokes meeting at the bottom point so the tip stays crisp rather than tearing.

Sailboat With Pennant
A little ship glows on the pumpkin with two triangular sails split by a tall mast, a small pennant flying at the top, and a wide trapezoid hull below. Each sail, the flag, and the hull are separate cut-through openings, with skin bridges forming the mast and boom lines between them. This easy design suits young pirates and first-time carvers; cut the small pennant first while the wall is sturdy, then the sails, then the big hull last.
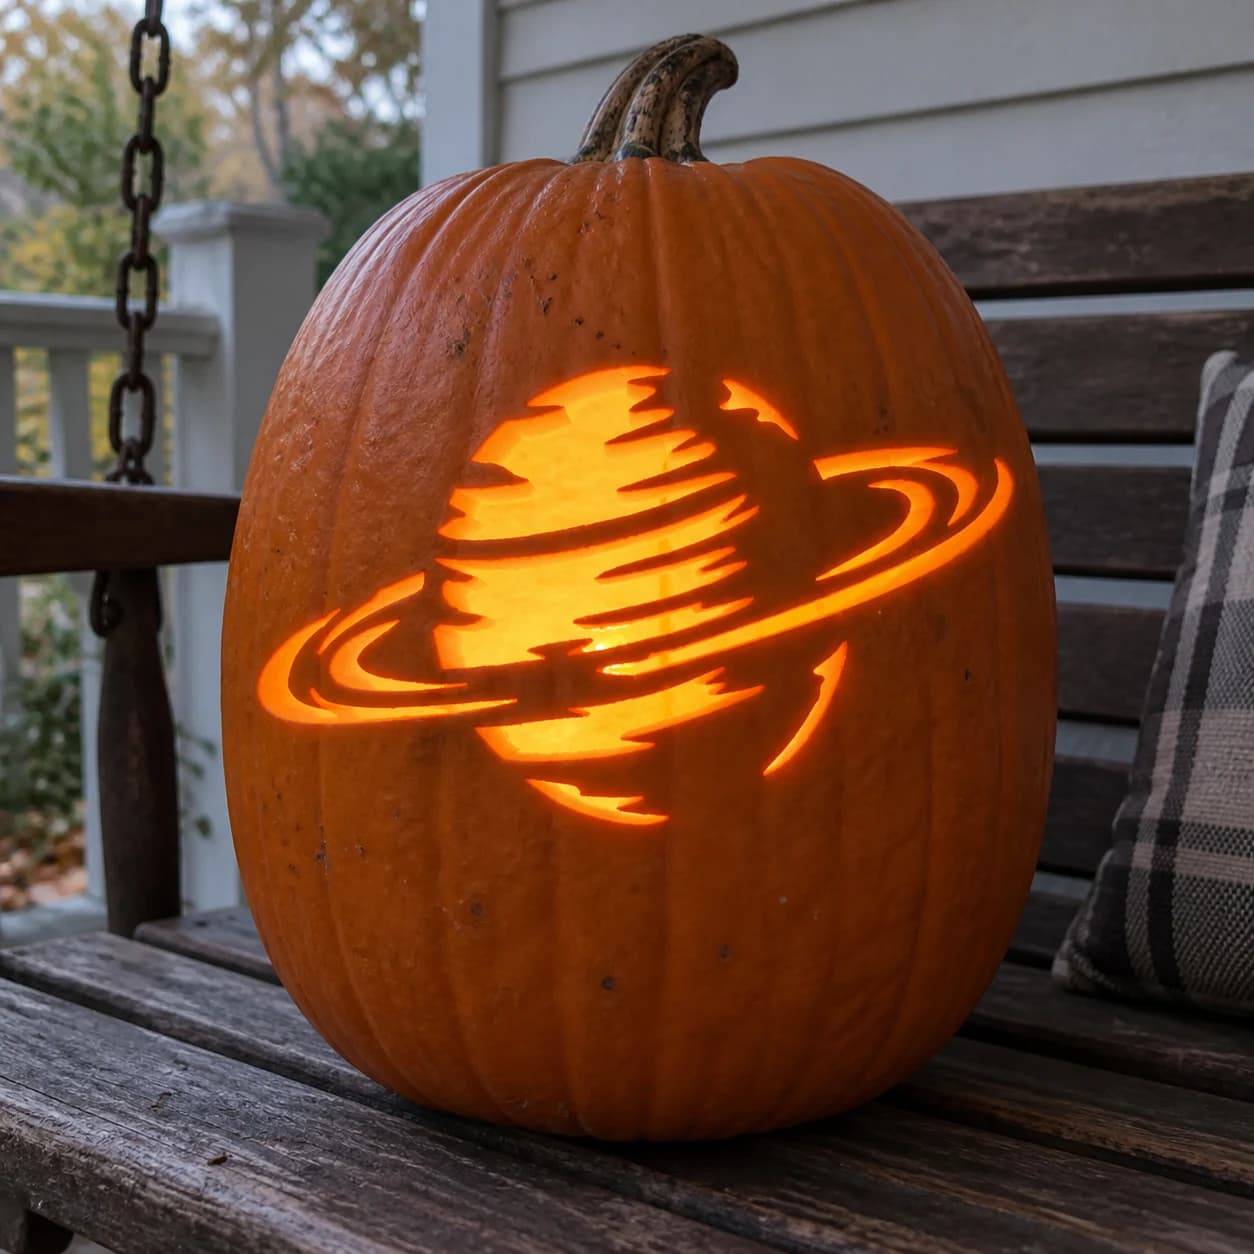
Saturn Pumpkin Stencil
Saturn's ringed profile rendered in a loose, sketchy style fills this expert space pumpkin stencil, with the planet body shown as a series of jagged horizontal band cuts and the elliptical ring system sweeping through as two curving arcs, all separated by thin skin bridges that suggest atmospheric cloud layers. The ring bands are the trickiest element: each arc is a narrow, isolated strip that connects to the planet body only at two small points. Cut the planet body bands first, working from the equator outward toward the poles, then carefully score the ring arcs from their inner connection points toward the outer tips.
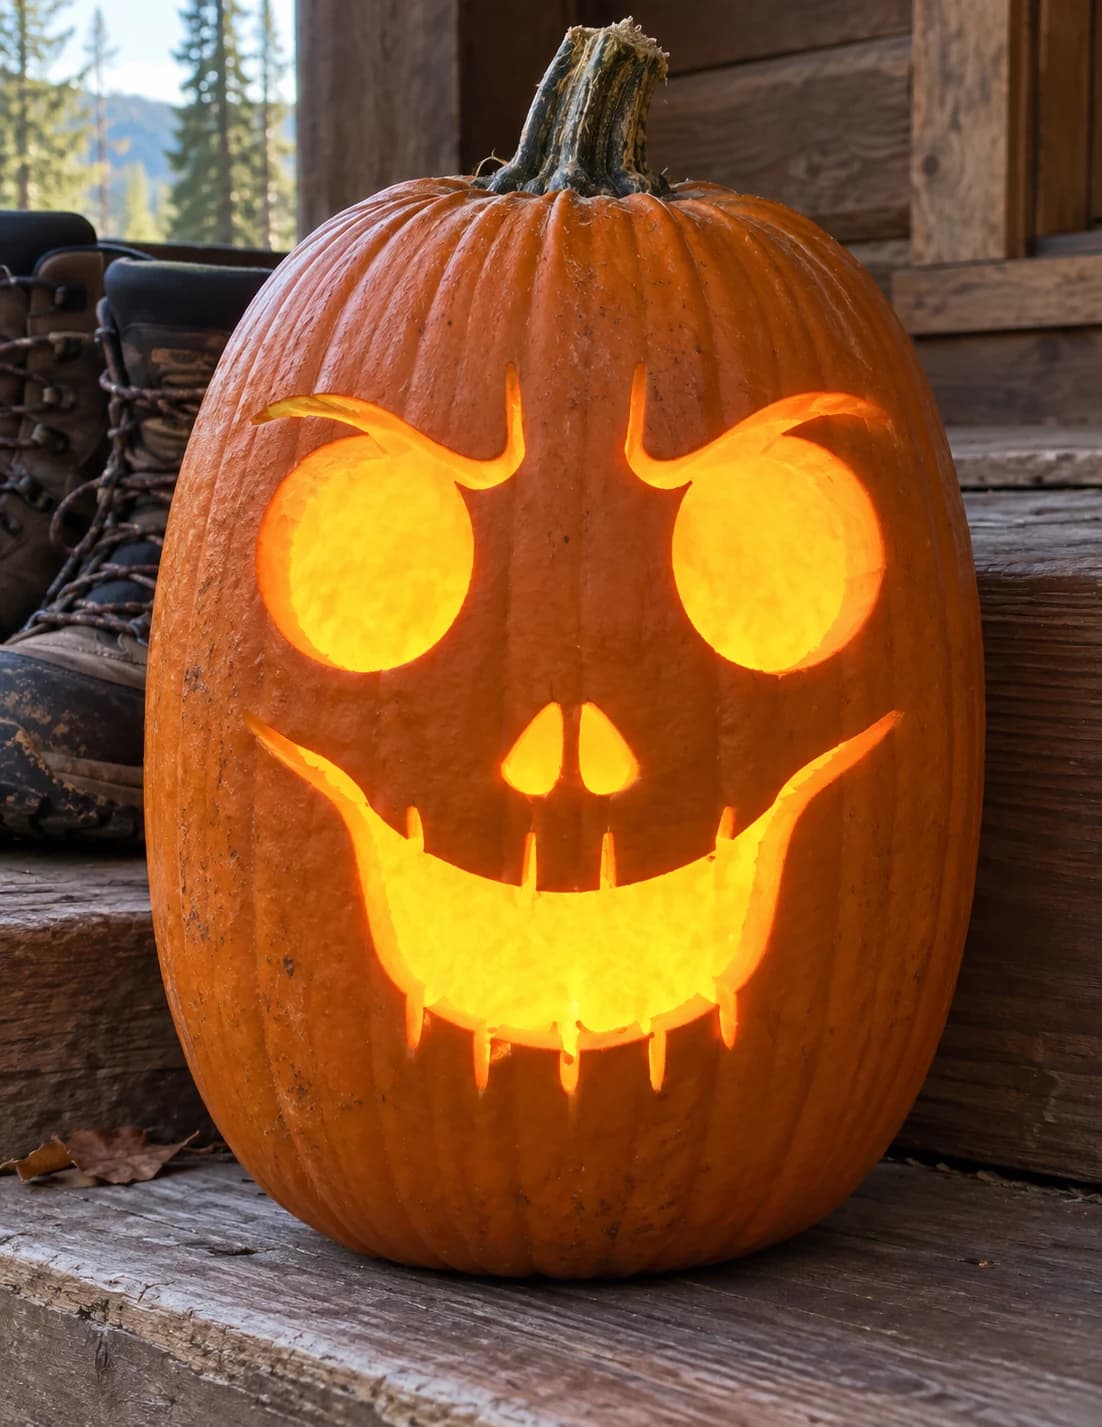
Scarecrow Face Pumpkin Stencil
Two large round eyes with small eyebrow hooks above each, a pair of pointed teardrop nostrils, and a wide toothy grin with sharp downward-pointing fangs give this scarecrow face its slightly sinister character on this easy pumpkin stencil. All cut pieces are chunky and well-separated, making this a comfortable carve despite its spooky look. To keep the row of fang tips from chipping, make the two vertical cuts on each fang before the horizontal base cut that frees the piece.
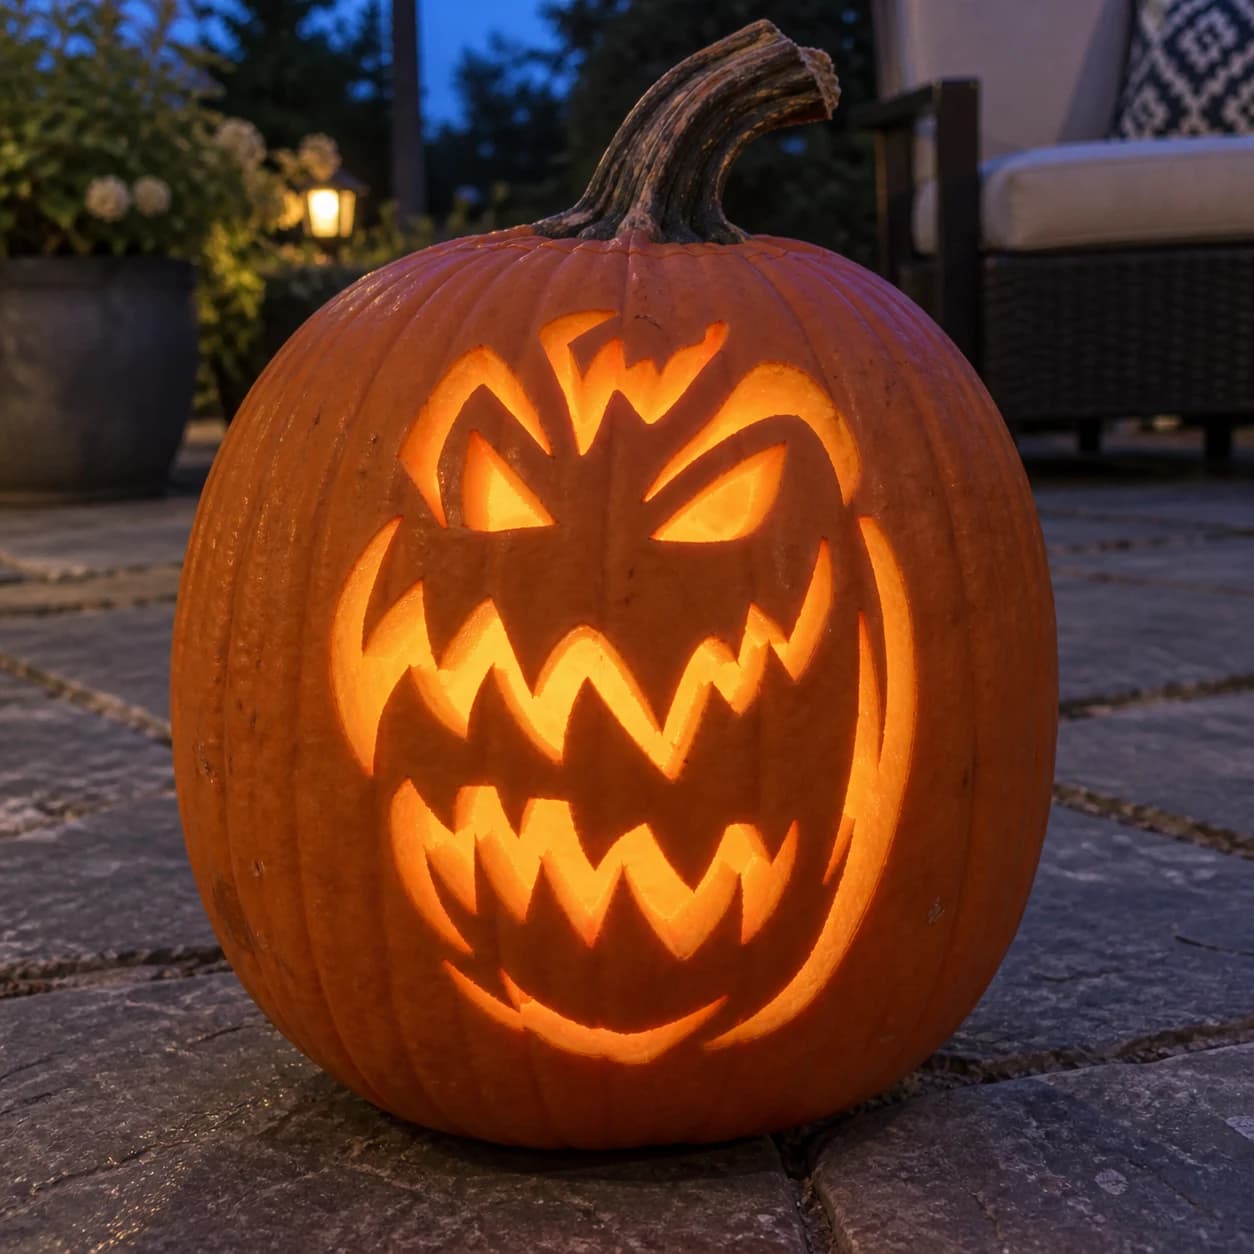
Scary Jack-o-Lantern Face Pumpkin Stencil
A grinning jack-o-lantern face carved onto a jack-o-lantern makes this a pumpkin-within-a-pumpkin design: a wide ovoid pumpkin shape with a stubby stem has a furious face of angled triangular eyes, heavy brow cuts, and two rows of large zigzag teeth separated by a thick horizontal lip band. All the face features are cut through as open shapes. Carve the inner tooth gaps first, since they sit between two rows that span the widest open area, then release the eye triangles and brow cuts last to keep the upper face stable.
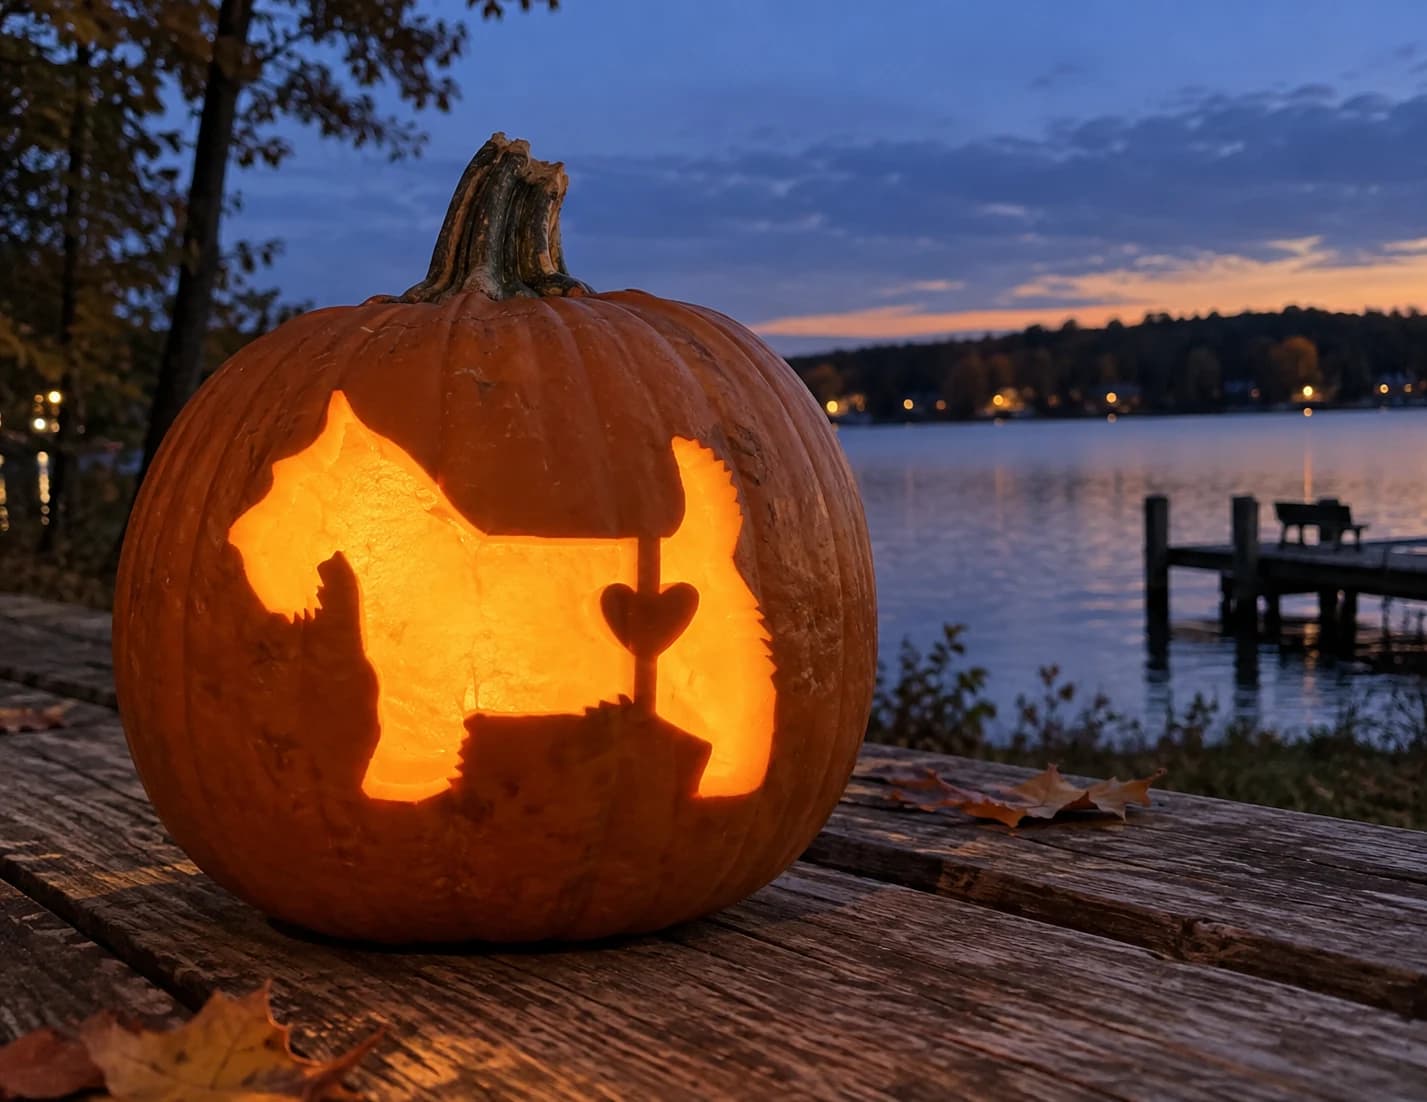
Schnauzer Pumpkin Stencil
A side-profile schnauzer silhouette with a beard, bushy eyebrows, and perky ears stands as the main cut-through shape in this easy dog pumpkin stencil. A separate tail piece and a small heart cutout on the dog's side complete the design; the heart stays as solid pumpkin wall inside an open negative-space frame. The carved pumpkin shows the schnauzer in bold orange relief against a dark background. Cut the heart outline early while the pumpkin is still firm, since the thin wall forming the heart border is the most fragile element in the design.
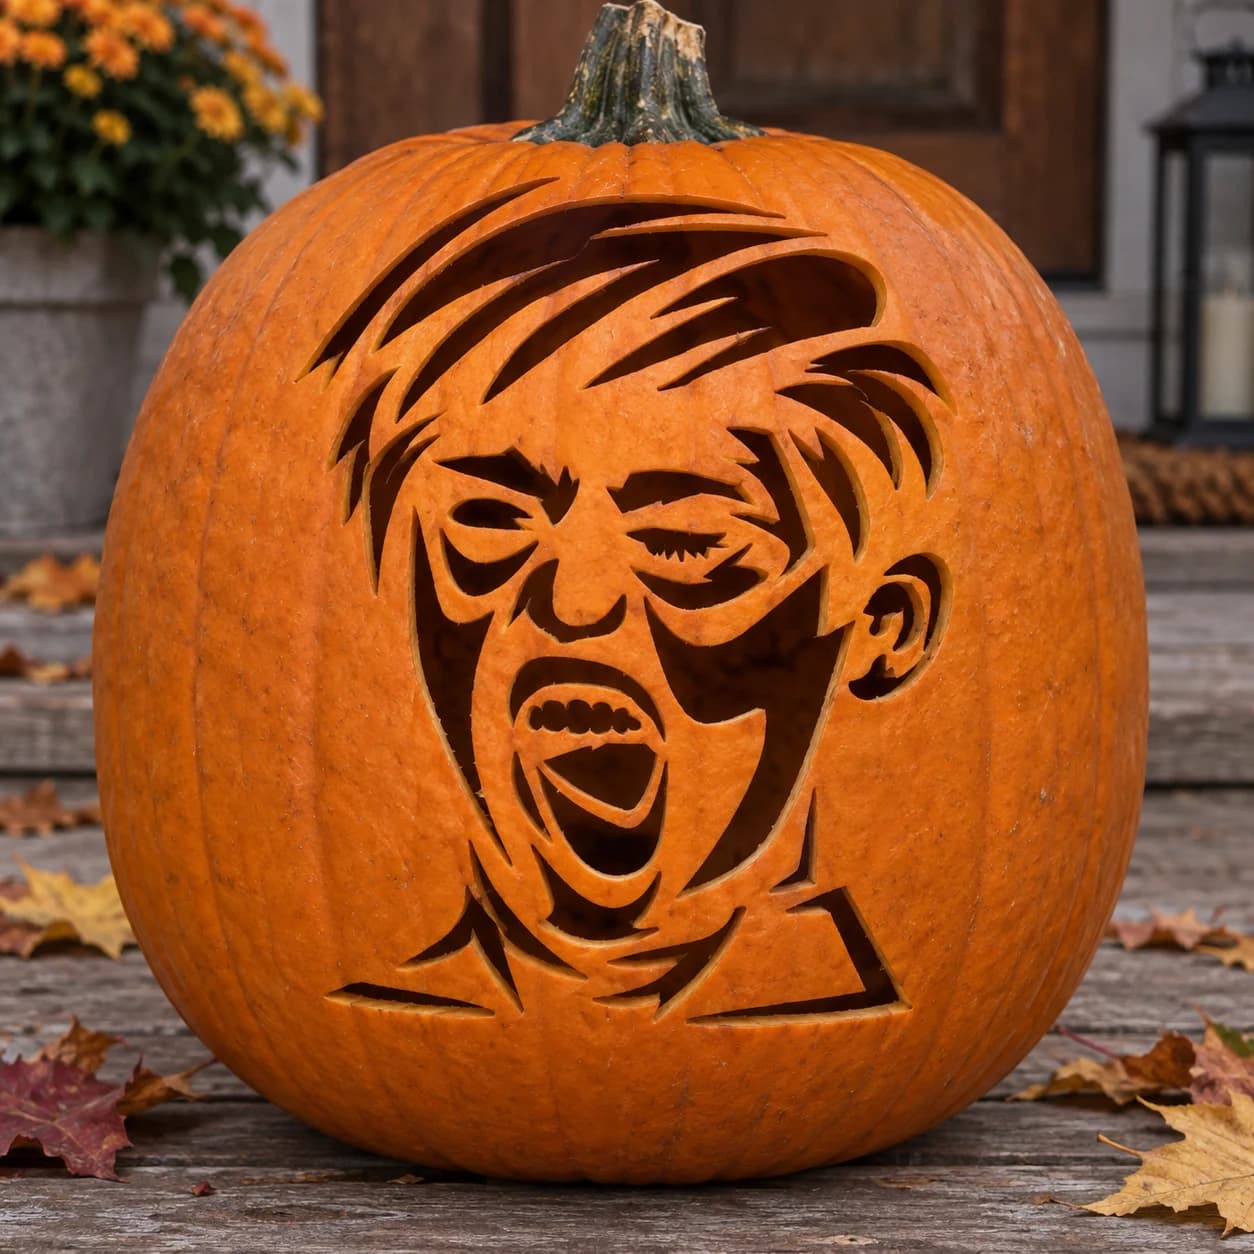
Screaming Face Pumpkin Stencil
A screaming man's face, rendered with wild tufted hair radiating outward in jagged spikes, fills this expert-level pumpkin stencil. The wide open mouth, squinting brow, and deeply shadowed cheeks are built from interlocking curved cut-through shapes separated by thin orange bridges that define the facial planes. The radiating hair spikes are particularly slender at their tips. Work the hair tips first with a narrow blade, then carve the facial features from the forehead down, saving the large mouth cavity for last so it doesn't weaken the surrounding wall prematurely.
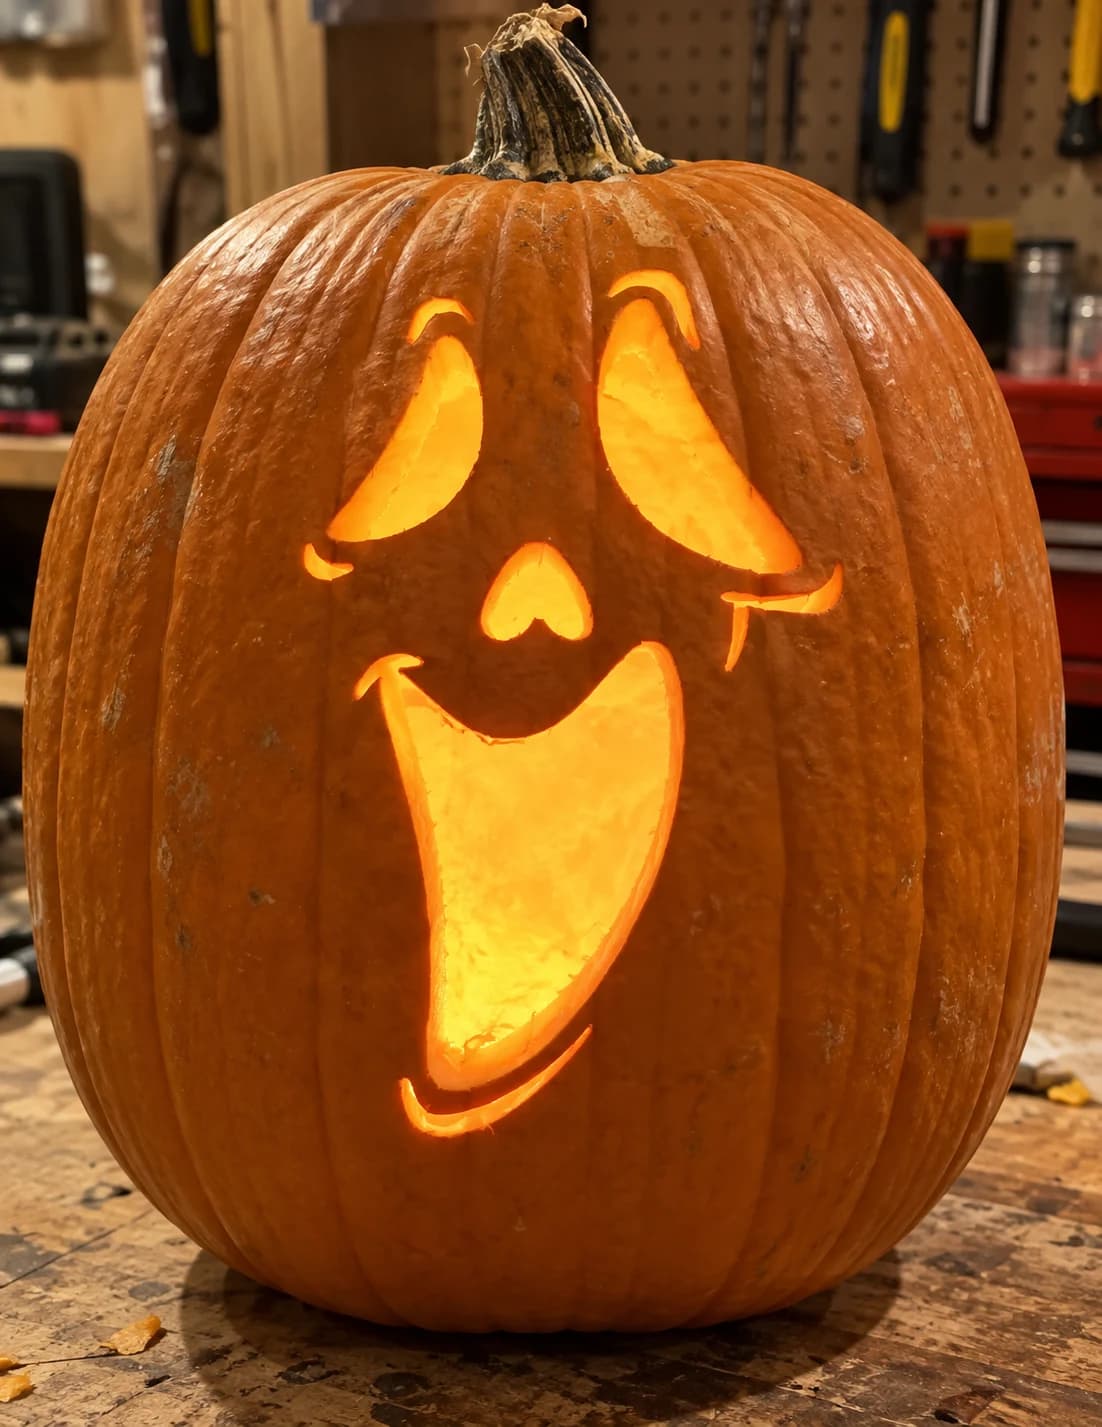
Screaming Ghost Face Pumpkin Stencil
This ghost-face pumpkin stencil features a wide screaming mouth that dominates the lower half of the composition, flanked by two swept, comma-shaped eyes and a small heart-shaped nose. Small curved accent marks at the corners add a theatrically startled expression. The mouth is a single large open cut that glows intensely, while the eyes and nose are smaller pierced shapes separated by solid skin. Cut the nose and accent marks before the large mouth so you have a stable surface to brace against.
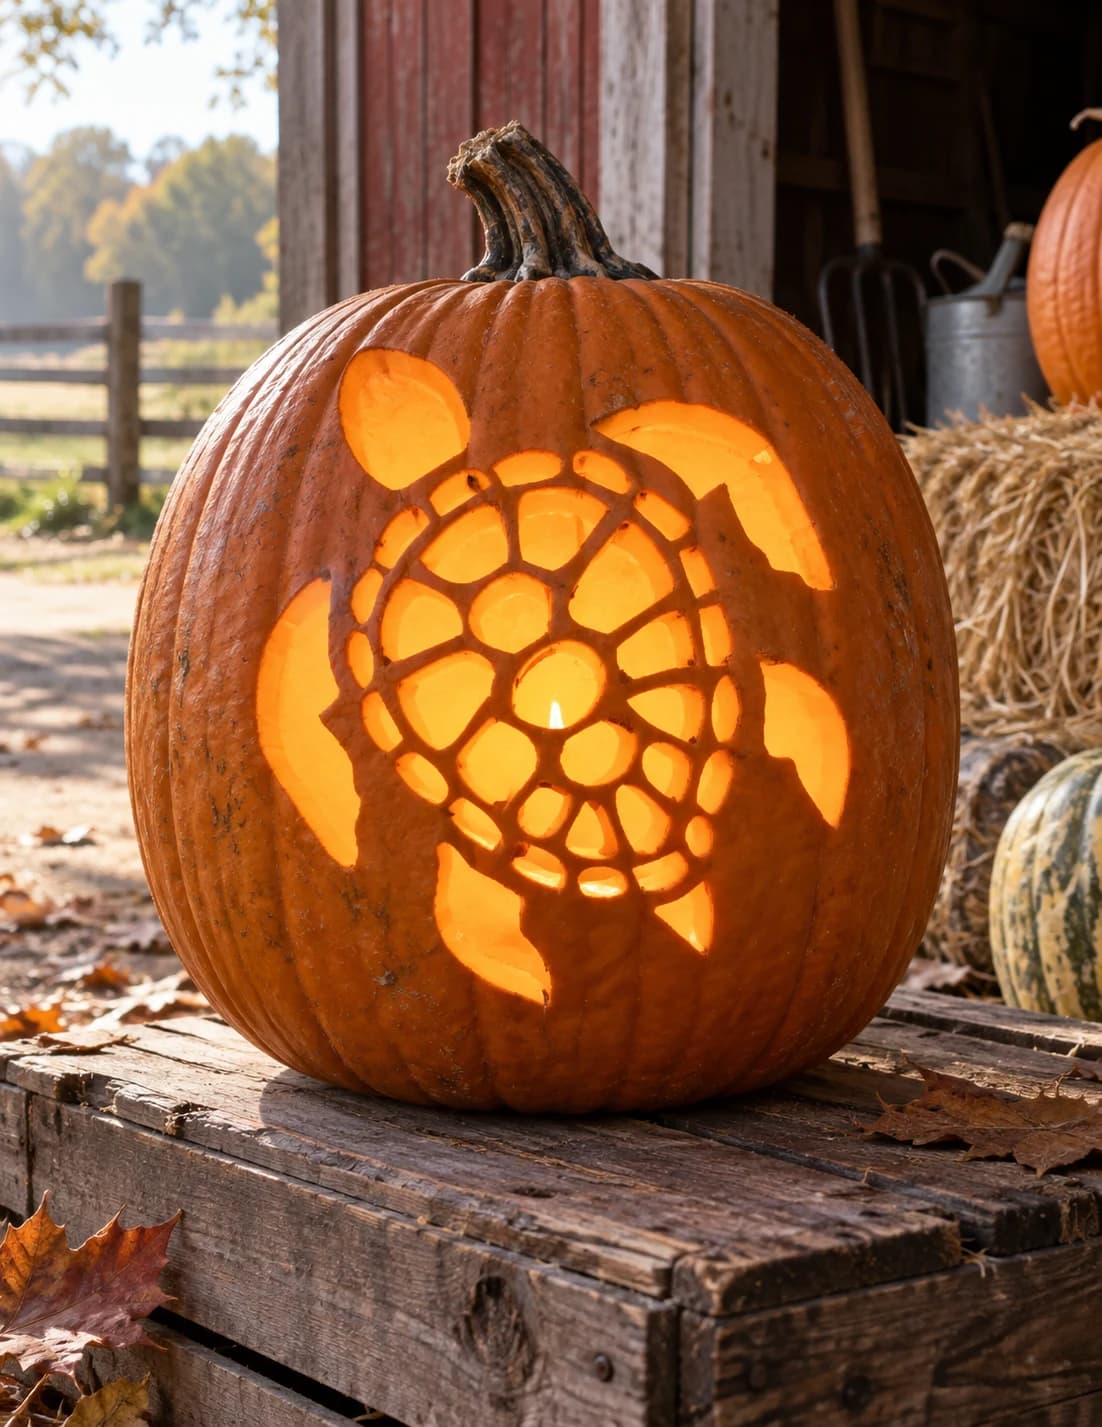
Sea Turtle Pumpkin Stencil
A sea turtle viewed from above fills this pumpkin stencil, with four swept-back flippers and a dome-shaped shell covered in roughly twenty interlocking polygonal plates, each plate a separate cut piece separated by thin lines of uncut pumpkin. The resulting jack-o-lantern glows through every shell segment individually, mapping out the turtle's scute pattern in orange-framed light. Cut the smallest outer-edge shell plates first since they have the least surrounding support, then work inward toward the larger central scutes.

Seahorse with a Ribbed Fan
An elegant seahorse posed upright with a ridged, segmented body, a ribbed fan fin on its back, and a tail that coils into a tight spiral. This is a shading pattern: you carve away skin at varying shallow depths to sculpt the plates, fin ribs, and curl while the wall stays solid. Rated hard for its fine detail, it rewards a light touch; work the tiny tail spiral with a small gouge last.
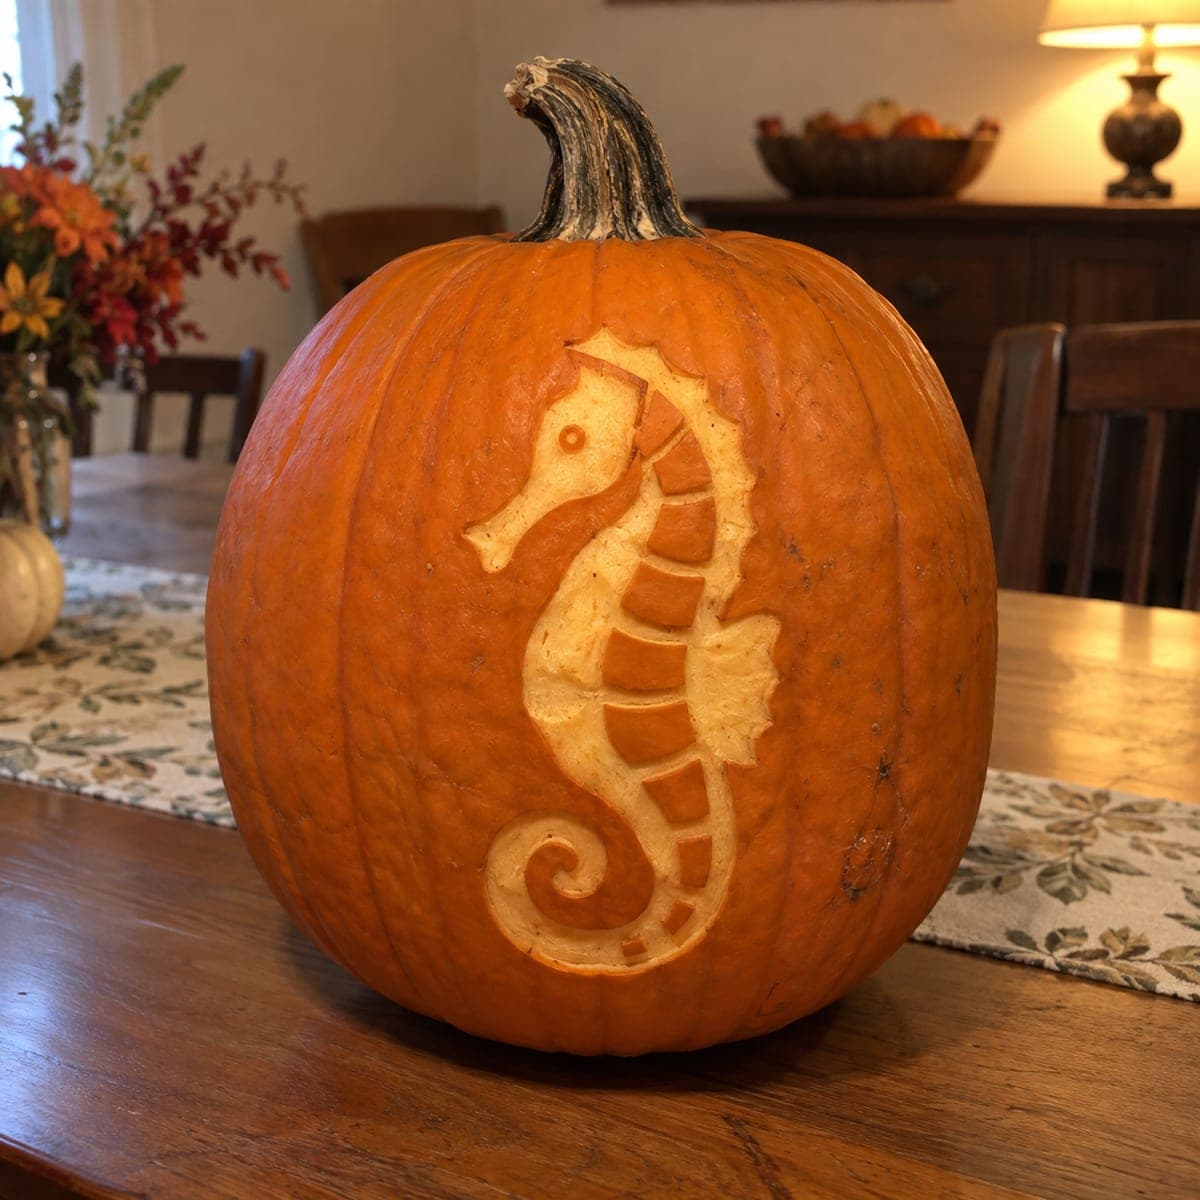
Seahorse with Ten Raw Plates
An elegant seahorse curls down the pumpkin in profile, its coronet, snout, banded belly plates, back fin, and spiral tail all rendered in carved relief. This is a shading design: the body is shaved to a pale glow while the plate lines and outline are left or scraped at different depths for dimension, with no pierced openings. Rated hard for its fine segmentation, shave the belly bands one at a time and keep each dividing ridge intact.
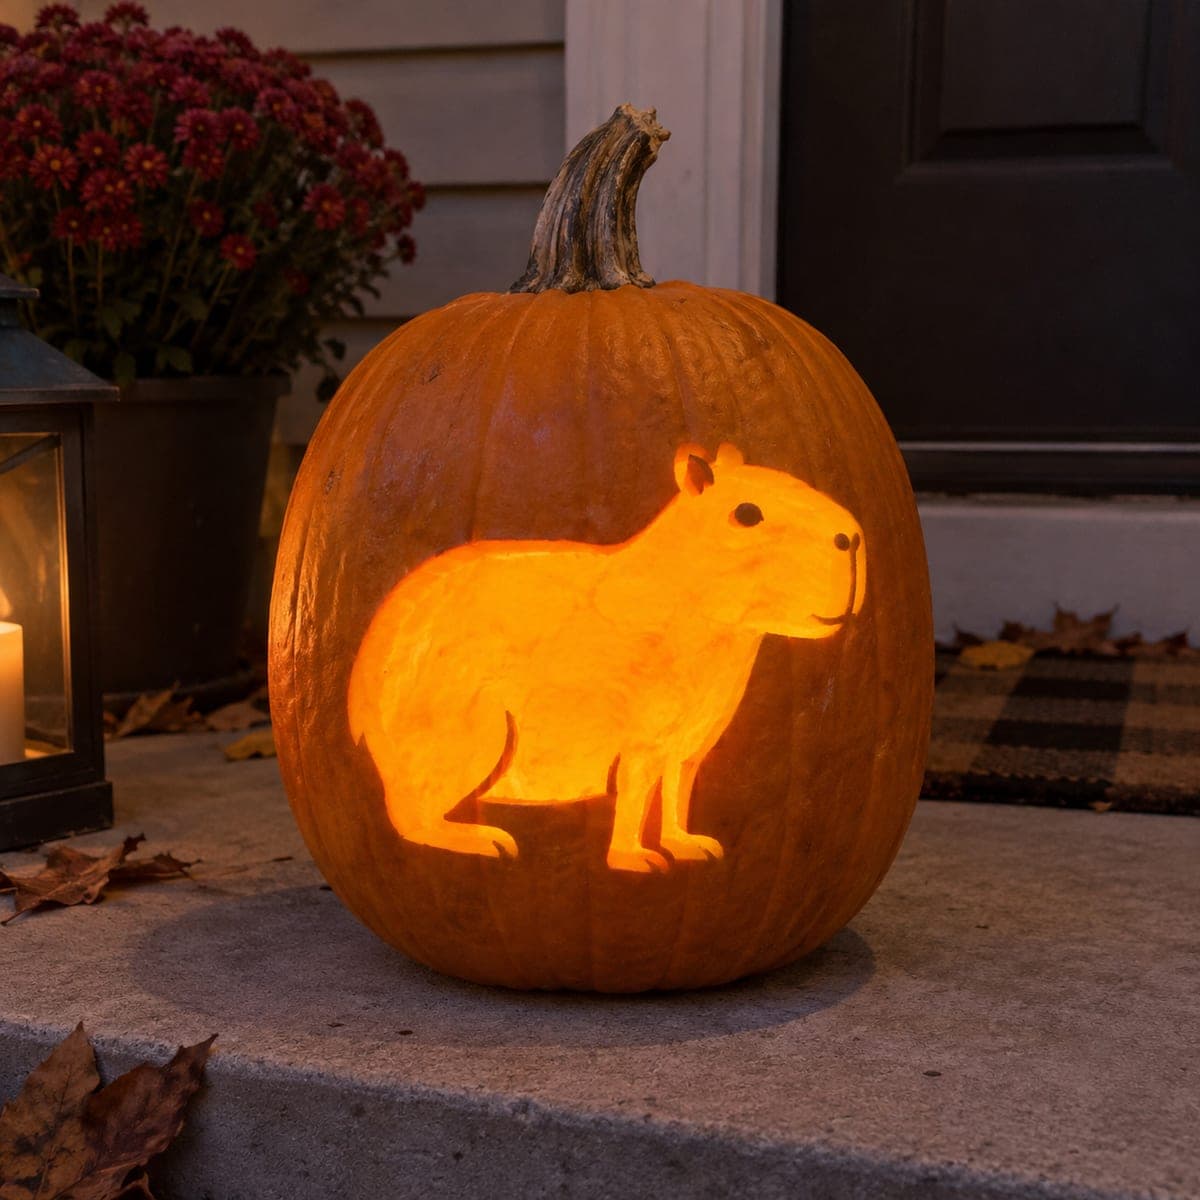
Seated Capybara with Smile
The internet's favorite chill rodent sits in calm profile, its whole rounded body glowing warmly with a small dark eye and nostril left as untouched spots of skin. Rather than piercing the wall, you shave the capybara's full silhouette down to the inner flesh so it lights up as one soft shape. For this medium shading carve, peel the big body areas with a flat scraper, thin them evenly, and leave the eye and nose dots strictly alone.
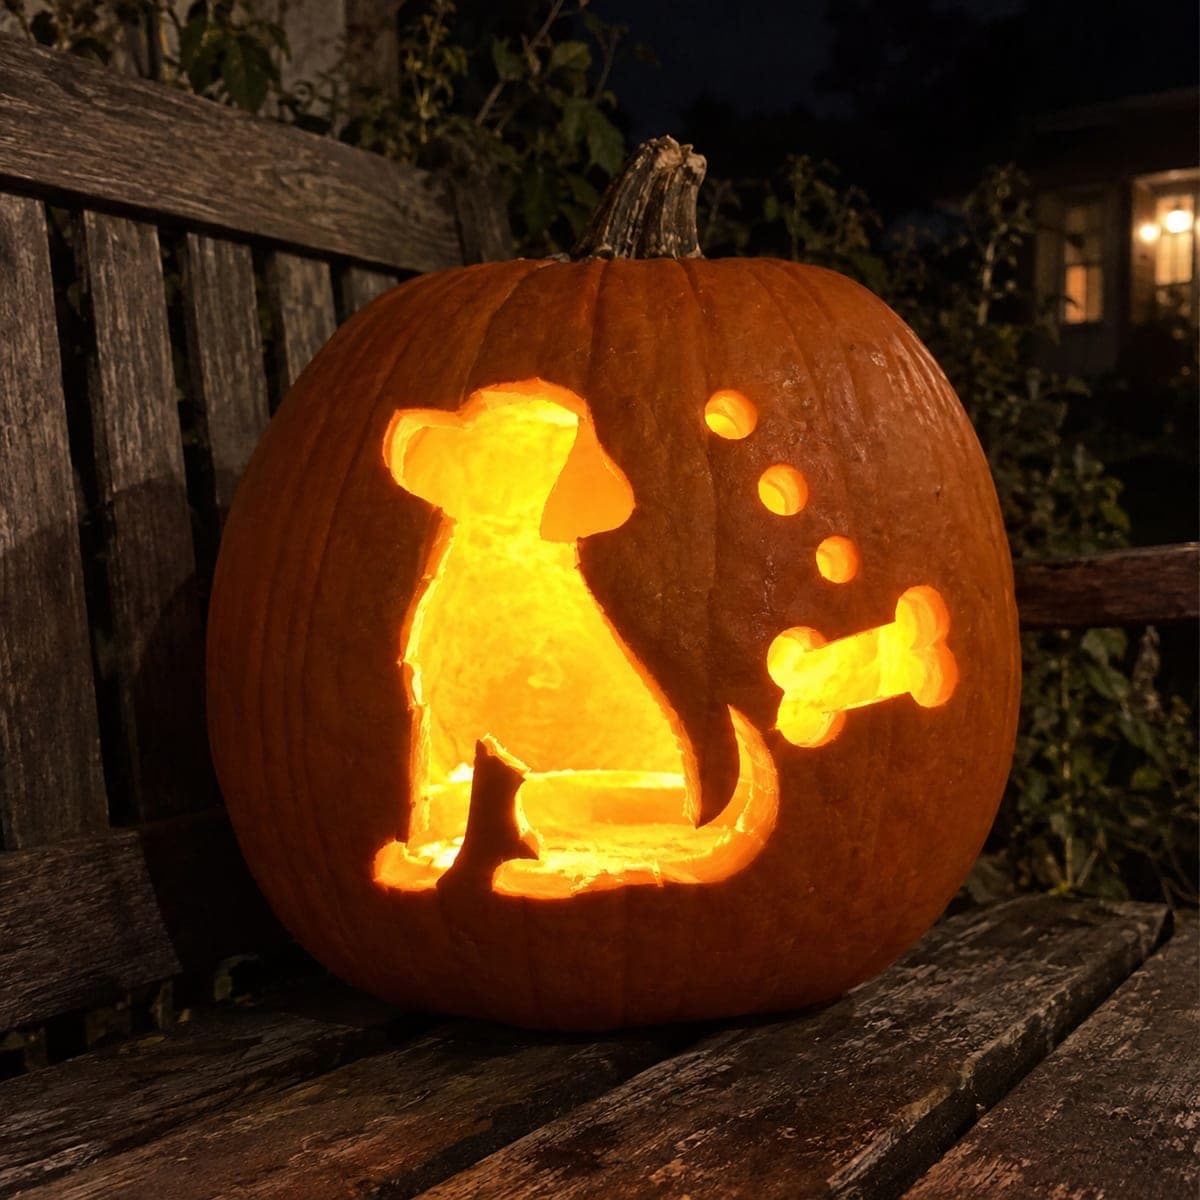
Seated Dog with Bone and Dots
A patient pup sits in profile, ears perked and tail resting, while a bone floats nearby with a trail of small dream-bubble dots connecting them. The dog's body, the bone, and the dots are all cut fully through as bold, separate openings, so the scene reads instantly from the street. This easy design has no fragile interior bridges; just cut the large dog body in two or three sections and pop the bone and dots out last for a tidy finish.